


| Start | From the Big Bend Walk (-25.0602838,148.2354231) |
| Mode | Car |
| Finish | (-25.0602838,148.2354231) |
| Mode (end) | Car Shuttle Car |
| Turn map | Directions & comments |
|---|---|
 |
|
 |
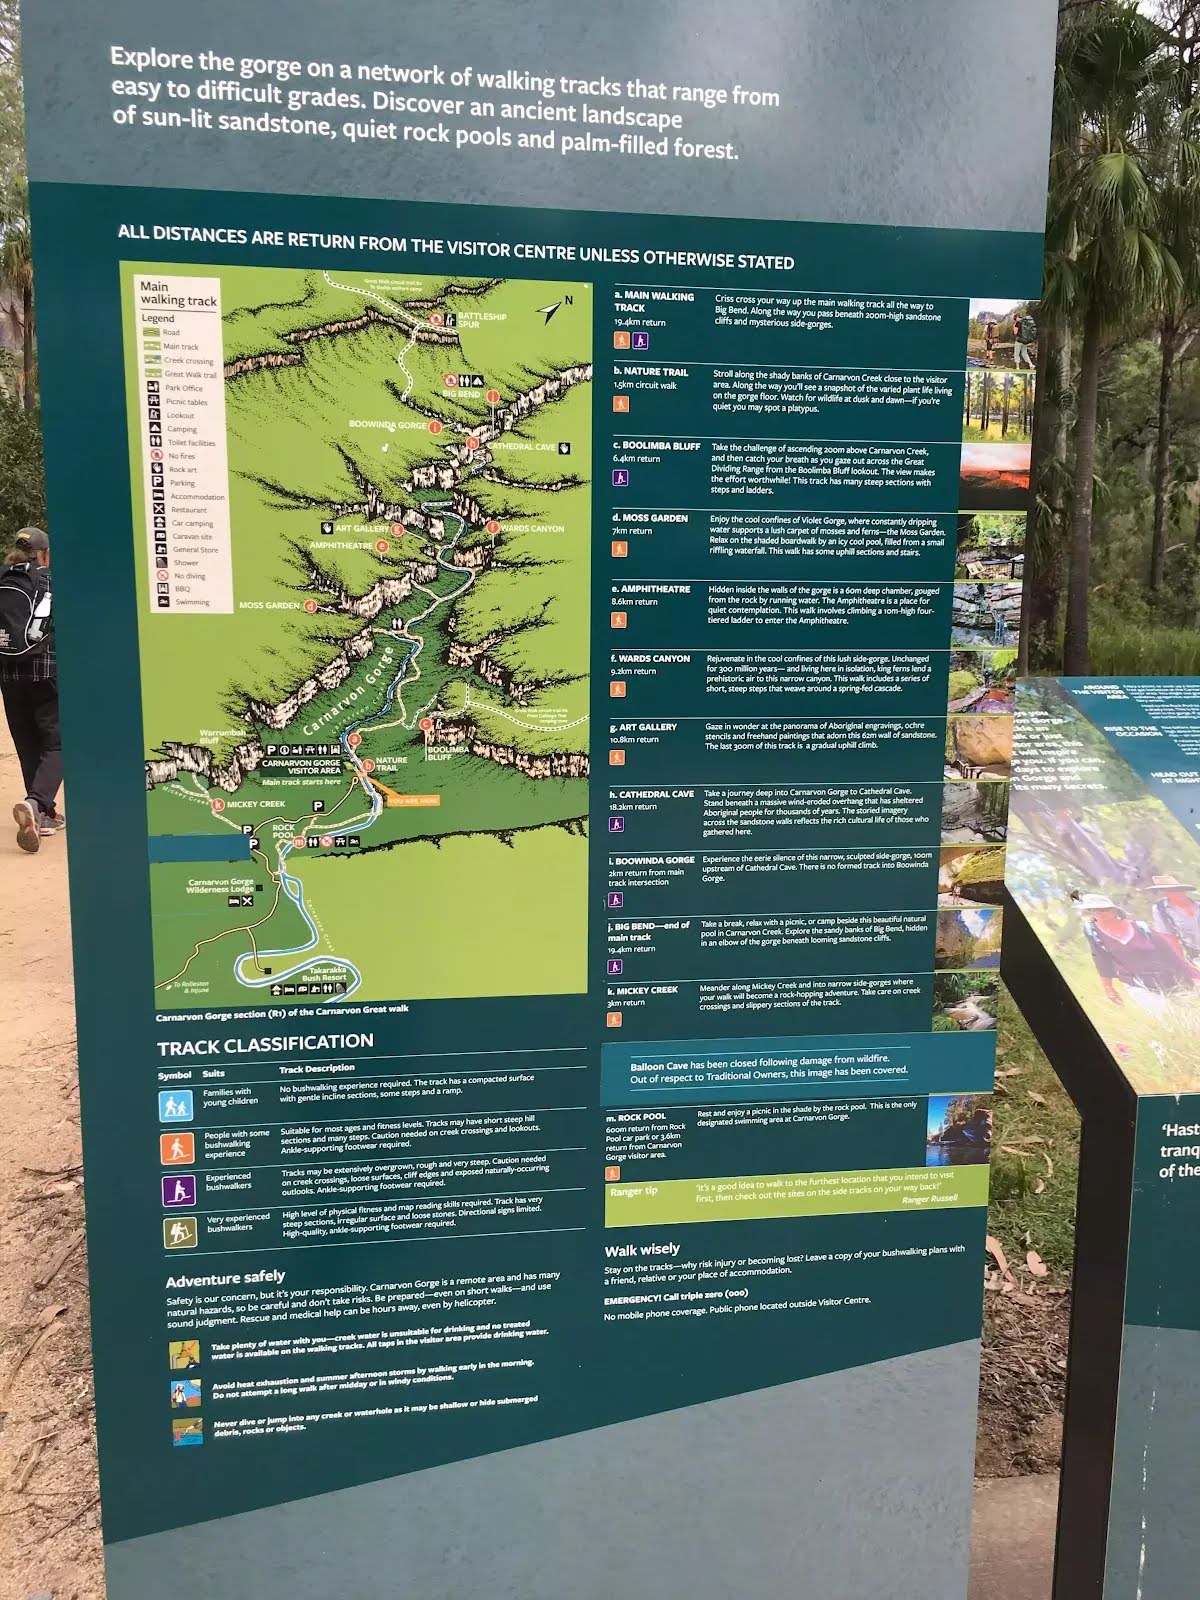
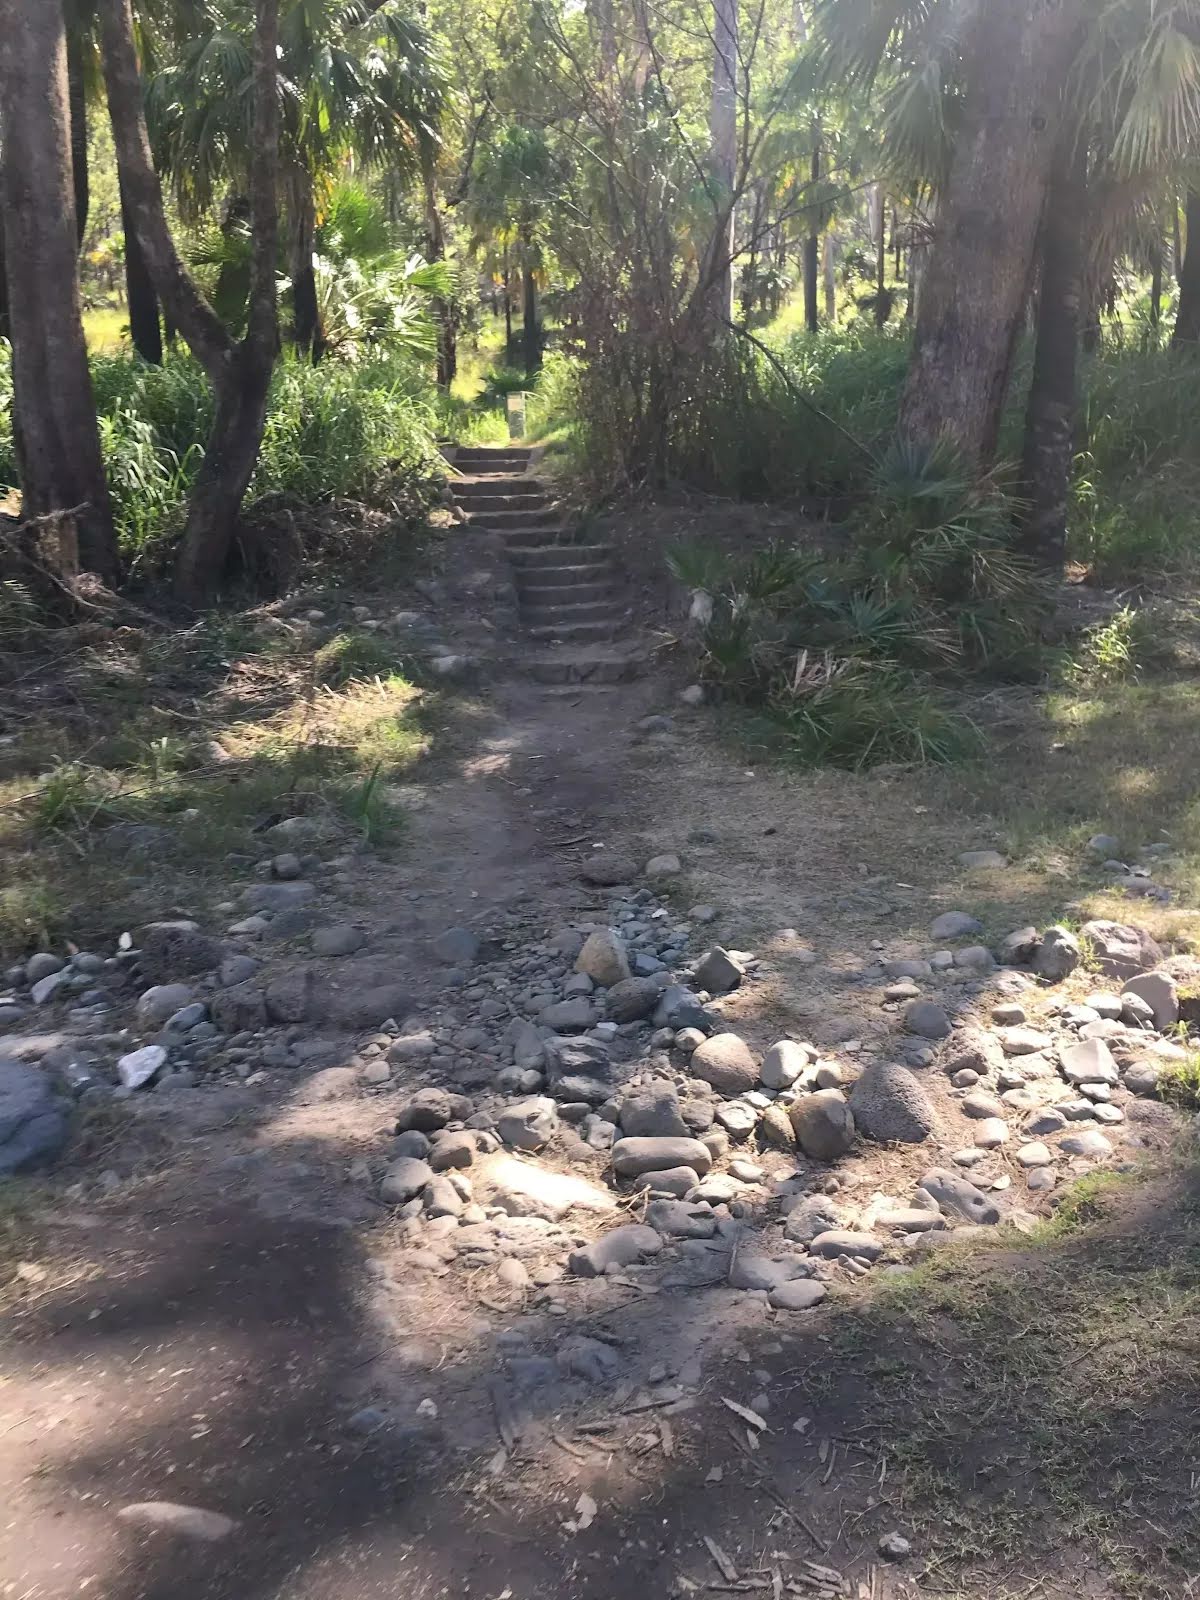
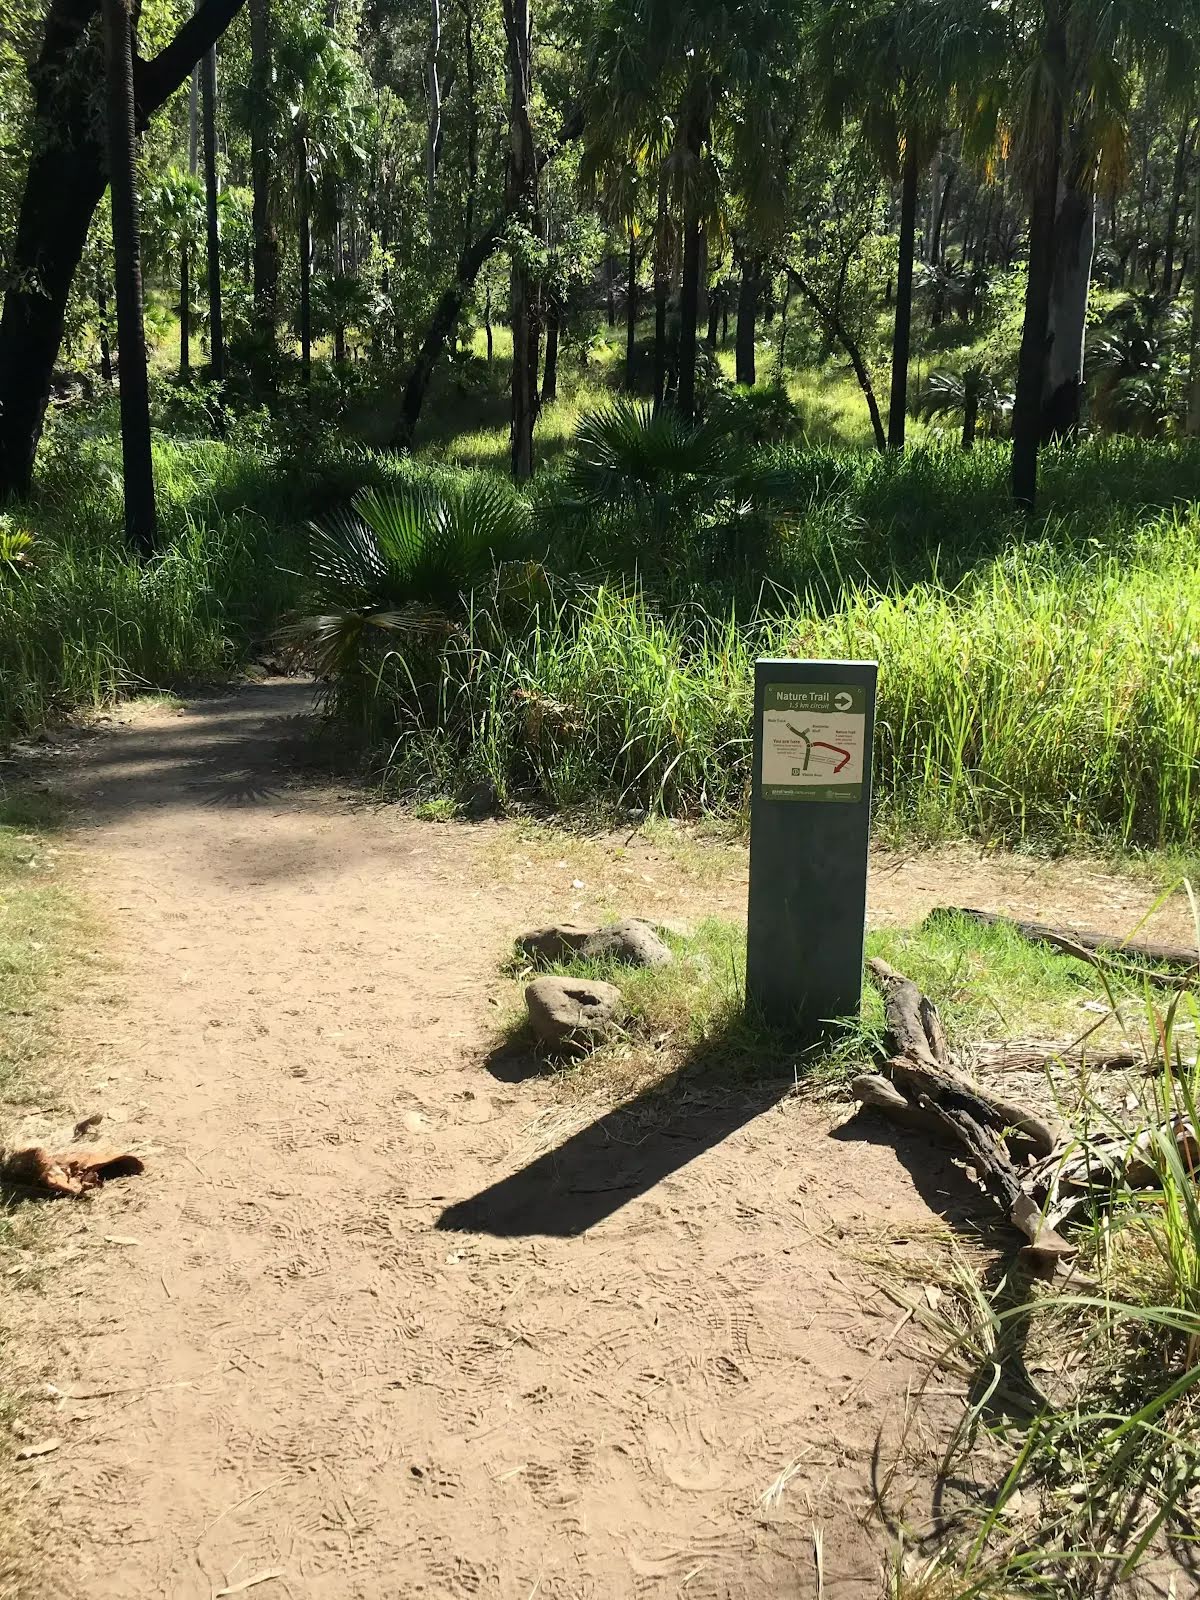
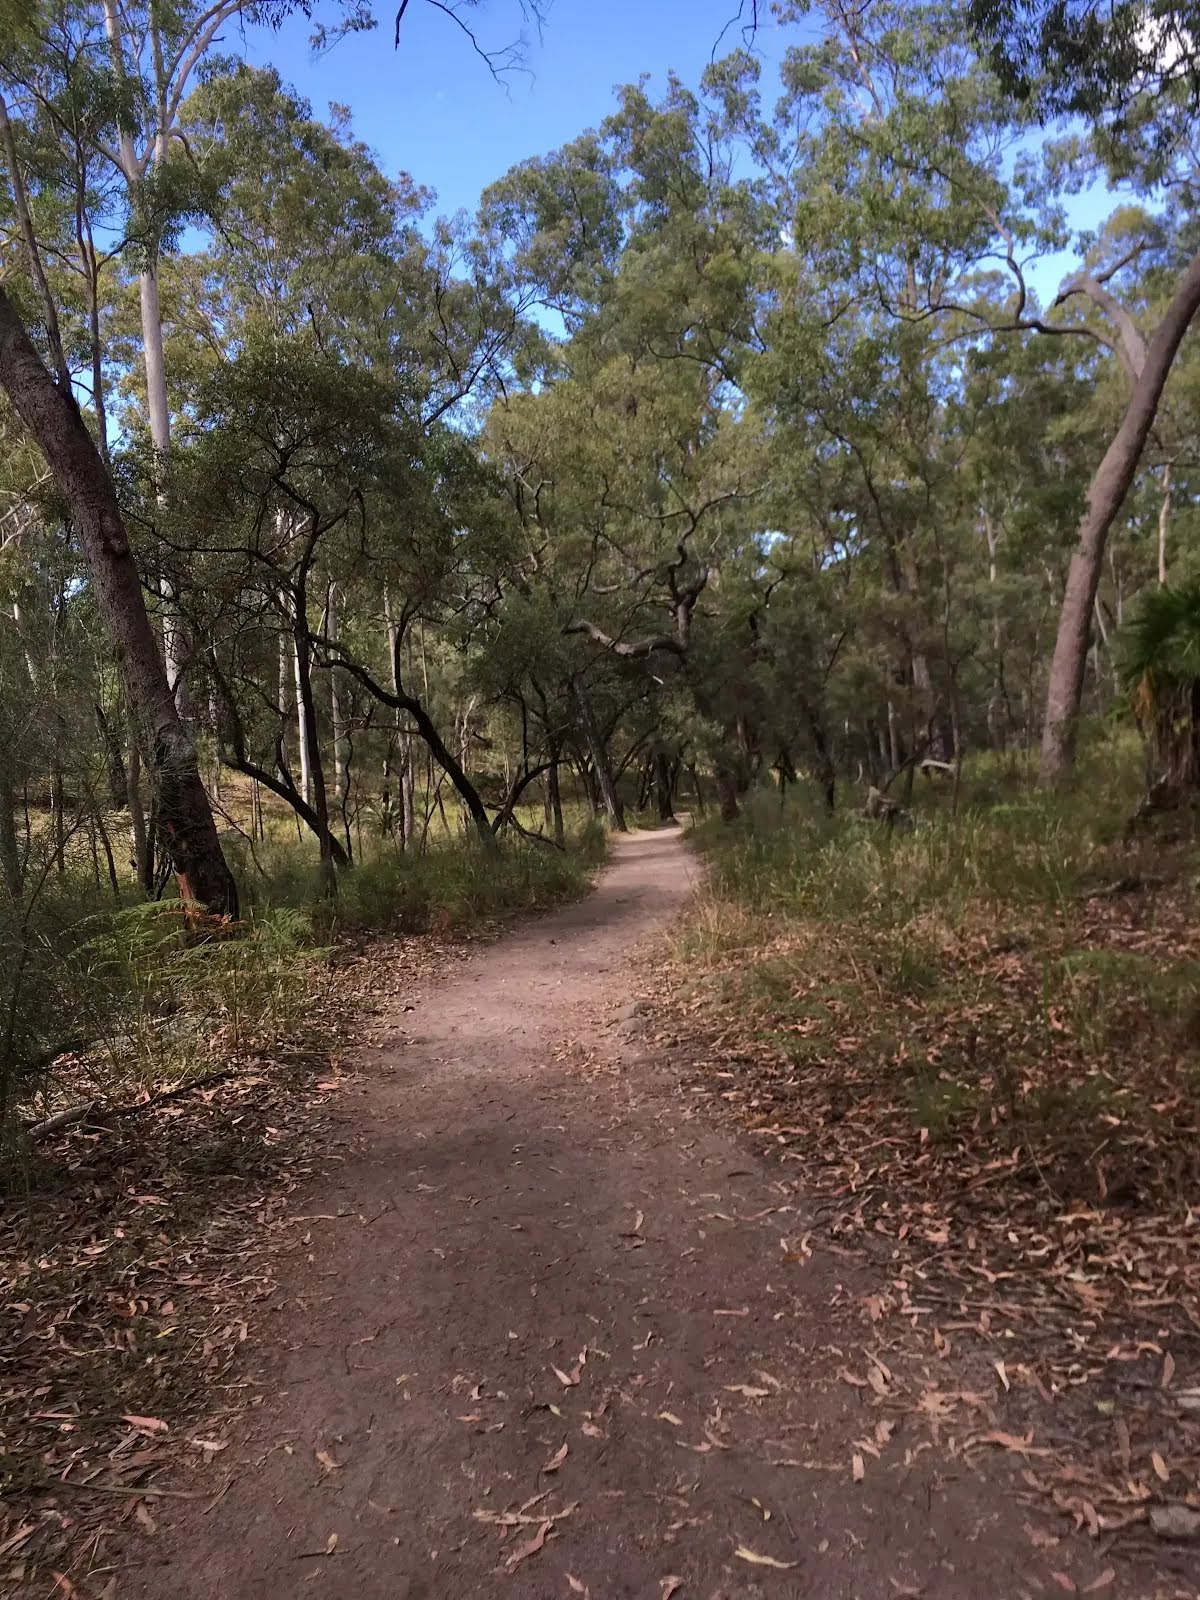
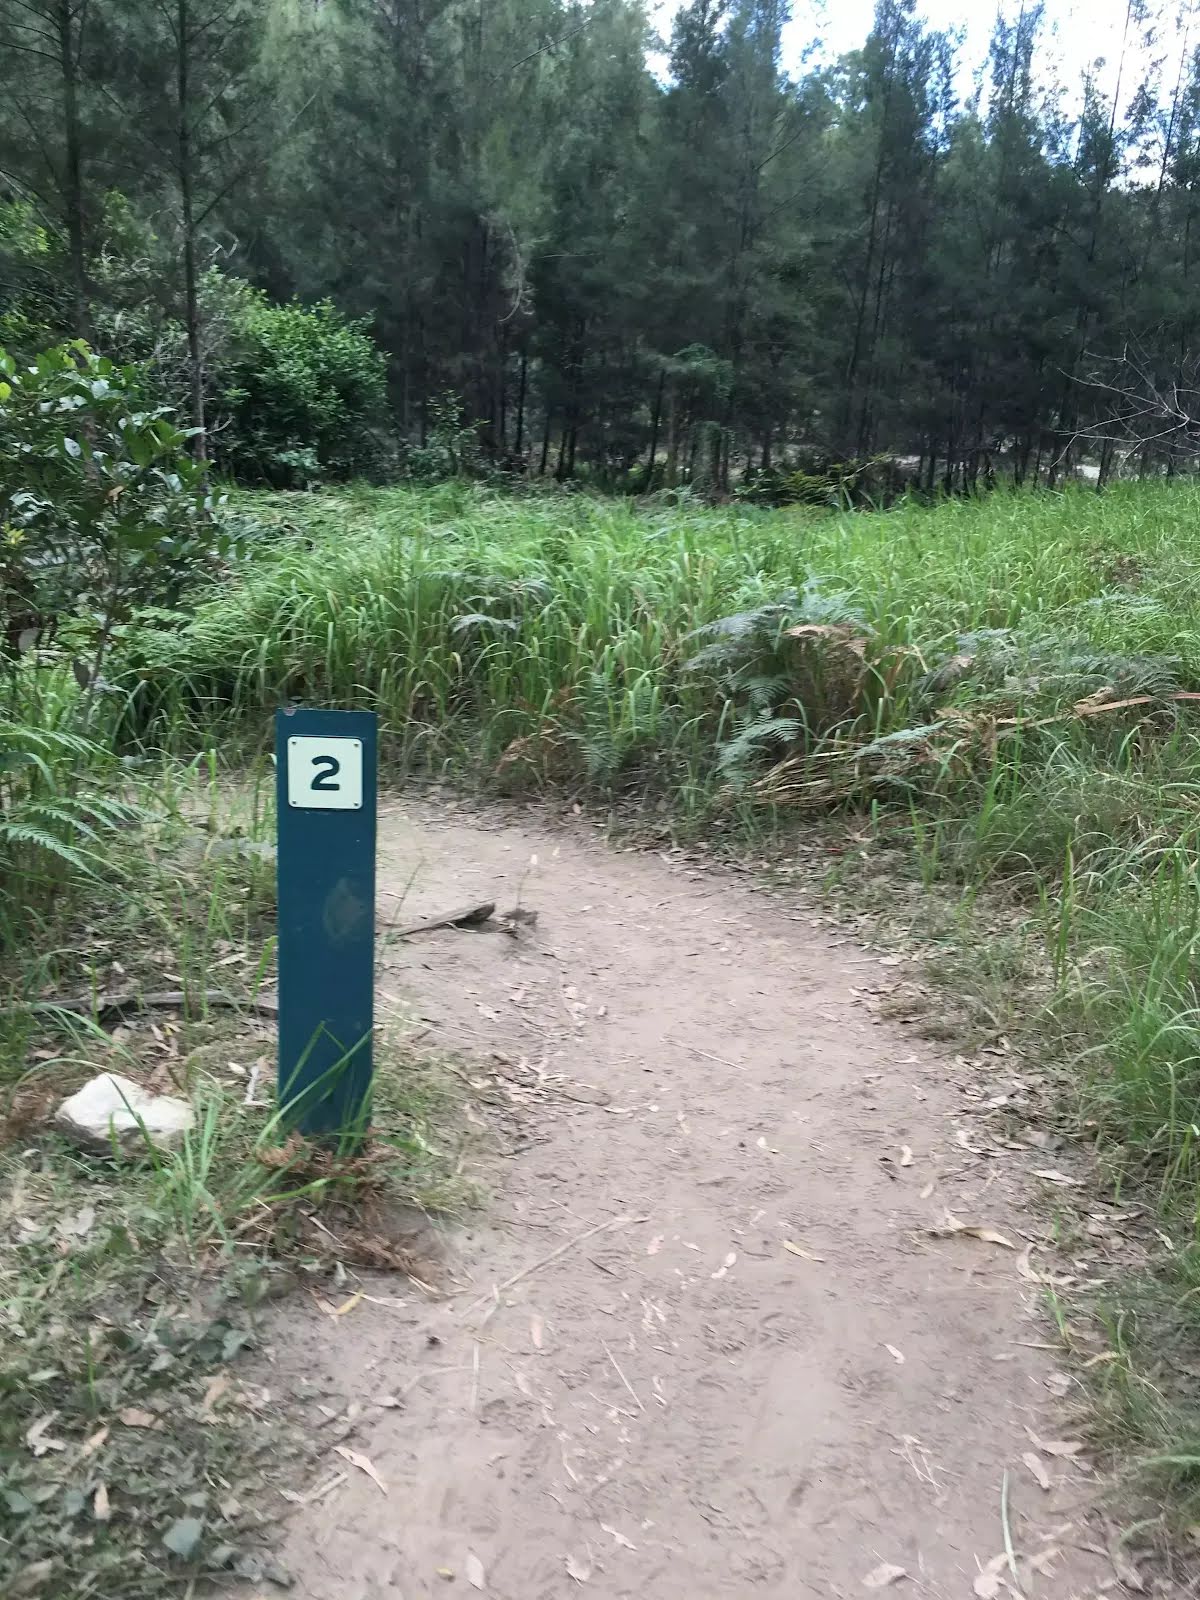
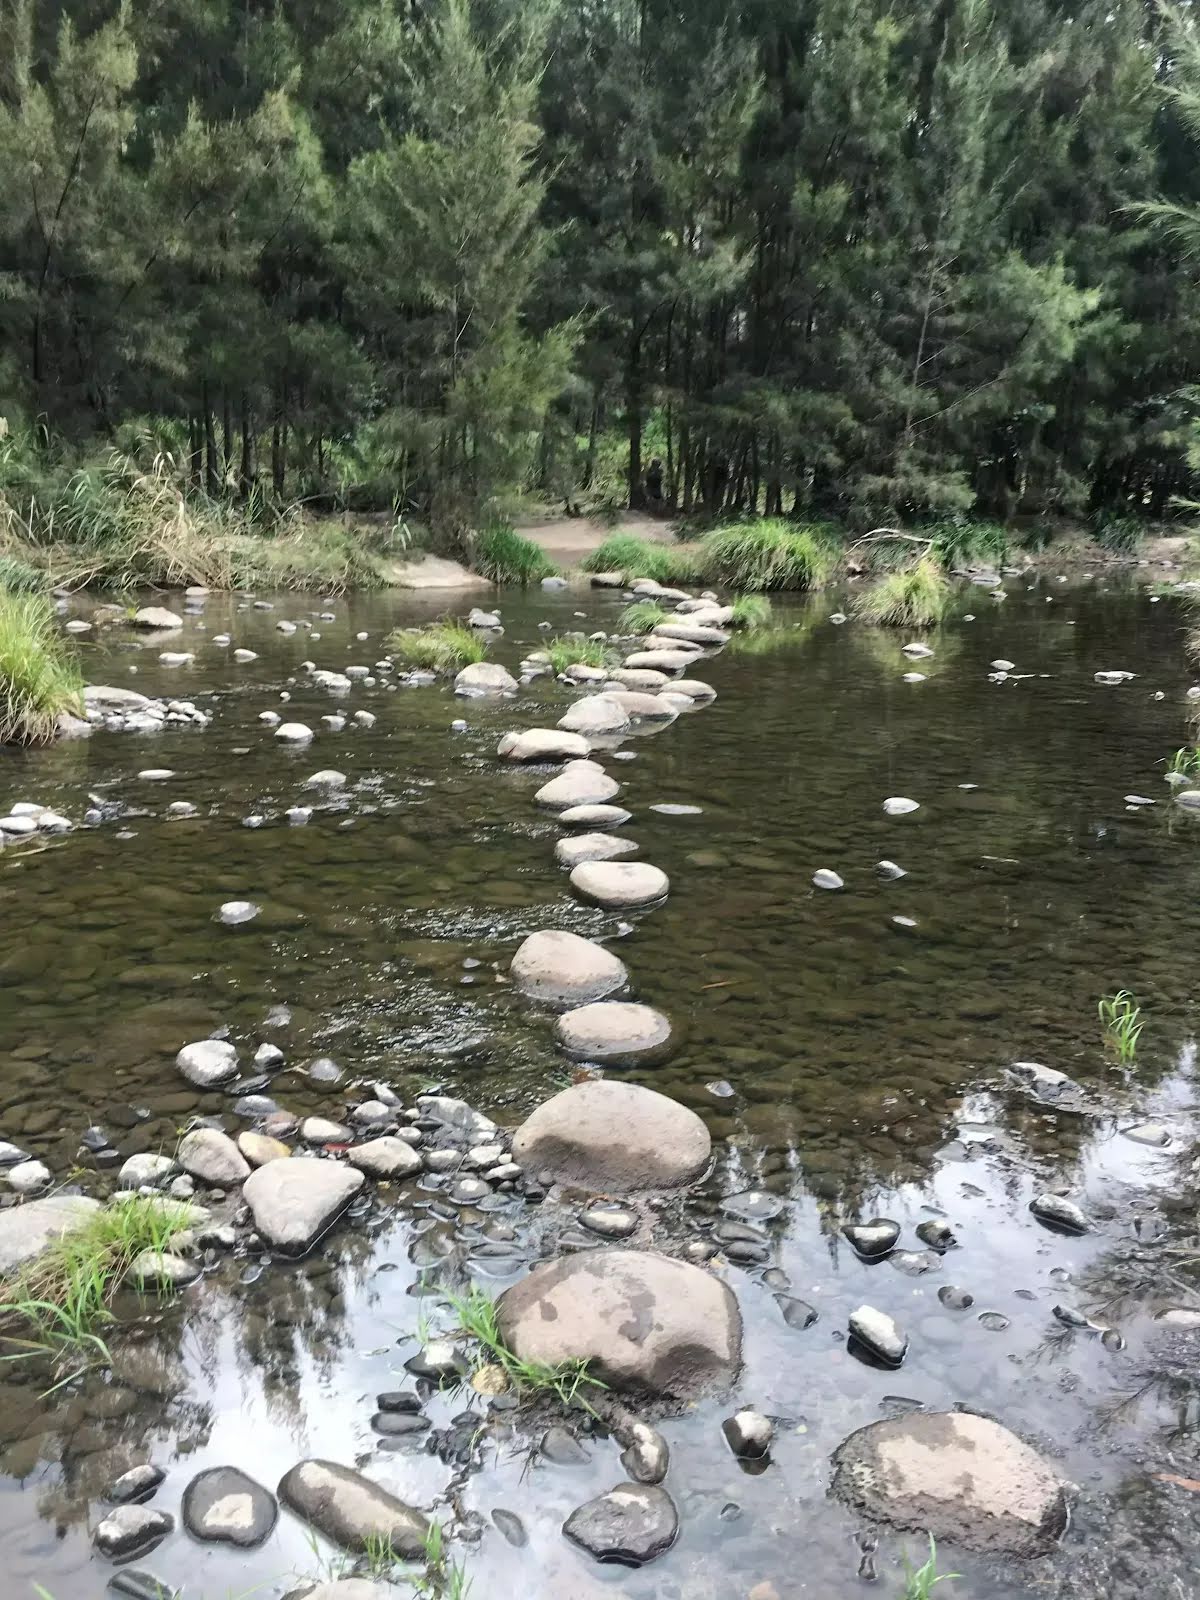
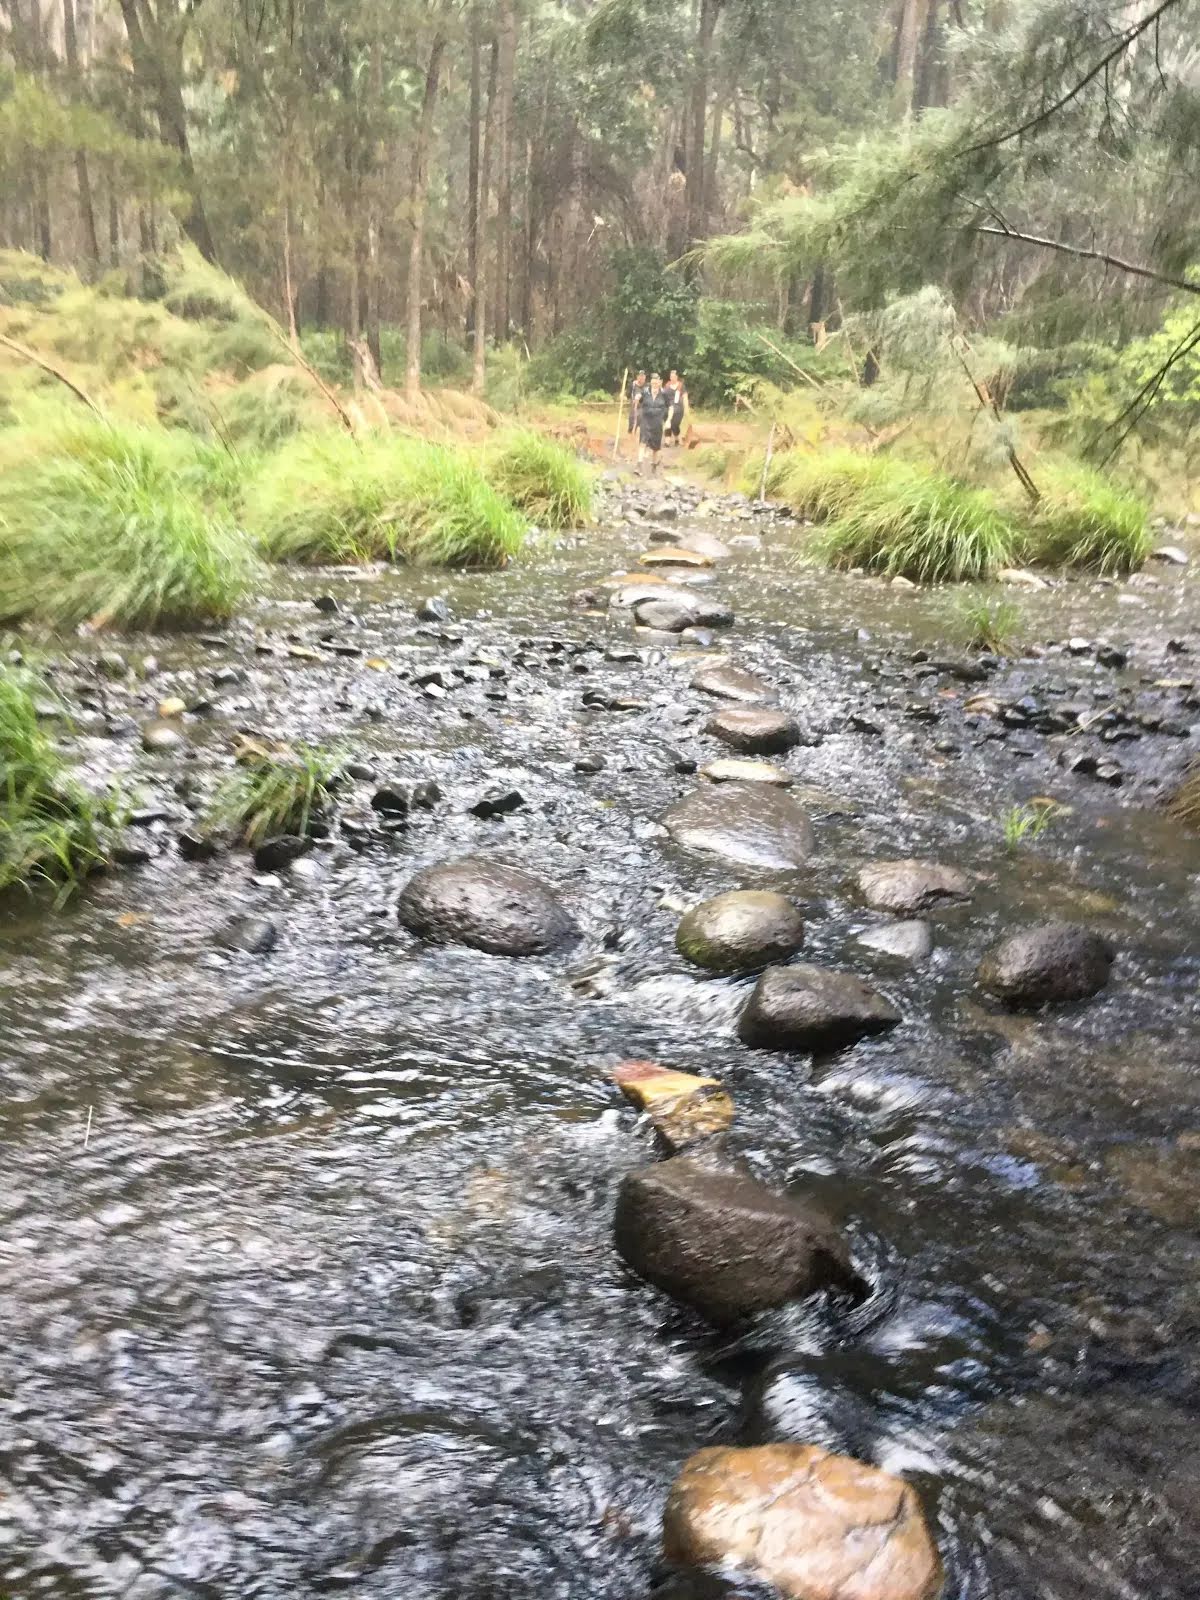
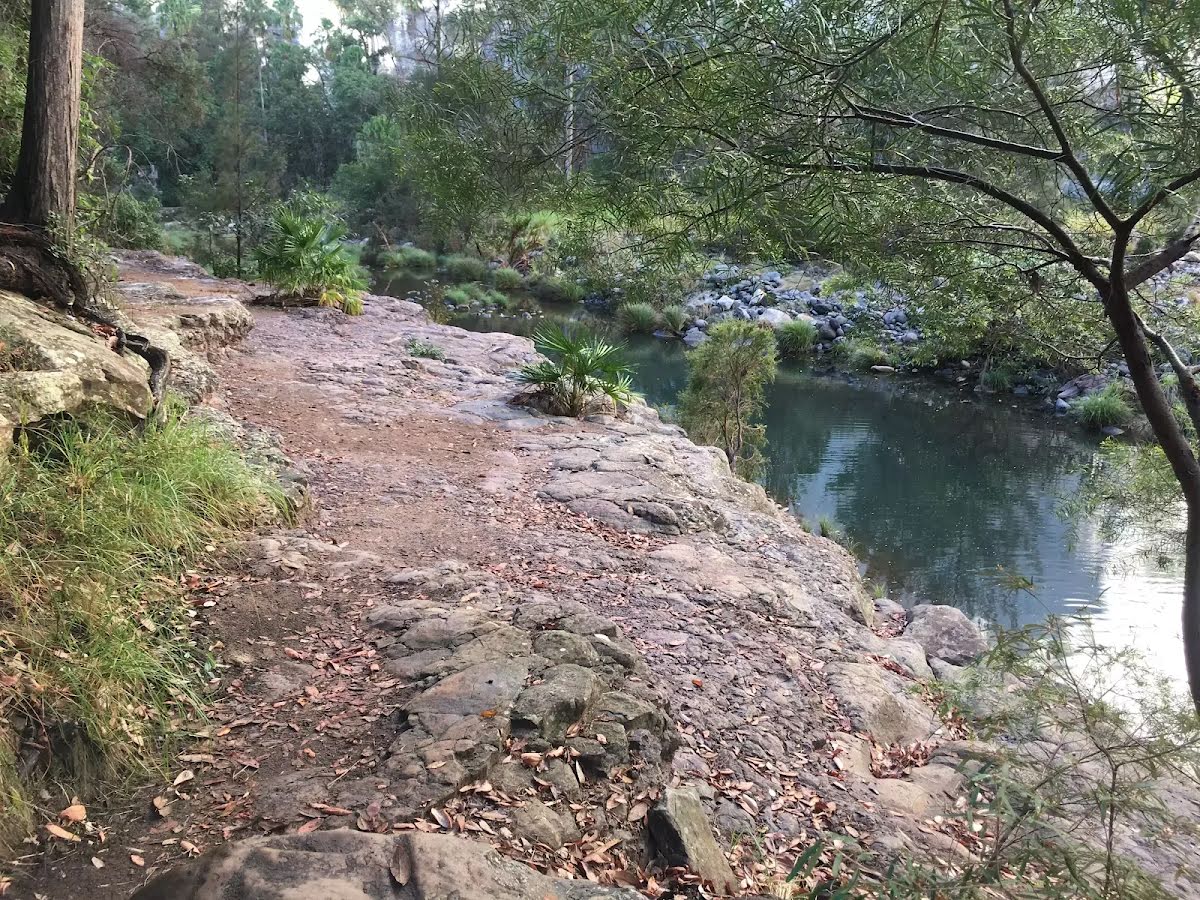
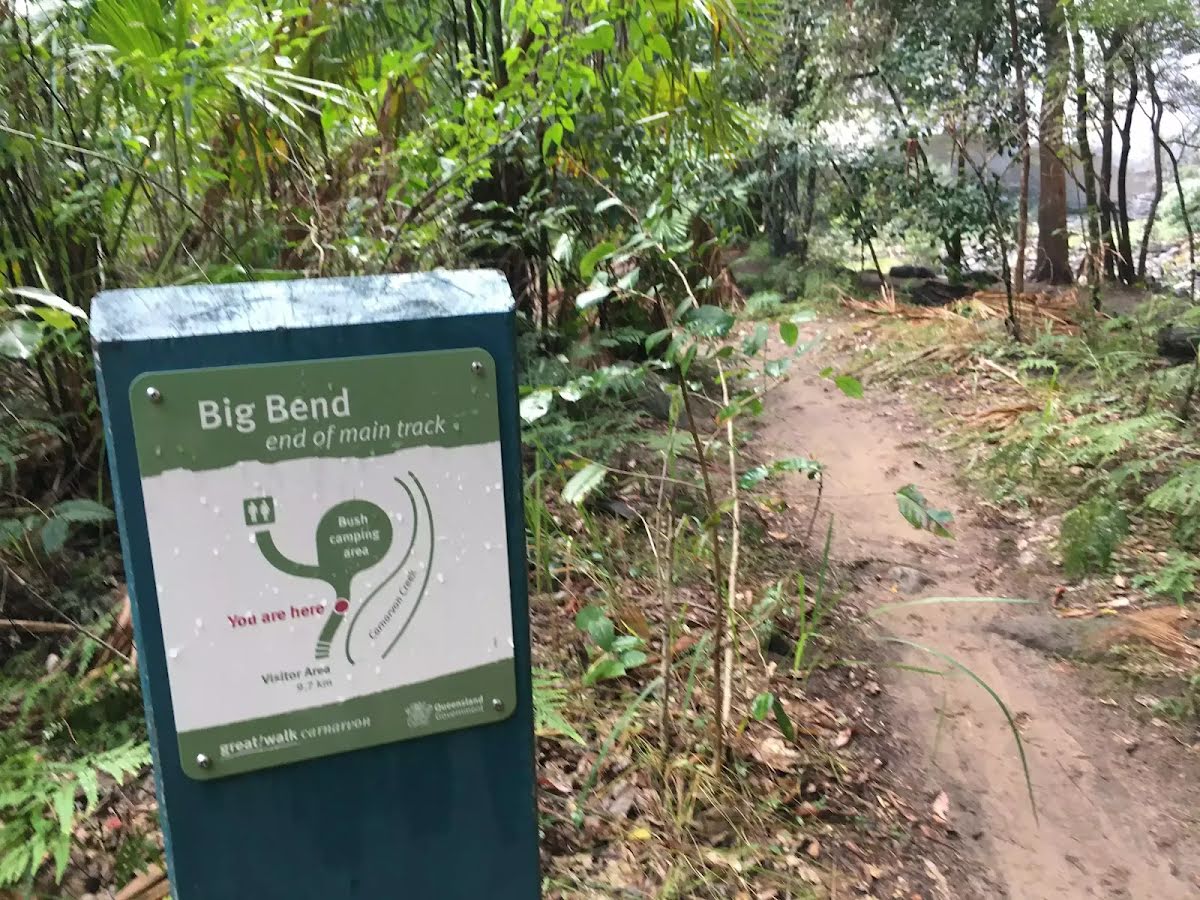
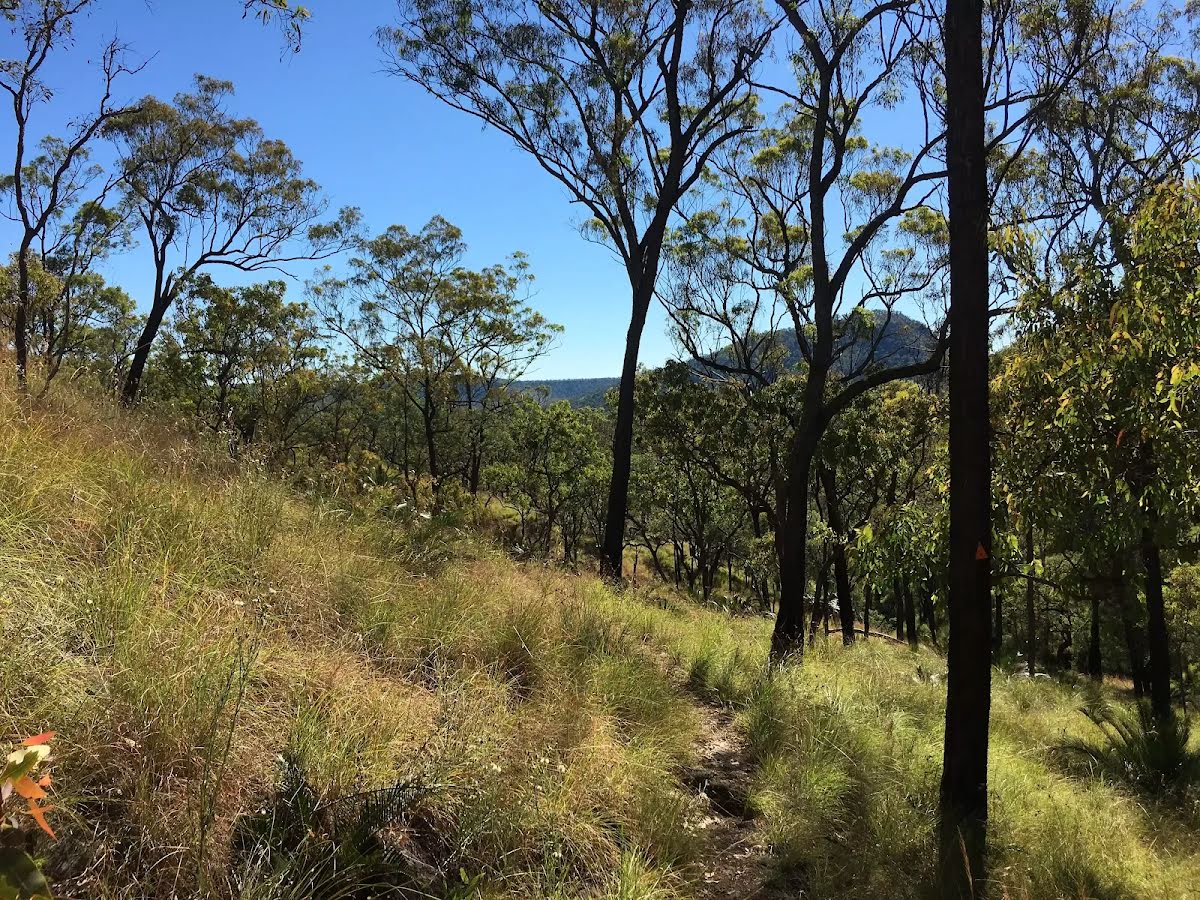
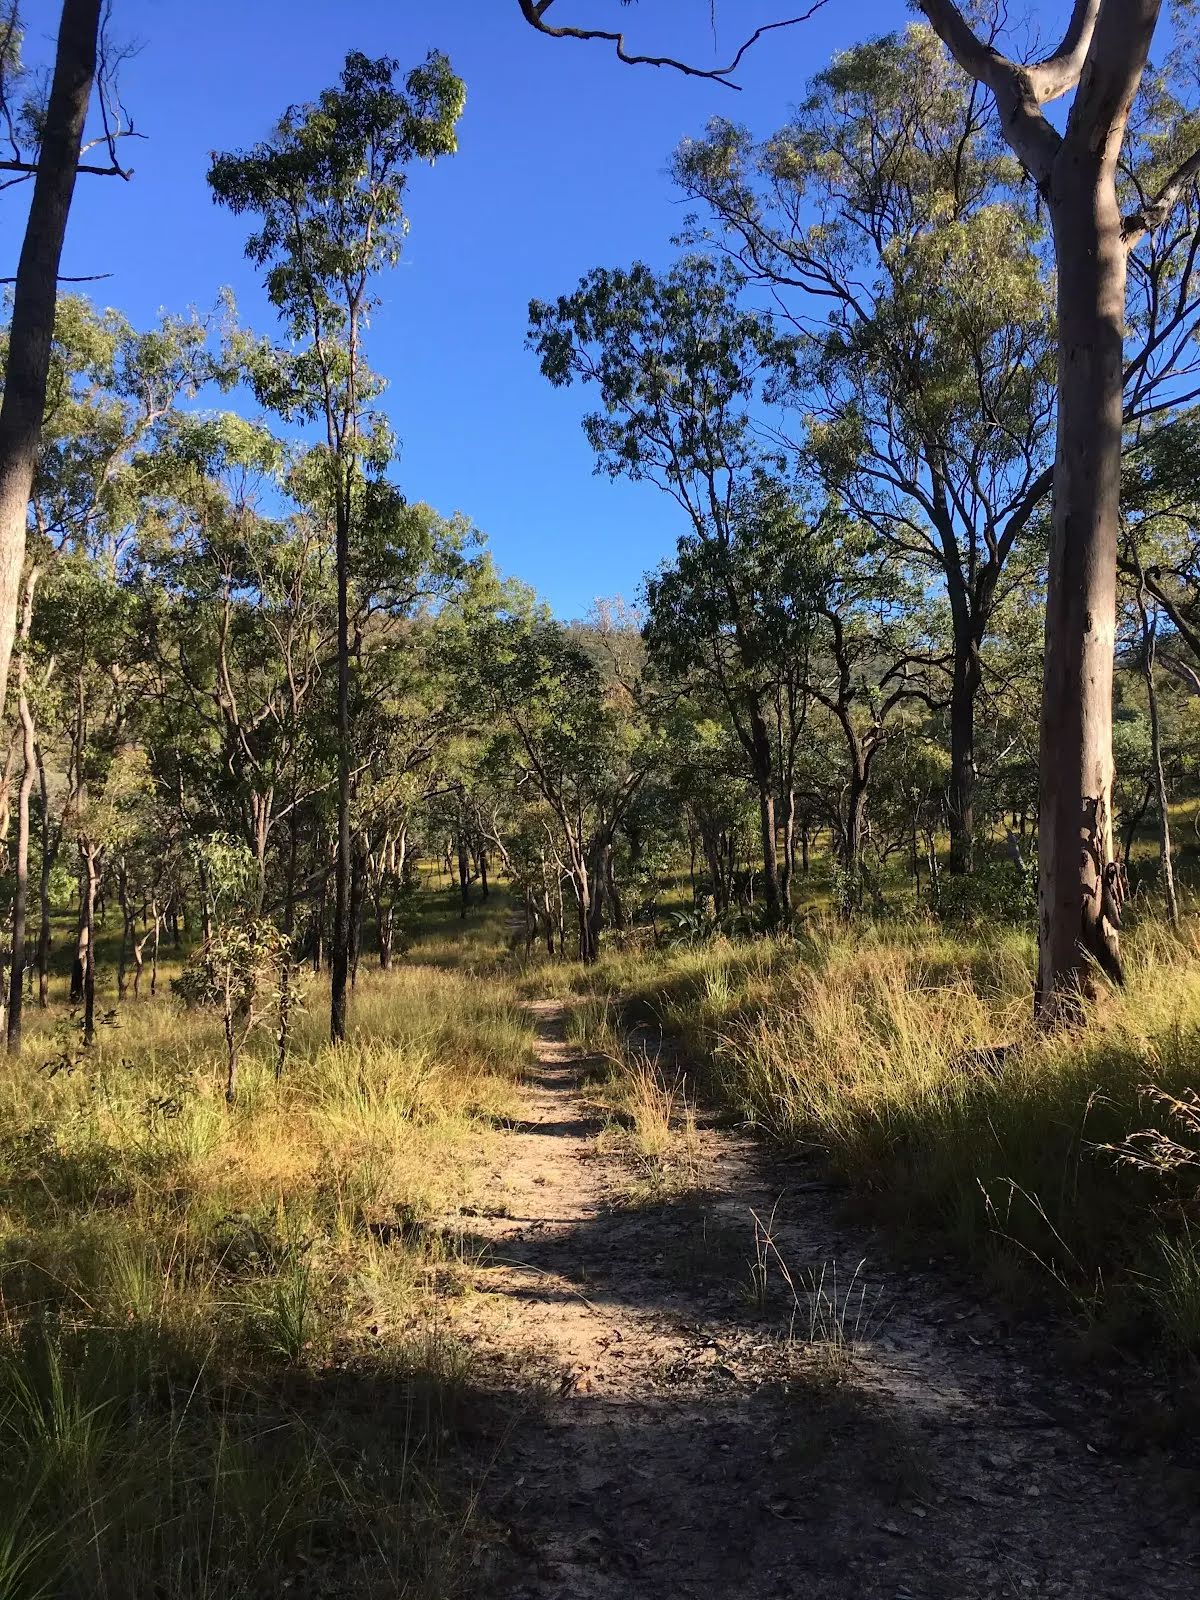
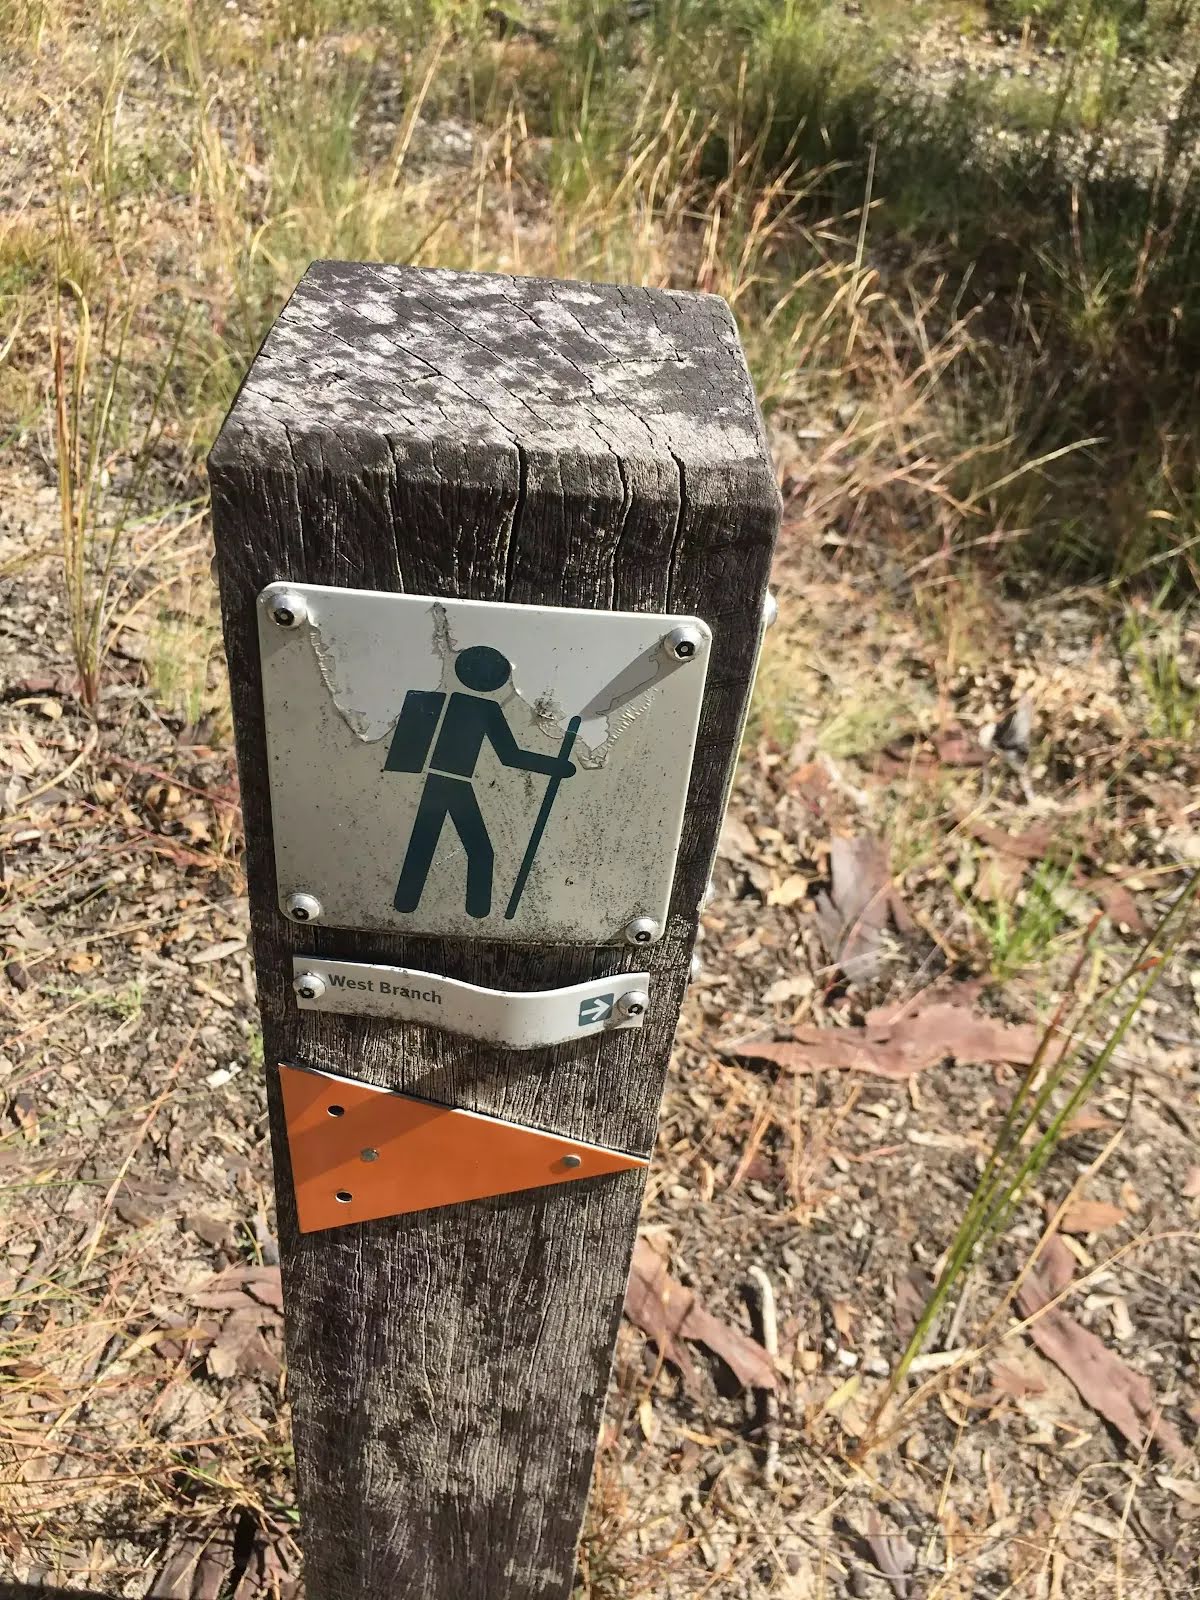
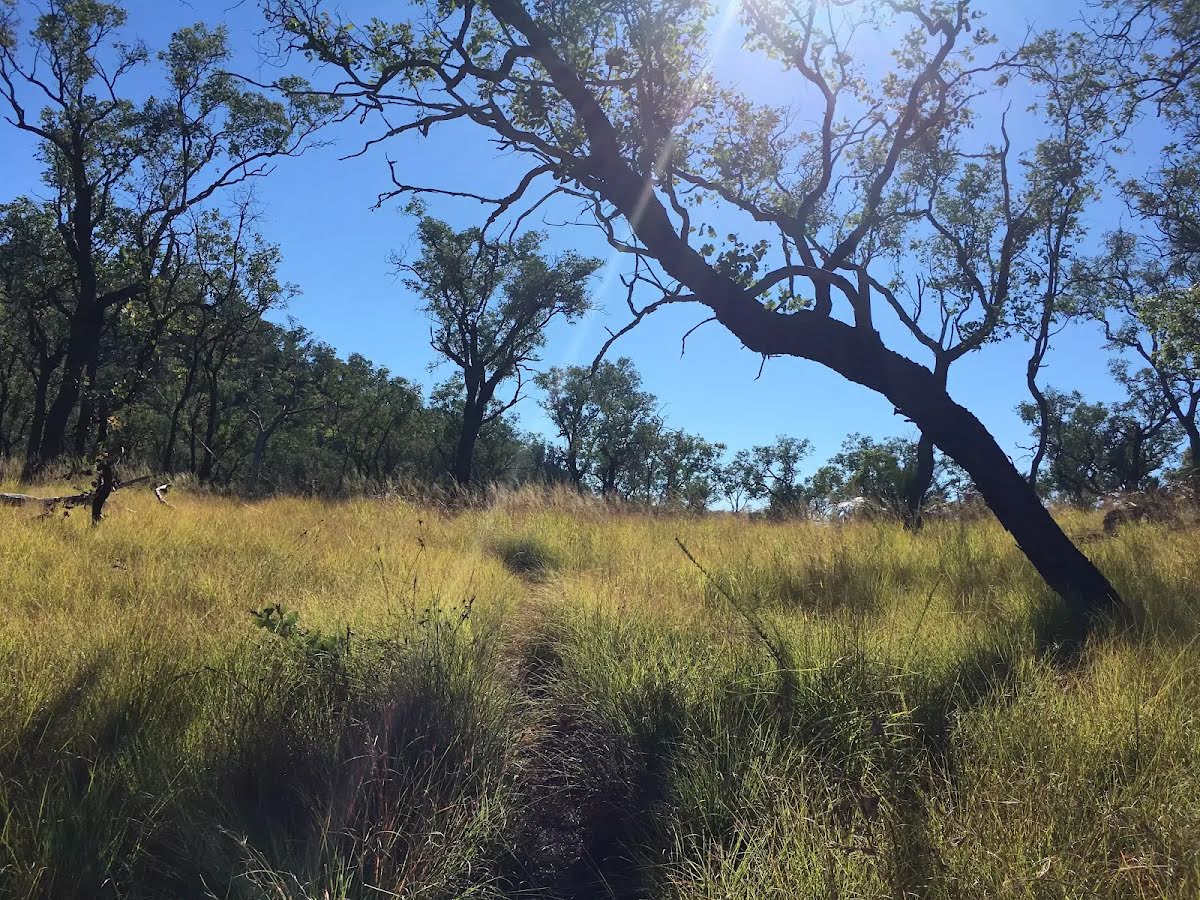
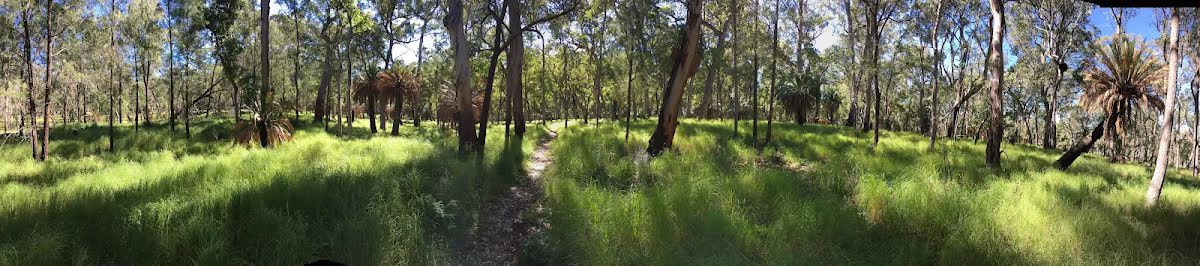
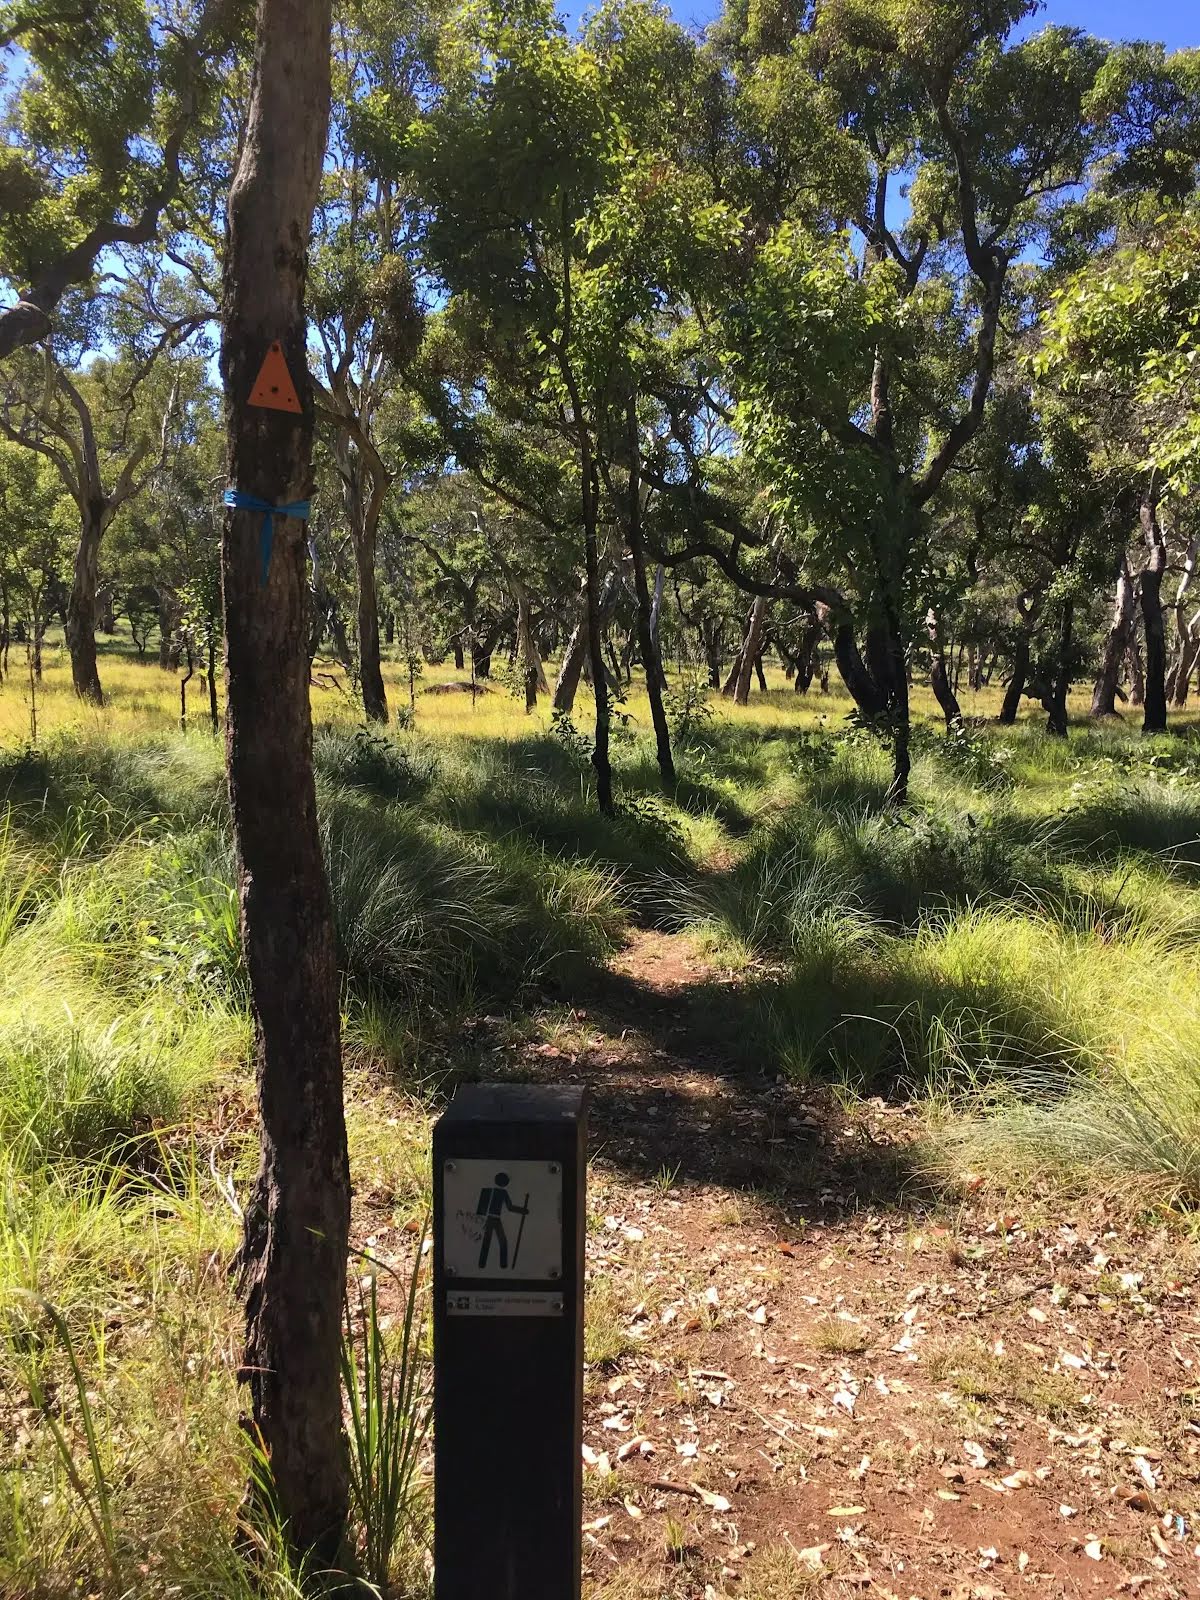
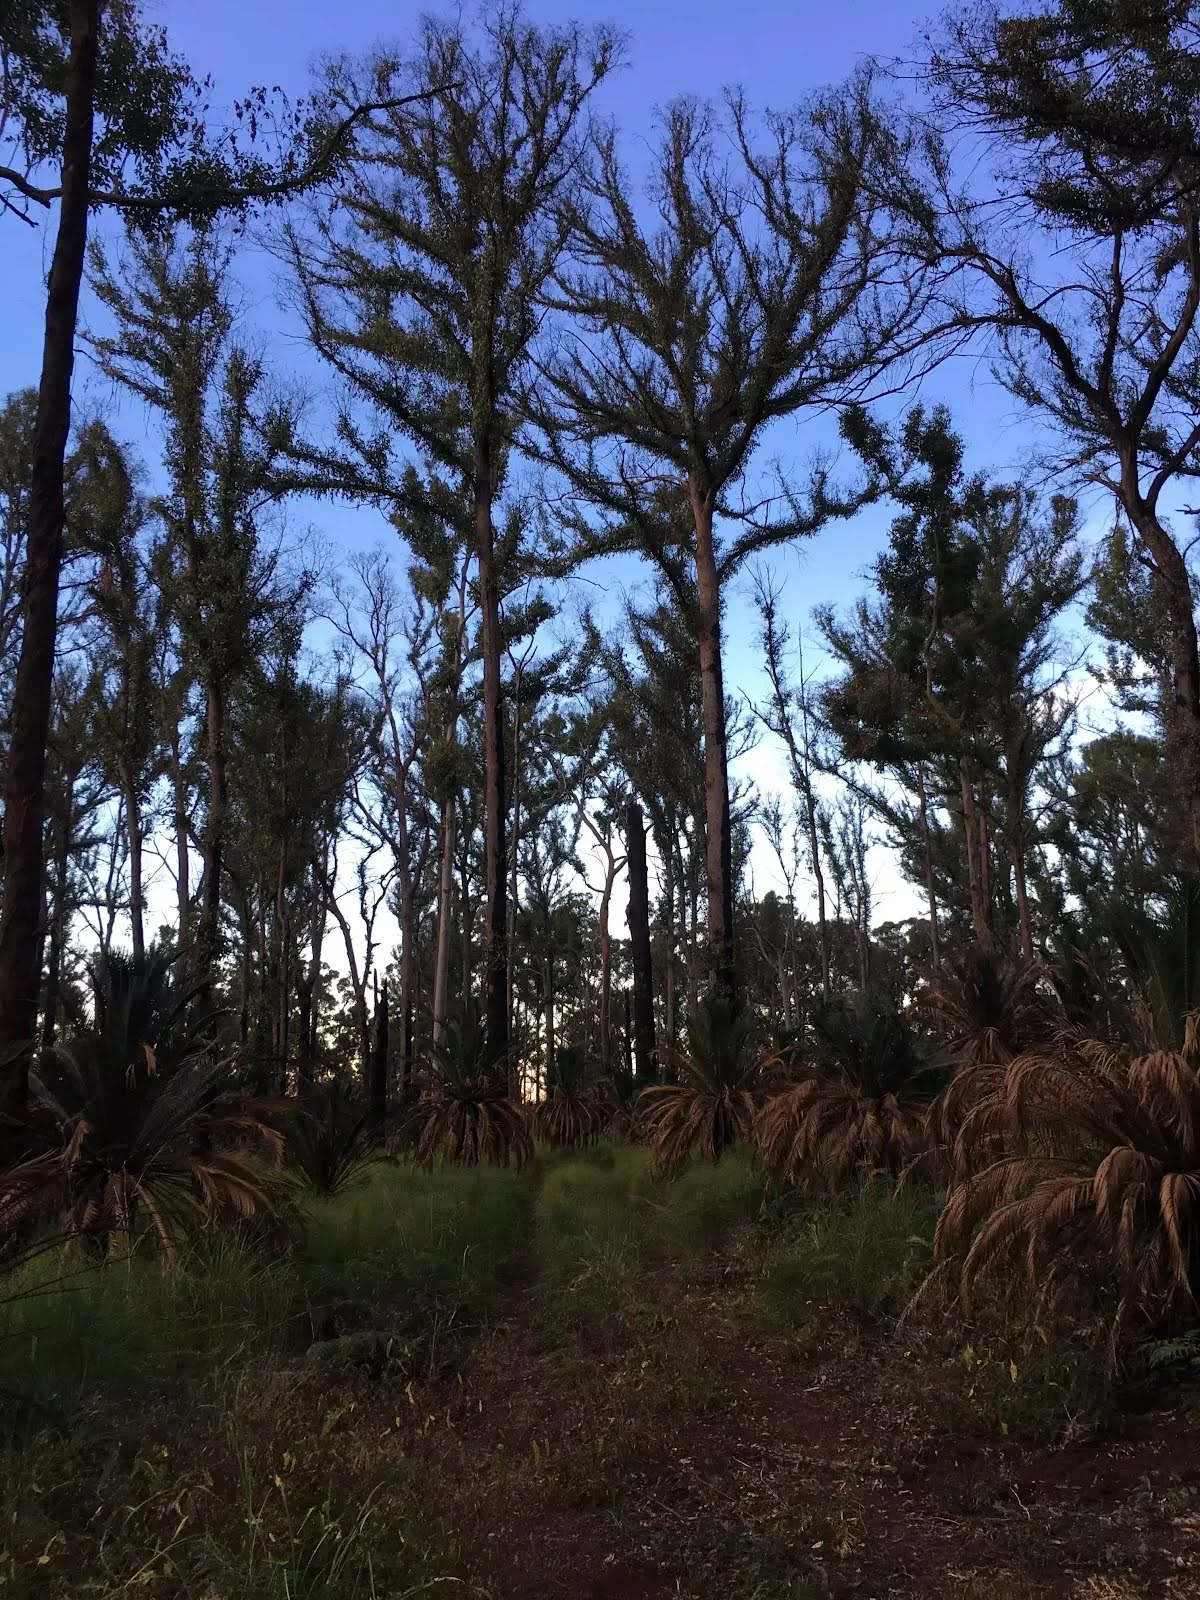
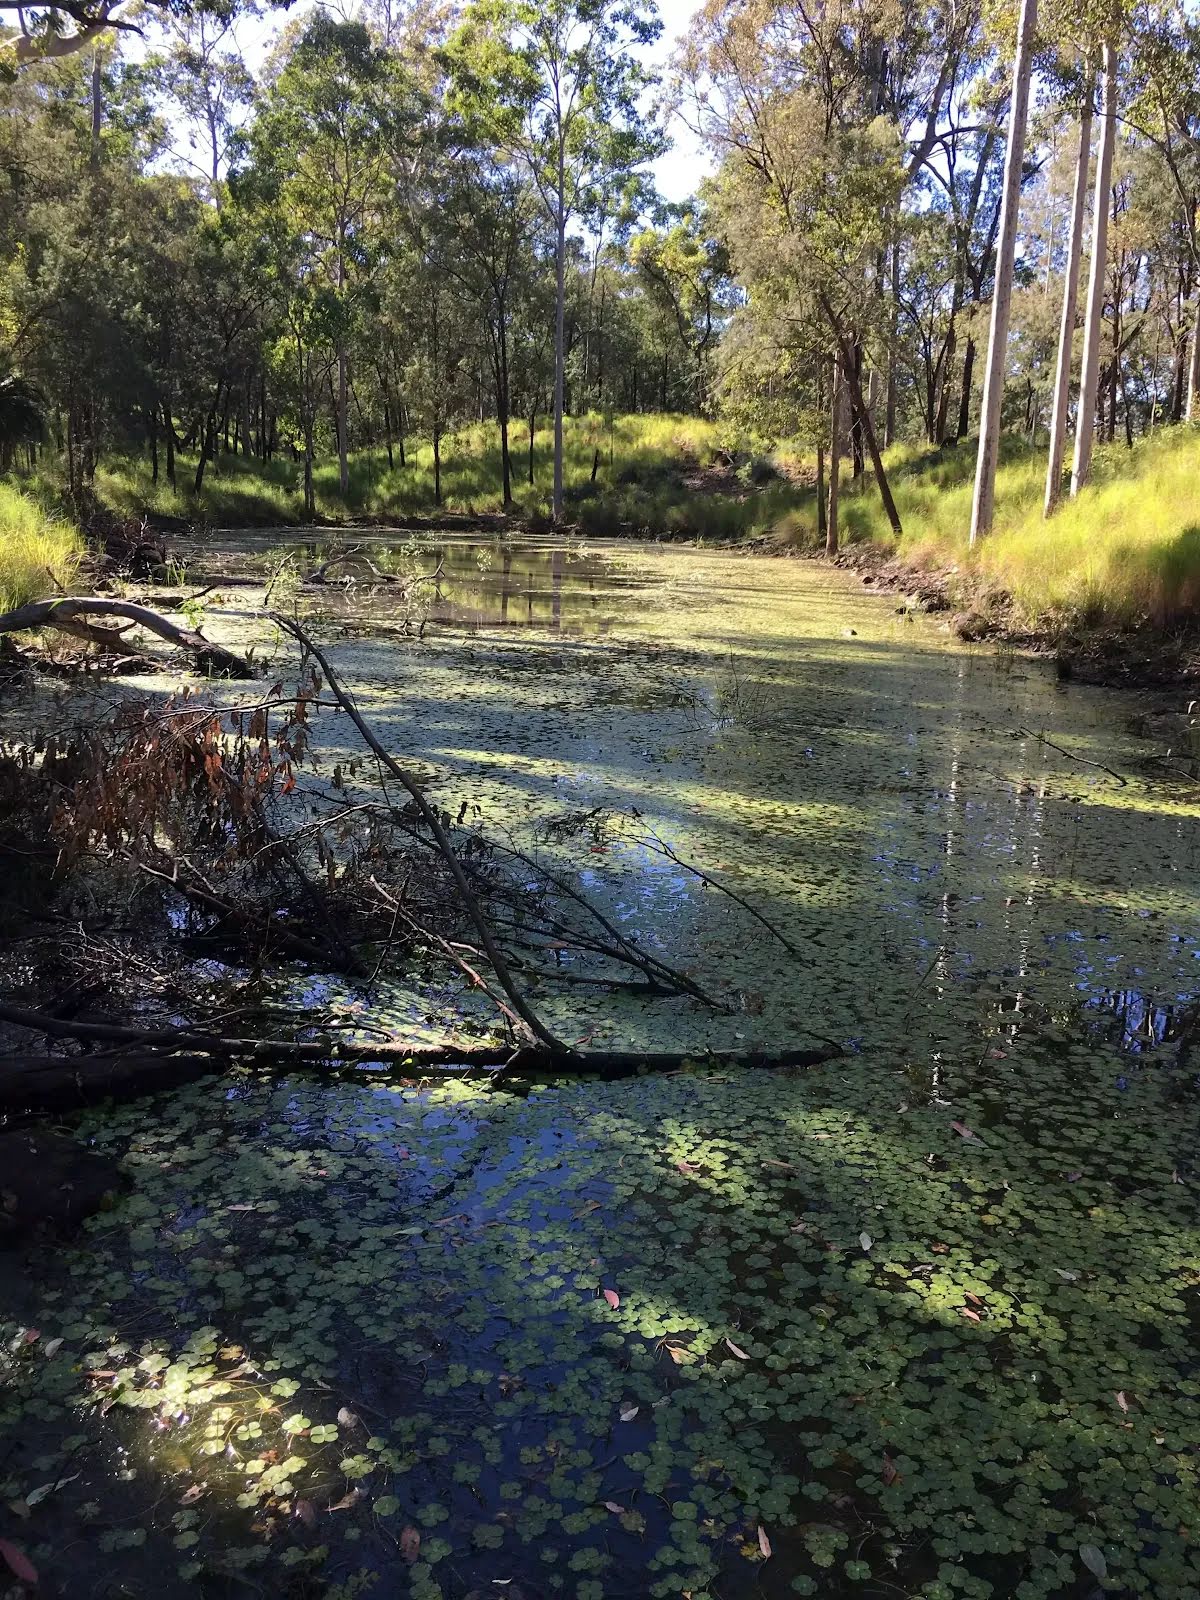
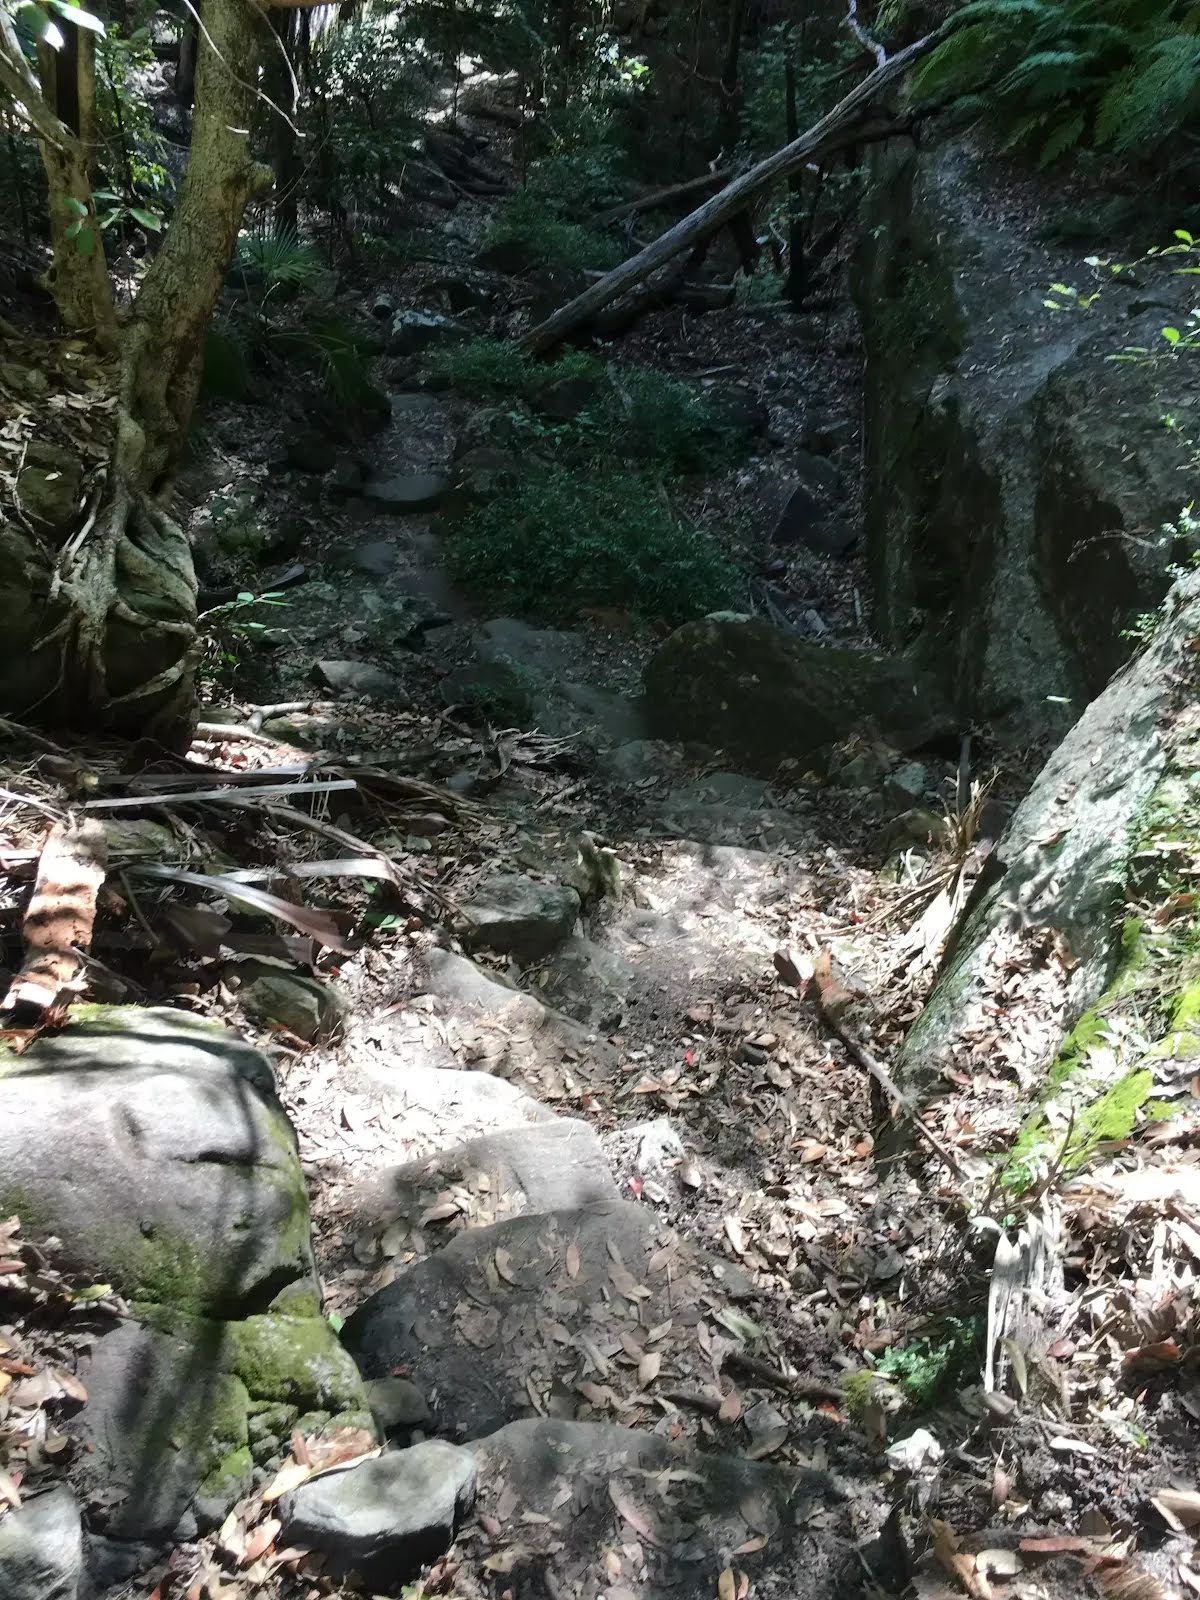
After another 15 m (at the intersection of Nature Trail & Big Bend Walk) continue straight, to head along Big Bend Walk.
|
 |
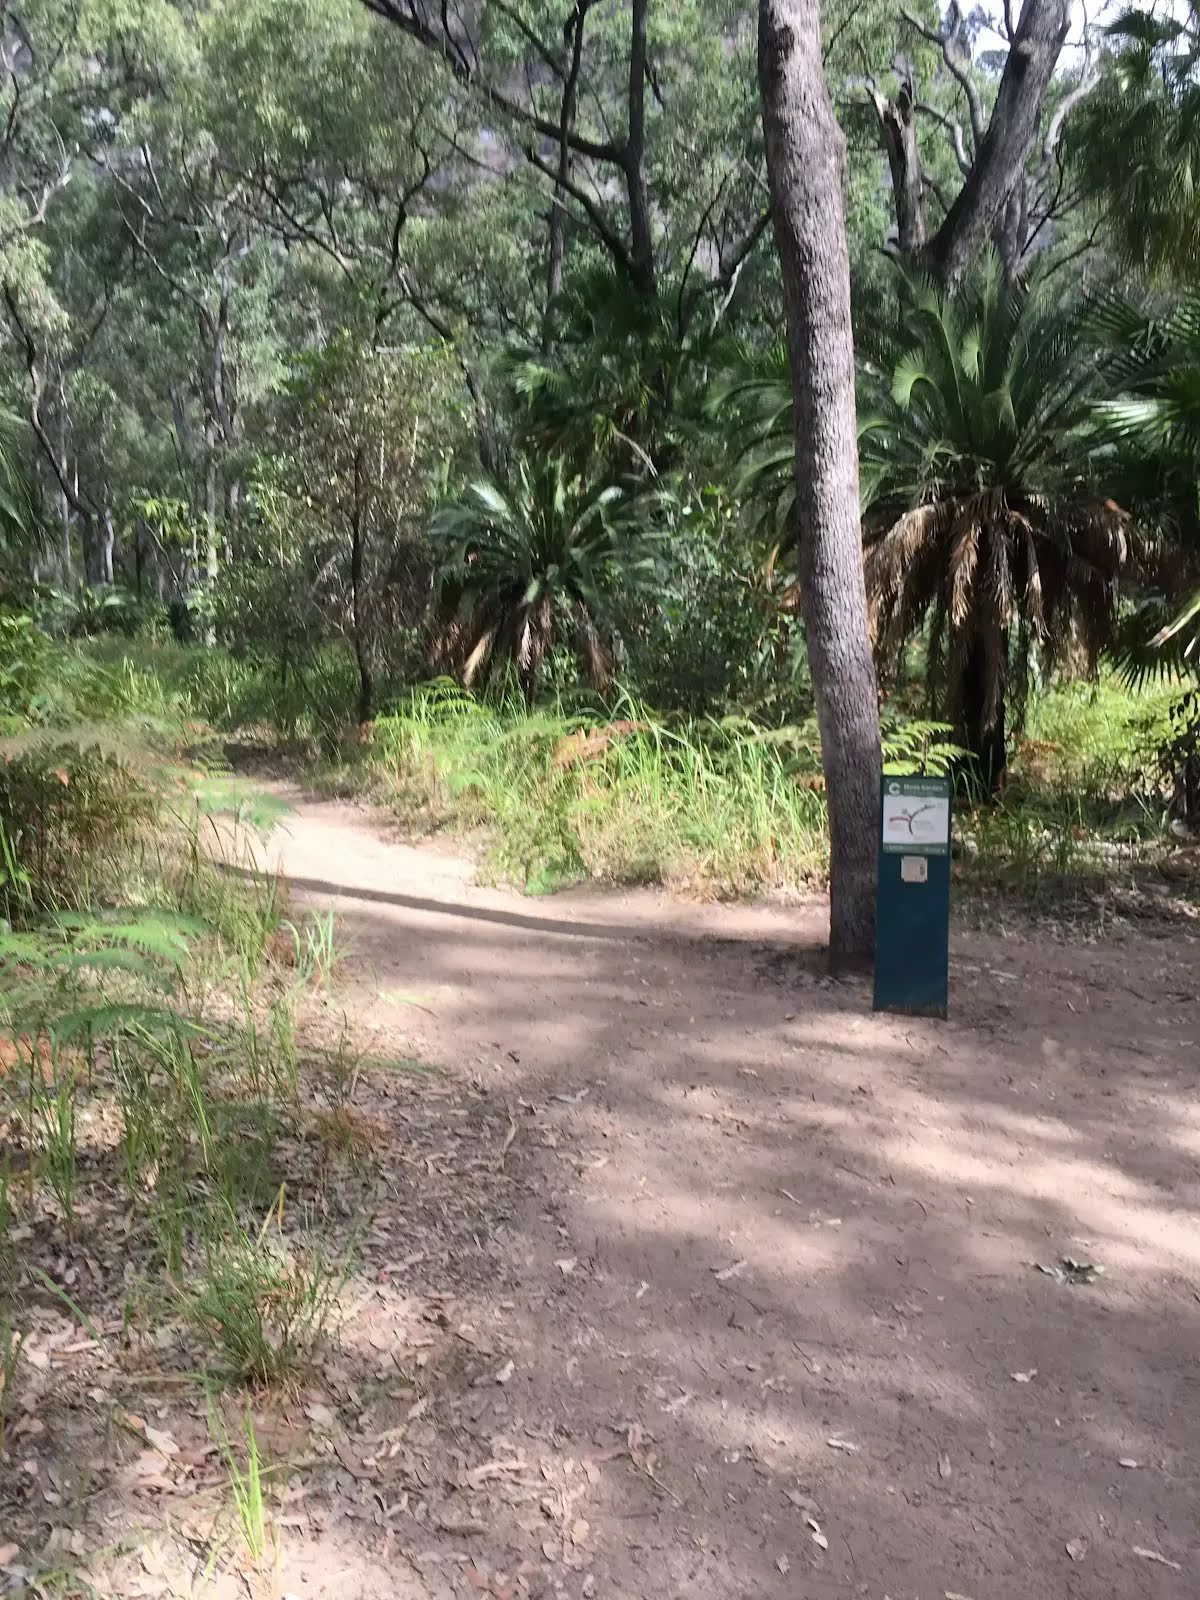
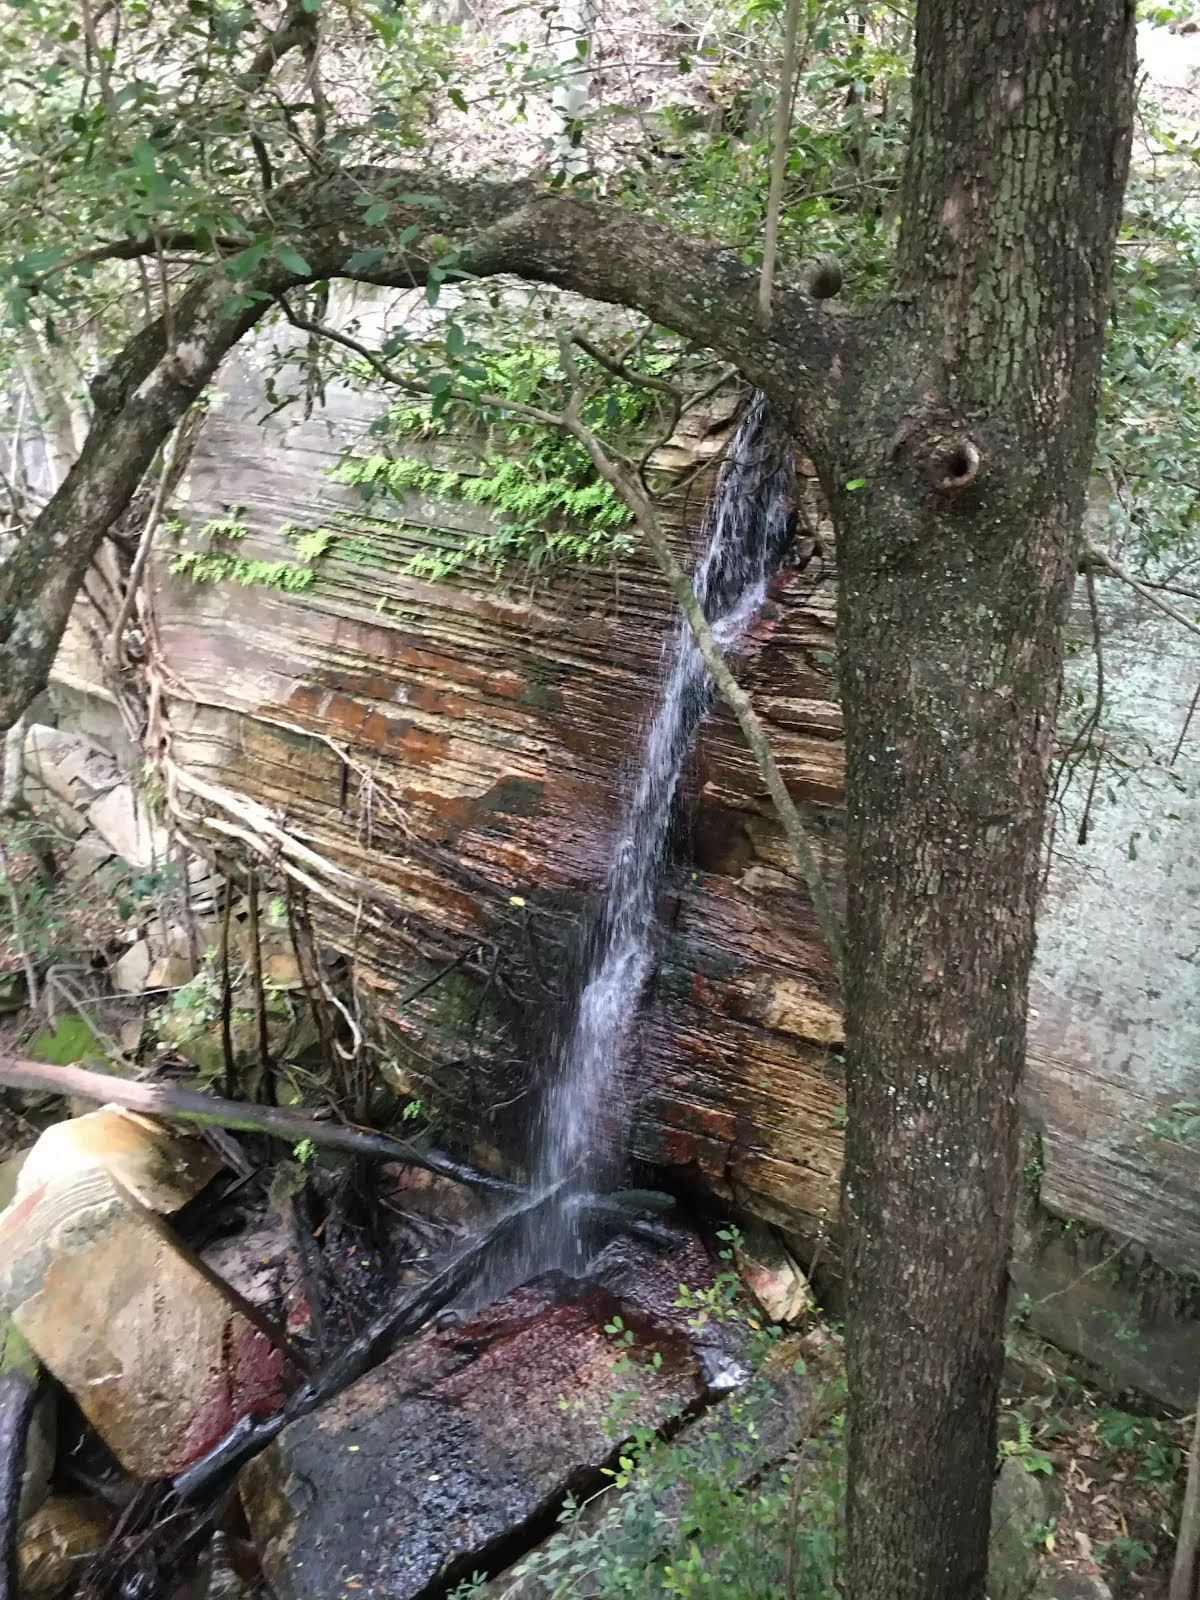
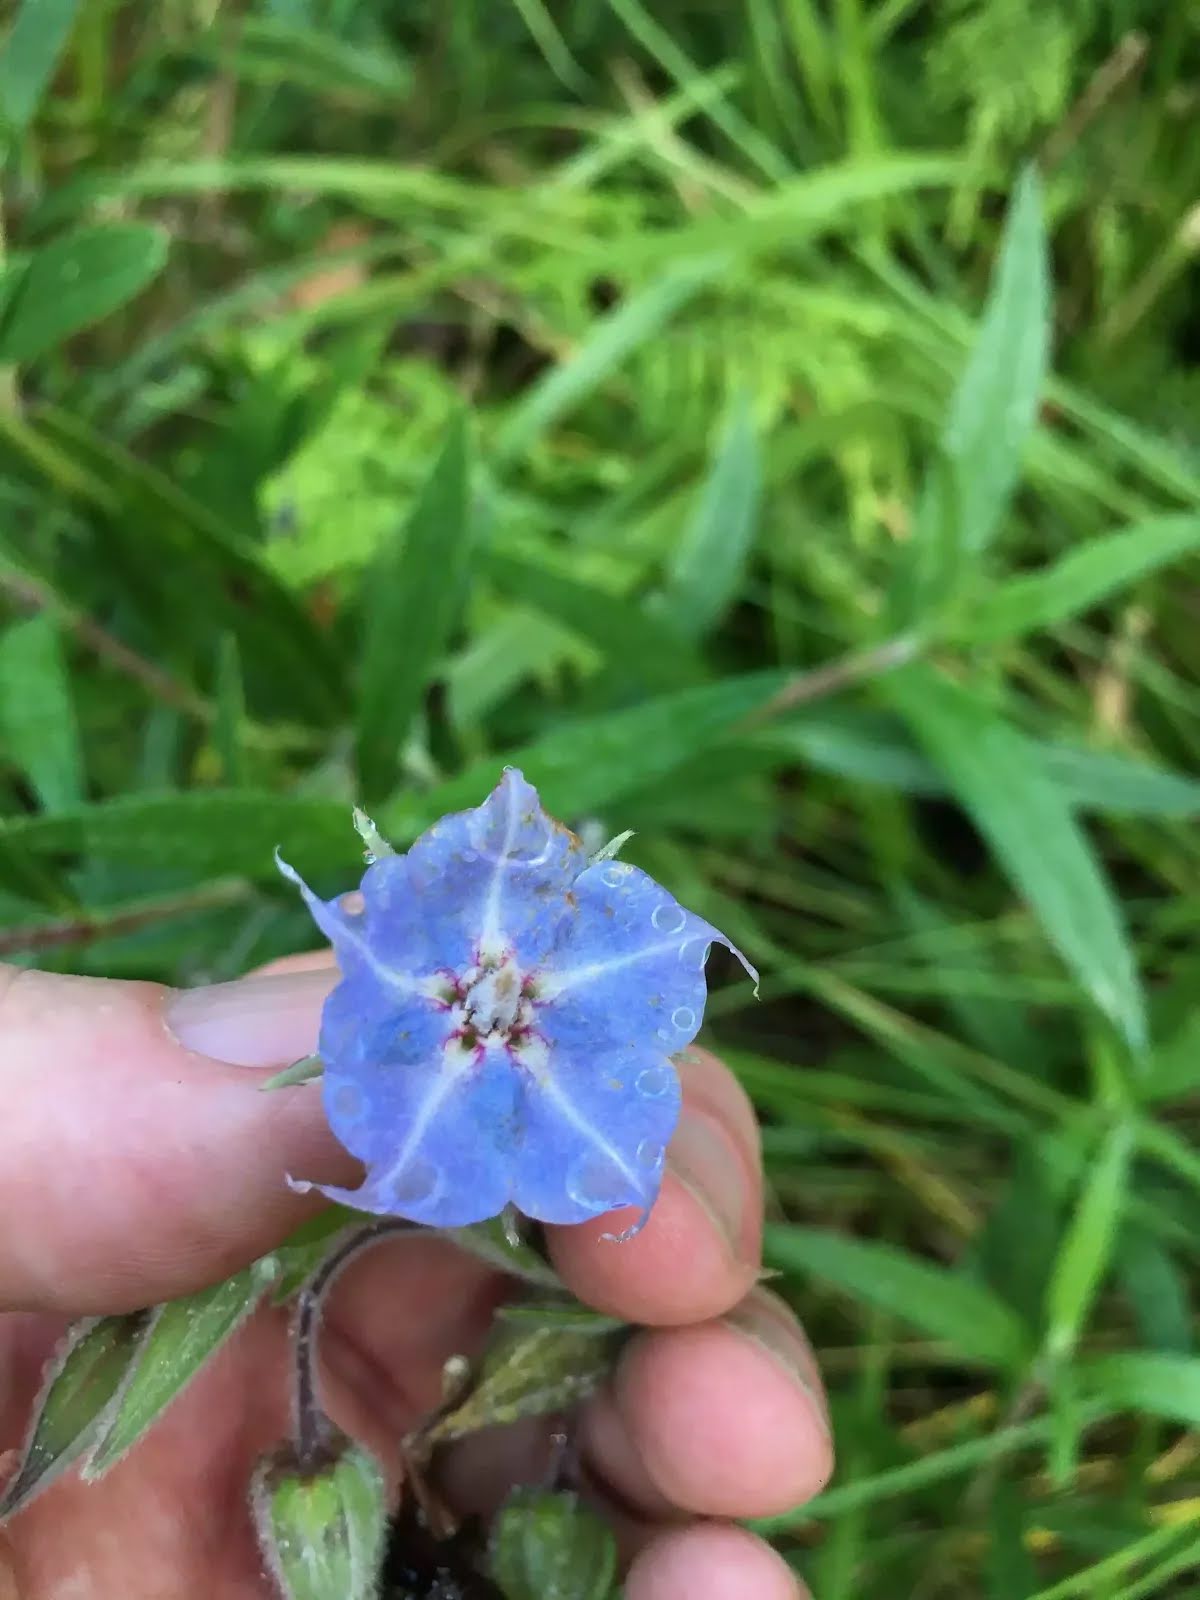
The starting point of an optional sidetrip. This optional side trip takes you to the Moss Garden, a place that has an incredibly peaceful and stunning scenery, along with a little waterfall to add to the serenity. To start this optional side trip veer left here. On returning from this side trip veer left when you get back to this intersection. Details below.
|
 |
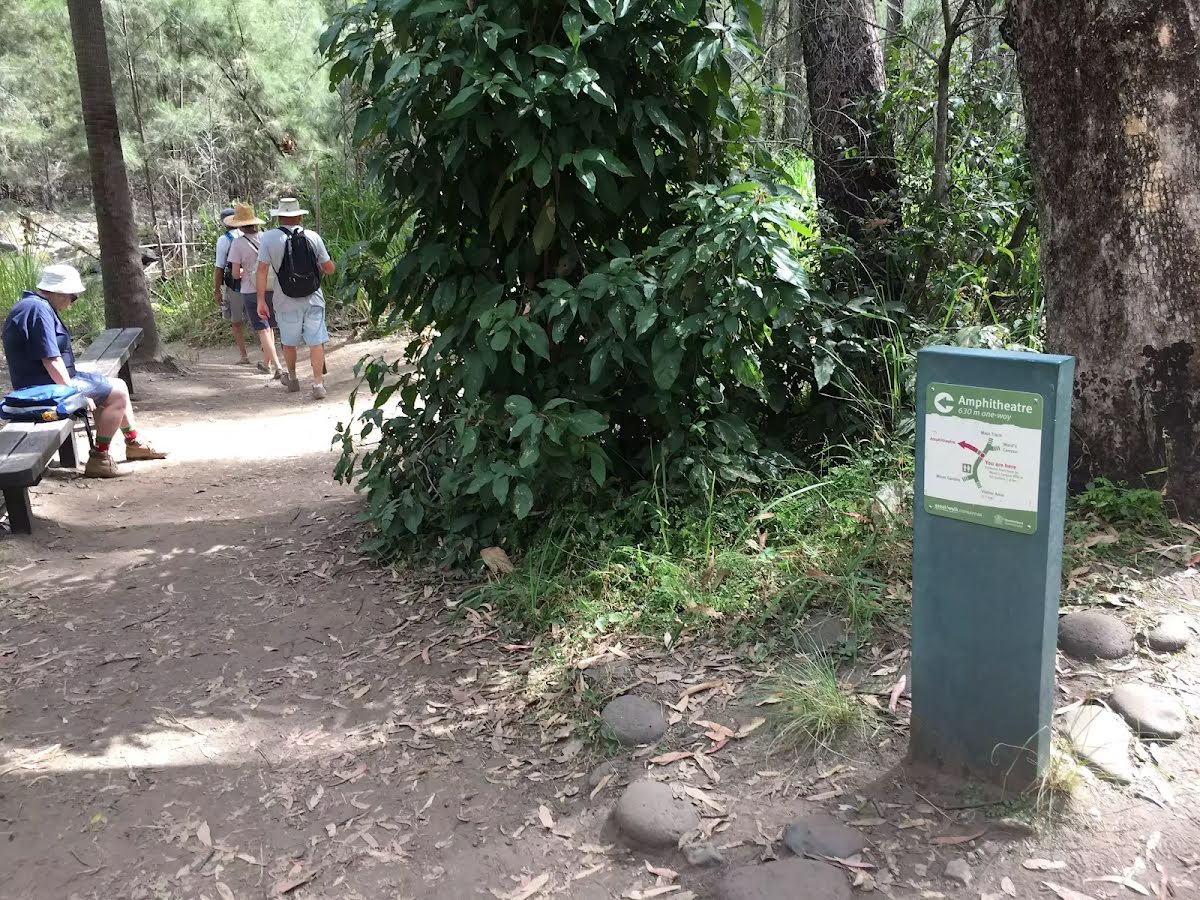
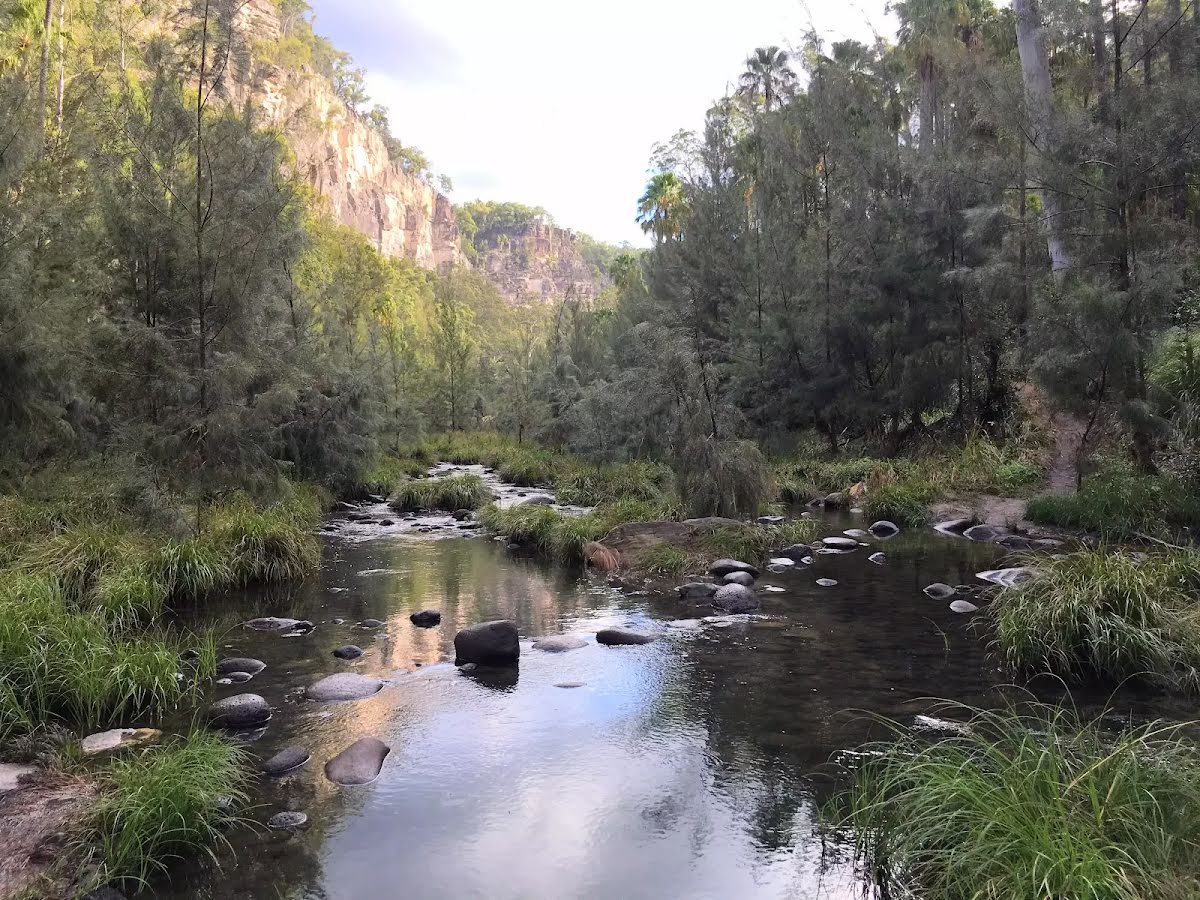
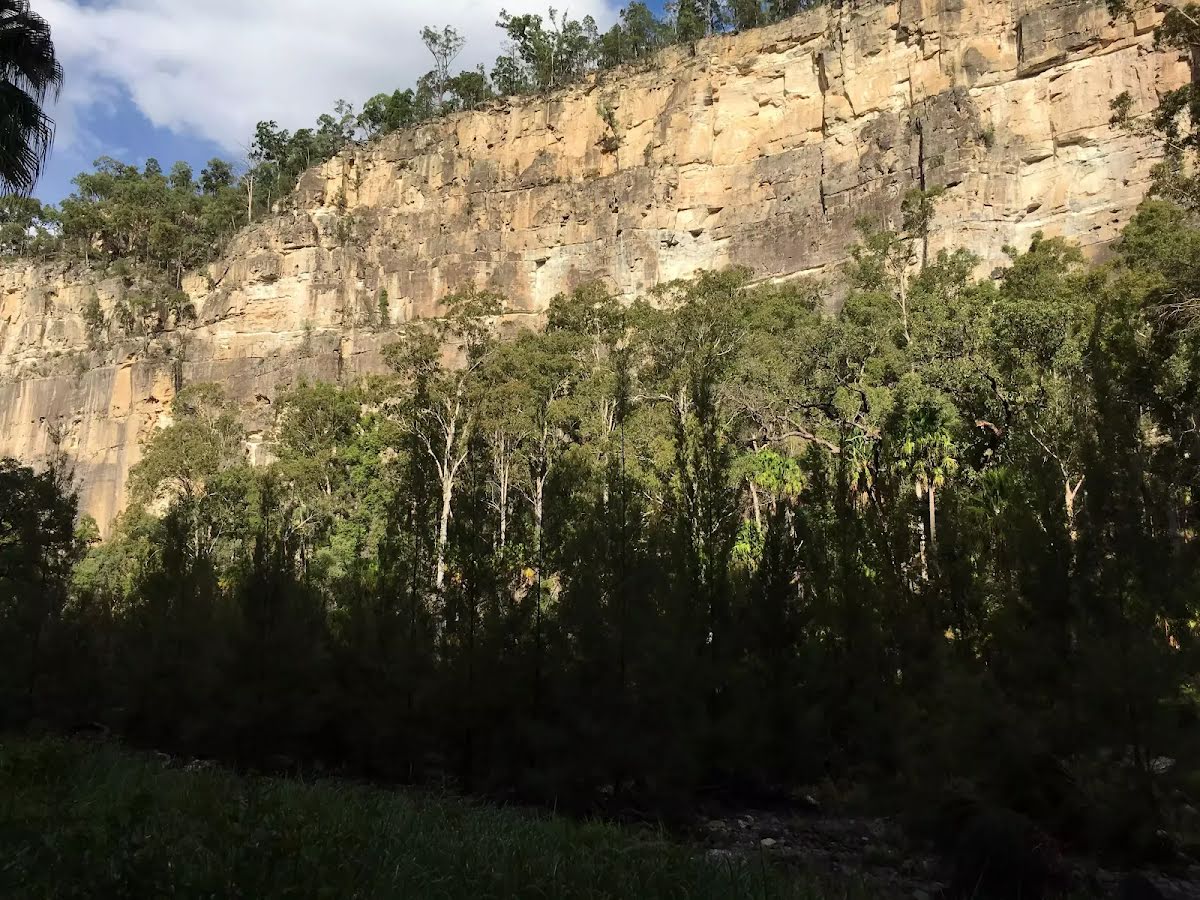
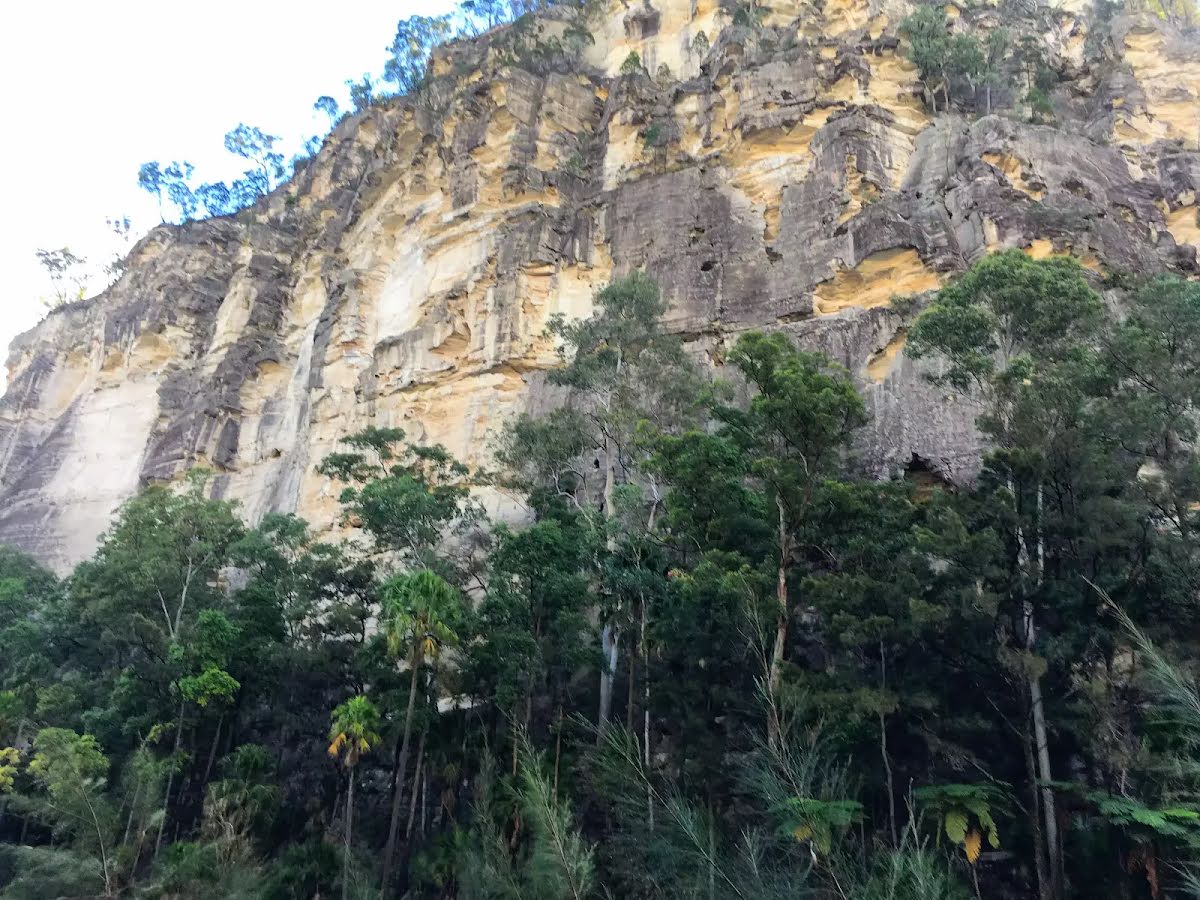
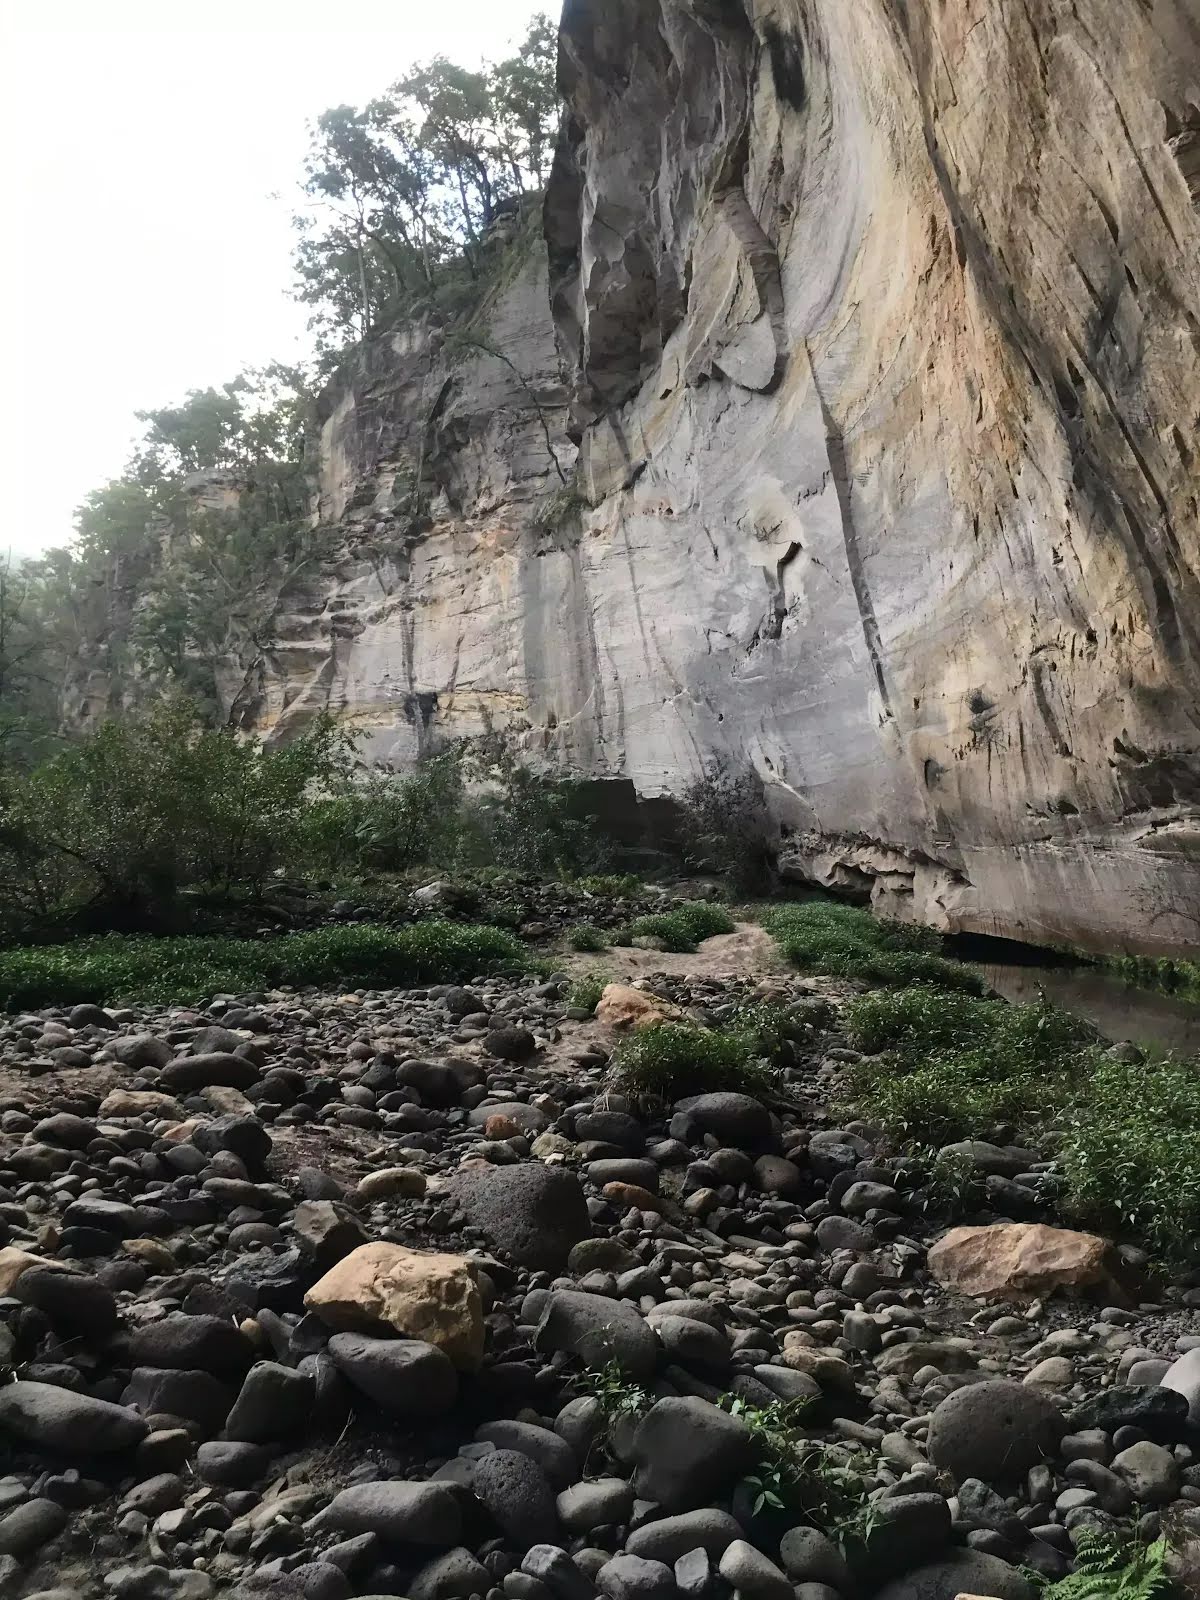
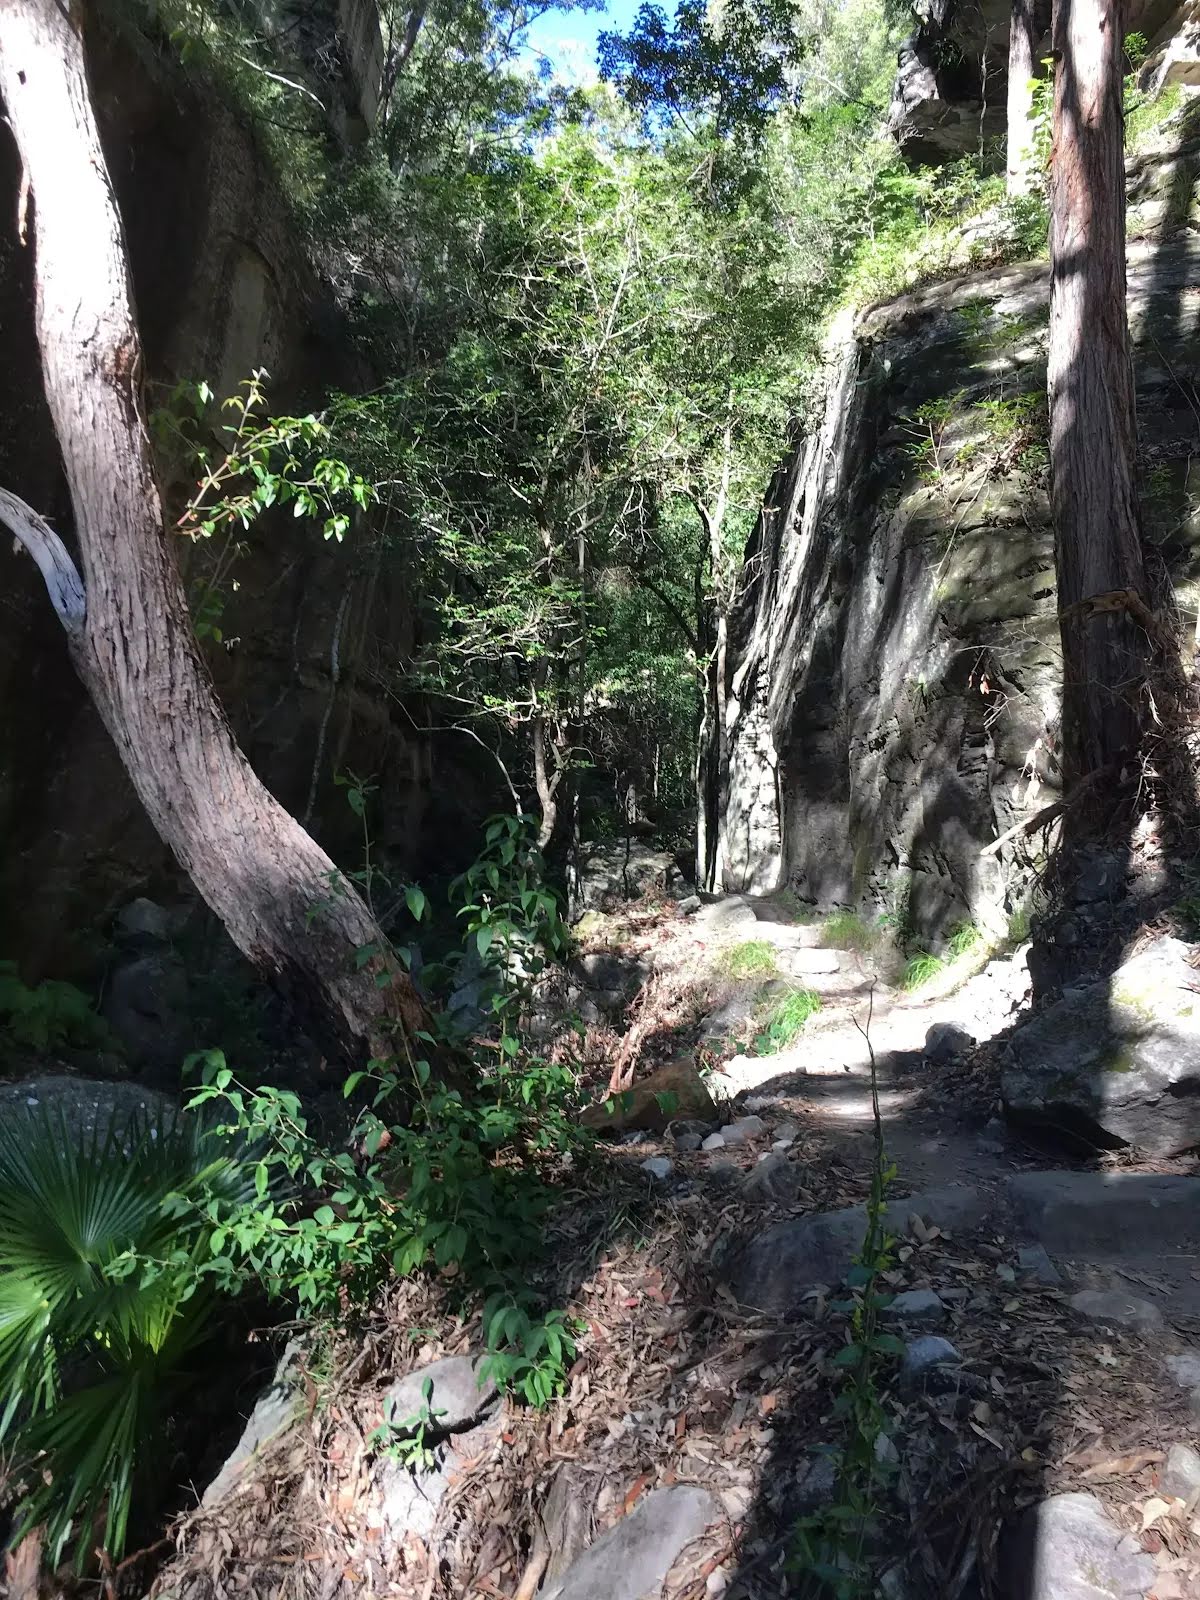
The starting point of an optional sidetrip. This optional side trip takes you to the Amphitheatre. 60 metres deep, this acoustic rock formation presents a unique audible experience. To start this optional side trip continue straight here. On returning from this side trip error >360 when you get back to this intersection. Details below.
|
 |
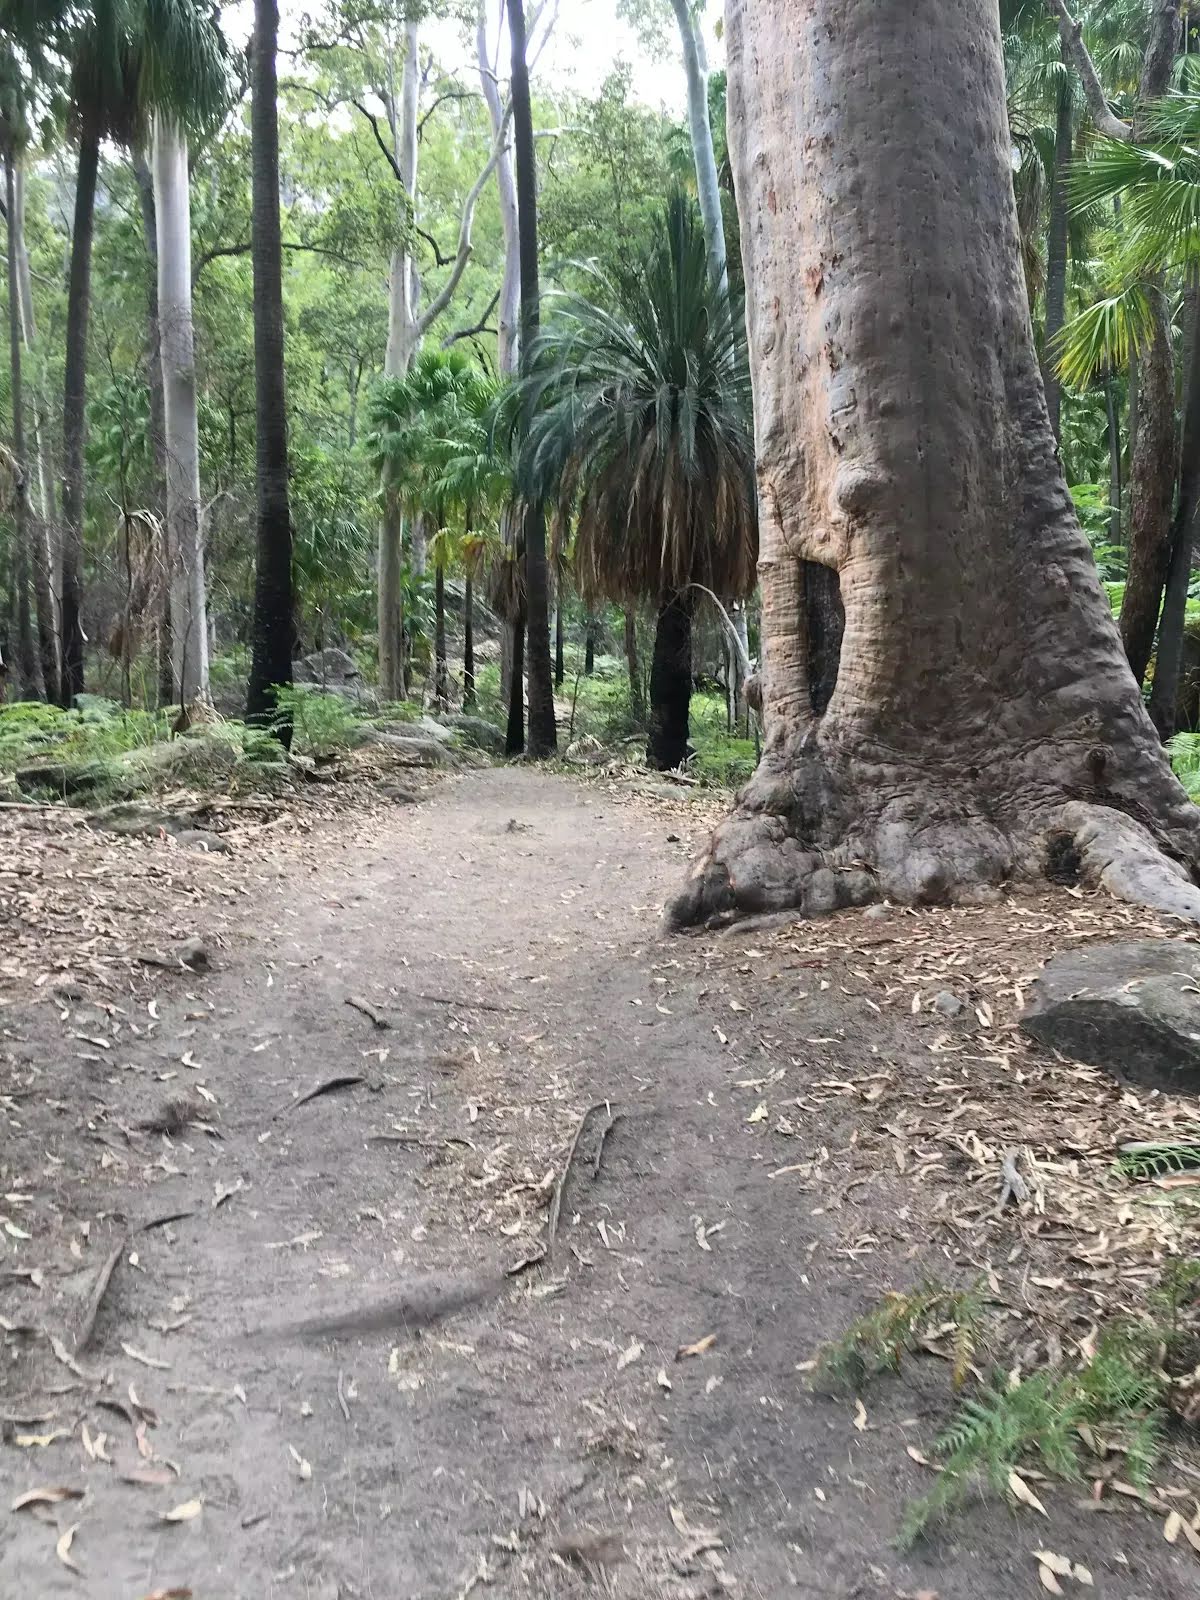
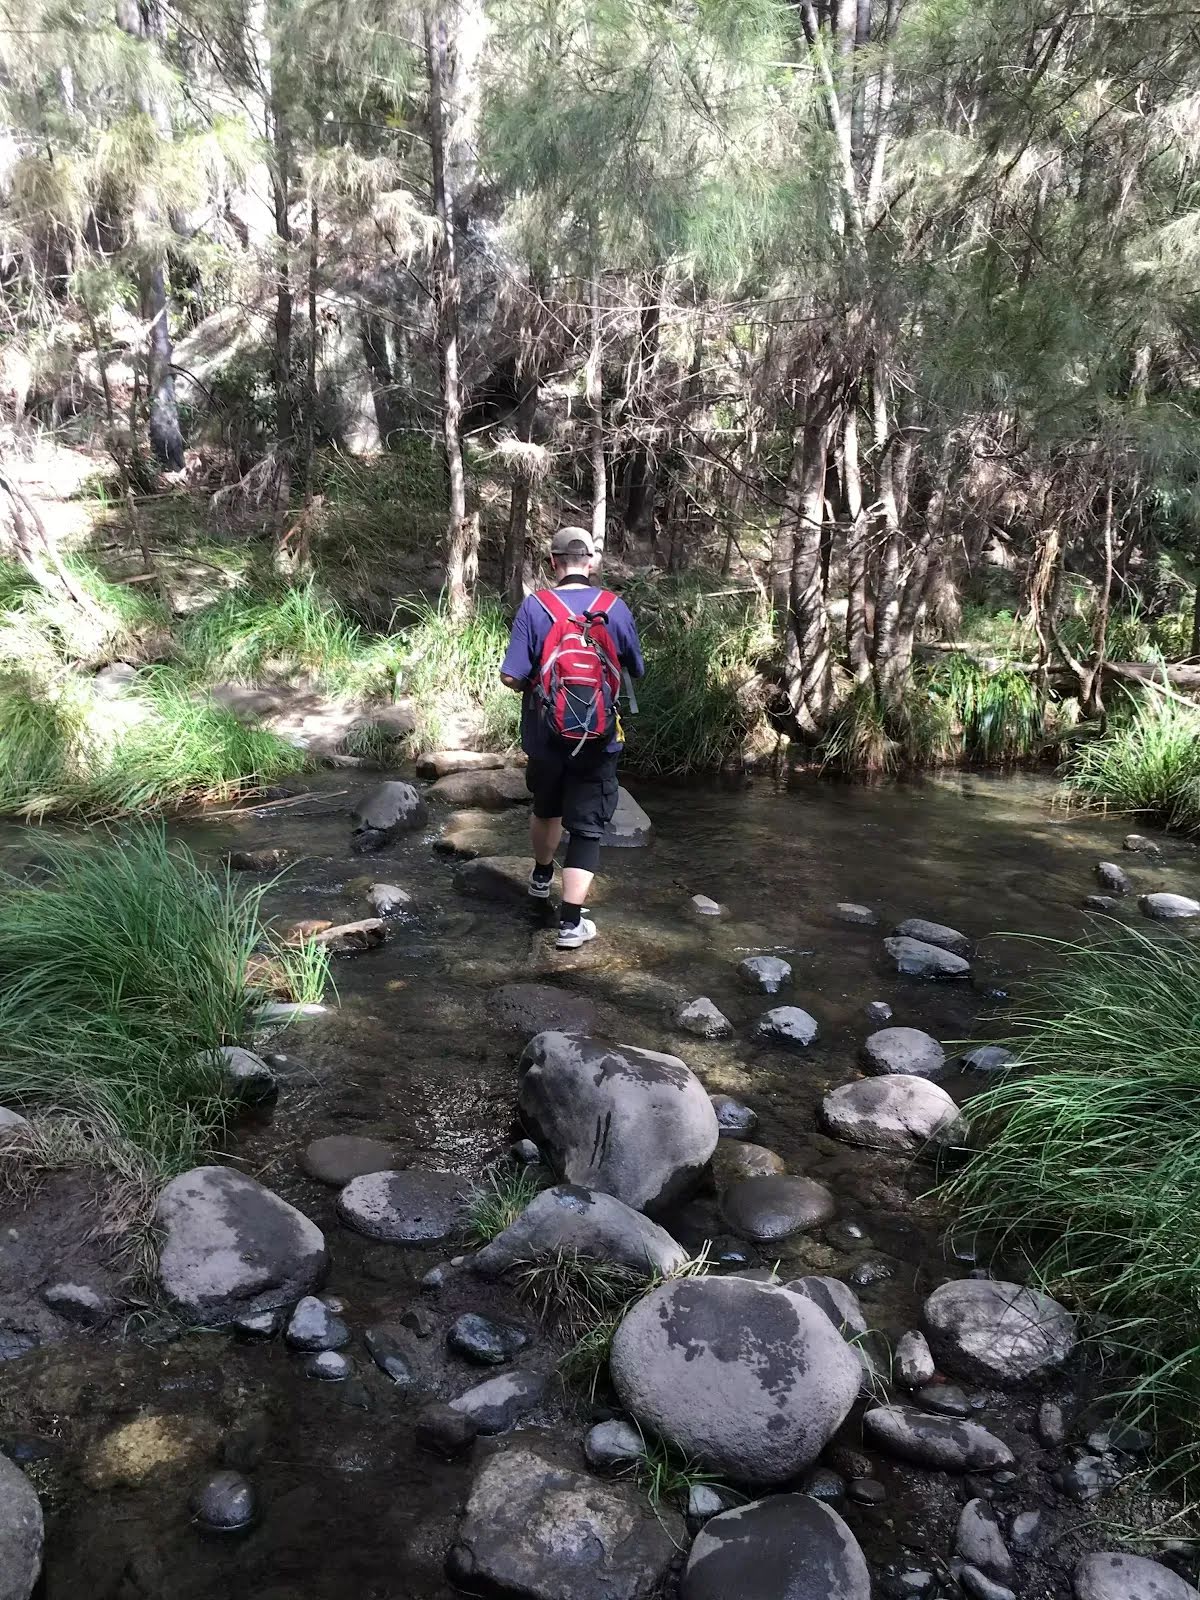
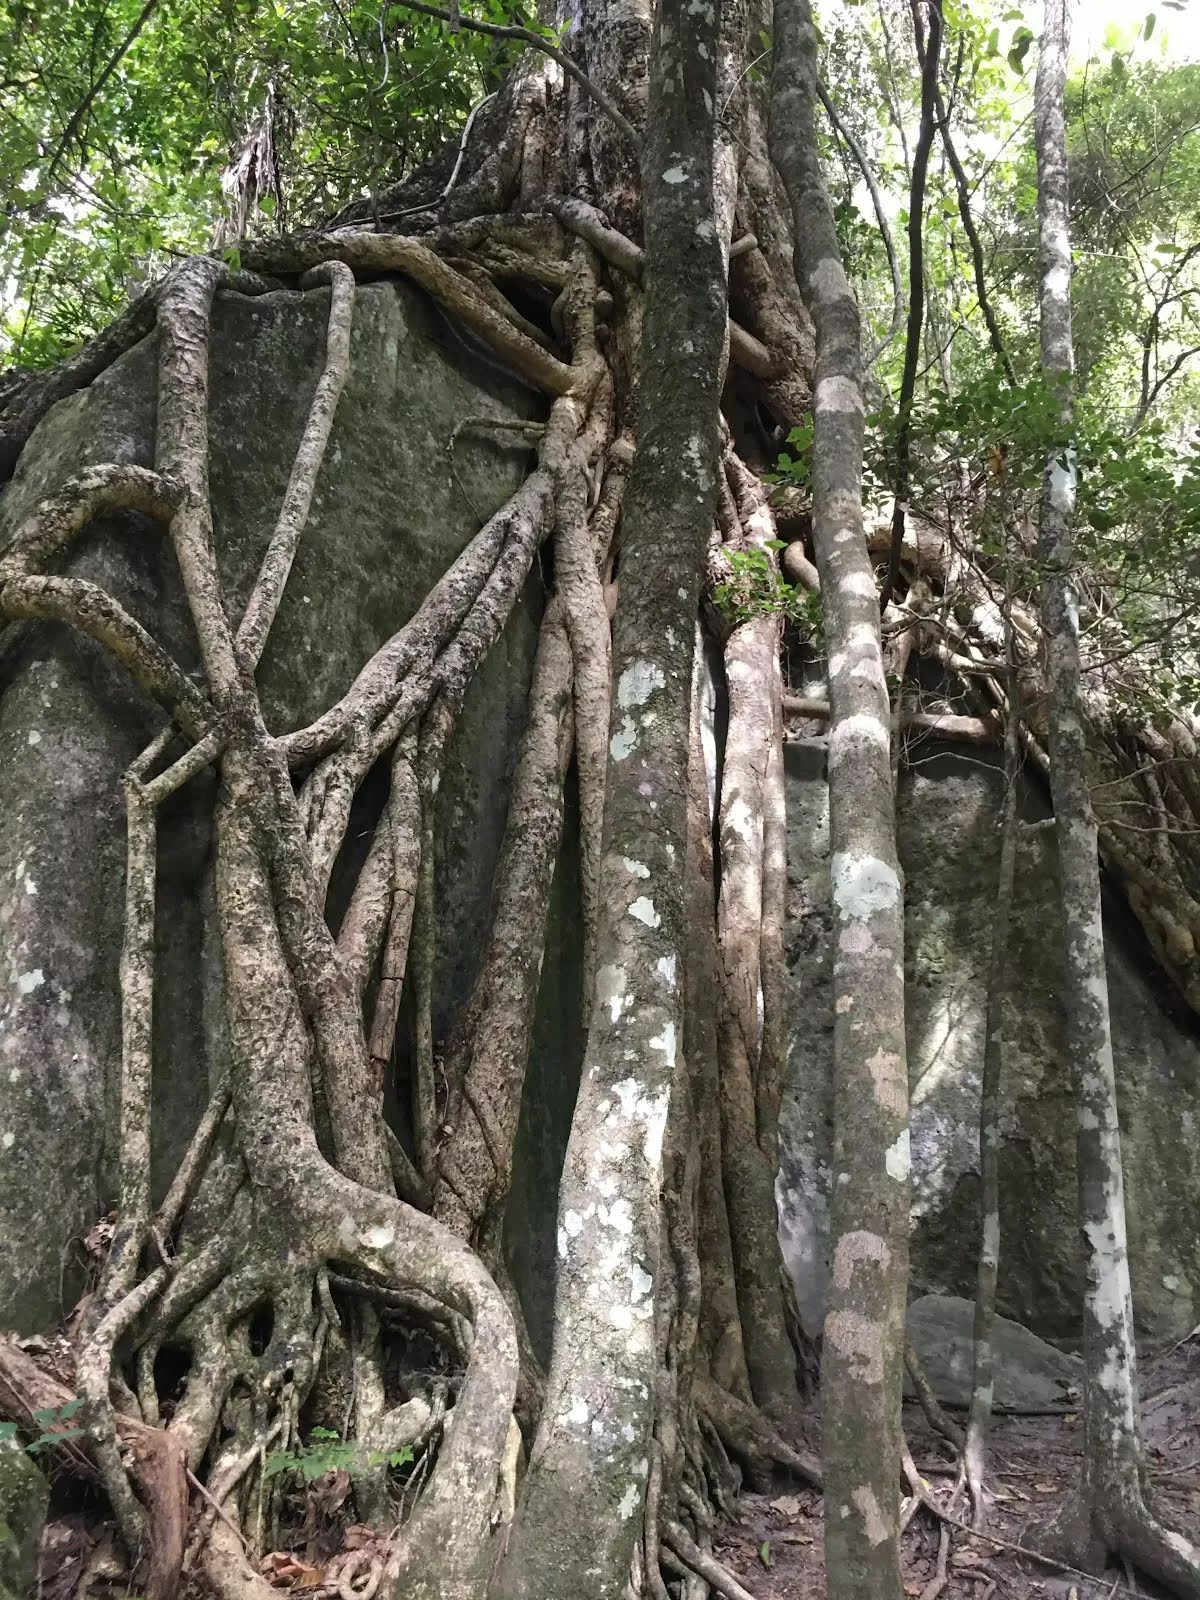
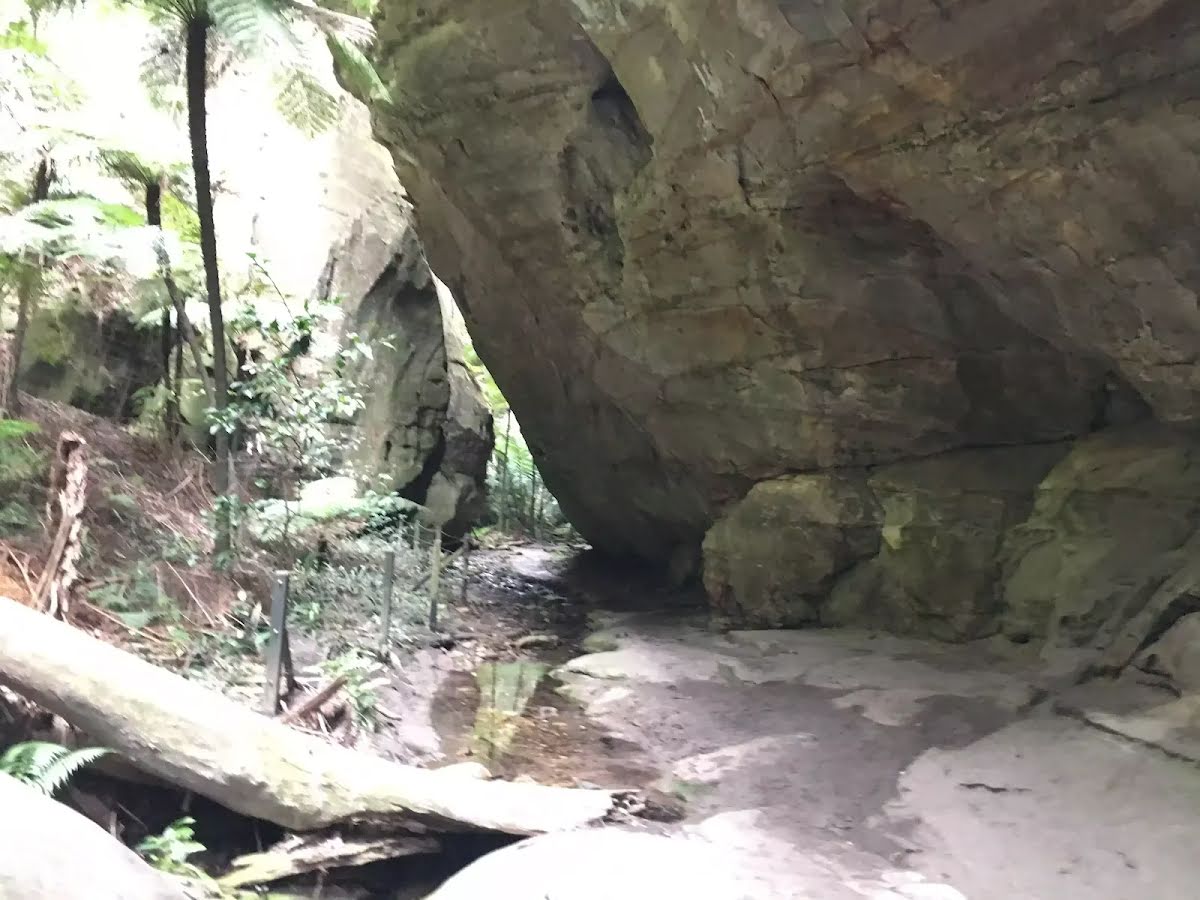
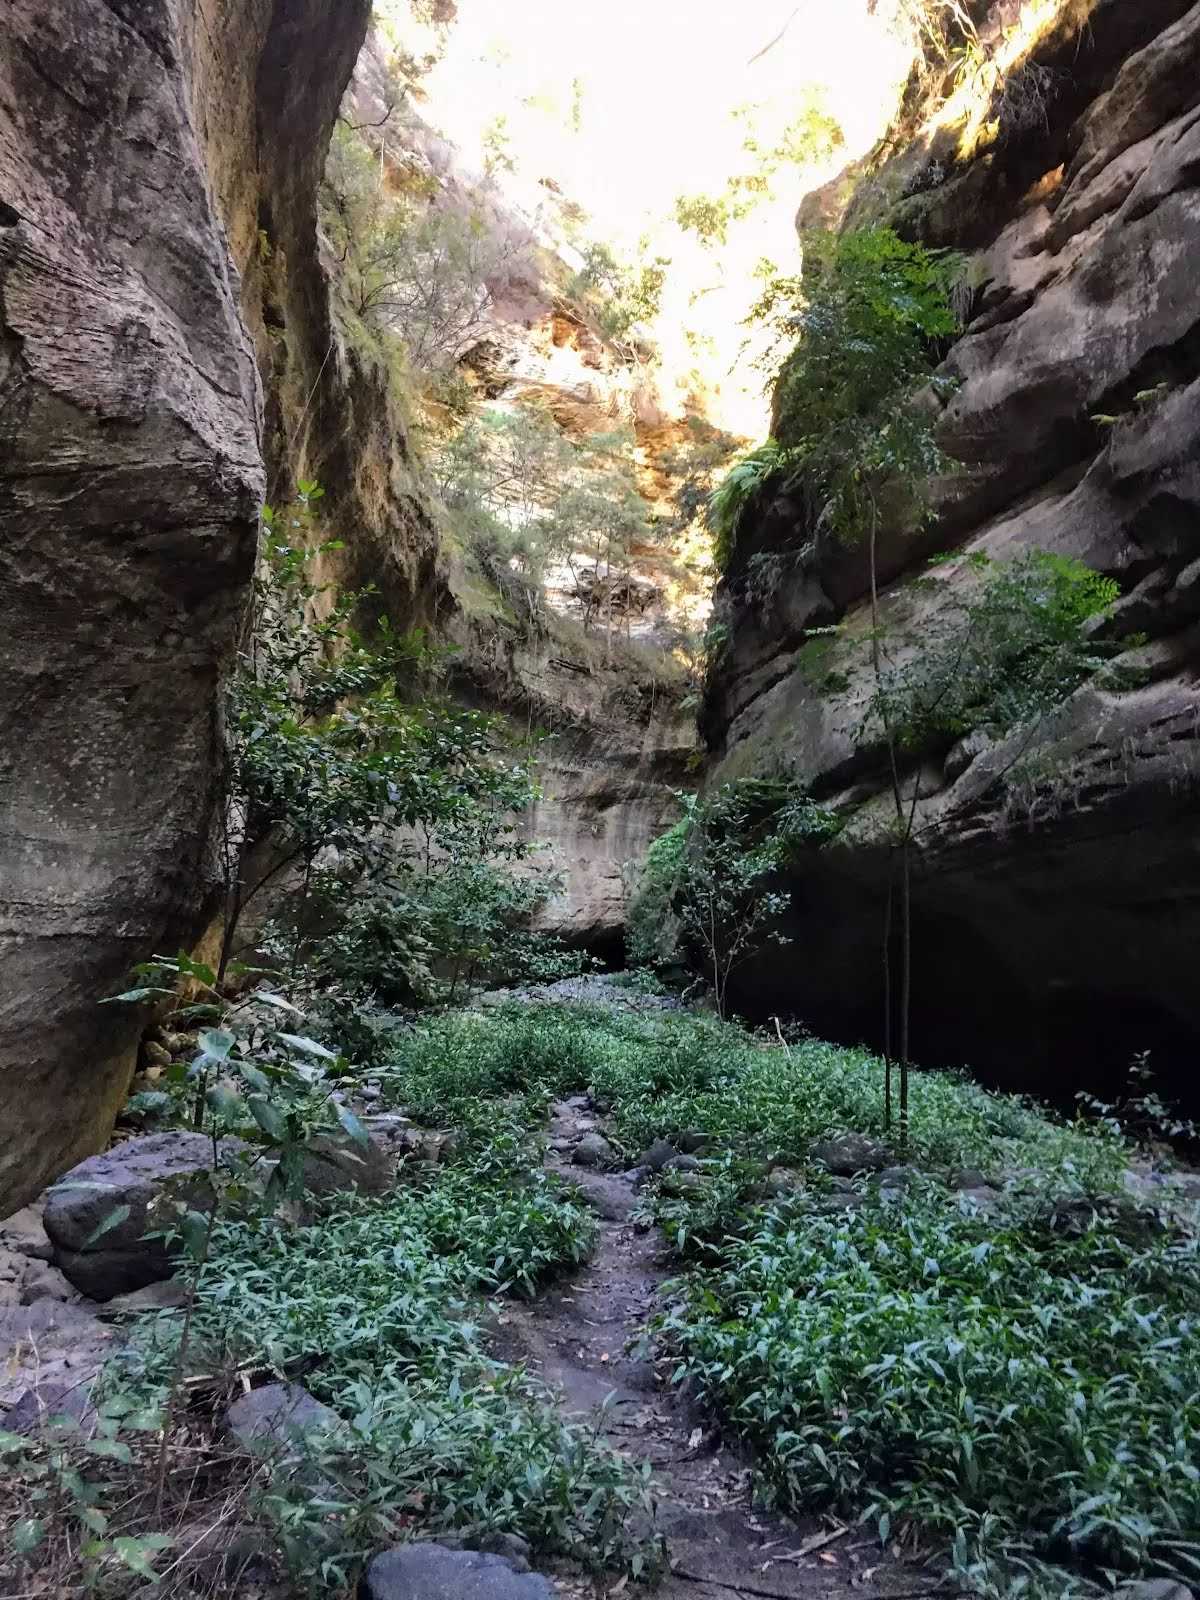
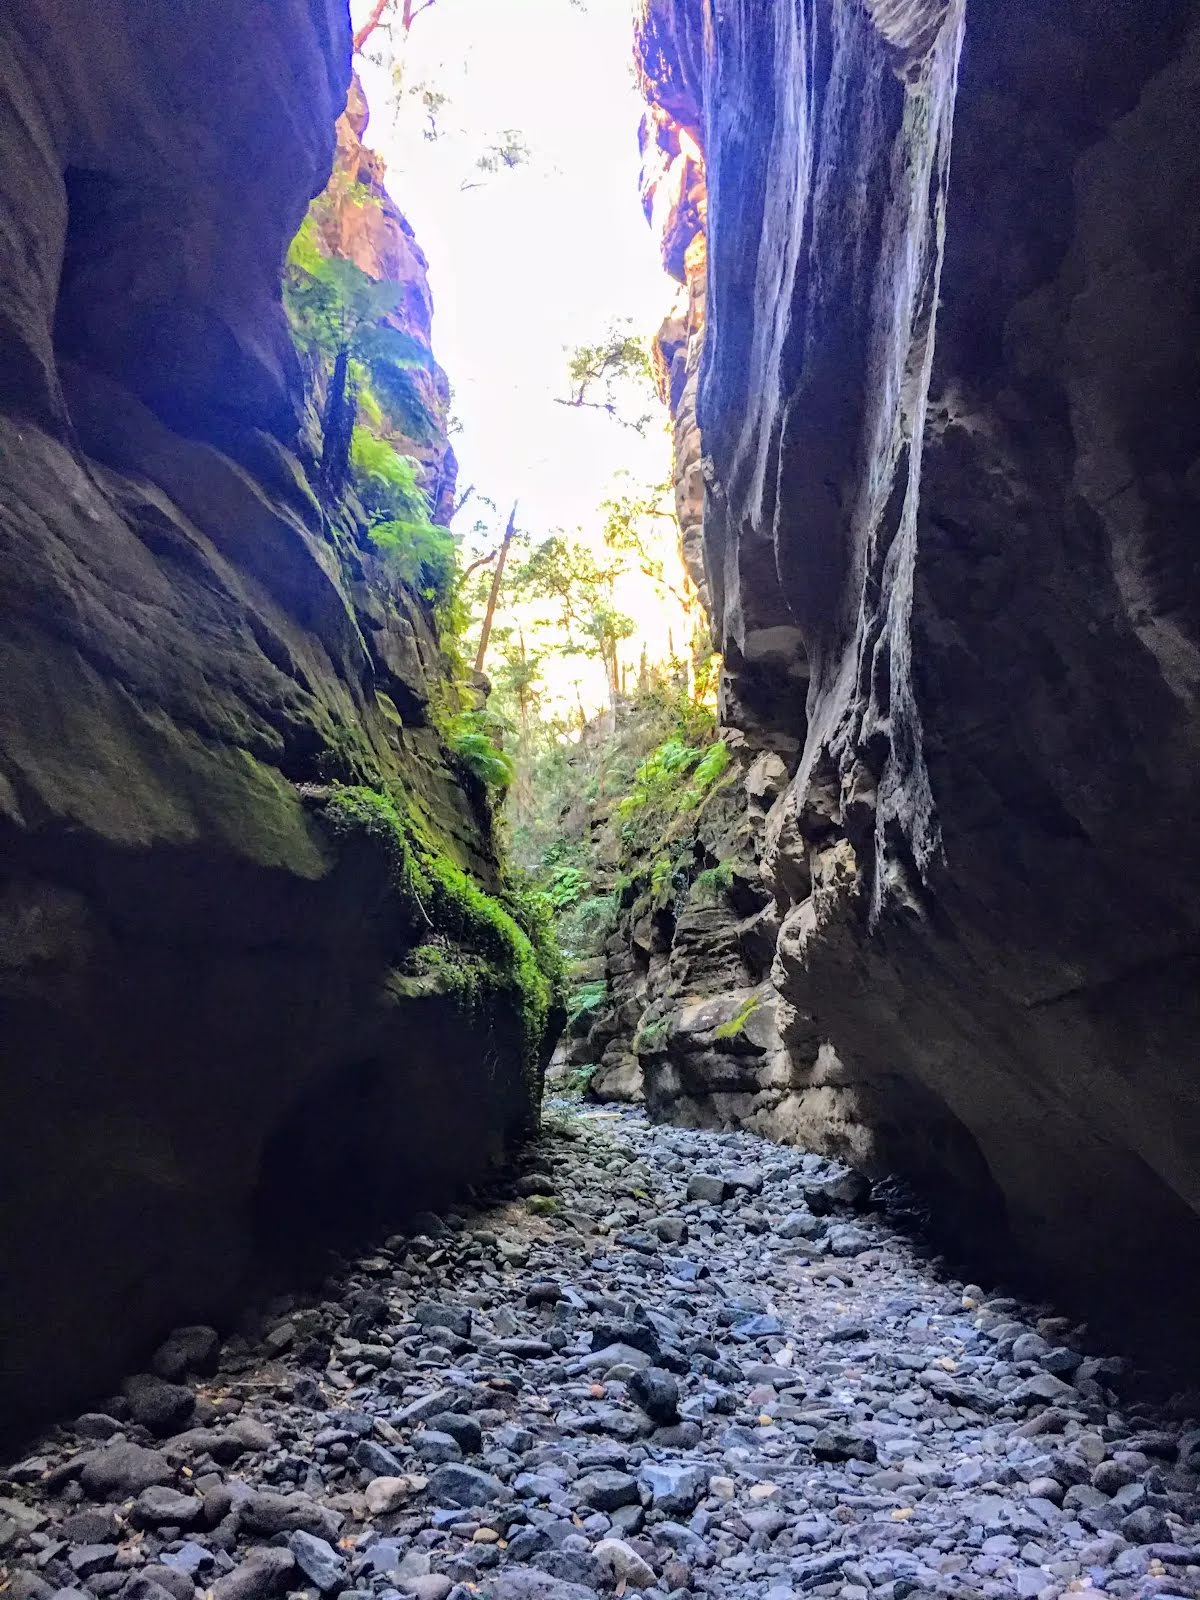
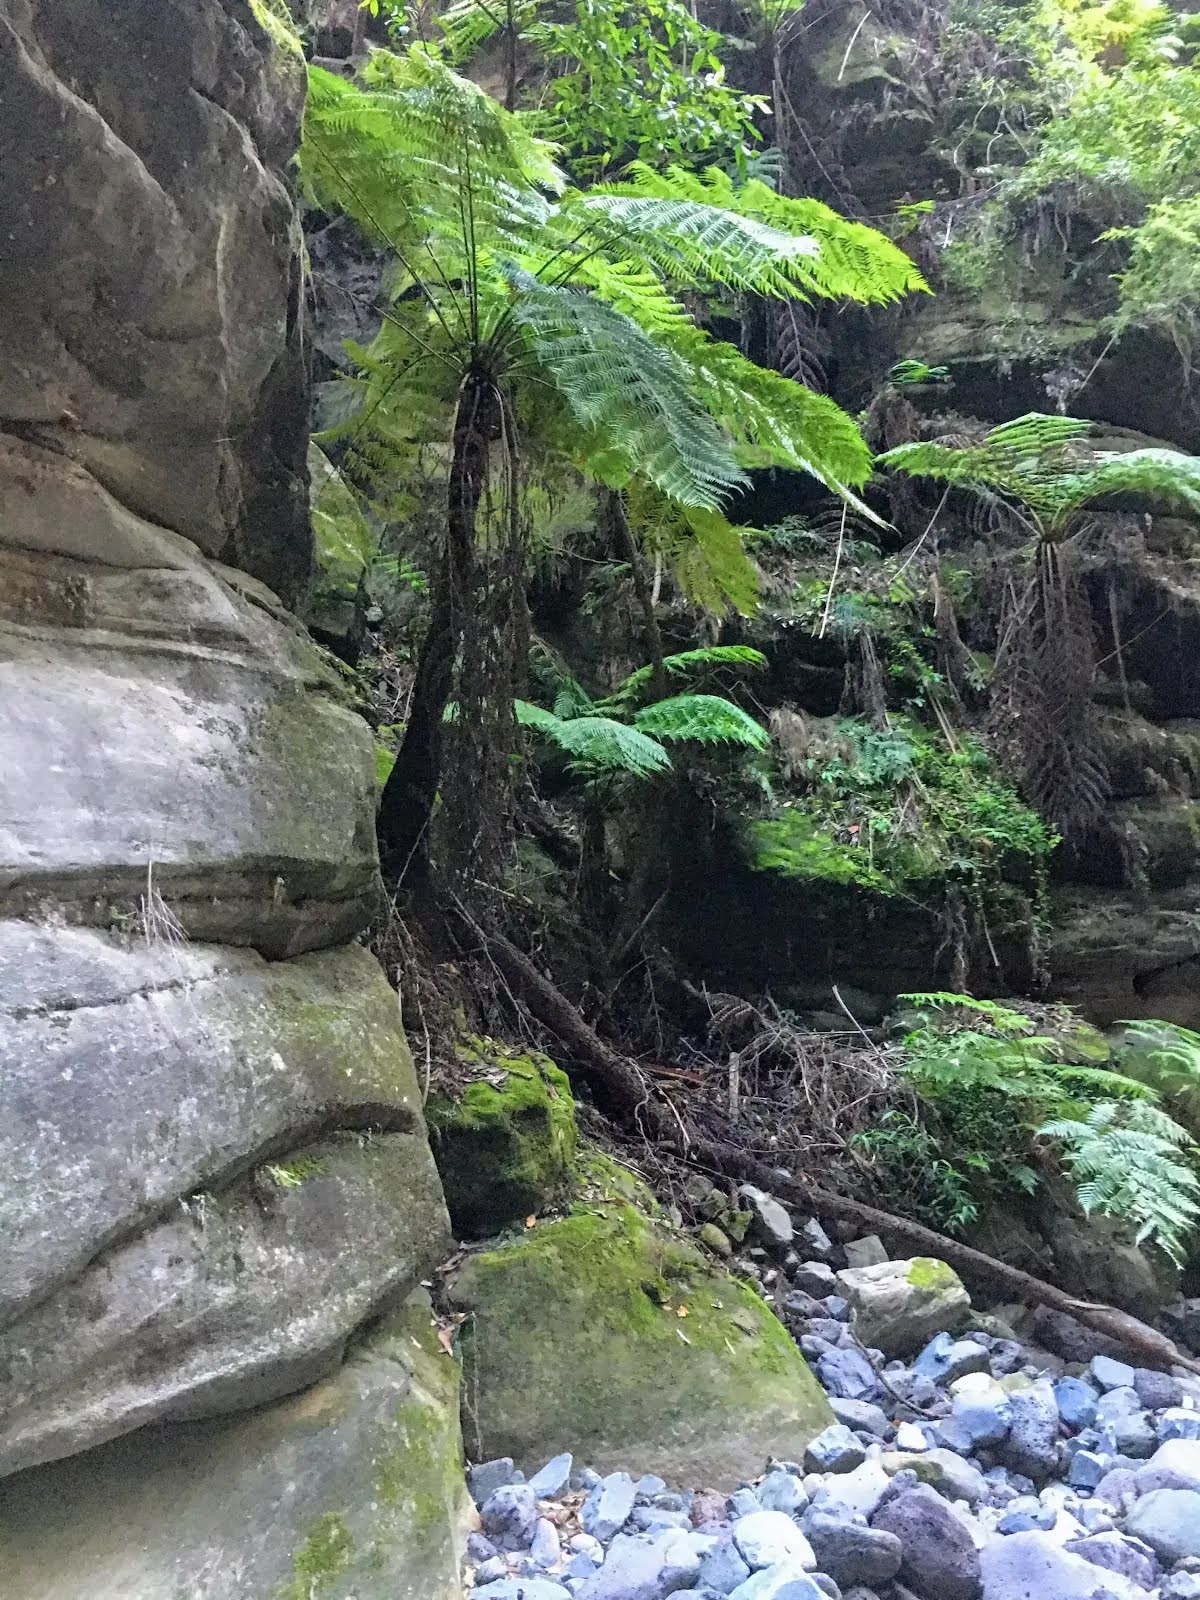
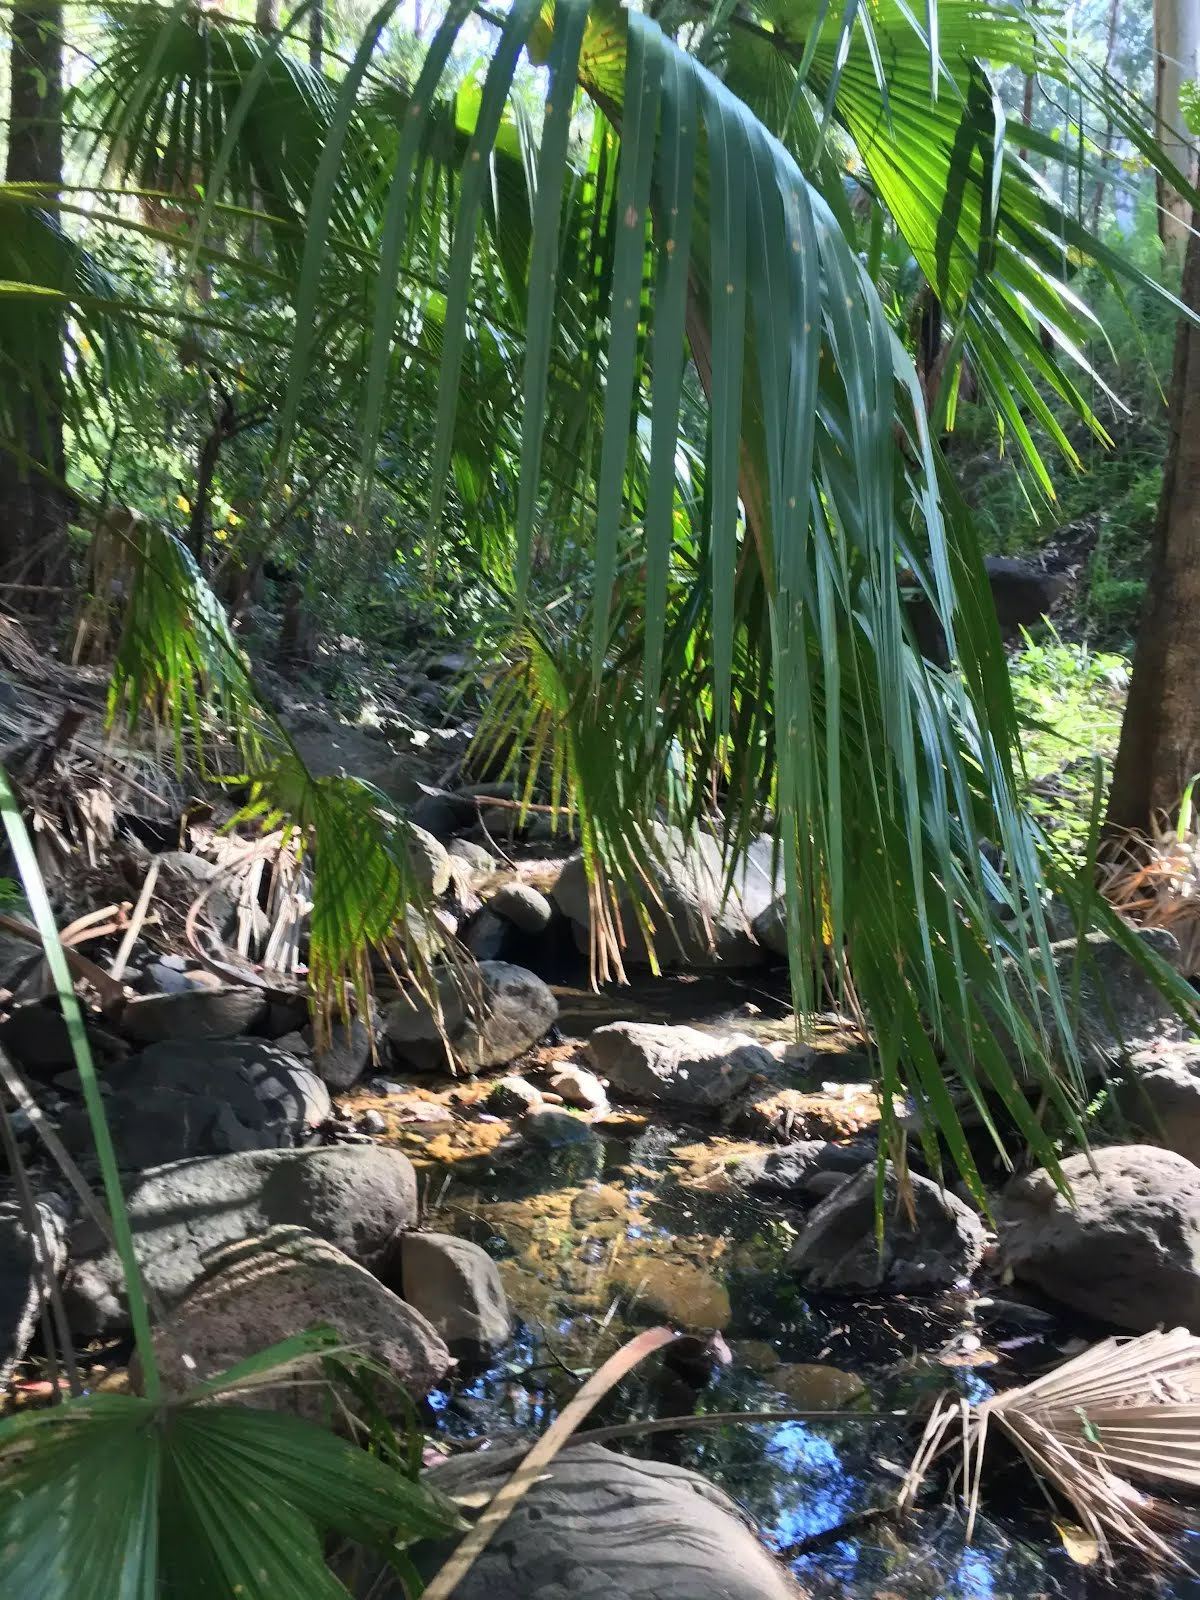
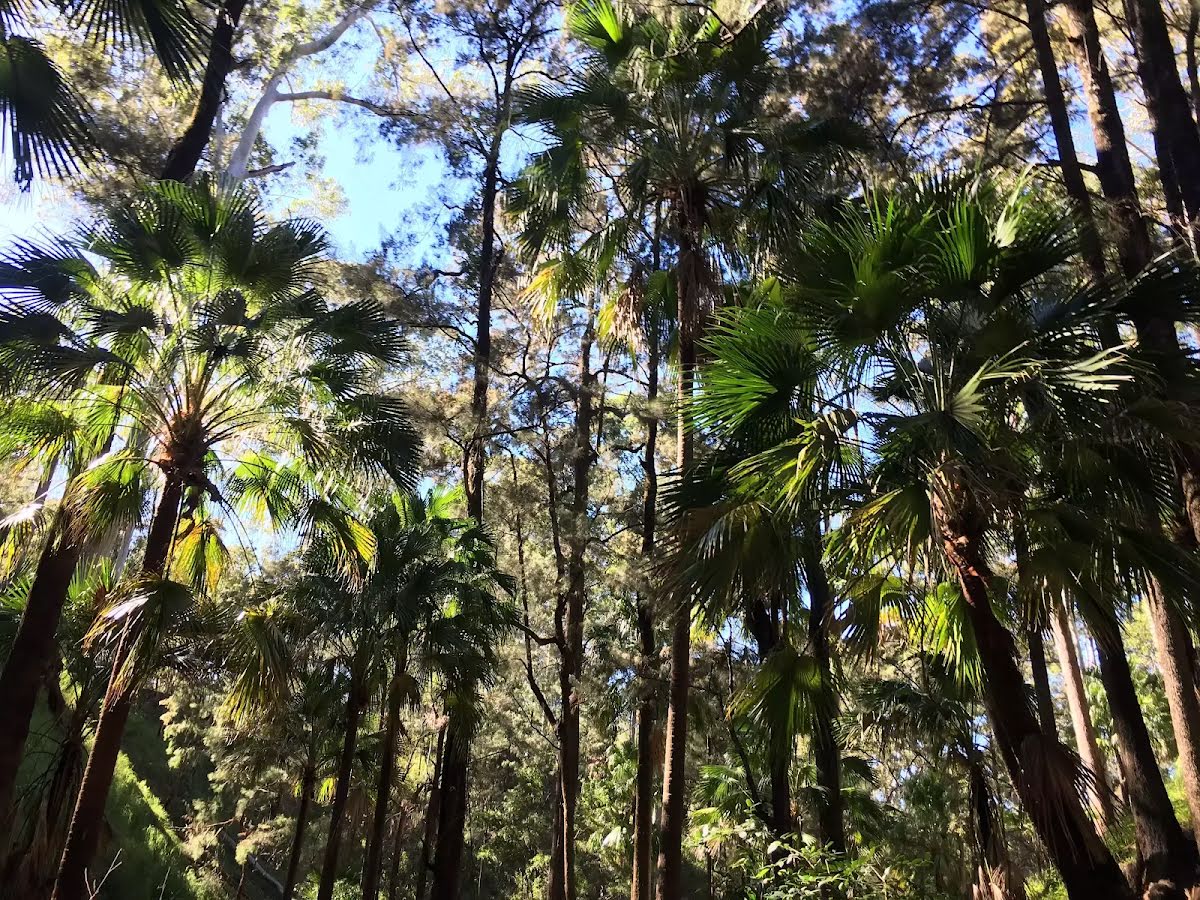
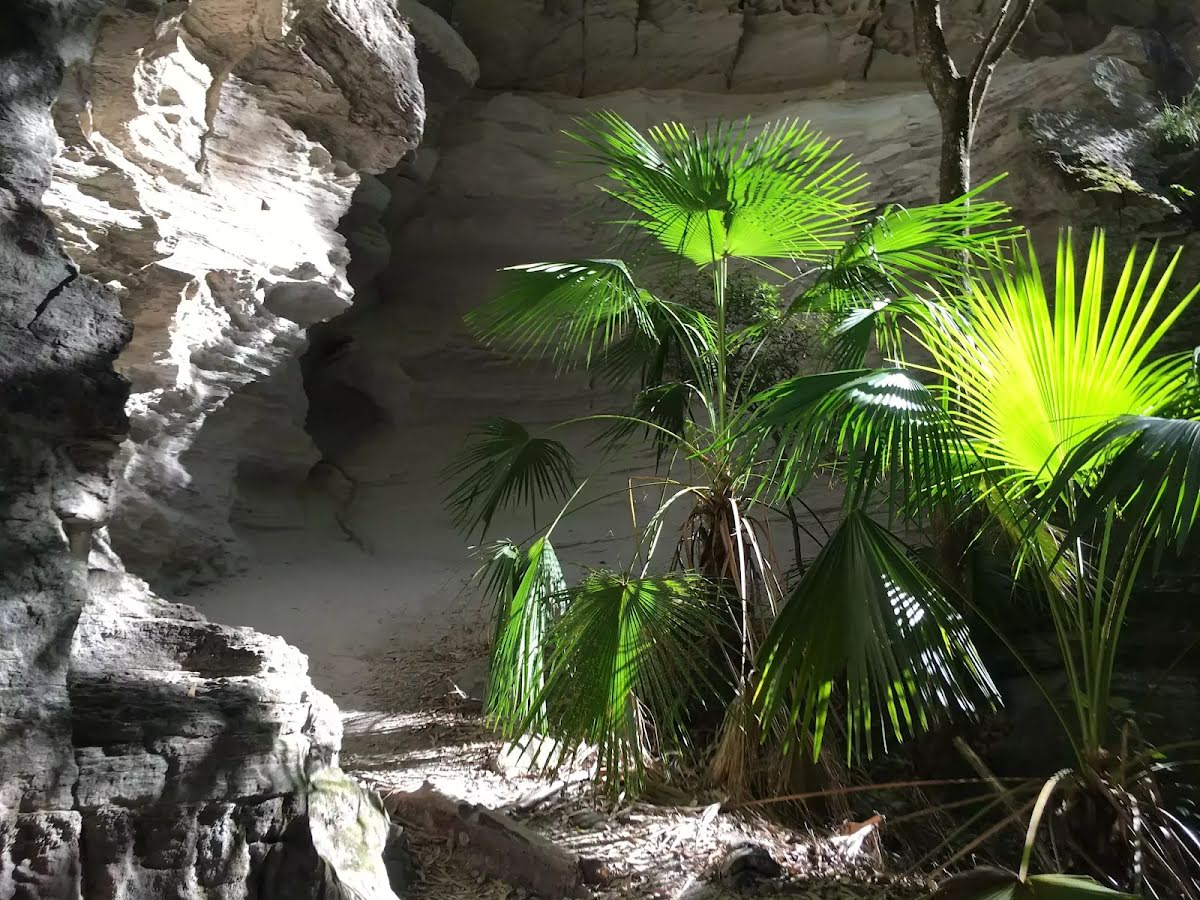
The starting point of an optional sidetrip. This optional side trip takes you to the Ward's Canyon. Step back in time as you're passing through the King ferns and slender tree ferns in this naturally cool spot. To start this optional side trip turn right here. On returning from this side trip error >360 when you get back to this intersection. Details below.
|
 |
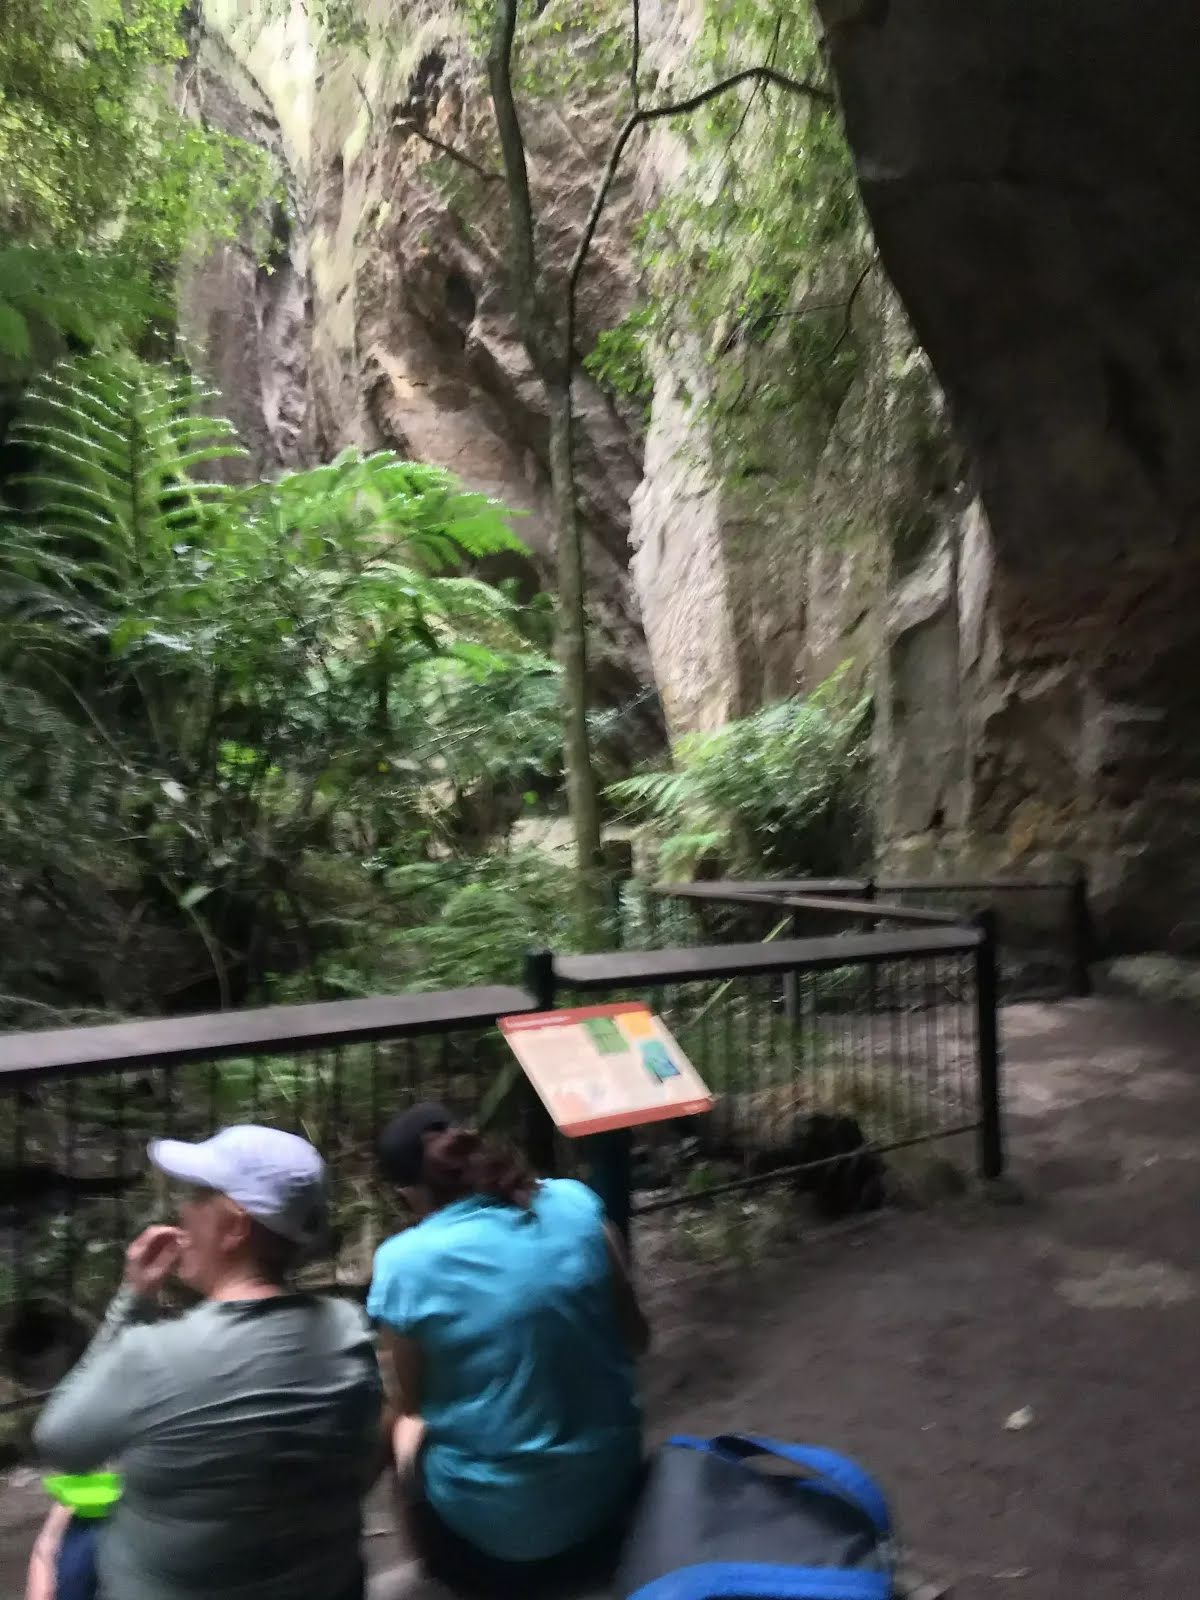
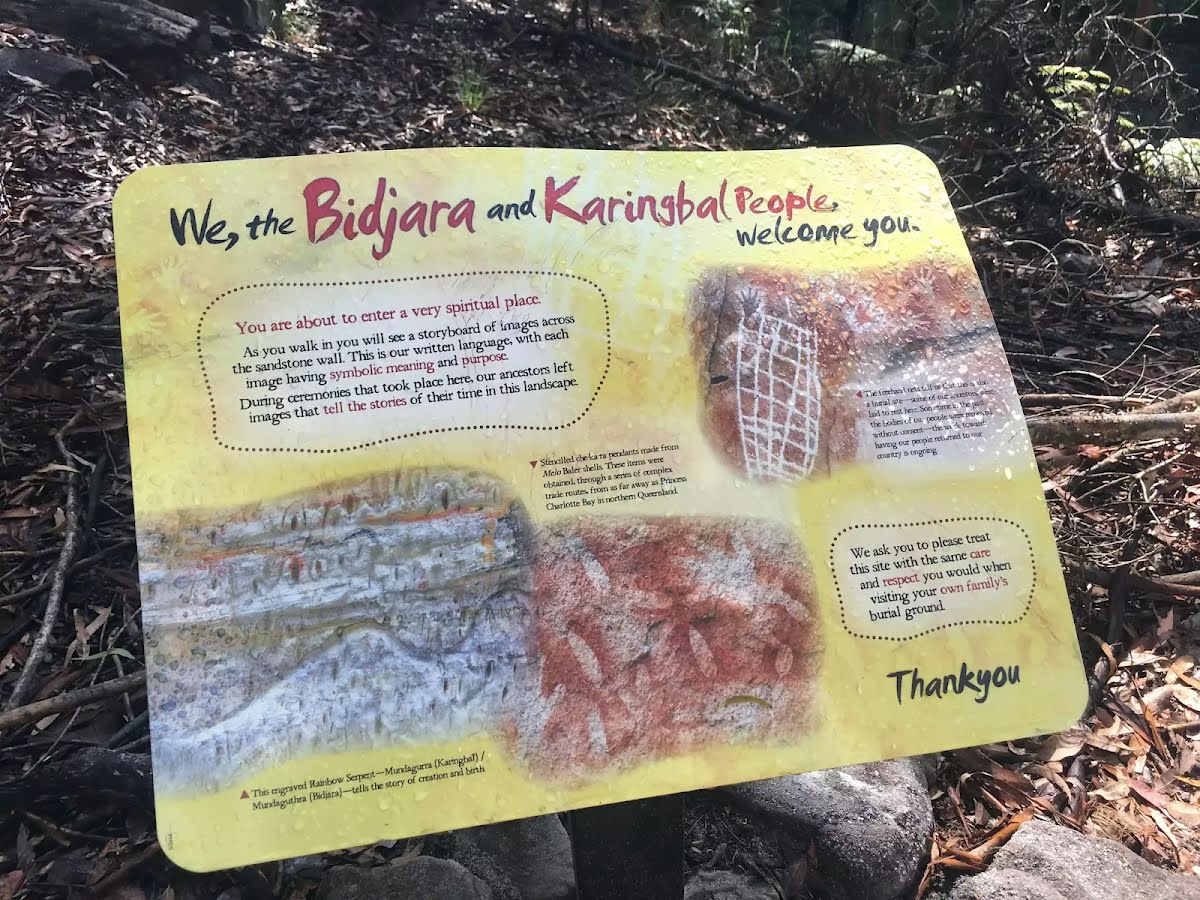
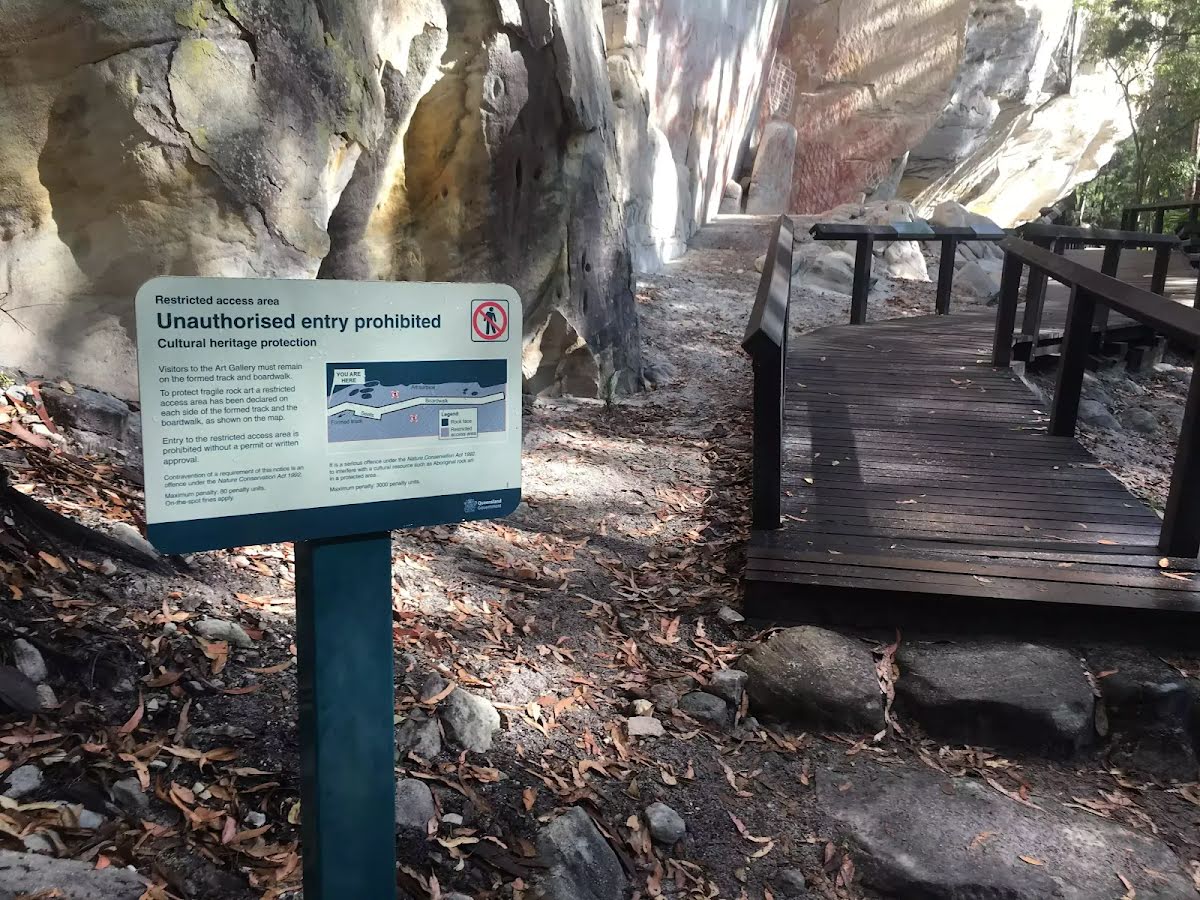
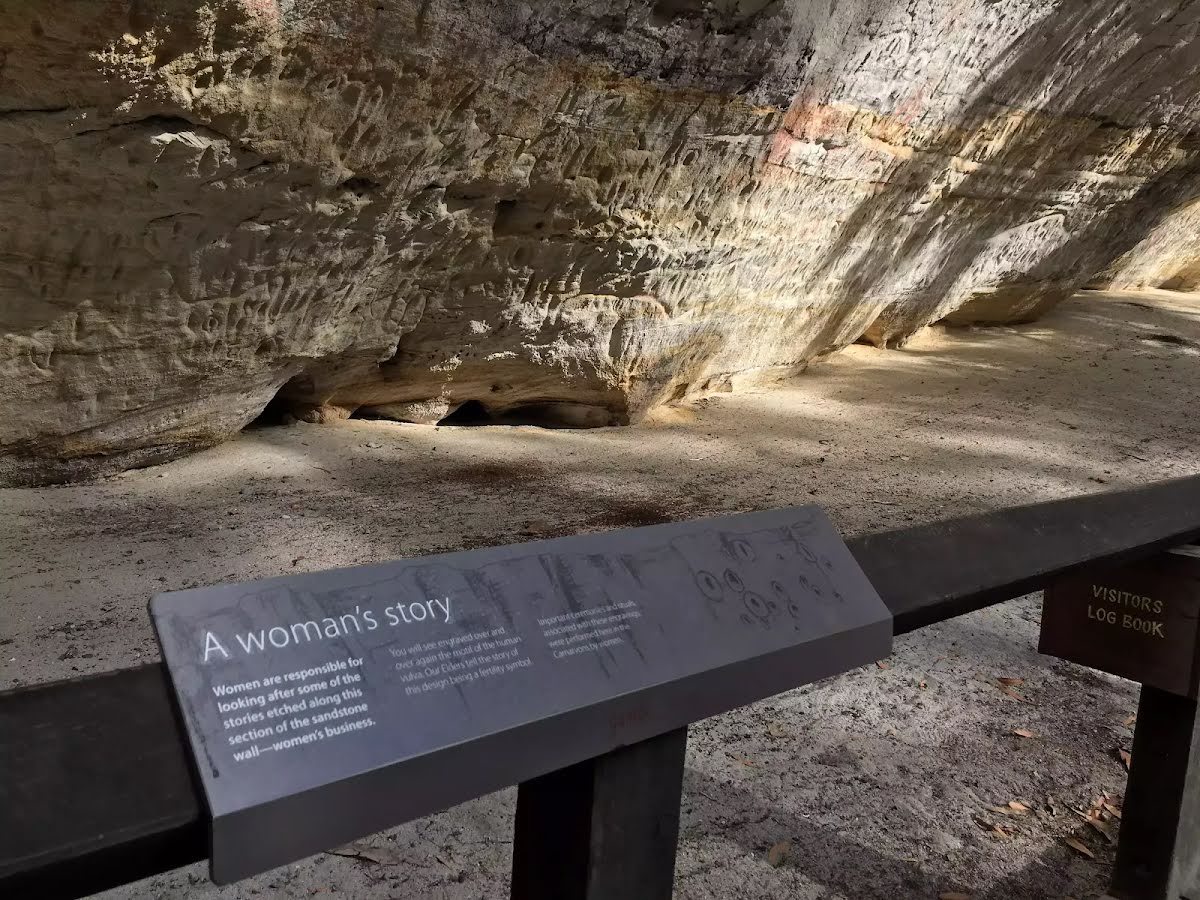
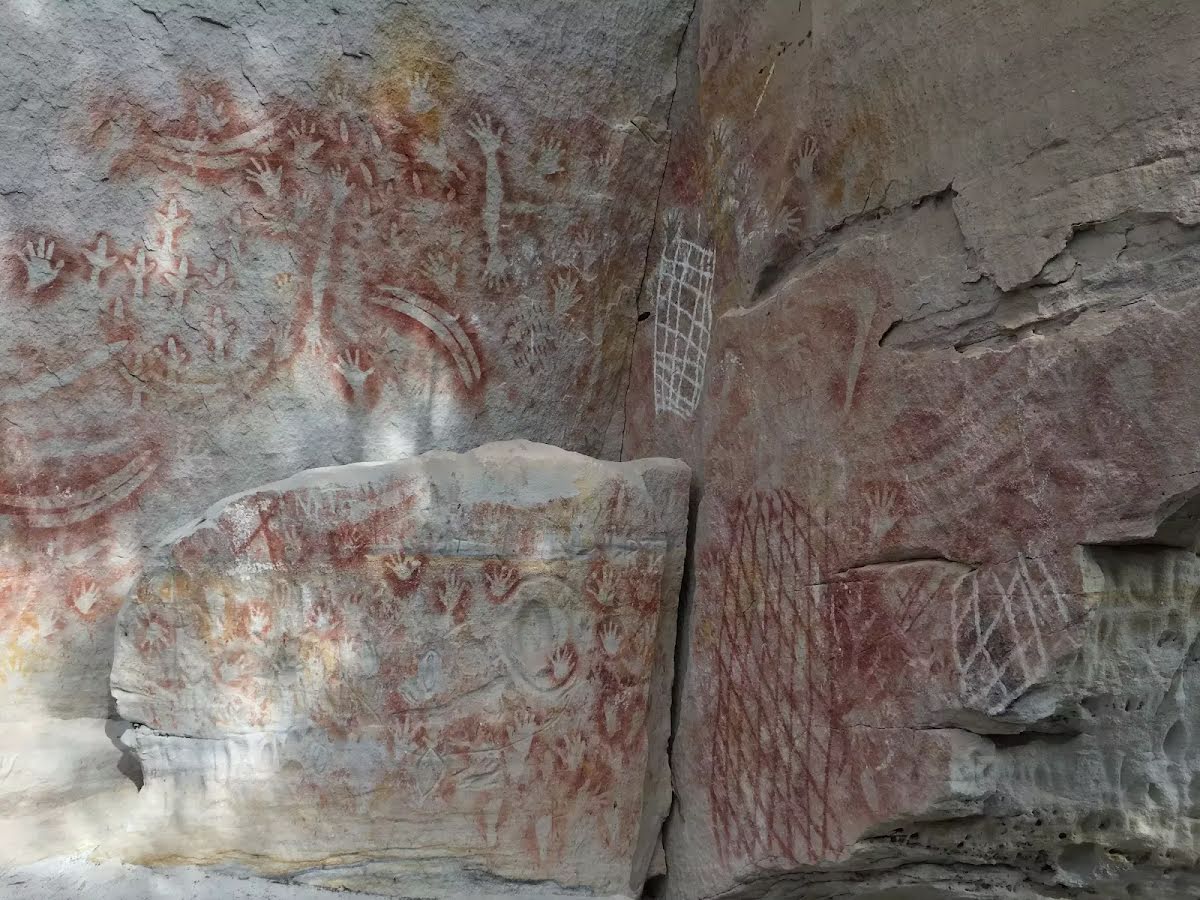
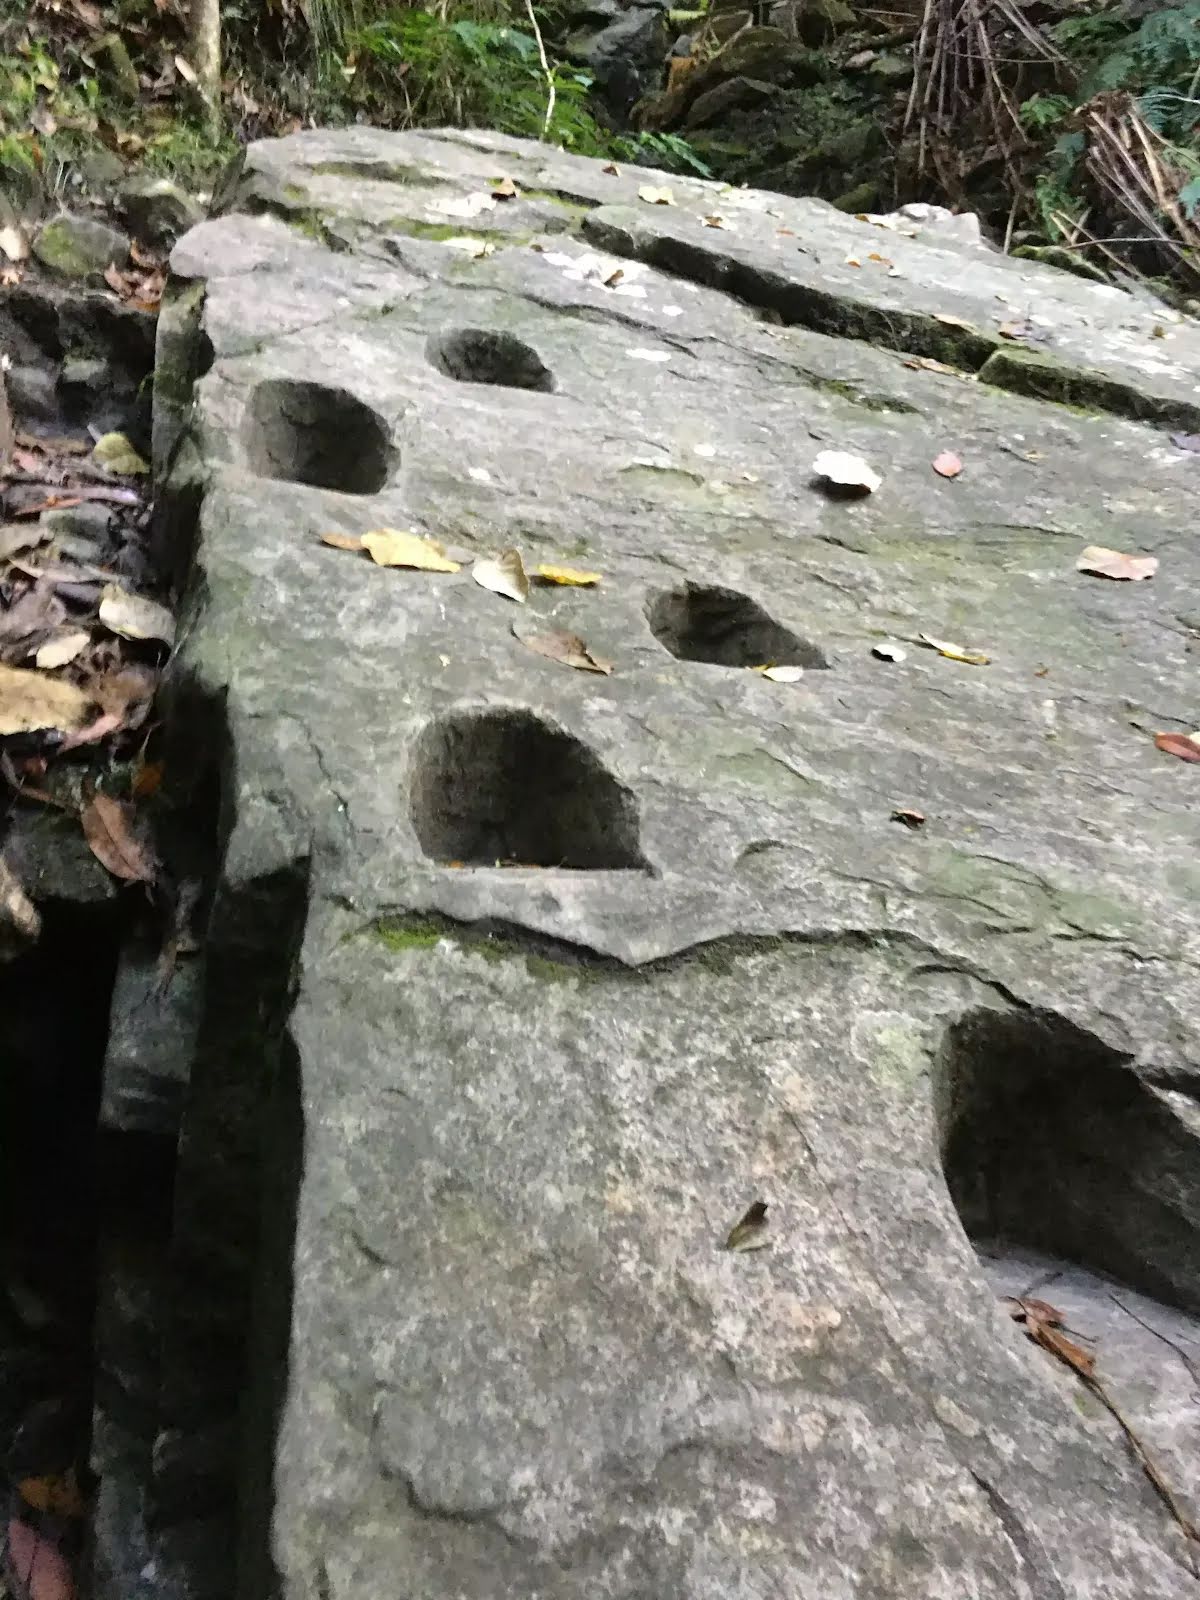
The starting point of an optional sidetrip. This optional side trip takes you to the historic Art Gallery, where Aboriginals of the time engraved and painted 2000+ pieces of art. Especially the ochre stencils here are amongst the best in Australia. To start this optional side trip turn left here. On returning from this side trip error >360 when you get back to this intersection. Details below.
|
 |
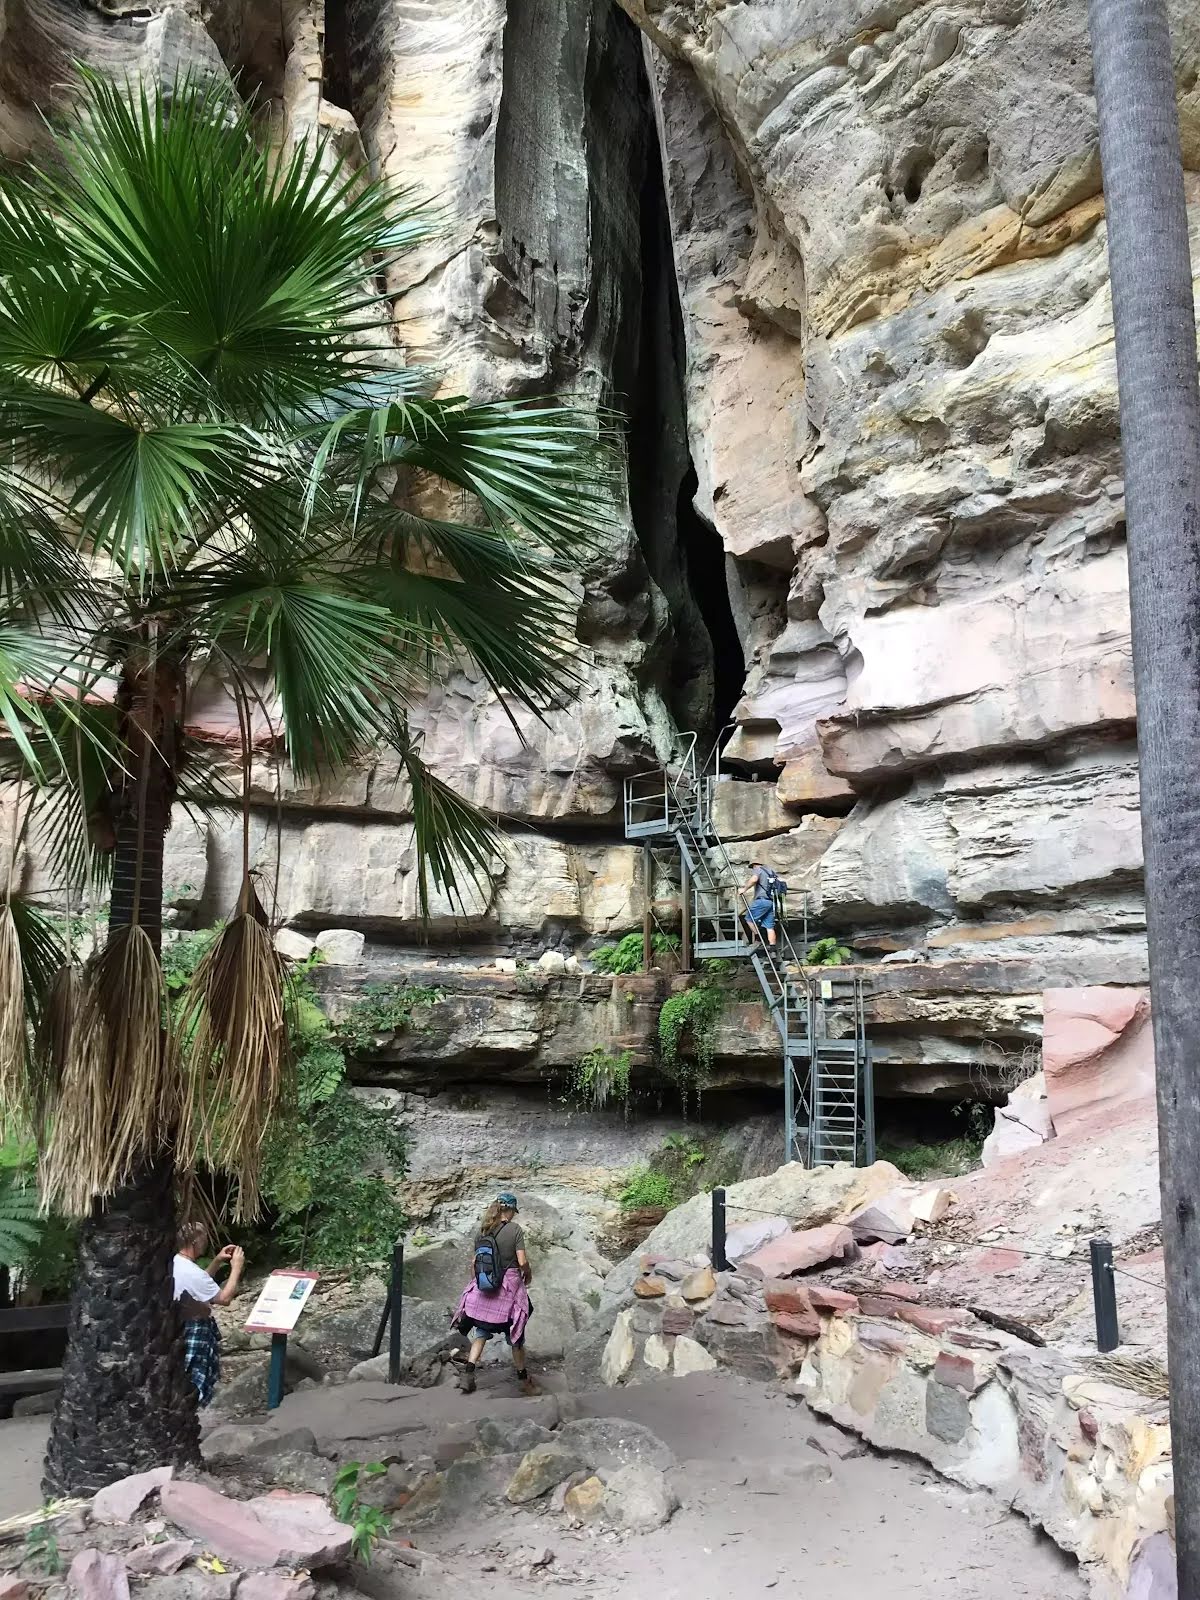
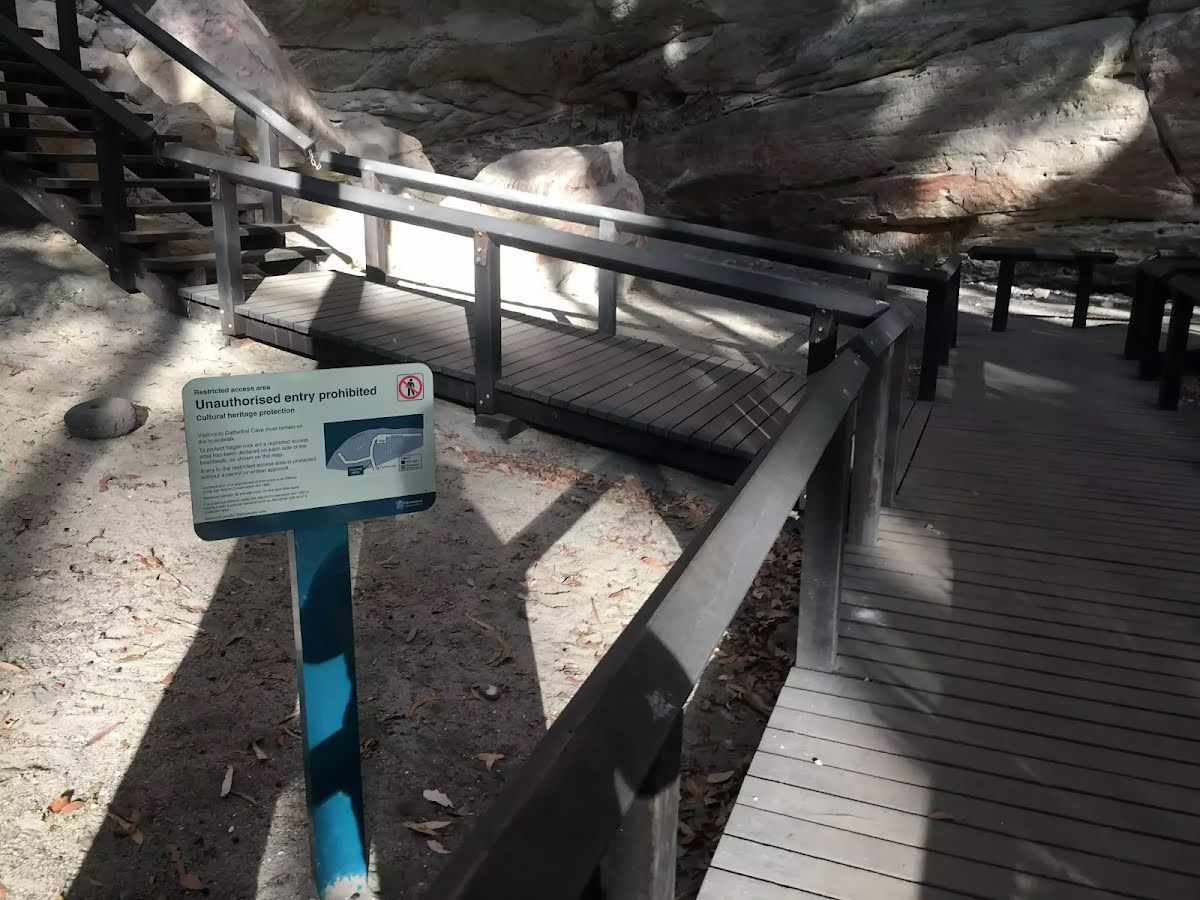
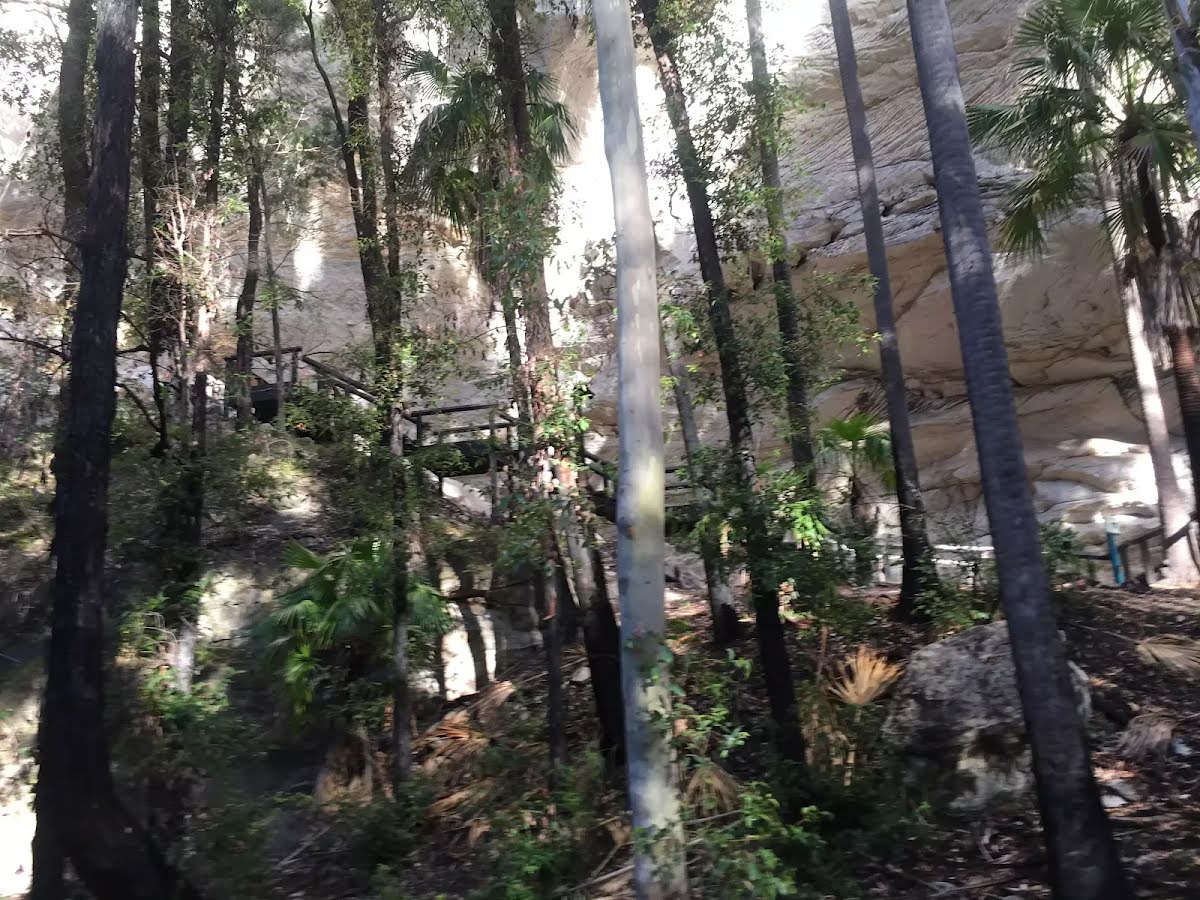
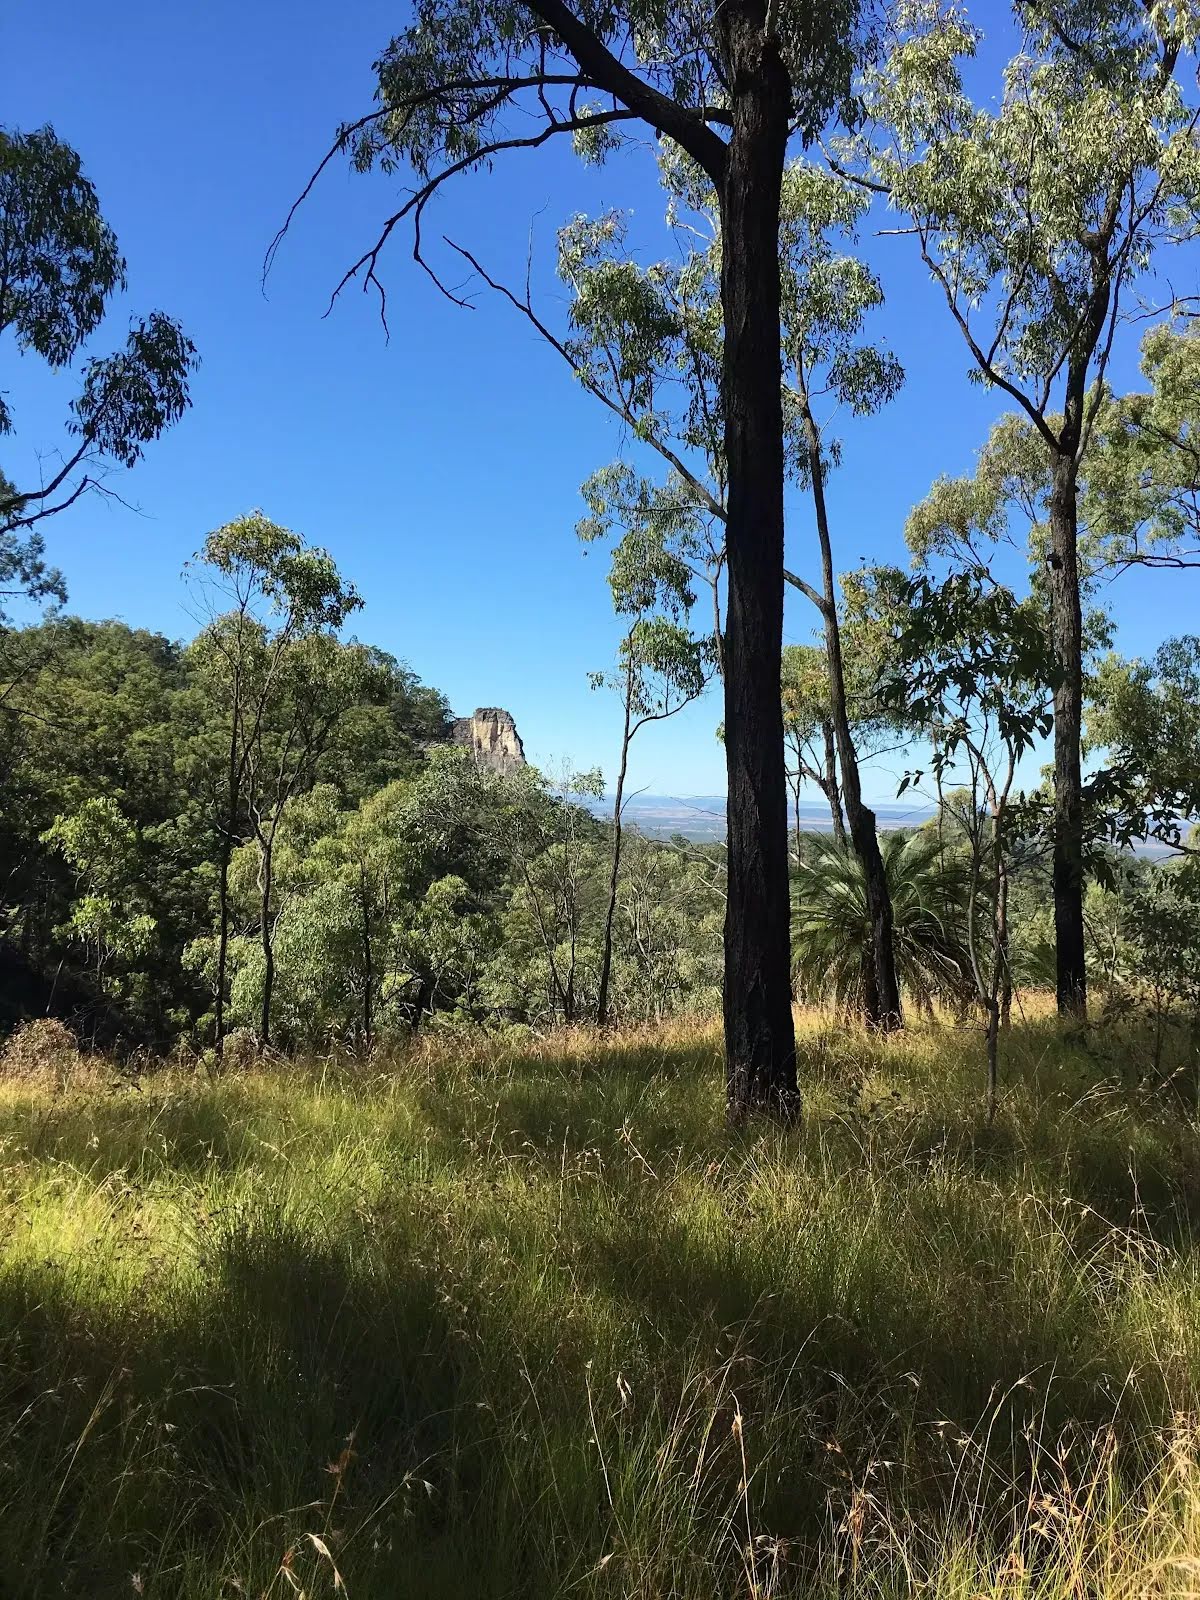
The starting point of an optional sidetrip. This optional side trip takes you to the Cathedral Cave. Eroded by wind and rain, this cave was used as shelter by the Aboriginals for thousands of years. To start this optional side trip turn left here. On returning from this side trip turn left when you get back to this intersection. Details below.
|
 |
|
 |
| Turn map | Directions & comments |
|---|---|
 |
|
 |
| Turn map | Directions & comments |
|---|---|
 |
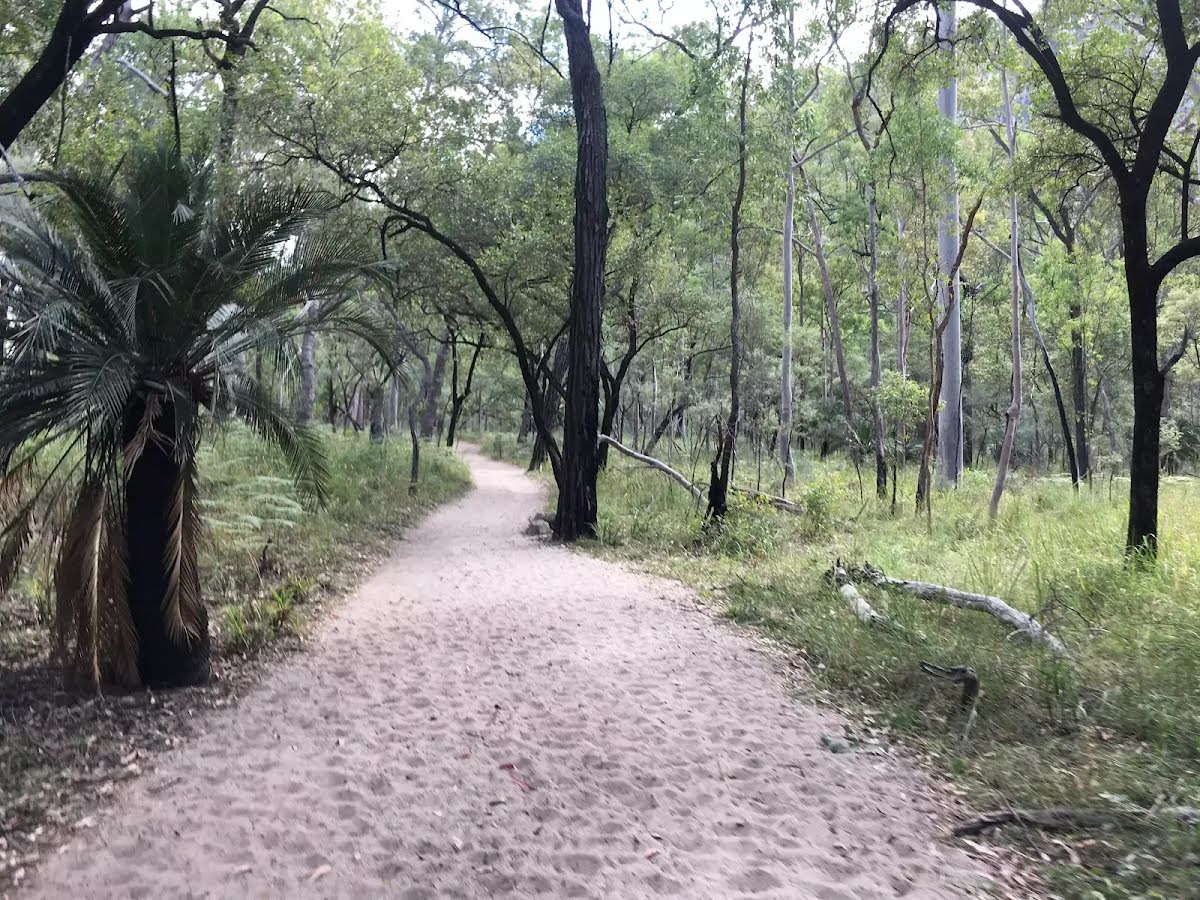
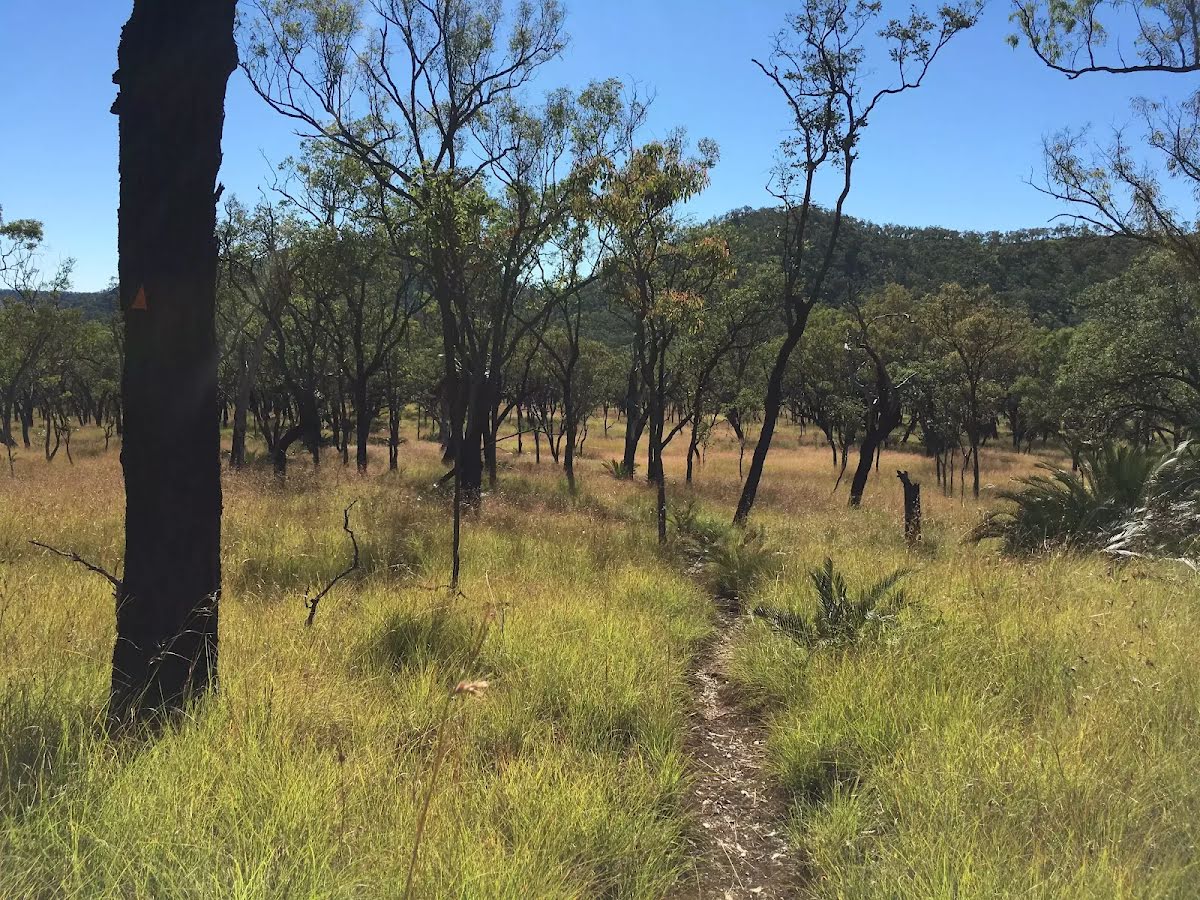
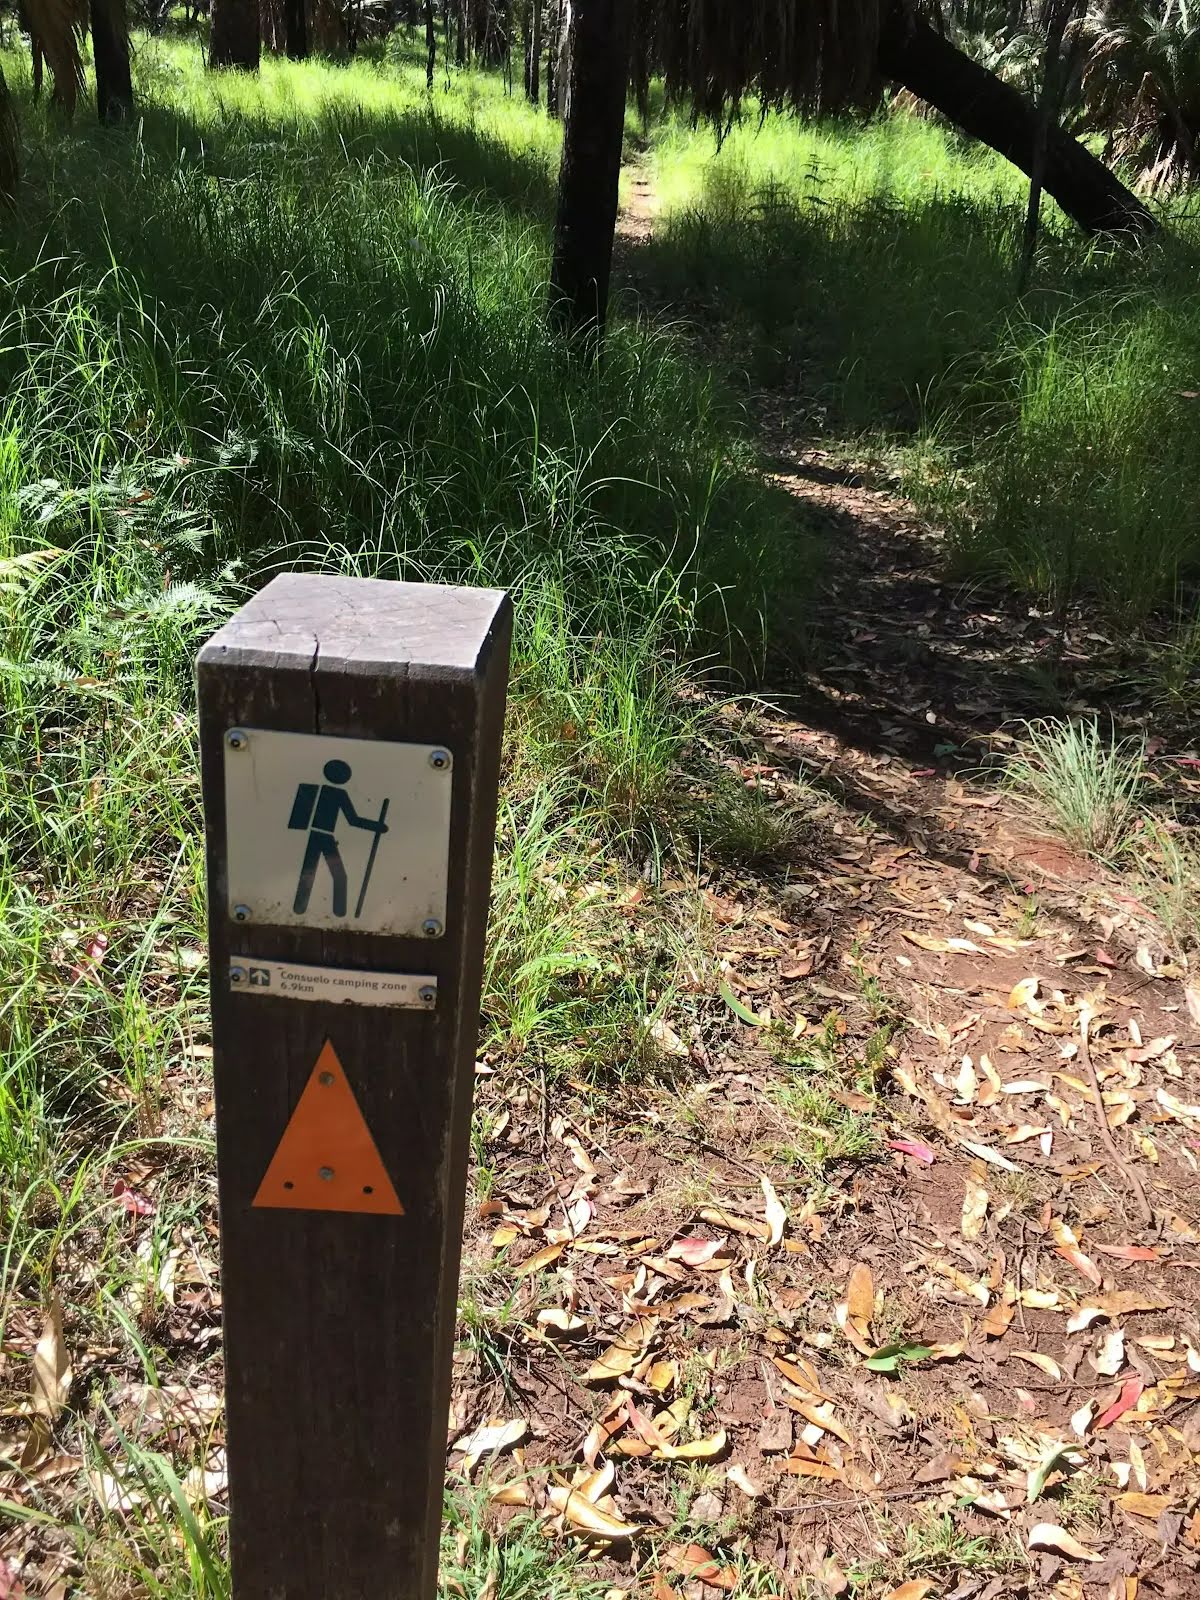
At the intersection of Amphitheatre Walk & Big Bend Walk Start heading along Amphitheatre Walk (a walking track).
|
 |
| Turn map | Directions & comments |
|---|---|
 |
|
 |
| Turn map | Directions & comments |
|---|---|
 |
|
 |
| Turn map | Directions & comments |
|---|---|
 |
|
 |
| Turn map | Directions & comments |
|---|---|
 |
|
 |
|
 |
|
 |
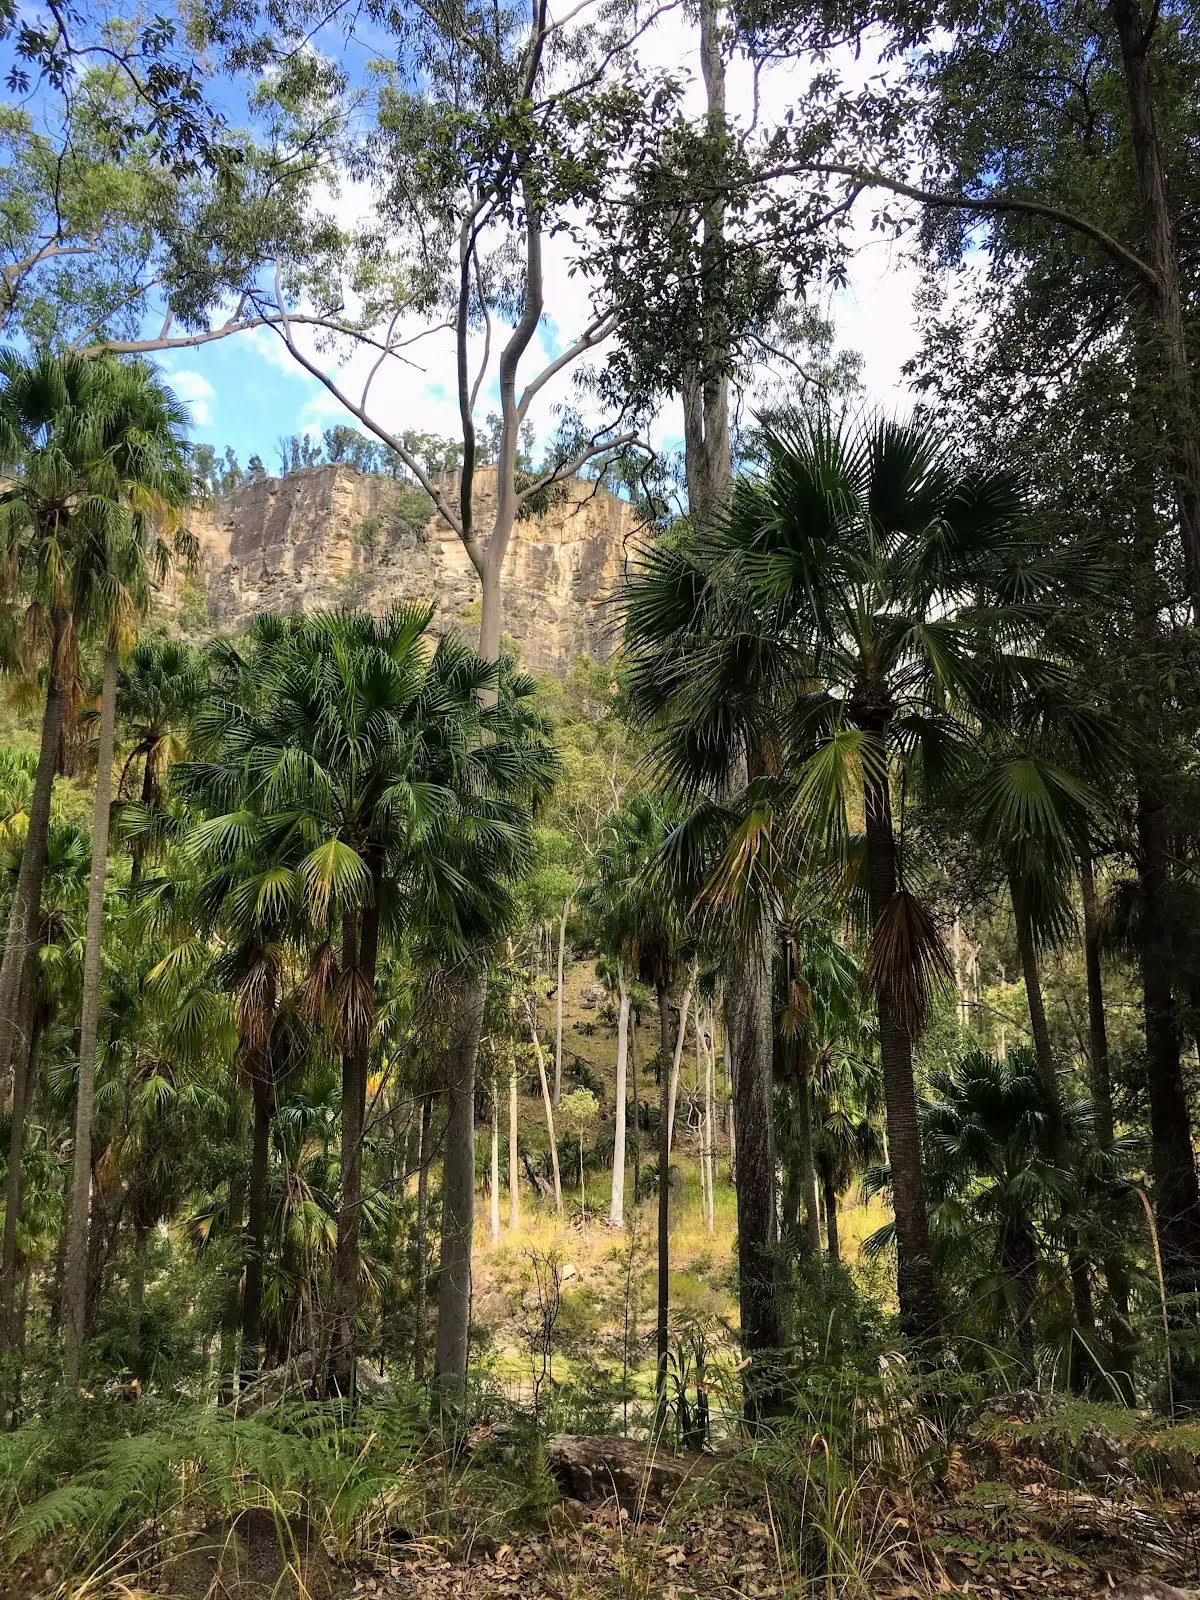
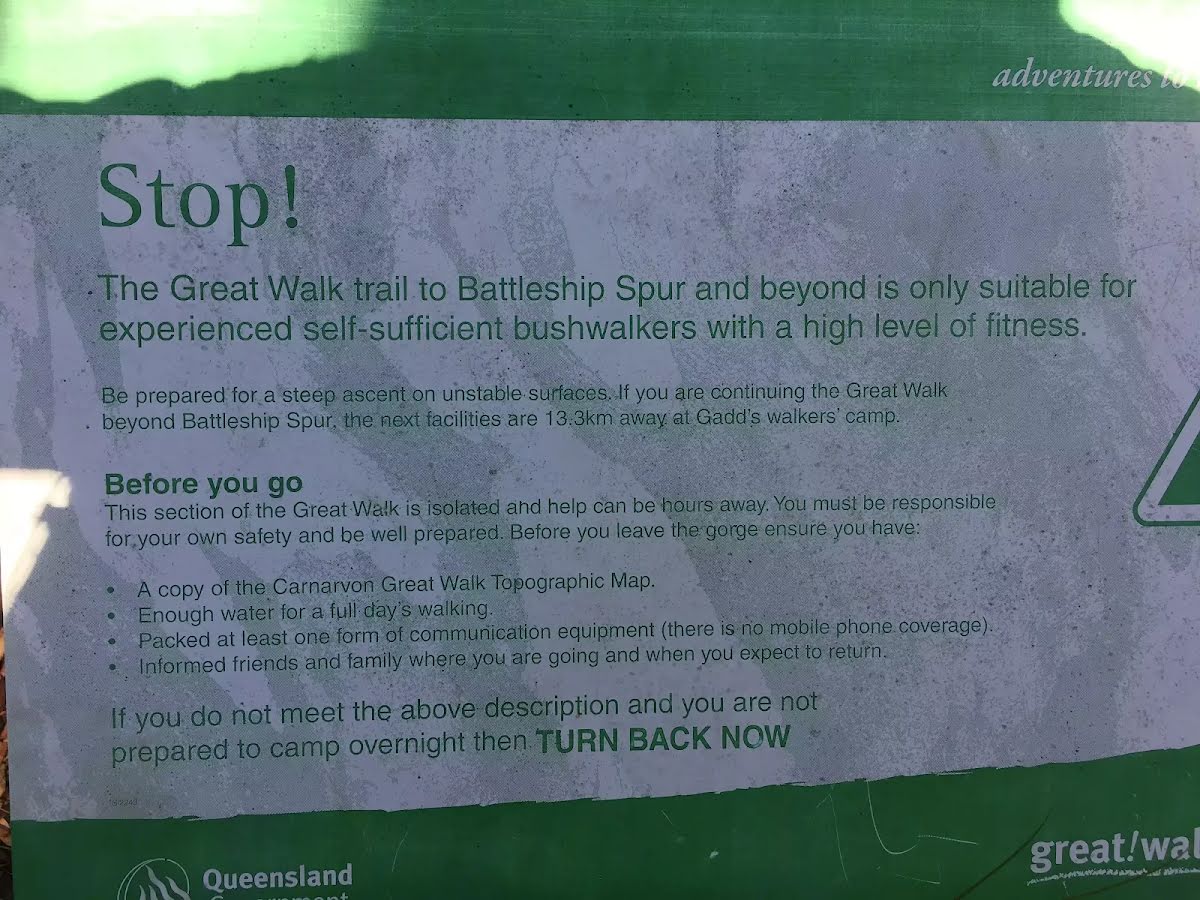
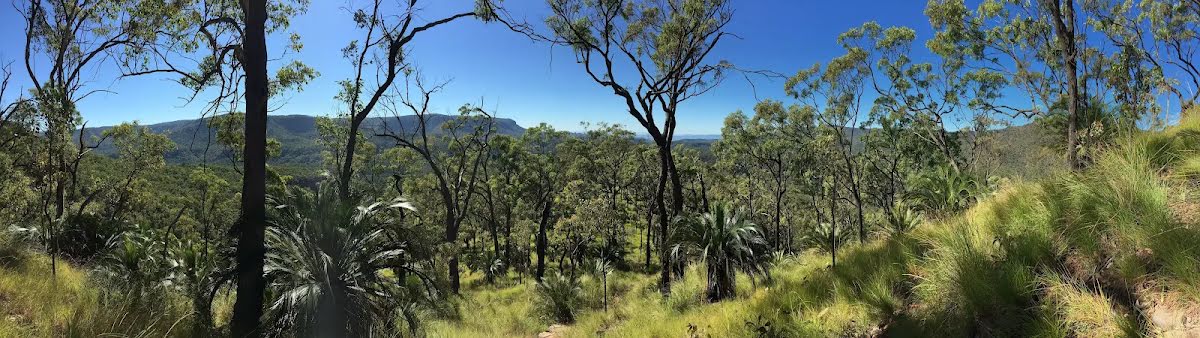
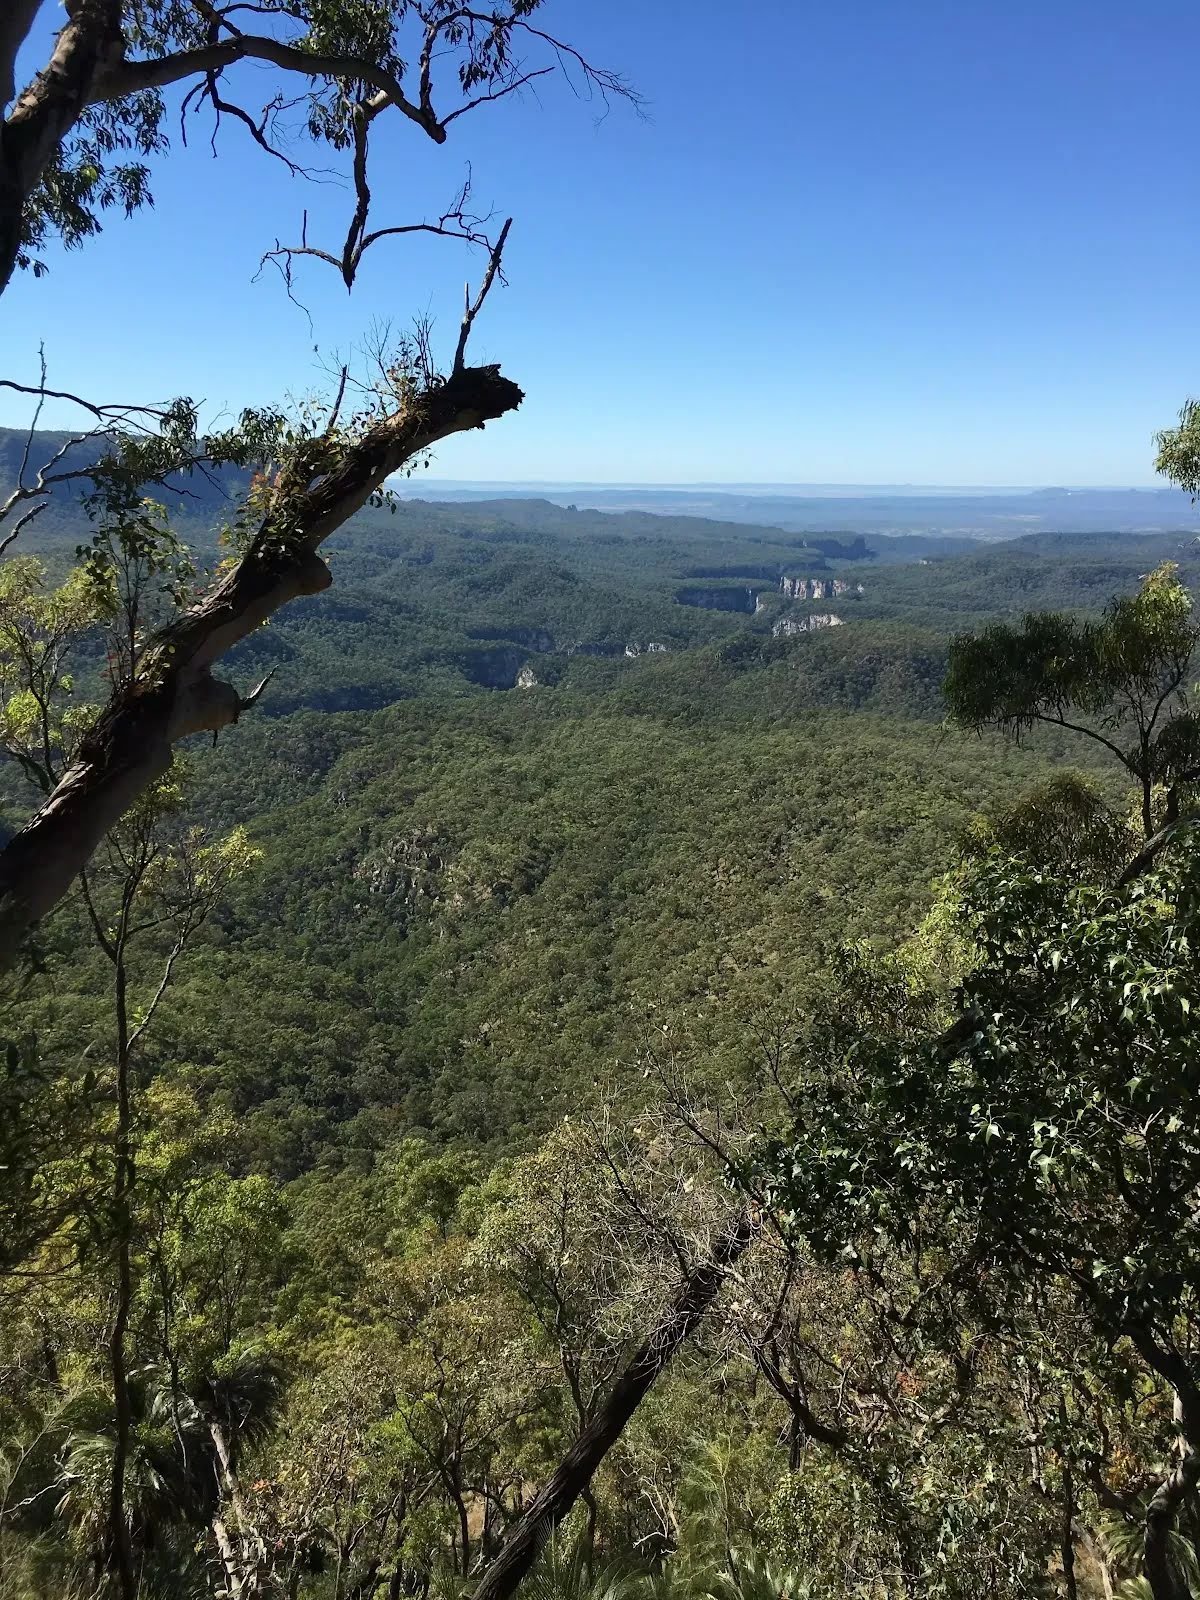
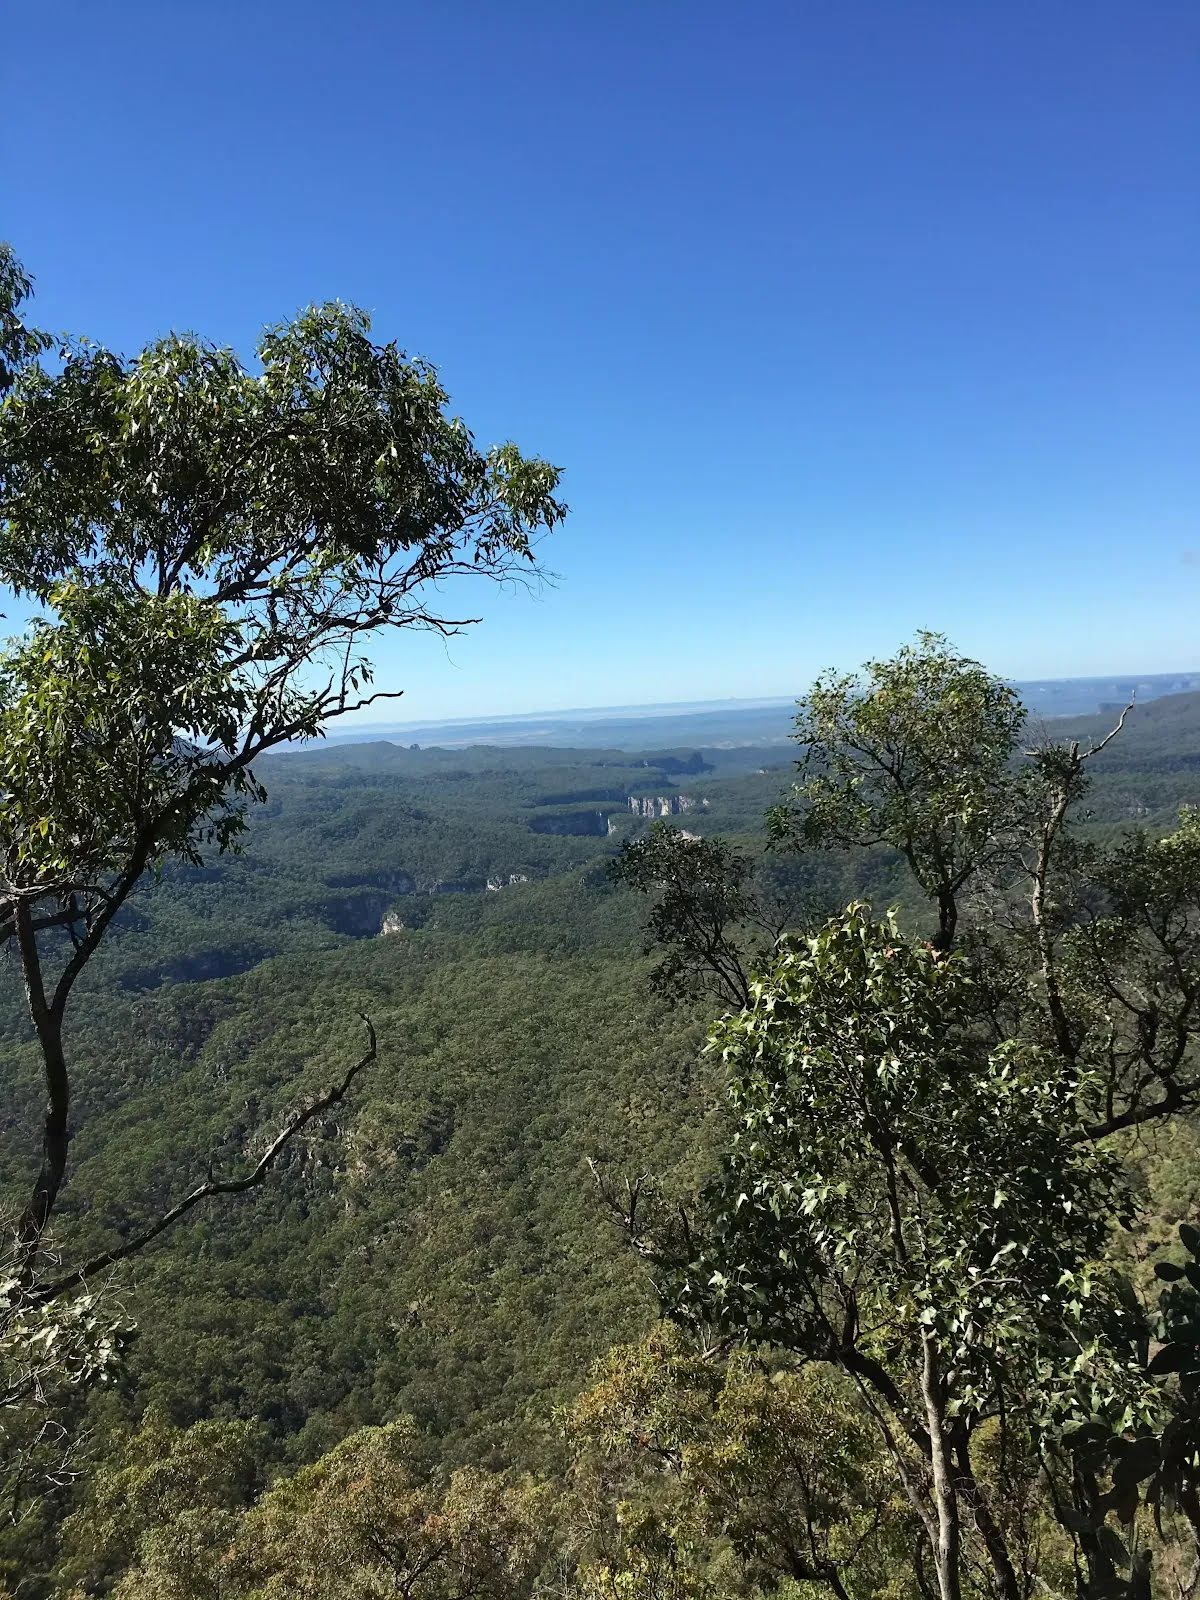
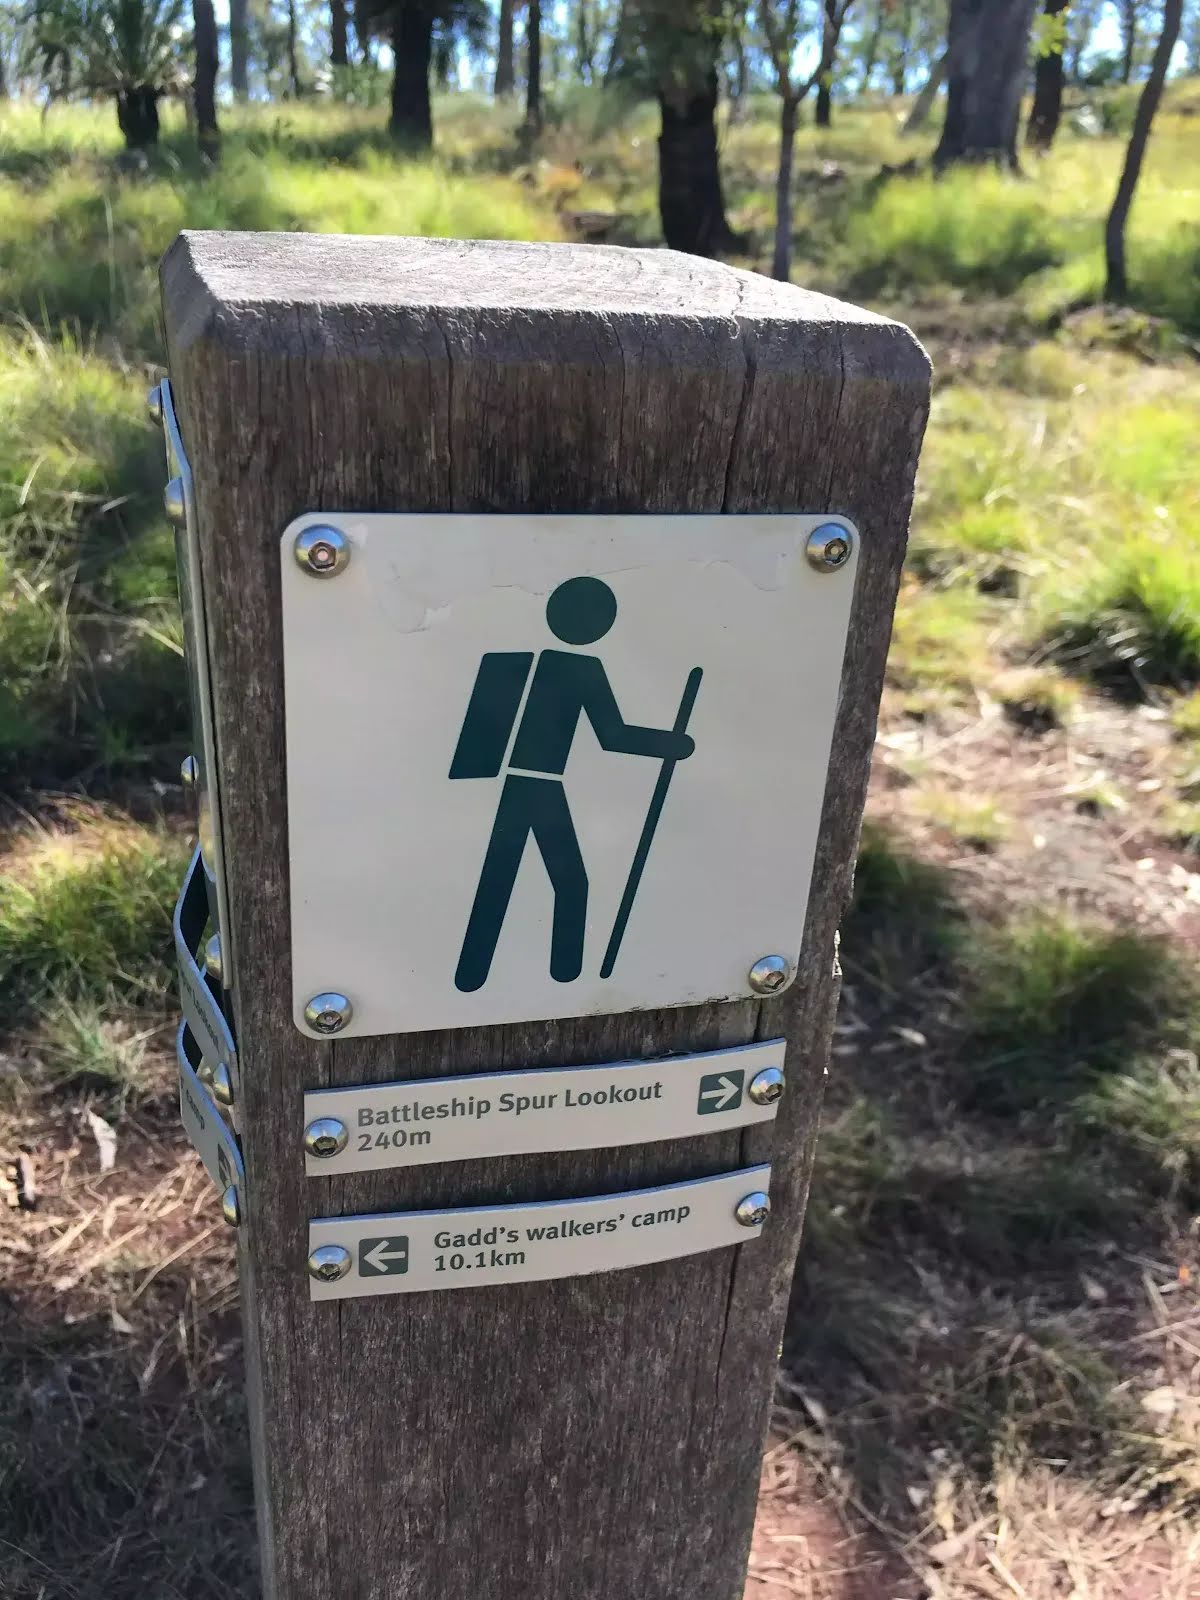
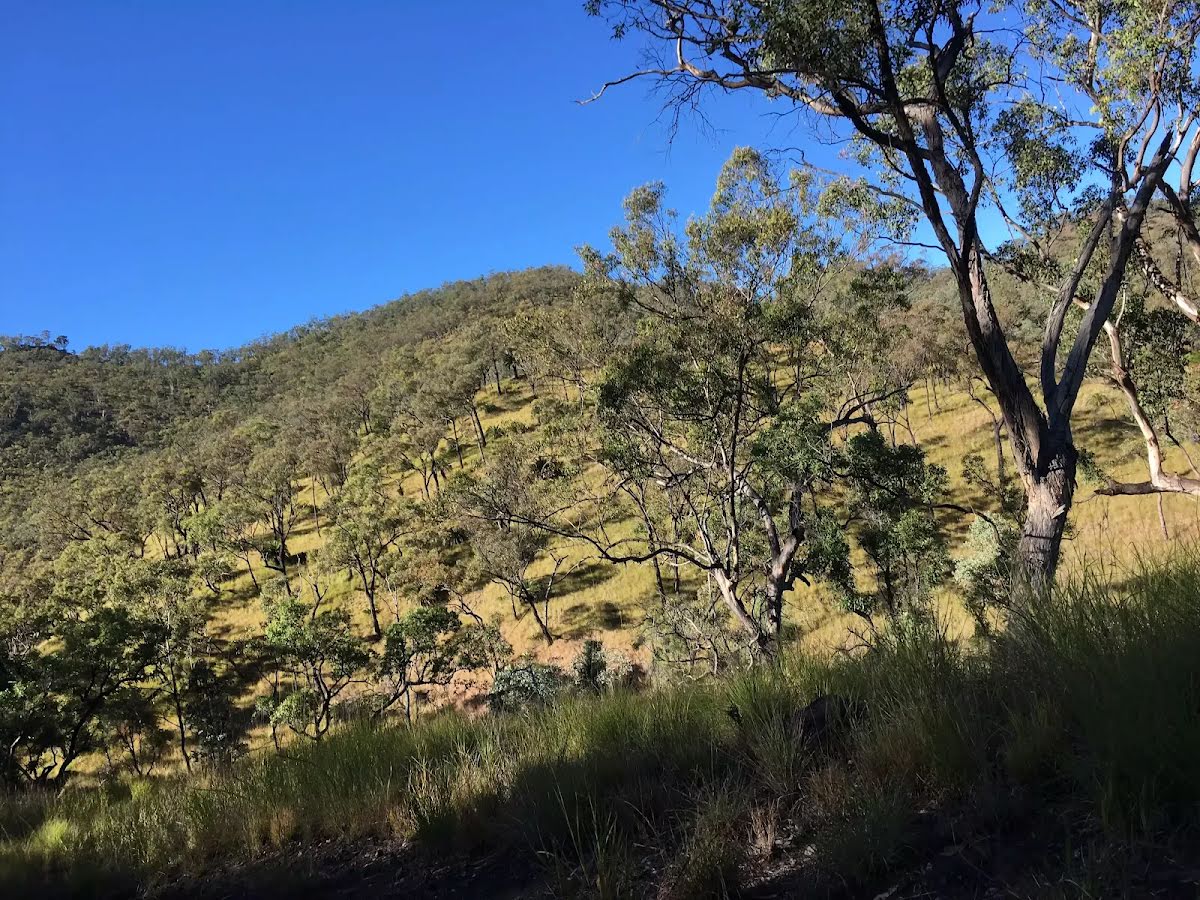
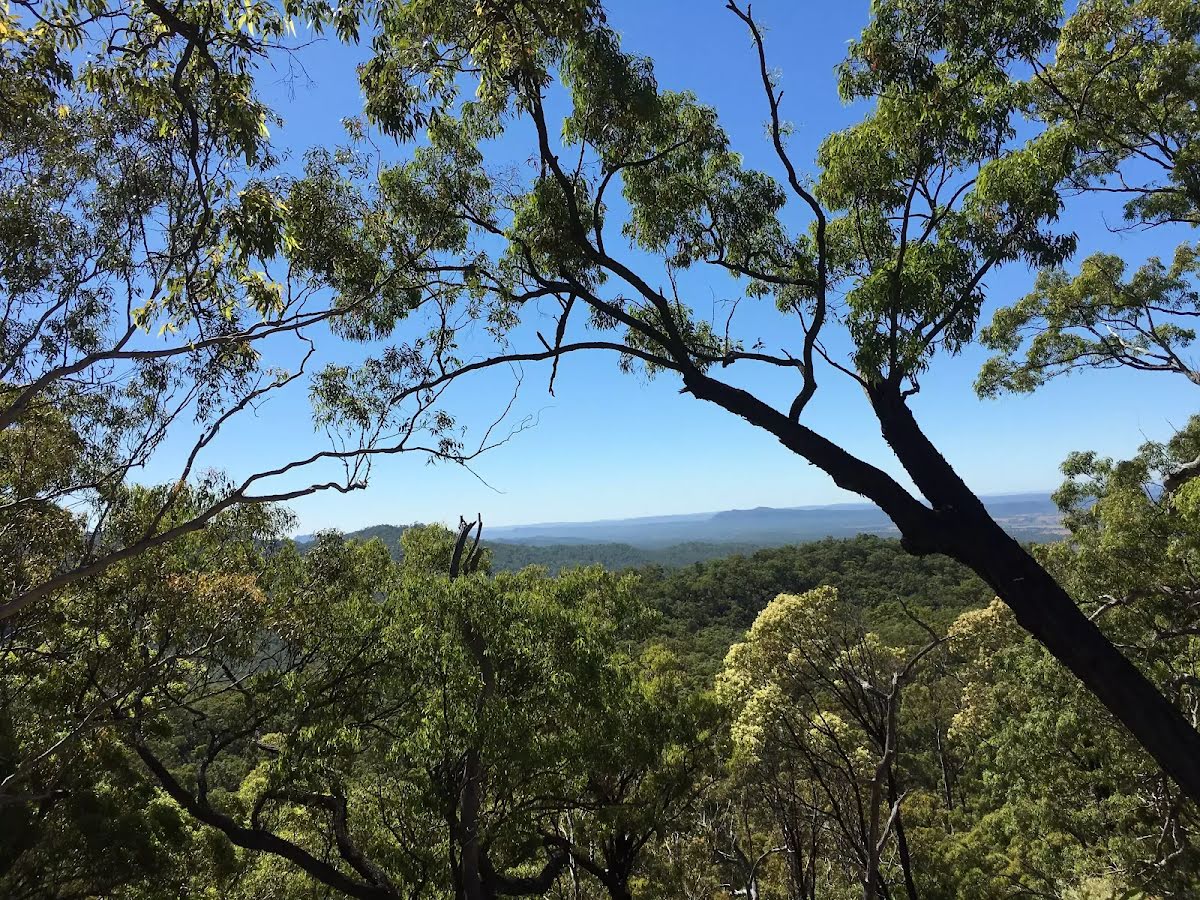
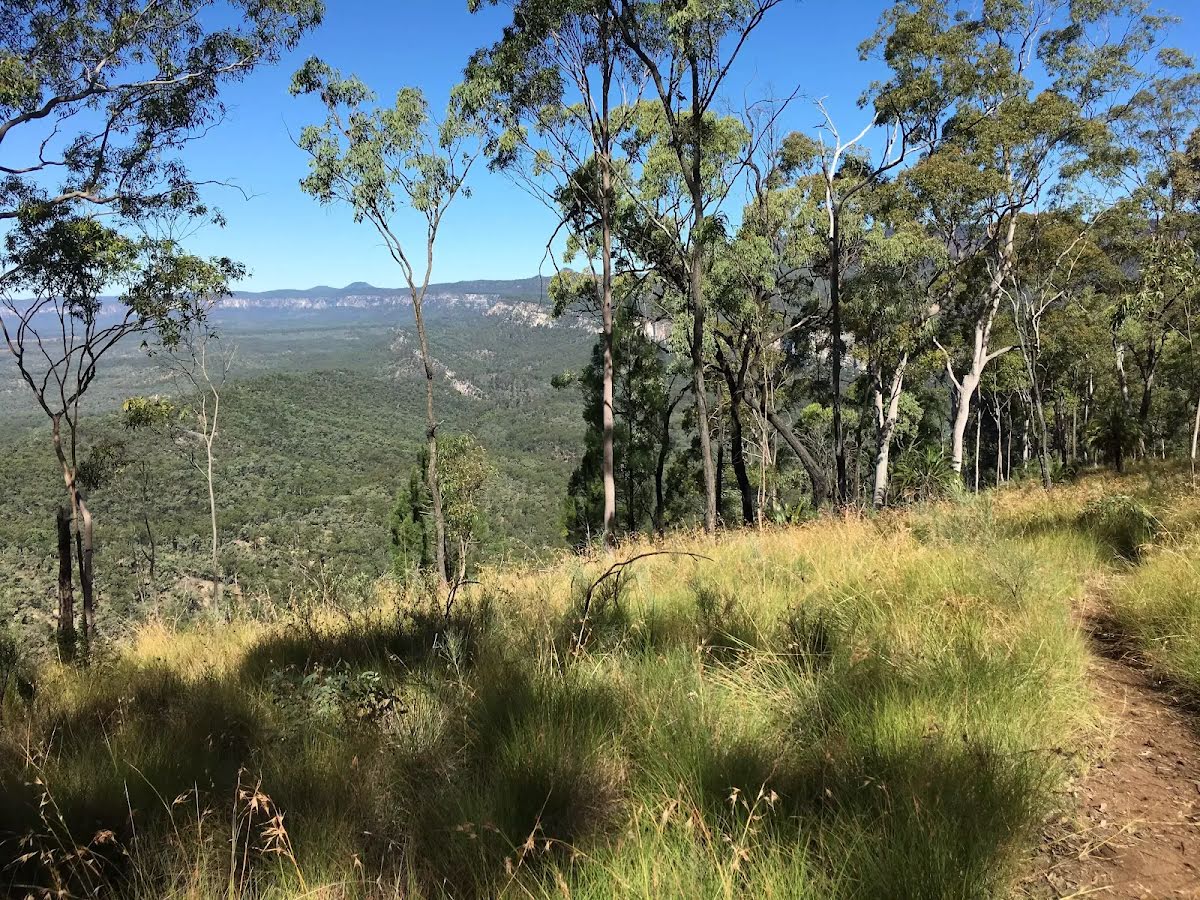
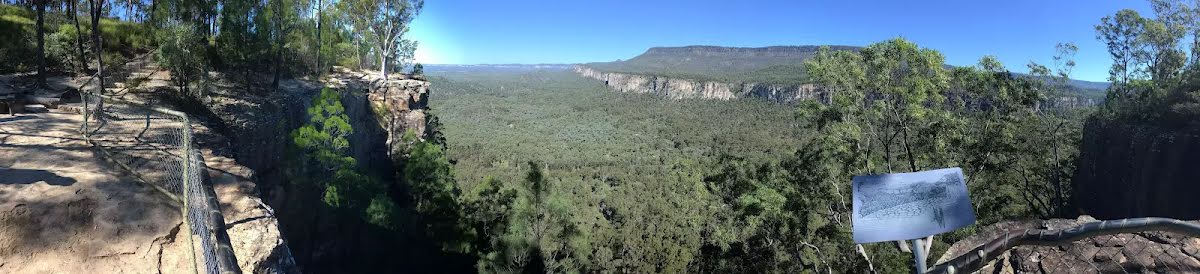
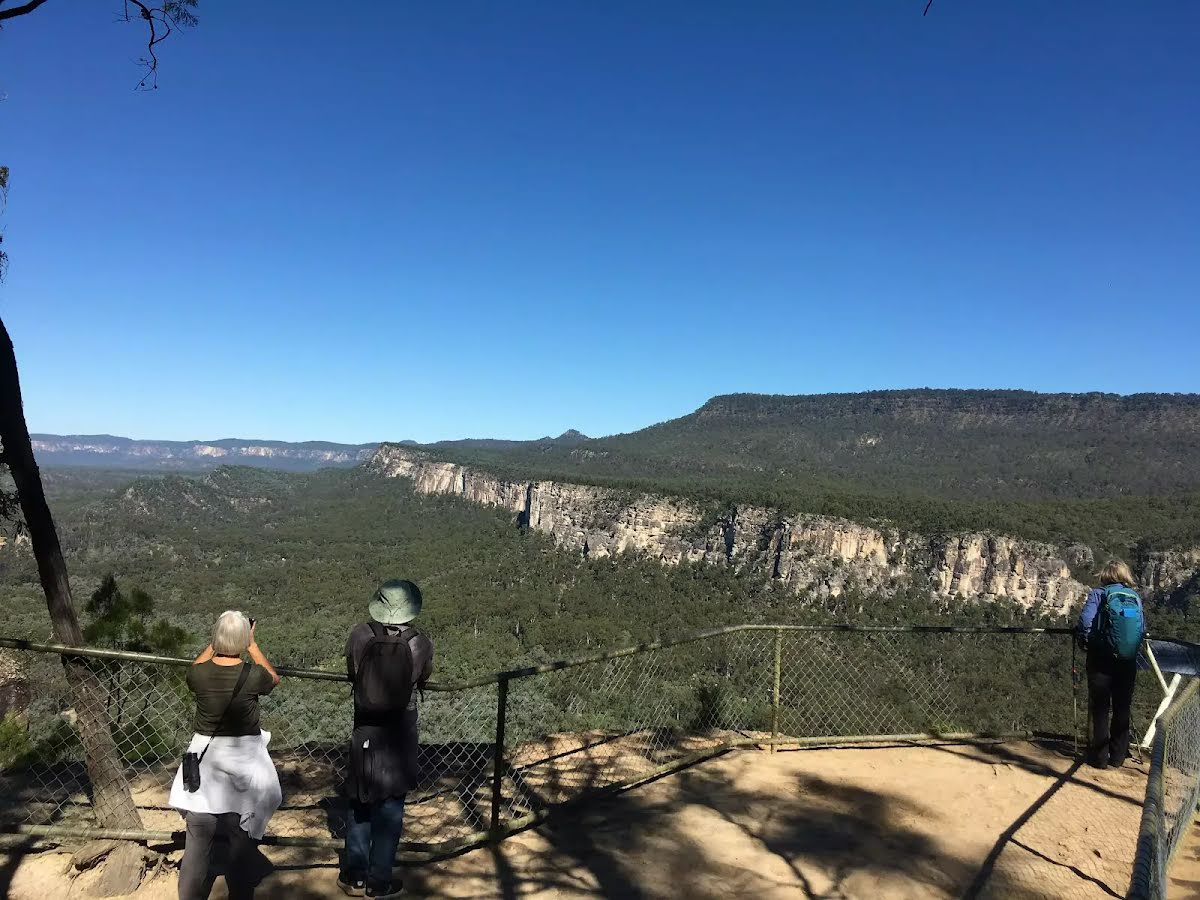
The starting point of an optional sidetrip. This little side trip takes you to the Battleship Spur where you can view the Carnarvon Gorge in all its glory. To start this optional side trip turn right here. On returning from this side trip turn right when you get back to this intersection. Details below.
|
 |
| Turn map | Directions & comments |
|---|---|
 |
|
 |
| Turn map | Directions & comments |
|---|---|
 |
|
 |
|
 |
|
 |
|
 |
|
 |
| Turn map | Directions & comments |
|---|---|
 |
|
 |
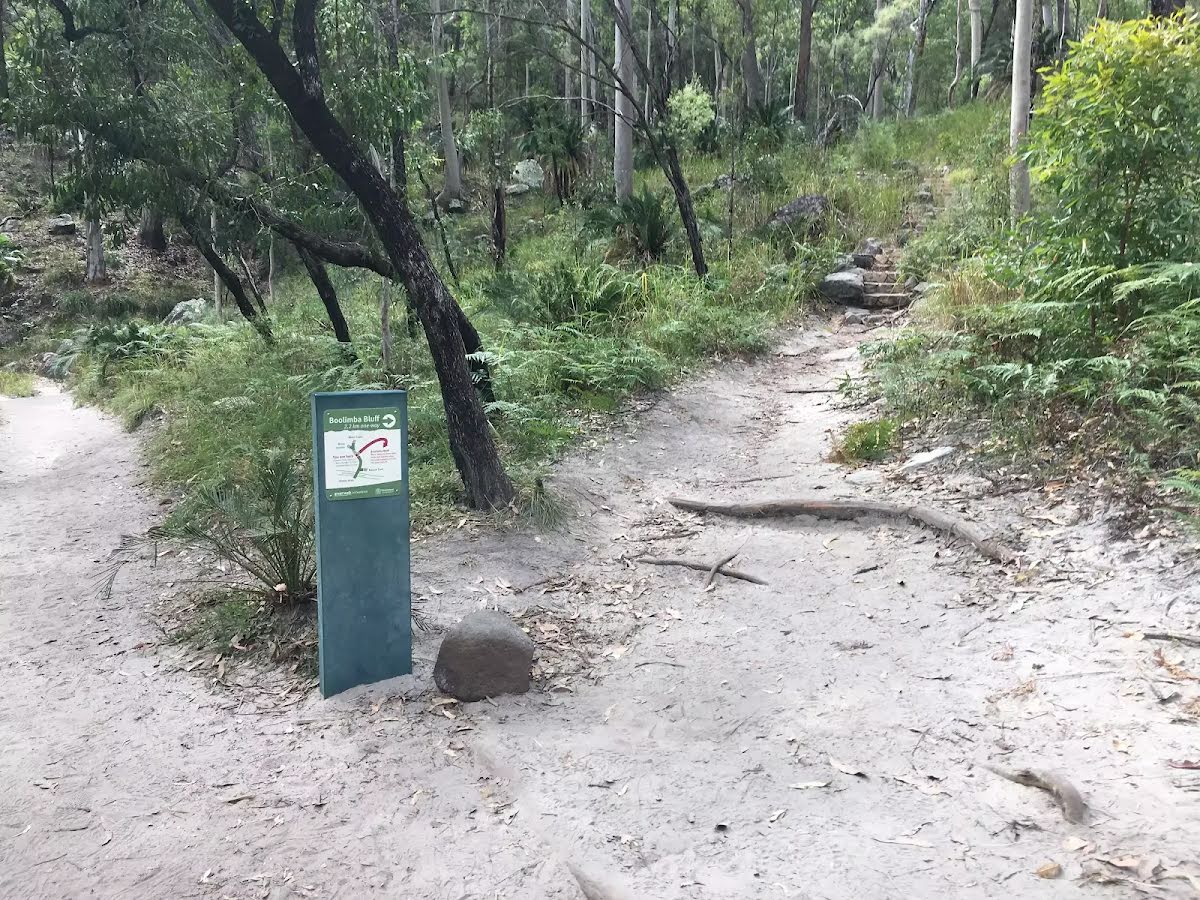
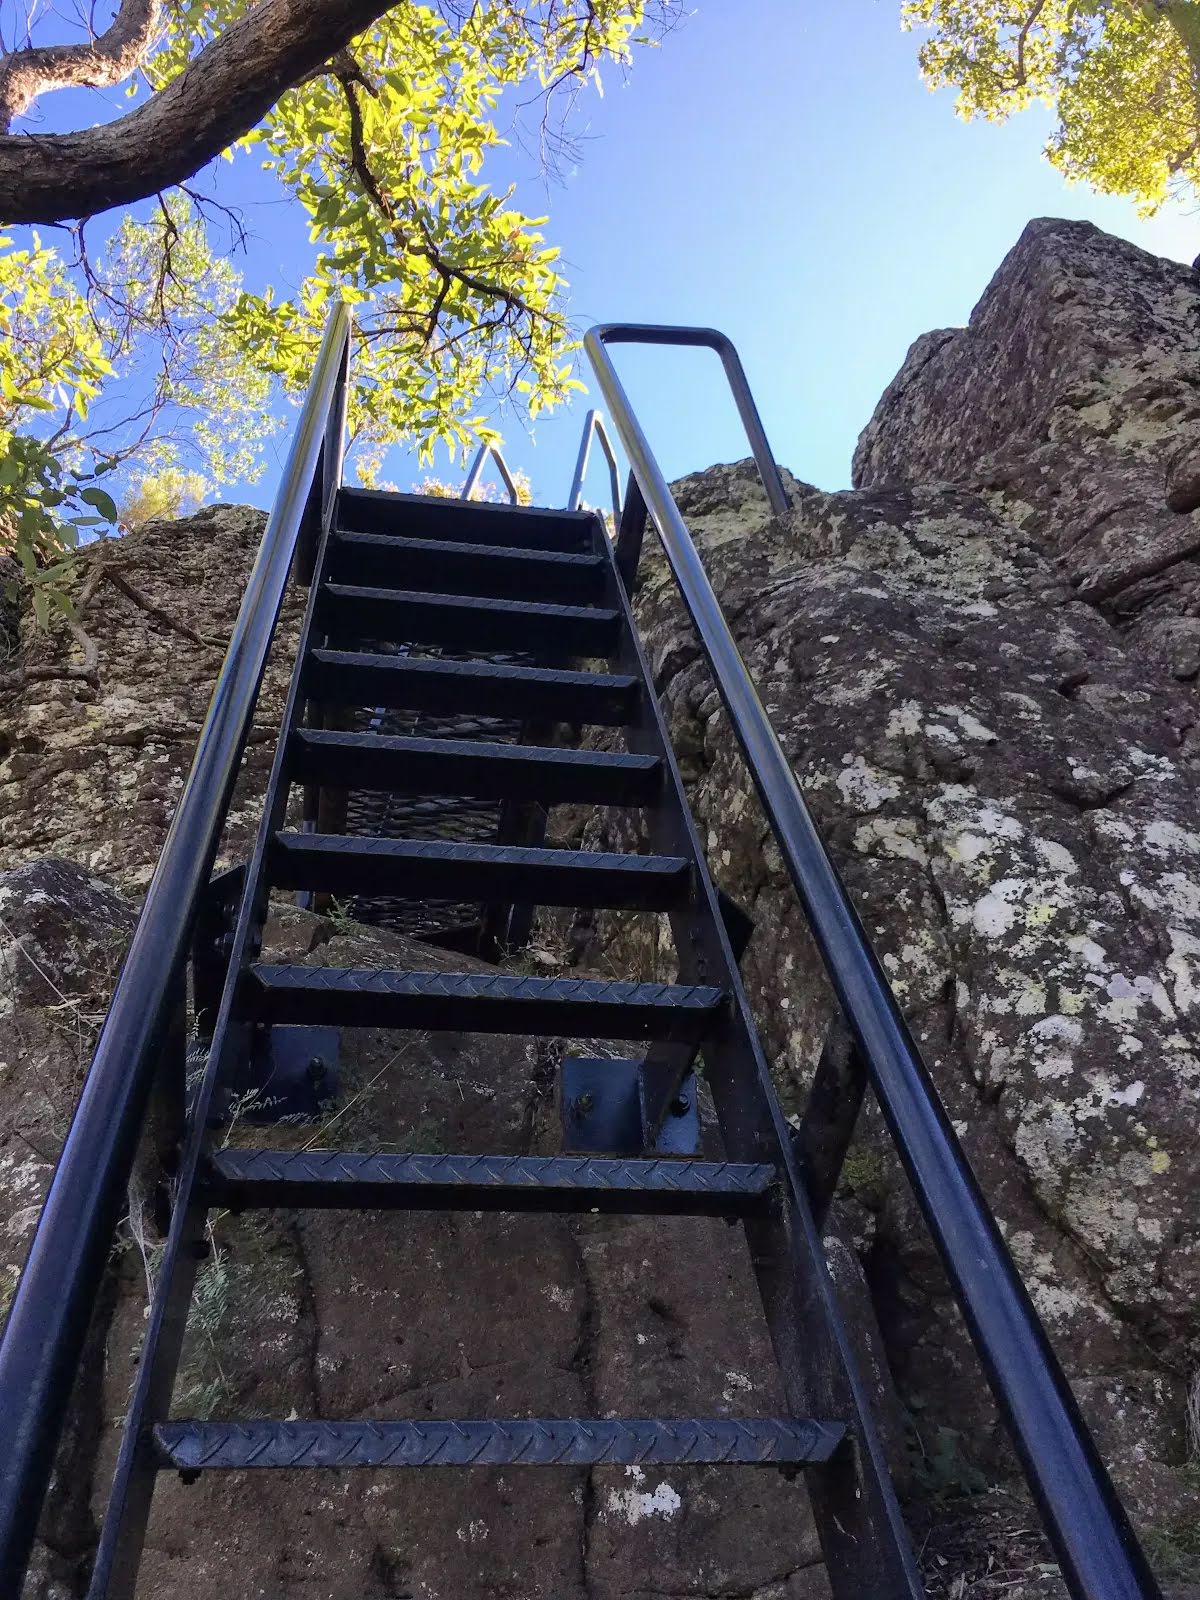
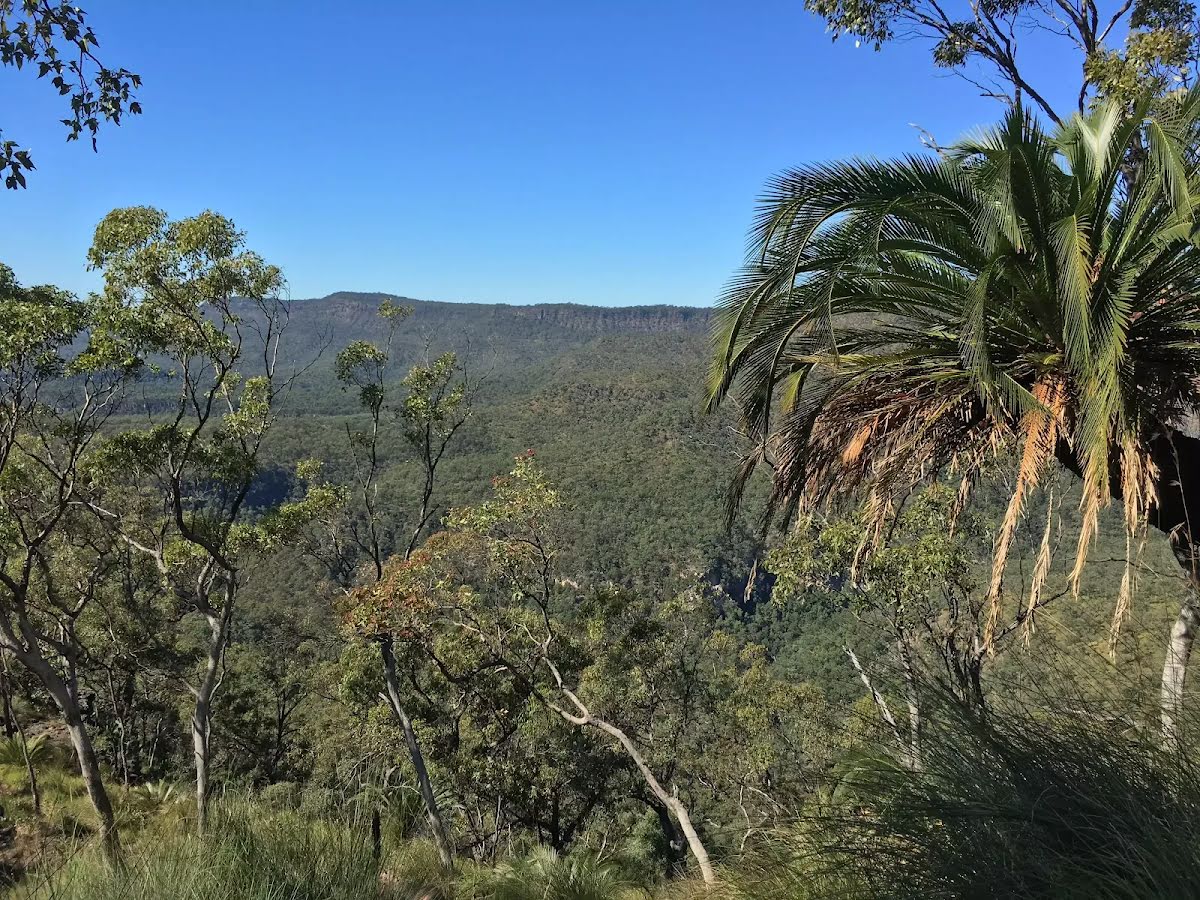
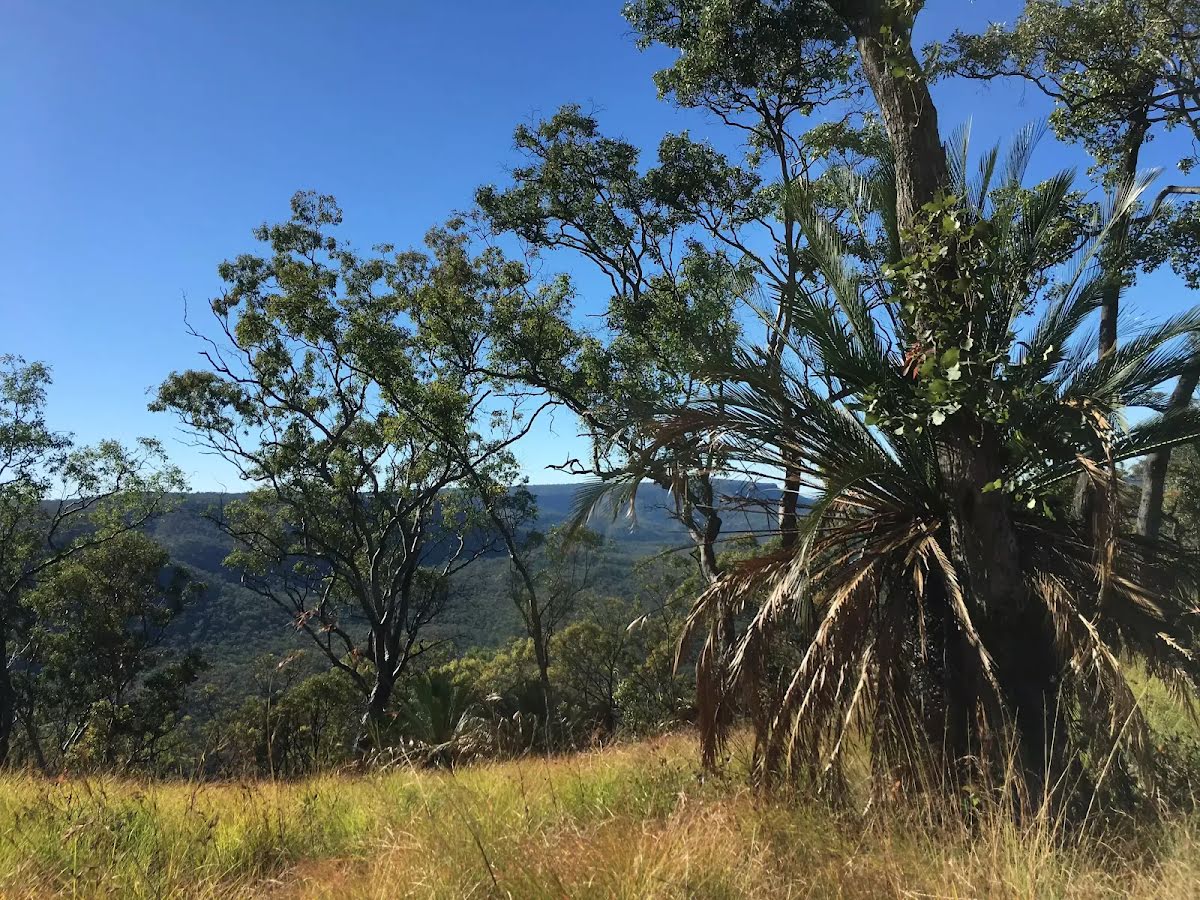
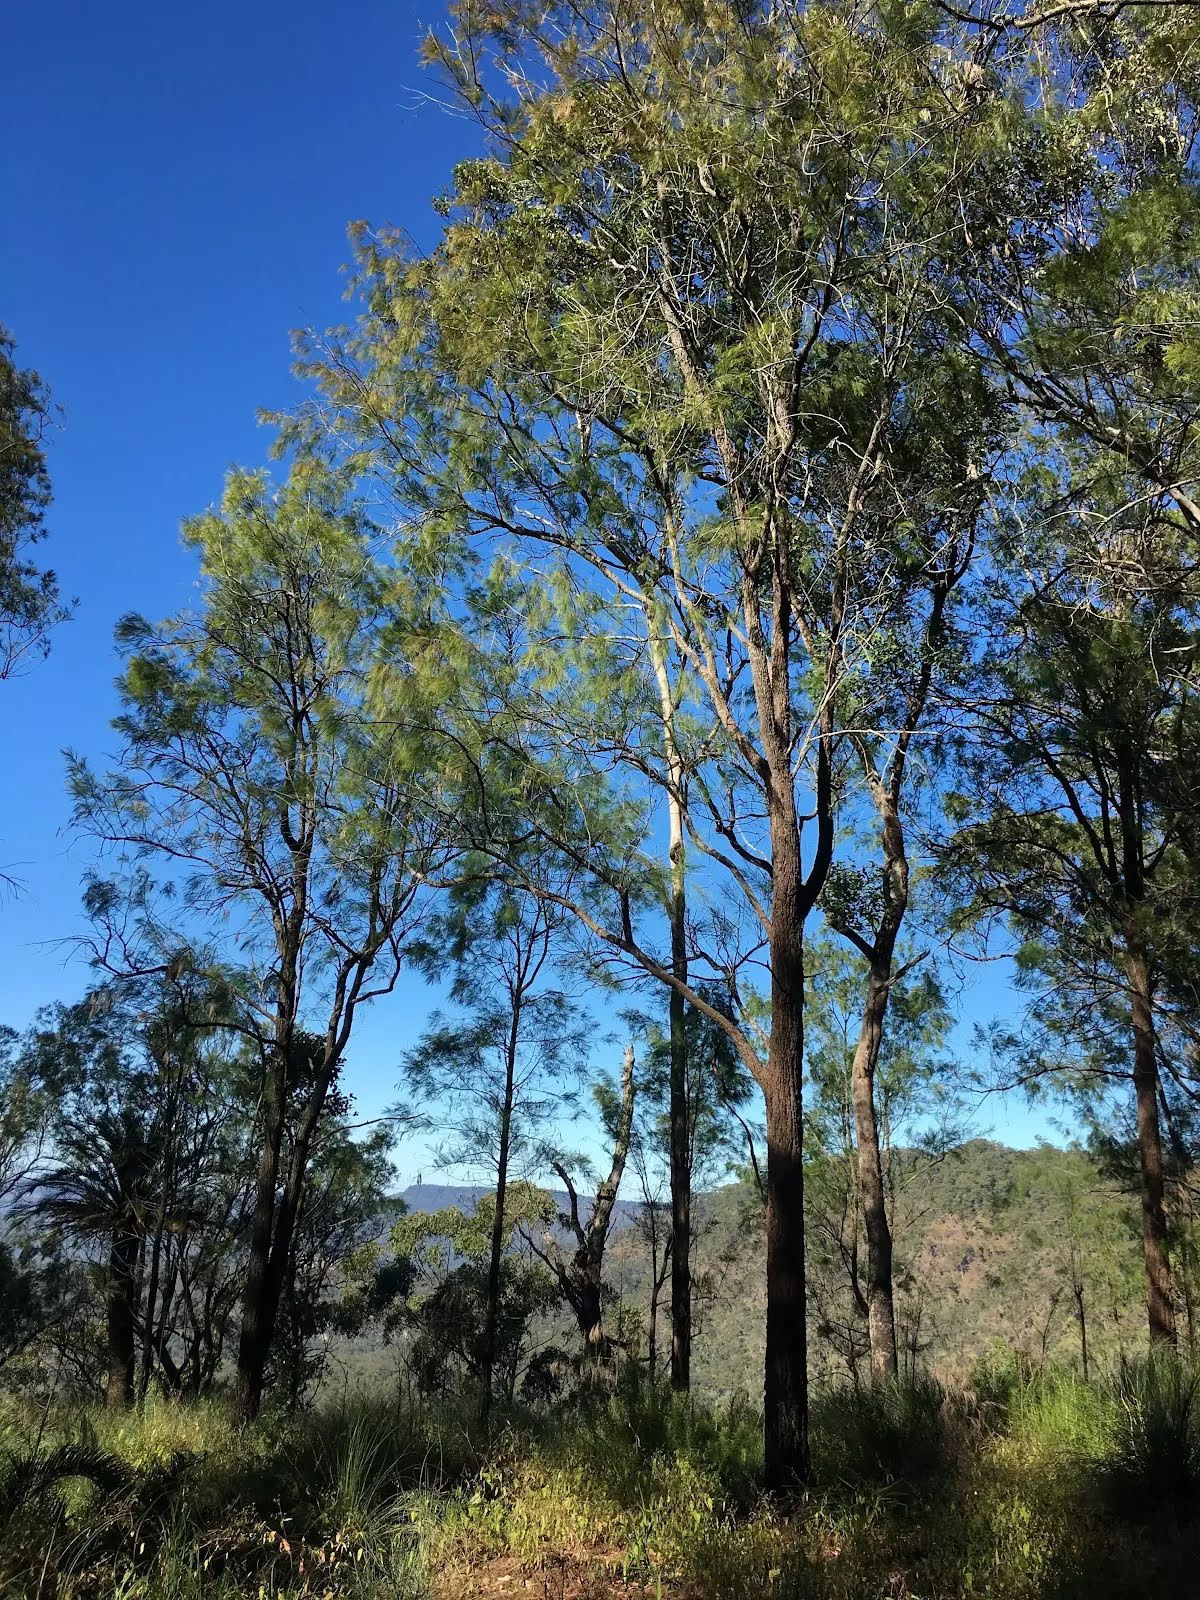
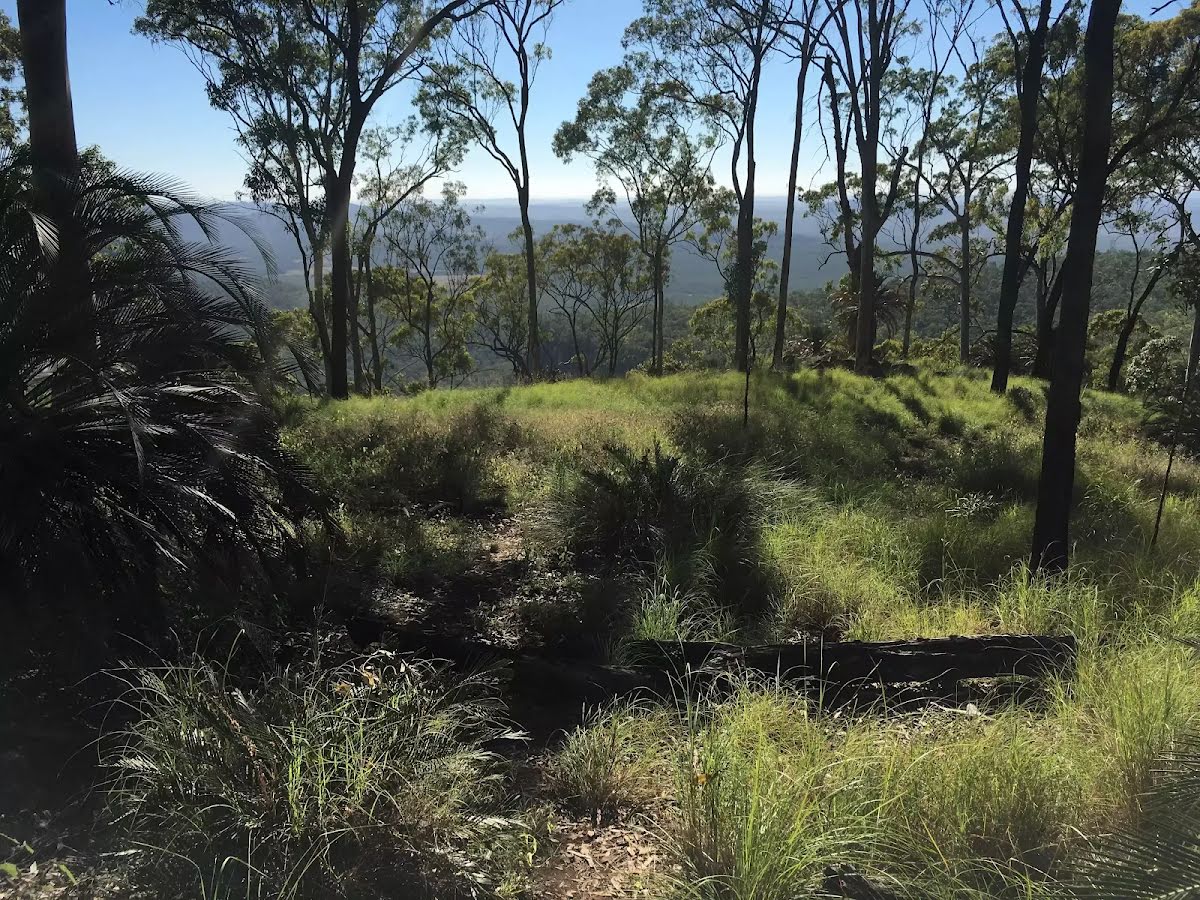
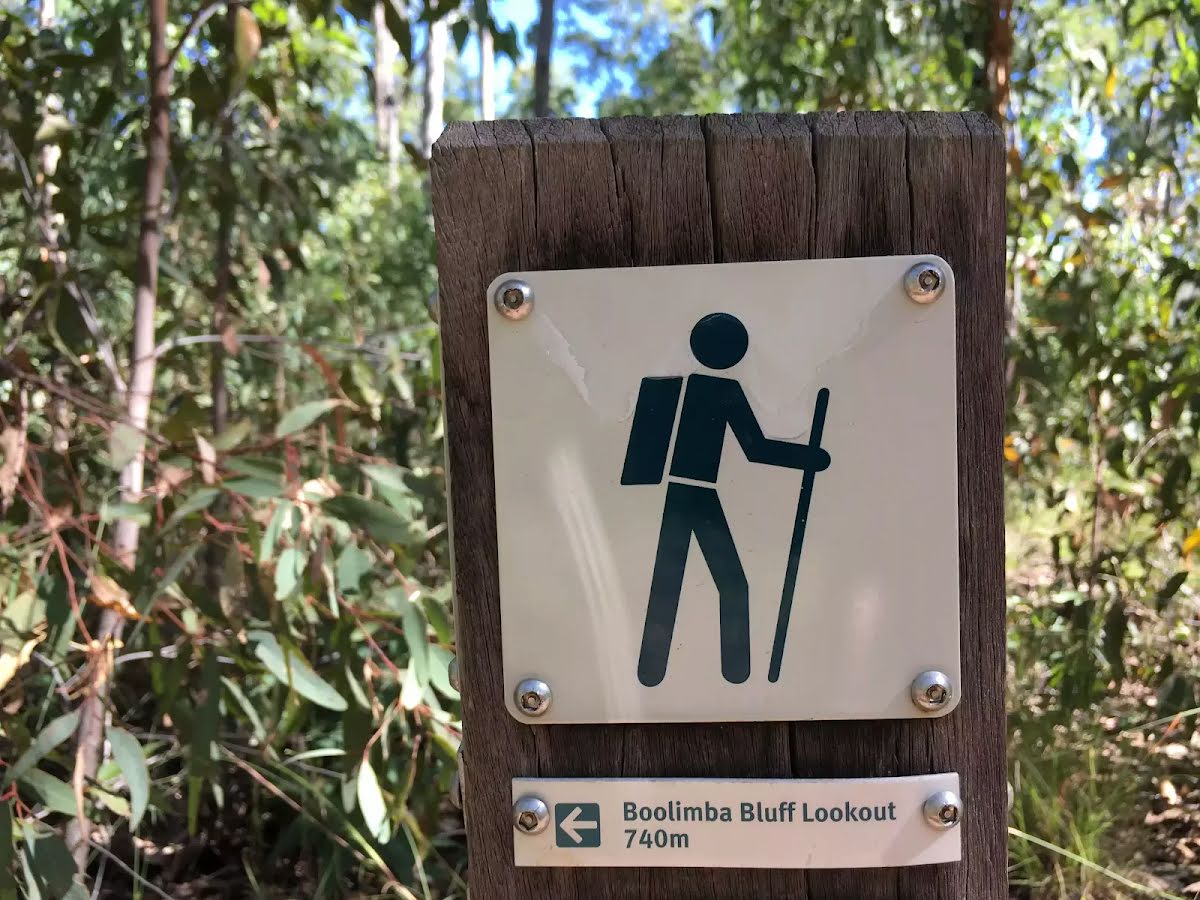
The starting point of an optional sidetrip. This optional side trip takes you to the Boolimba Bluff Lookout(s) where you can get exceptional southerly views over the gorge. To start this optional side trip turn left here. On returning from this side trip continue straight when you get back to this intersection. Details below.
|
 |
|
 |
|
 |
| Turn map | Directions & comments |
|---|---|
 |
|
 |


|
|
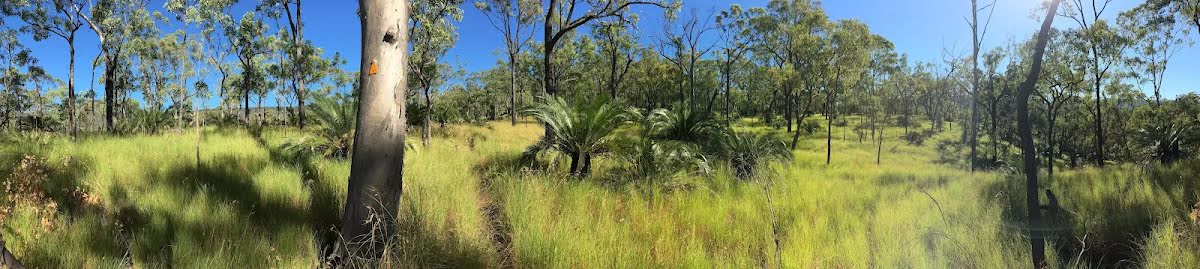
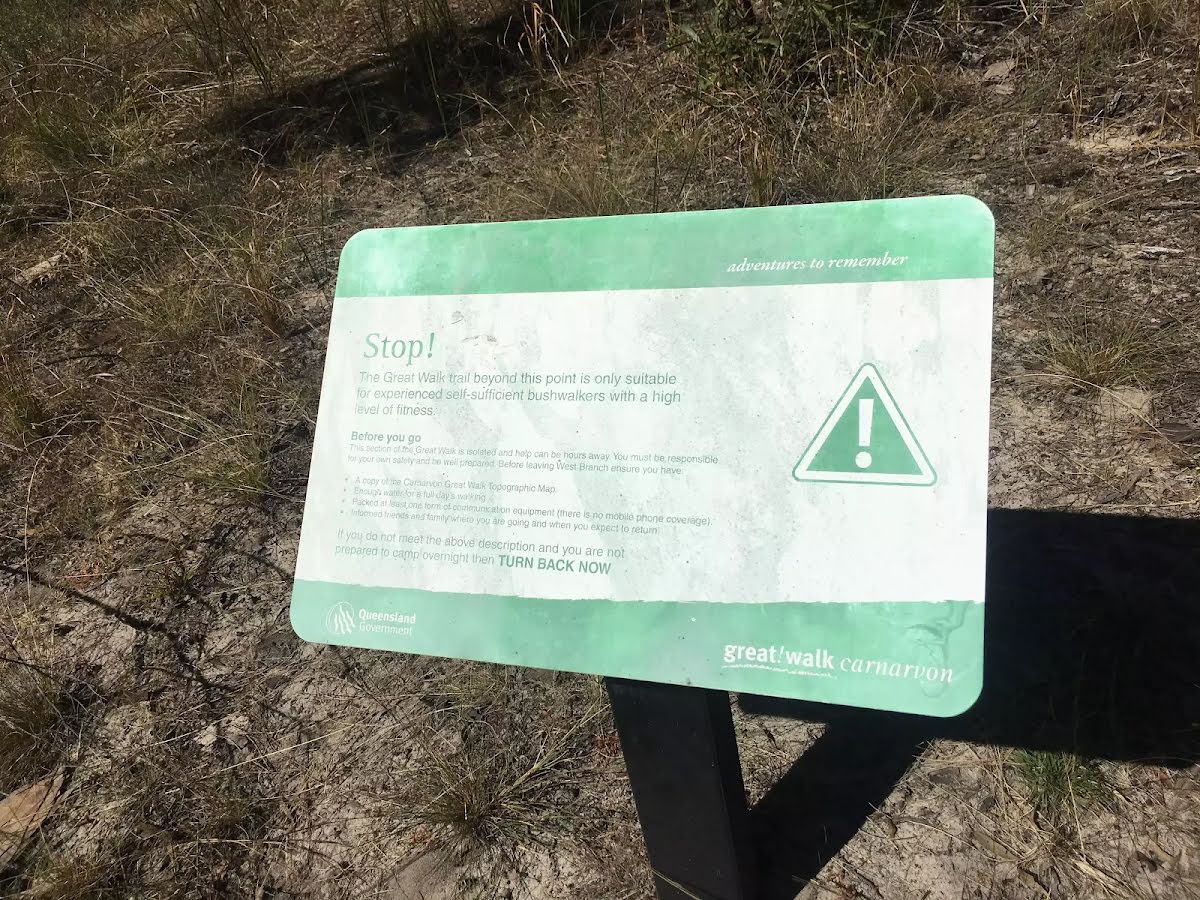
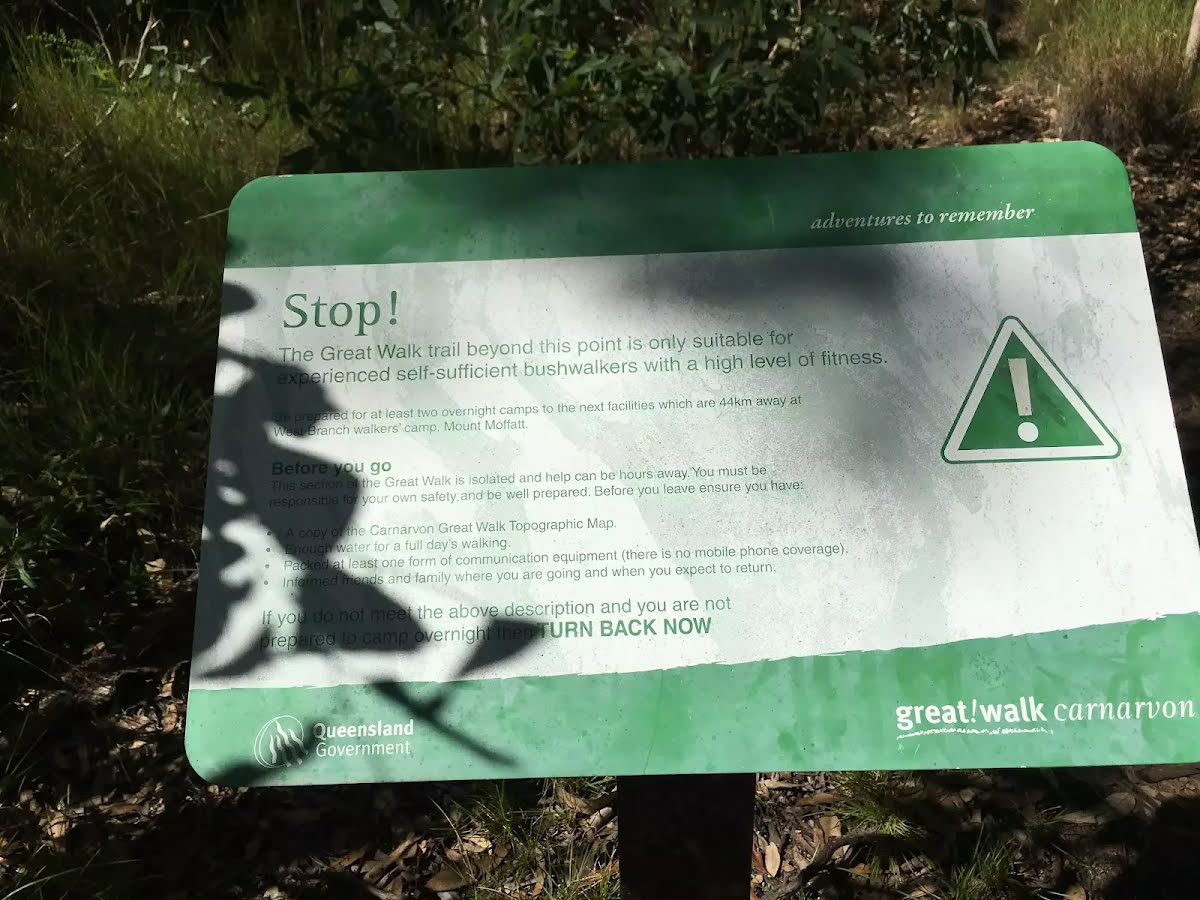
Class 5/6 Very challenging |
|---|---|
| Length | 84.3 km |
| Time | 4 days to 6 days |
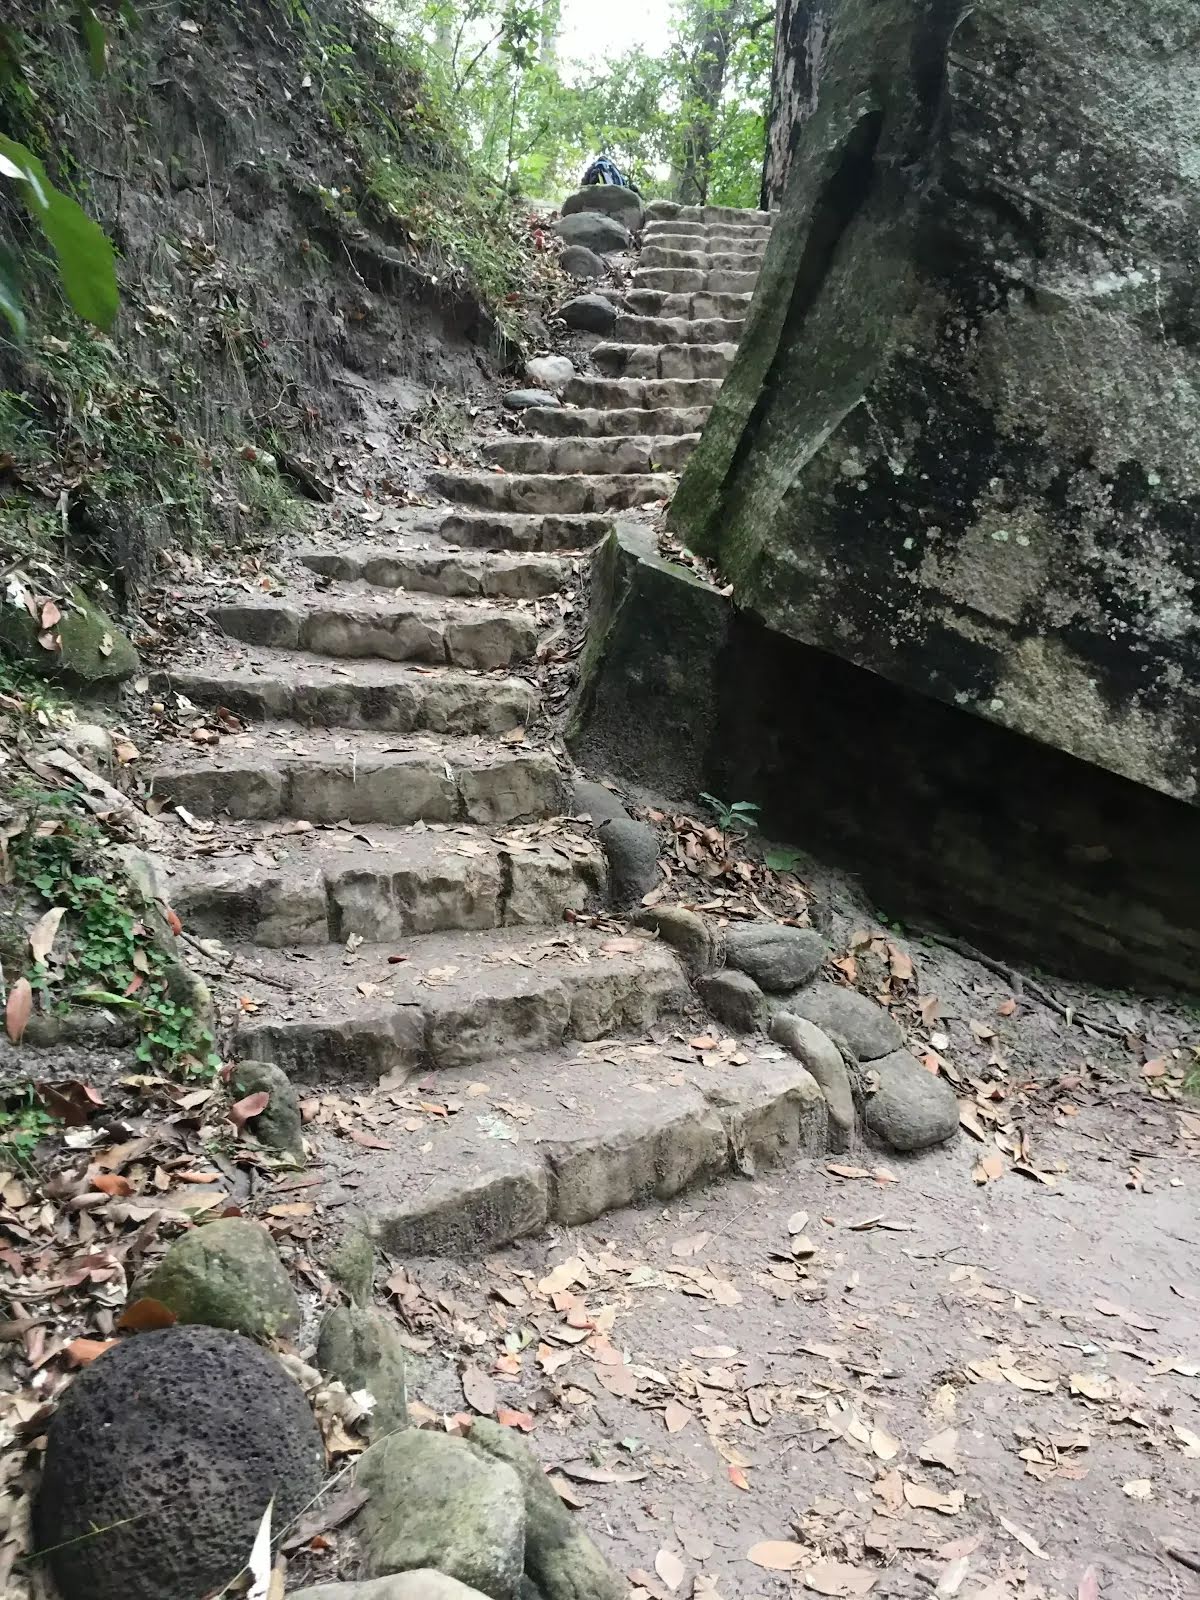
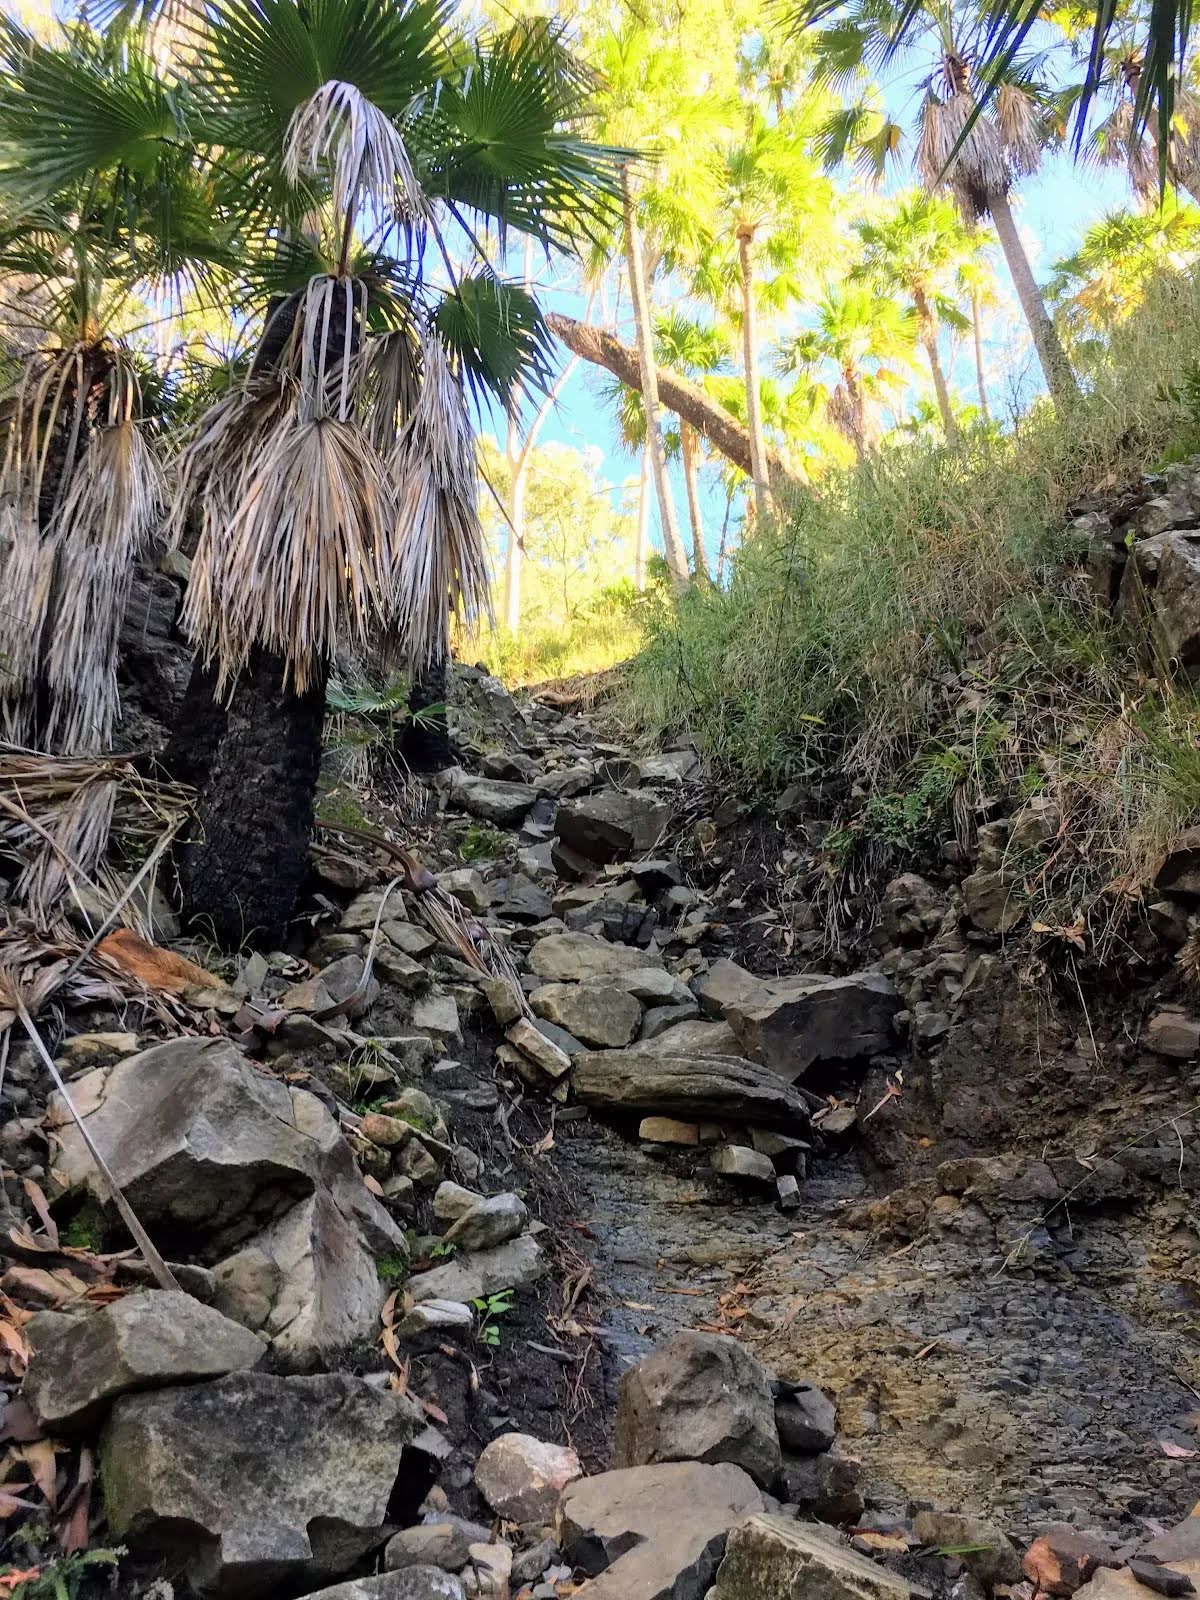
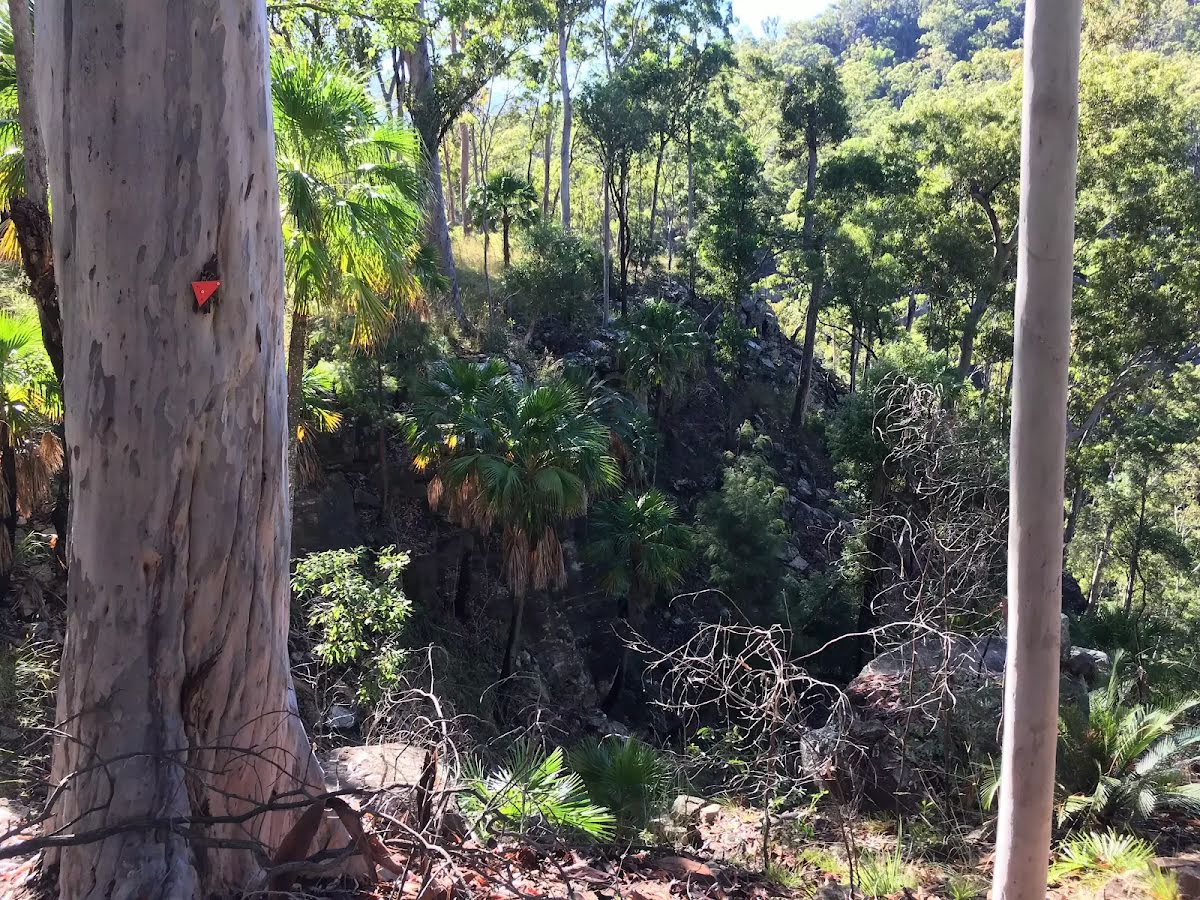
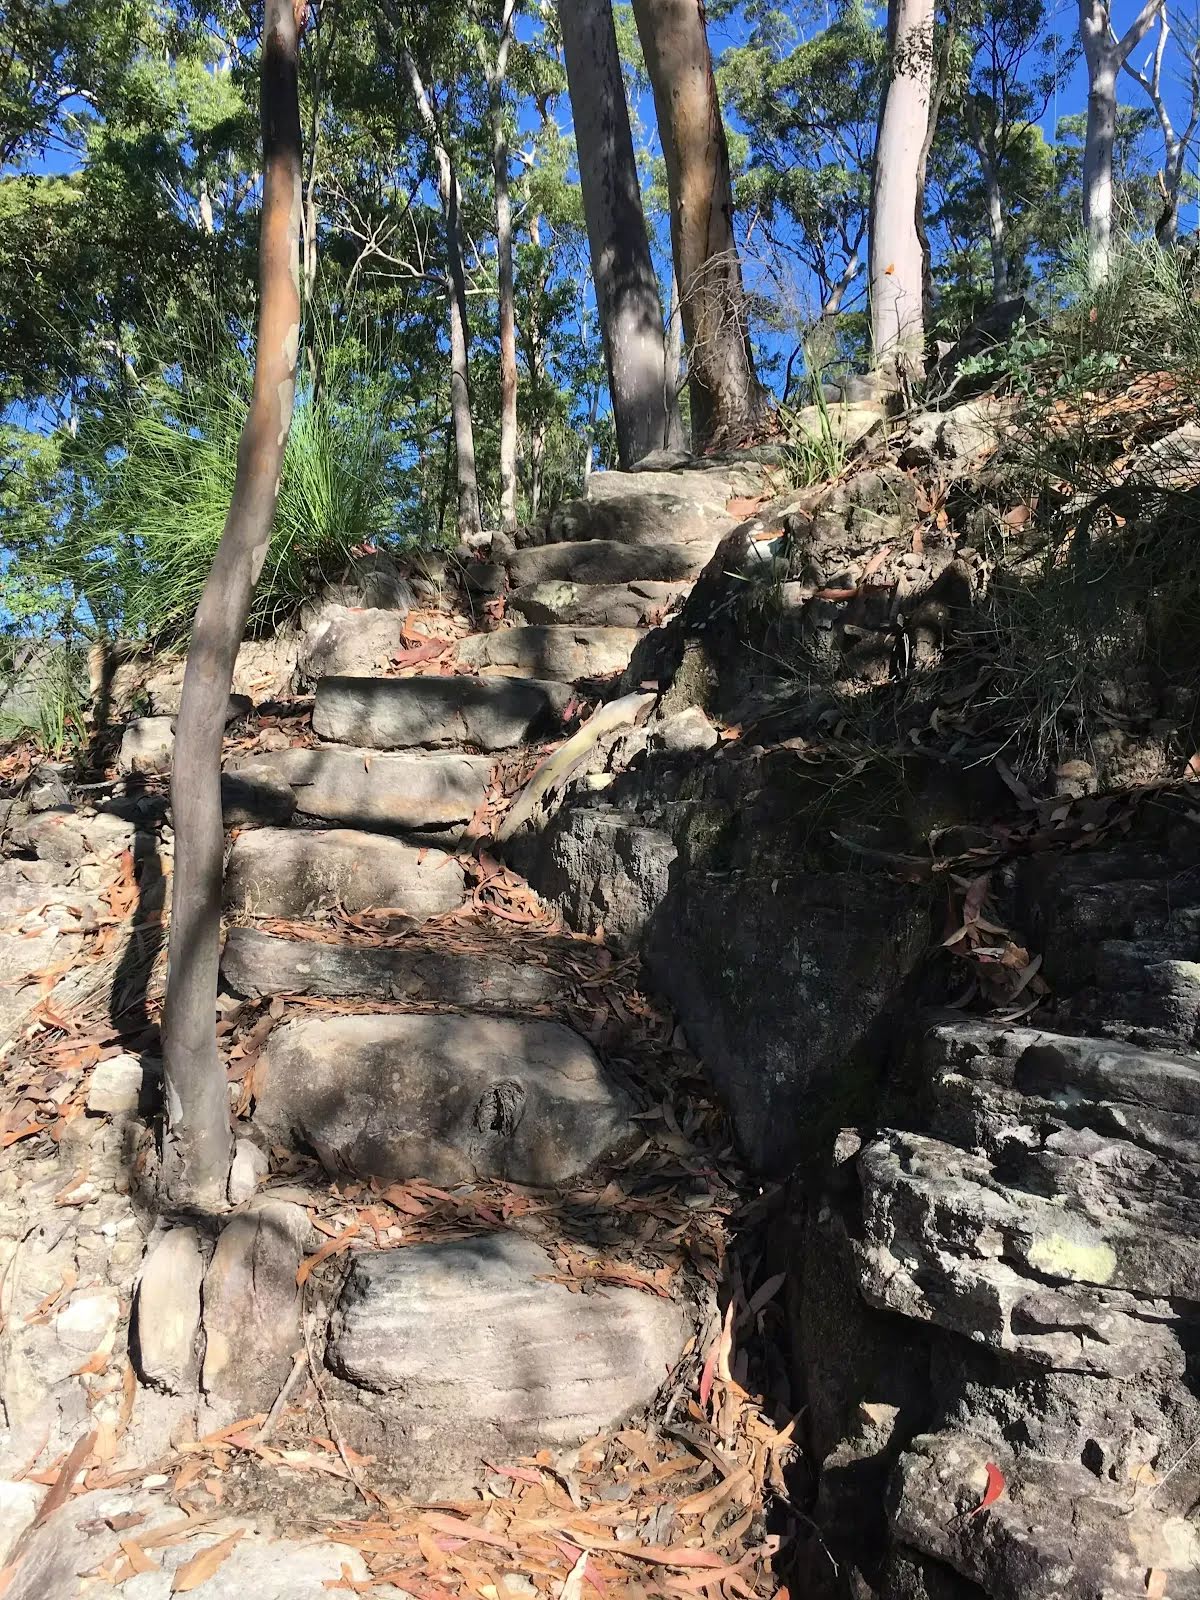
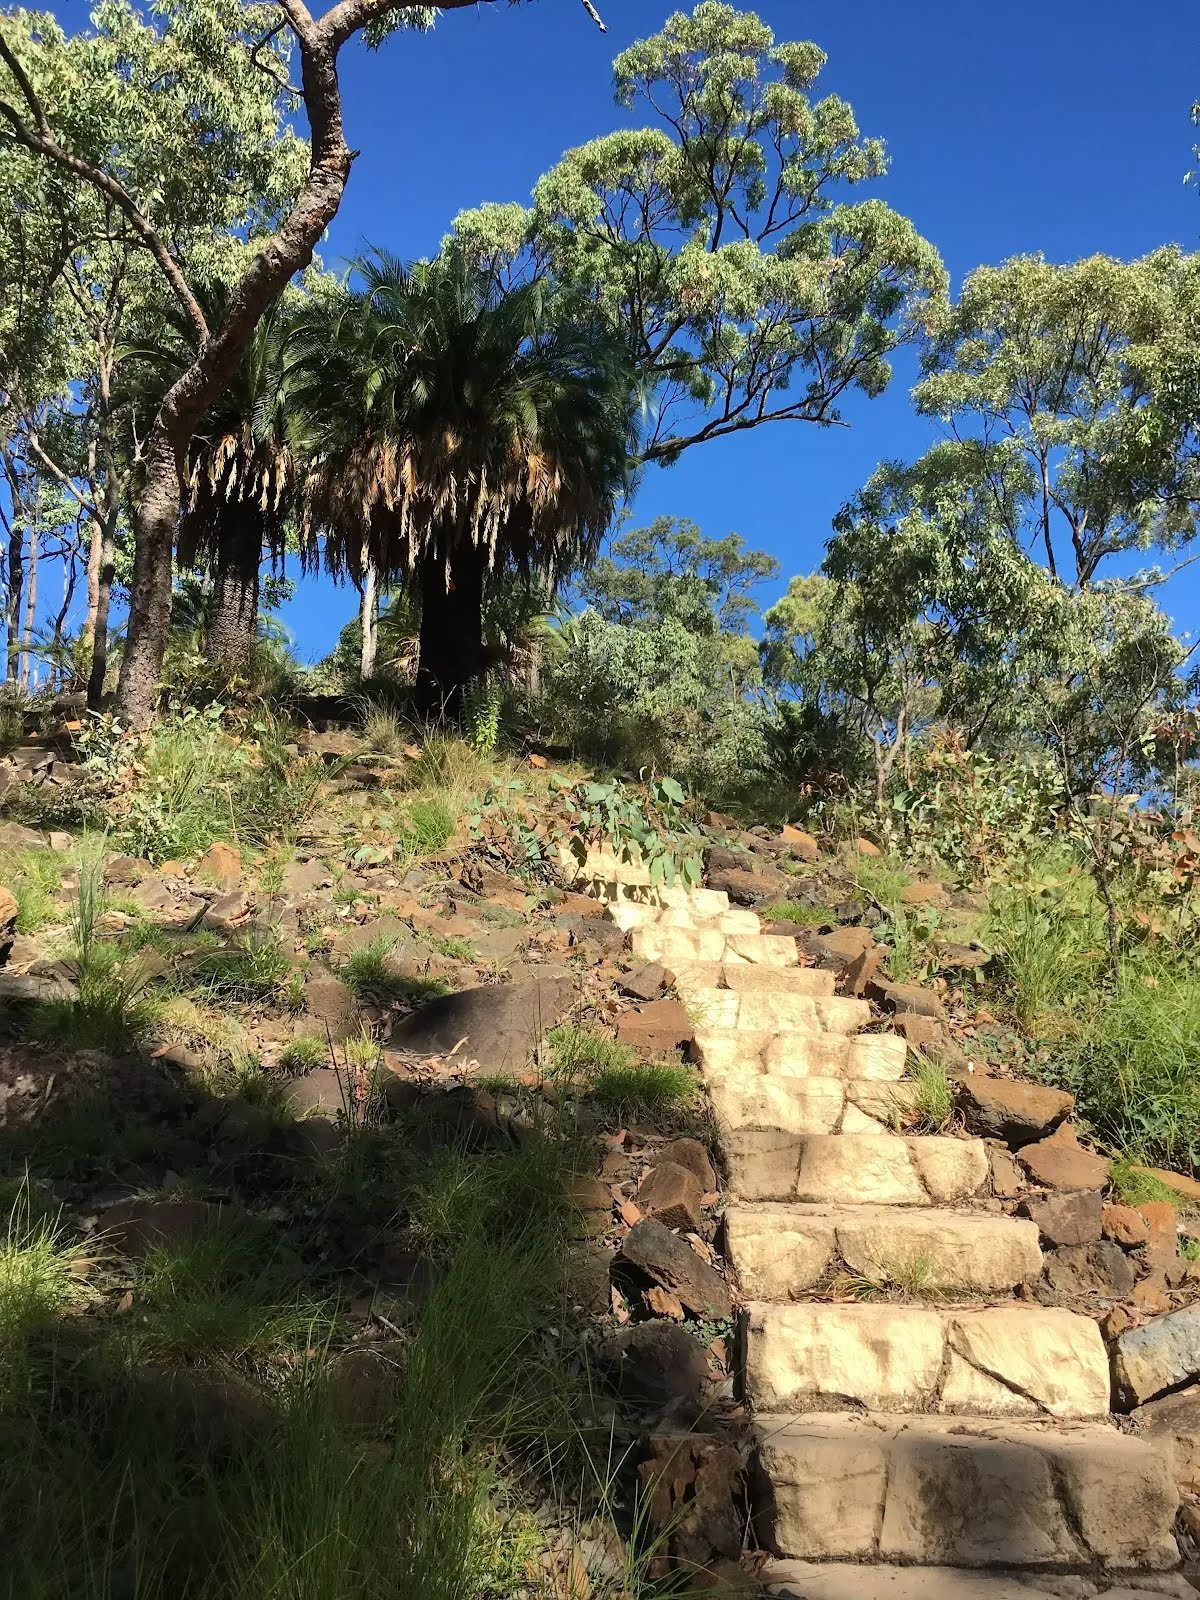
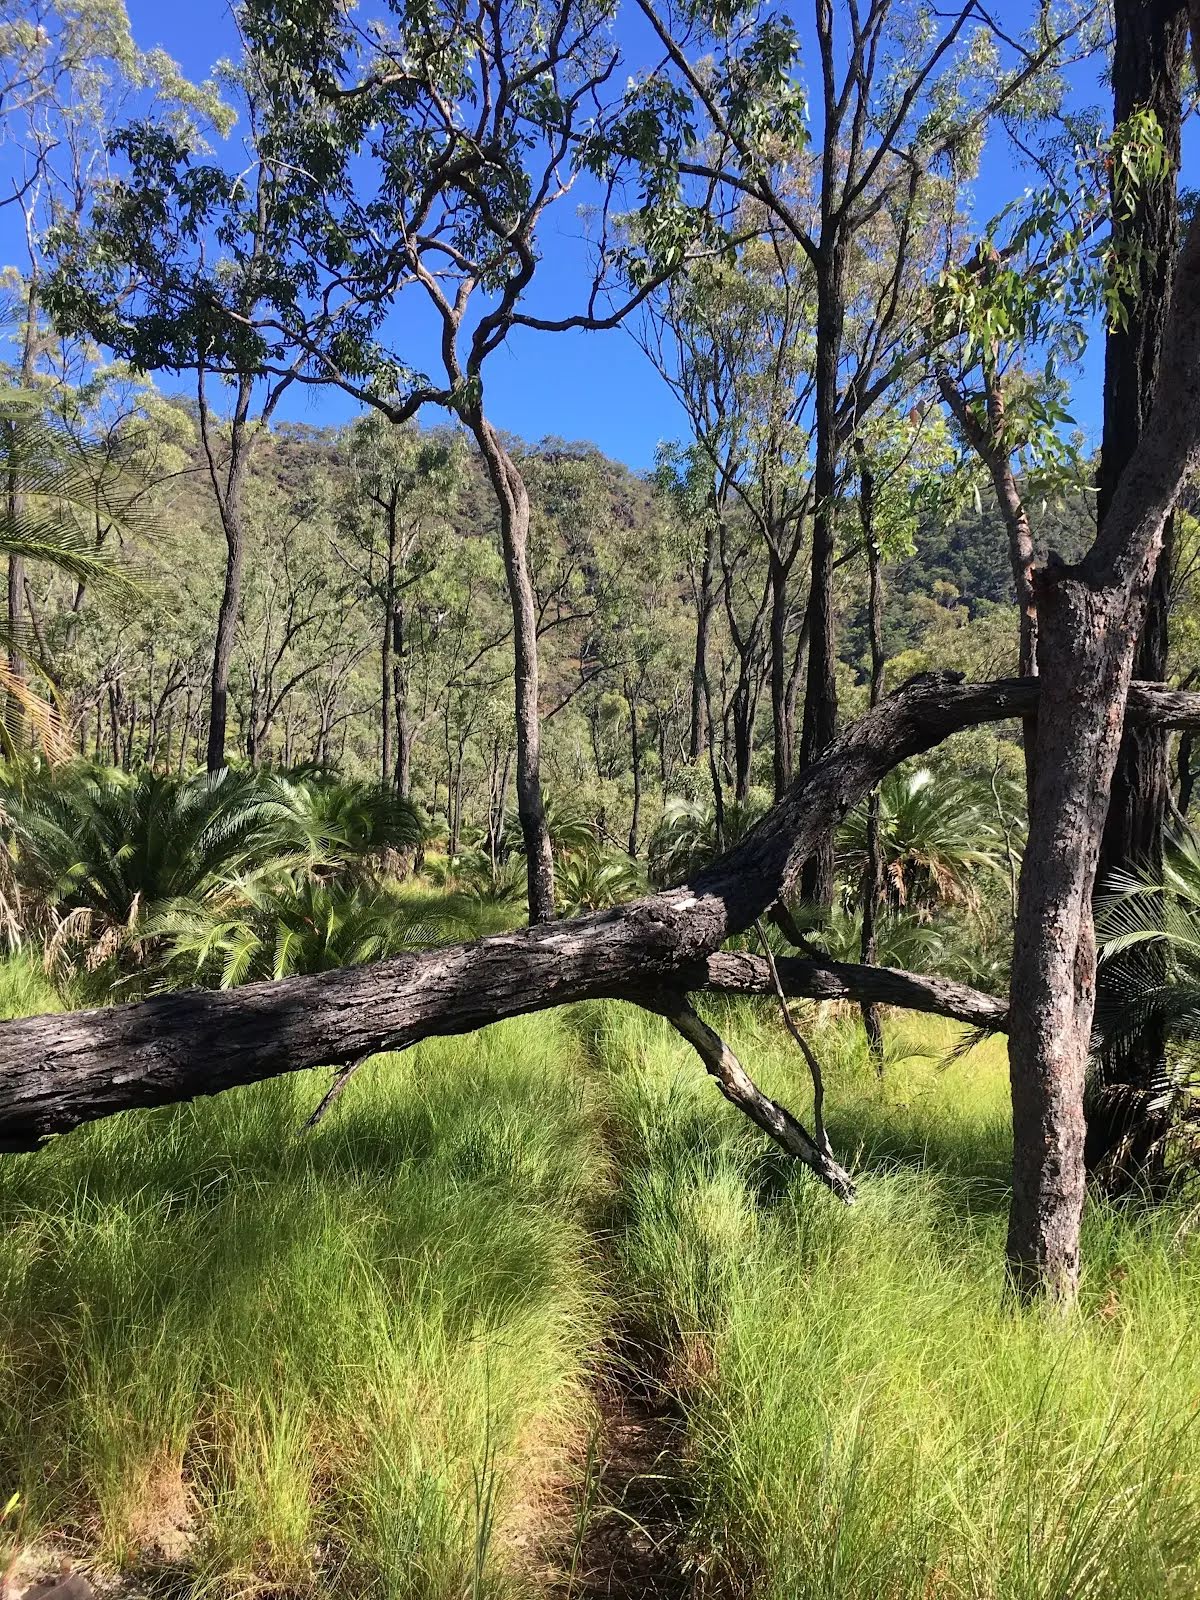
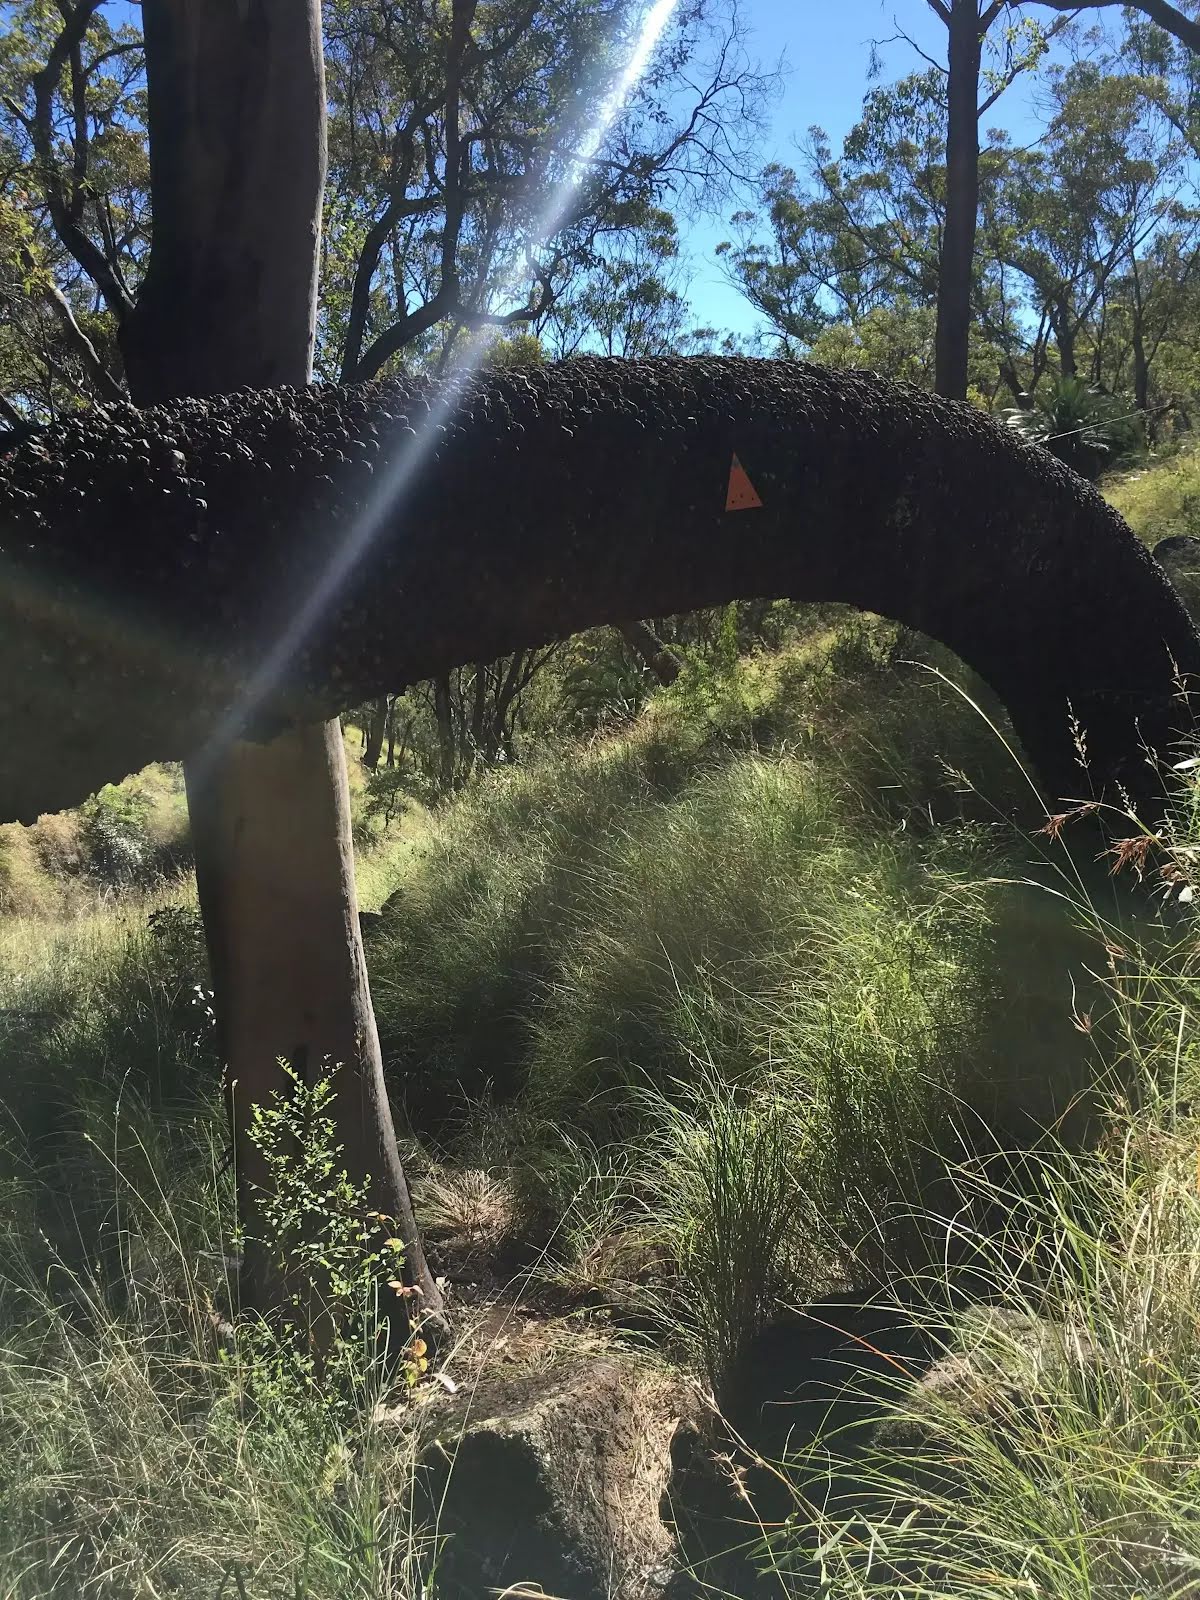
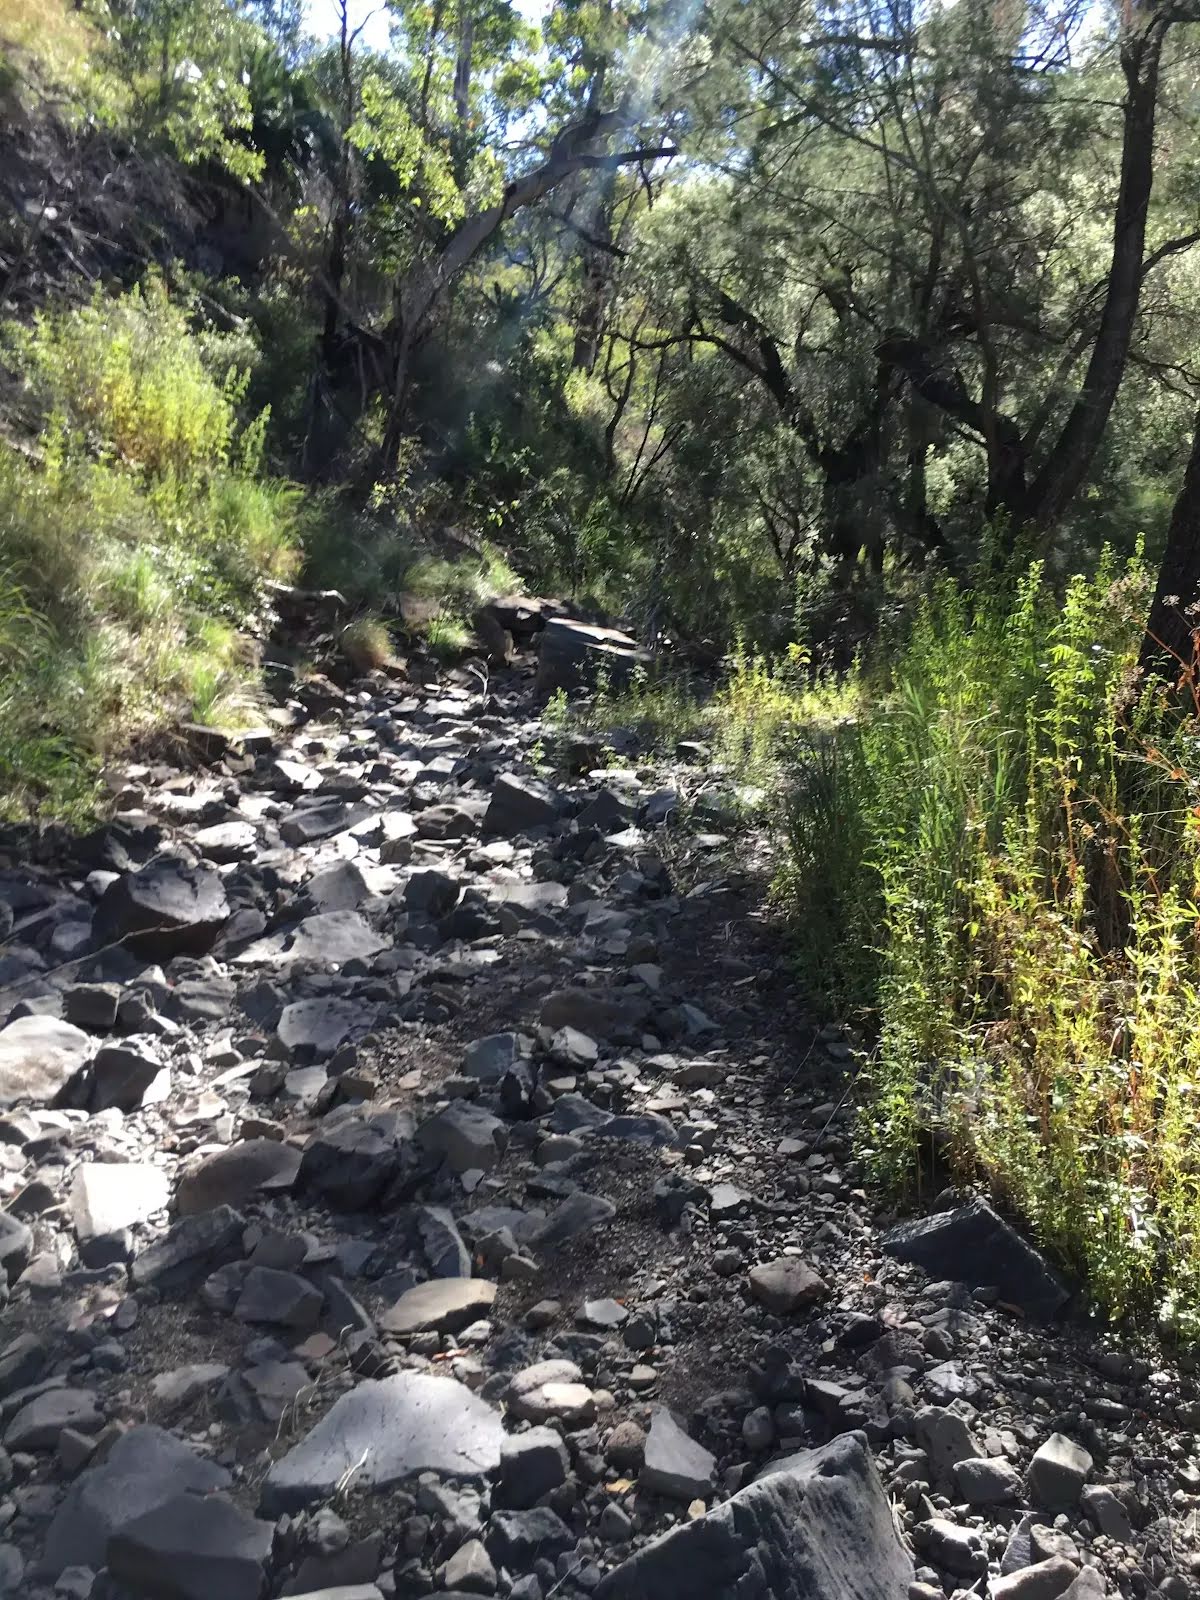
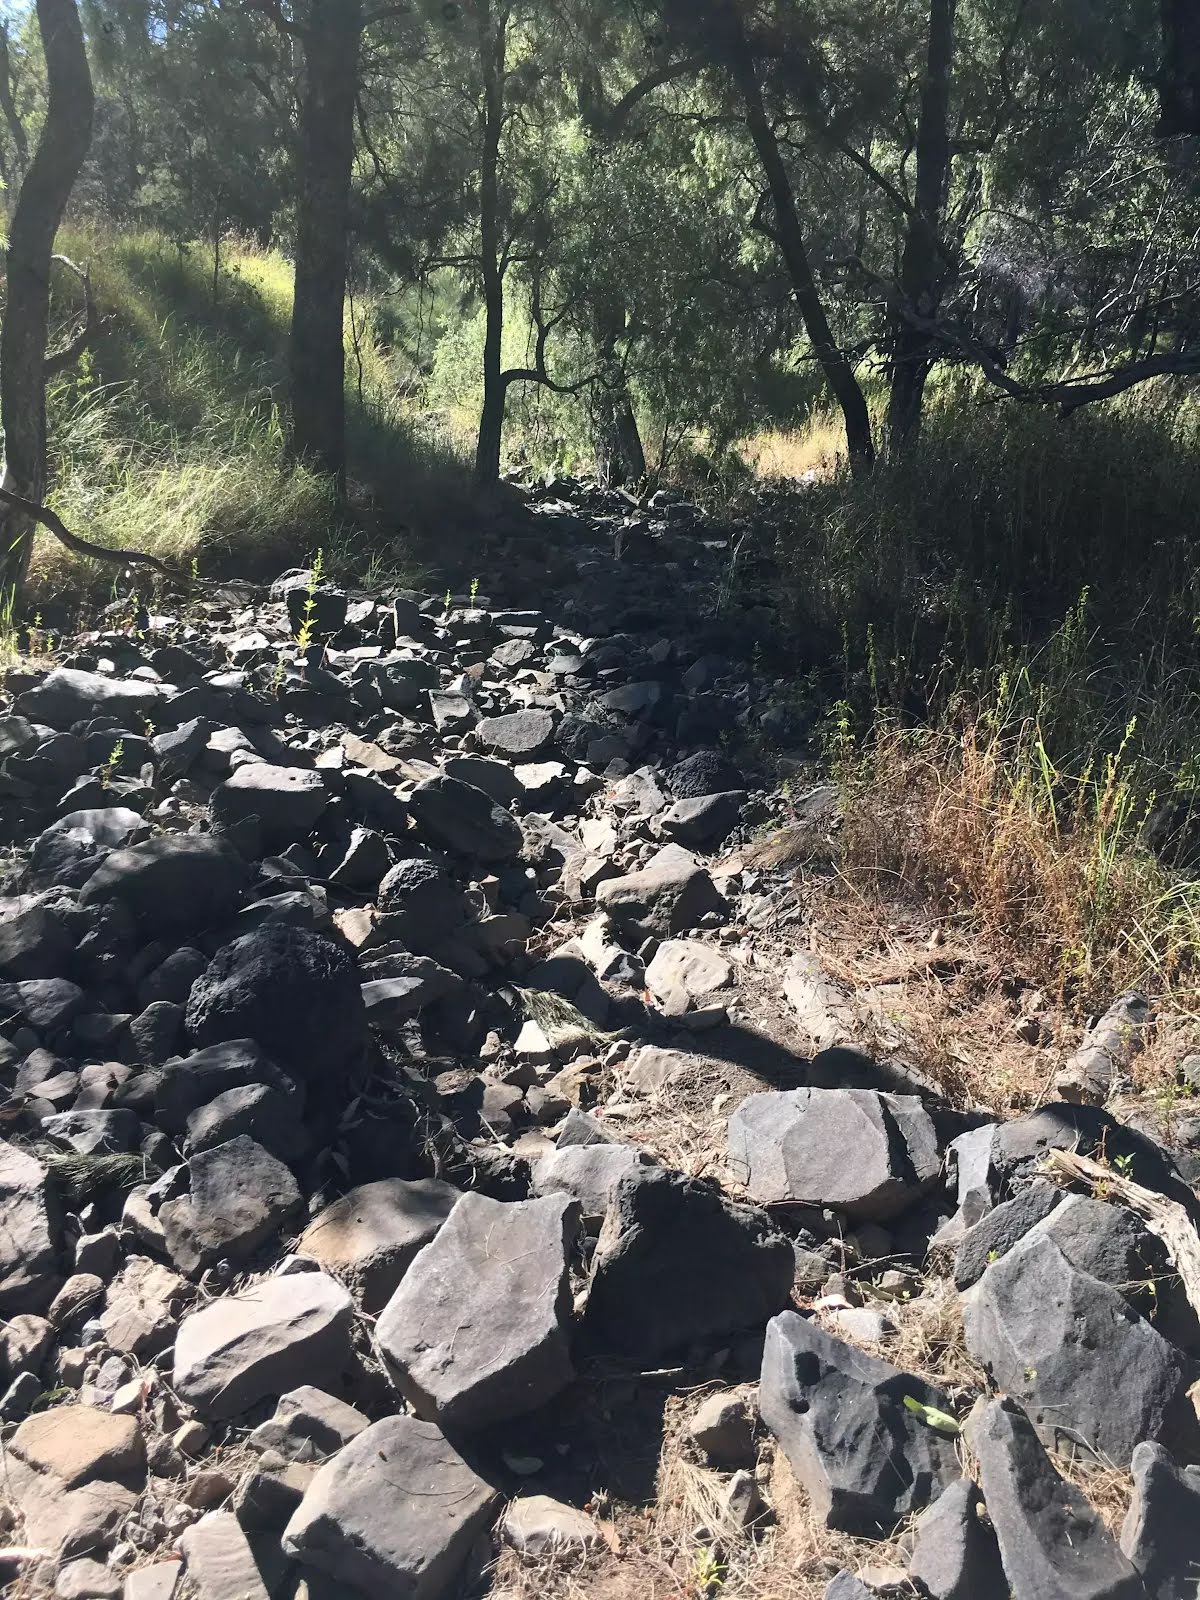
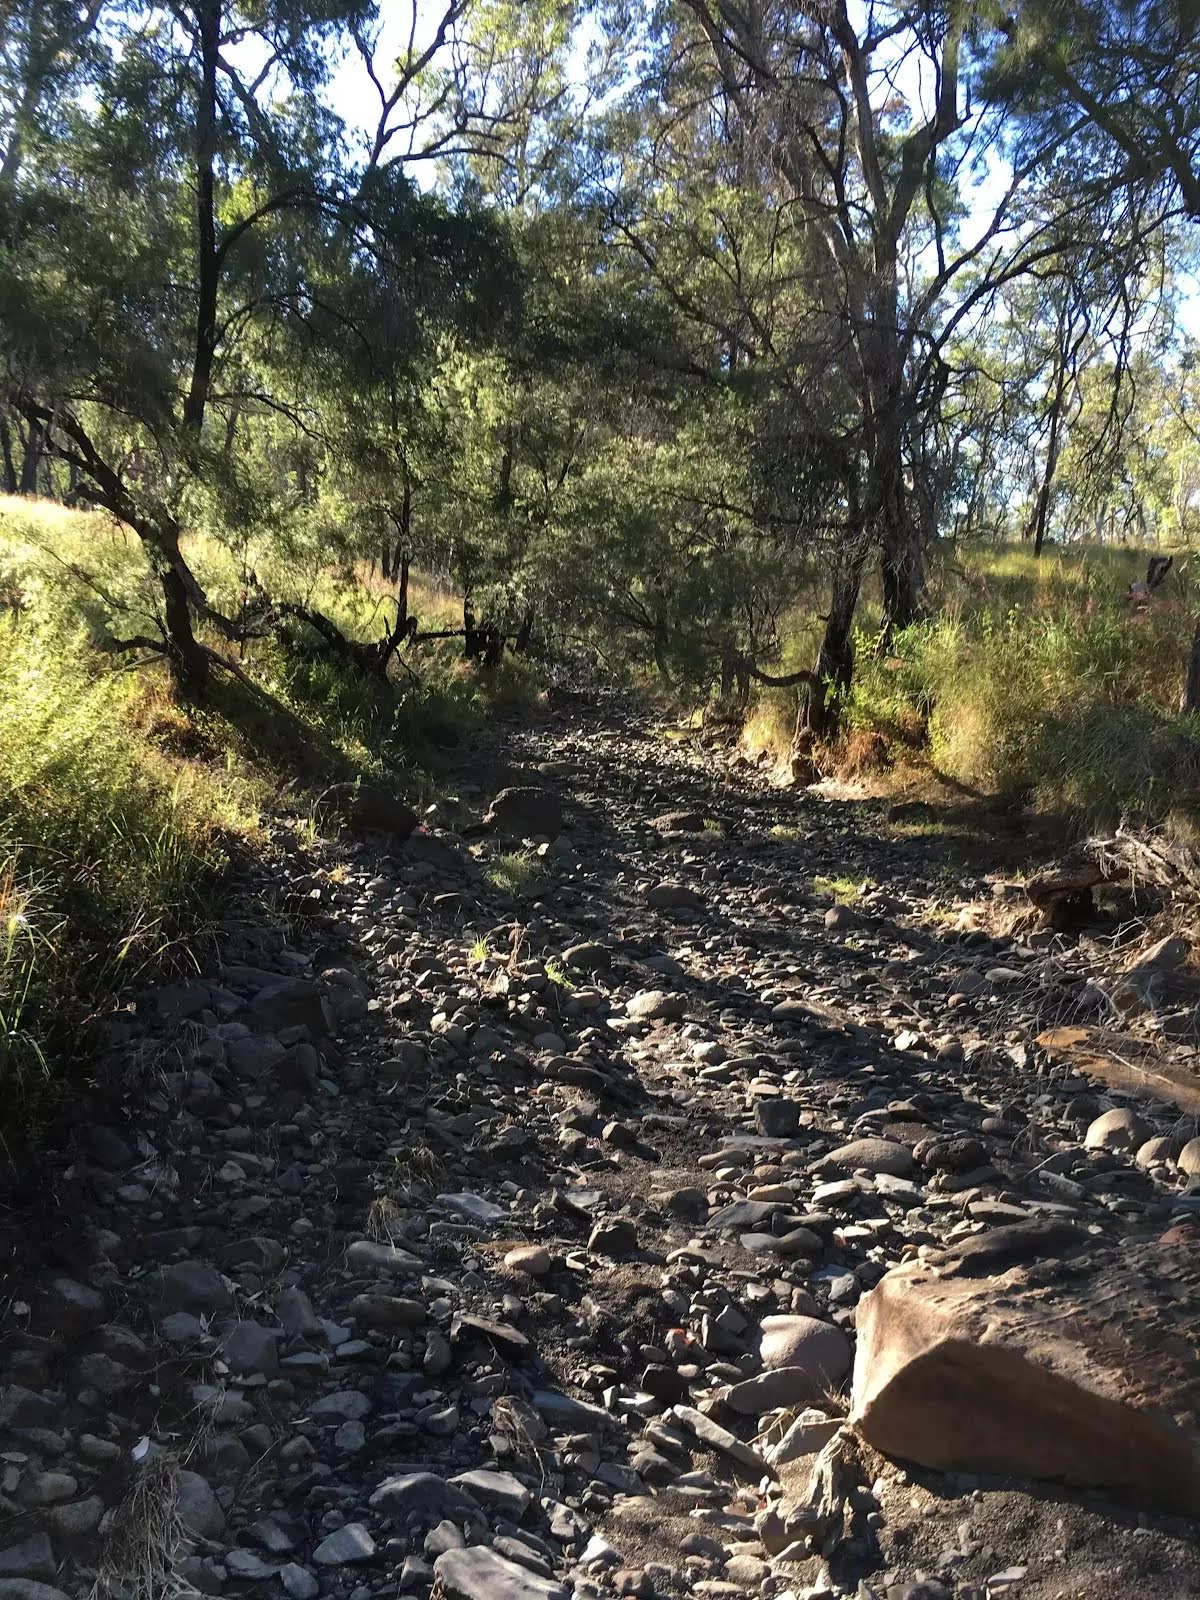
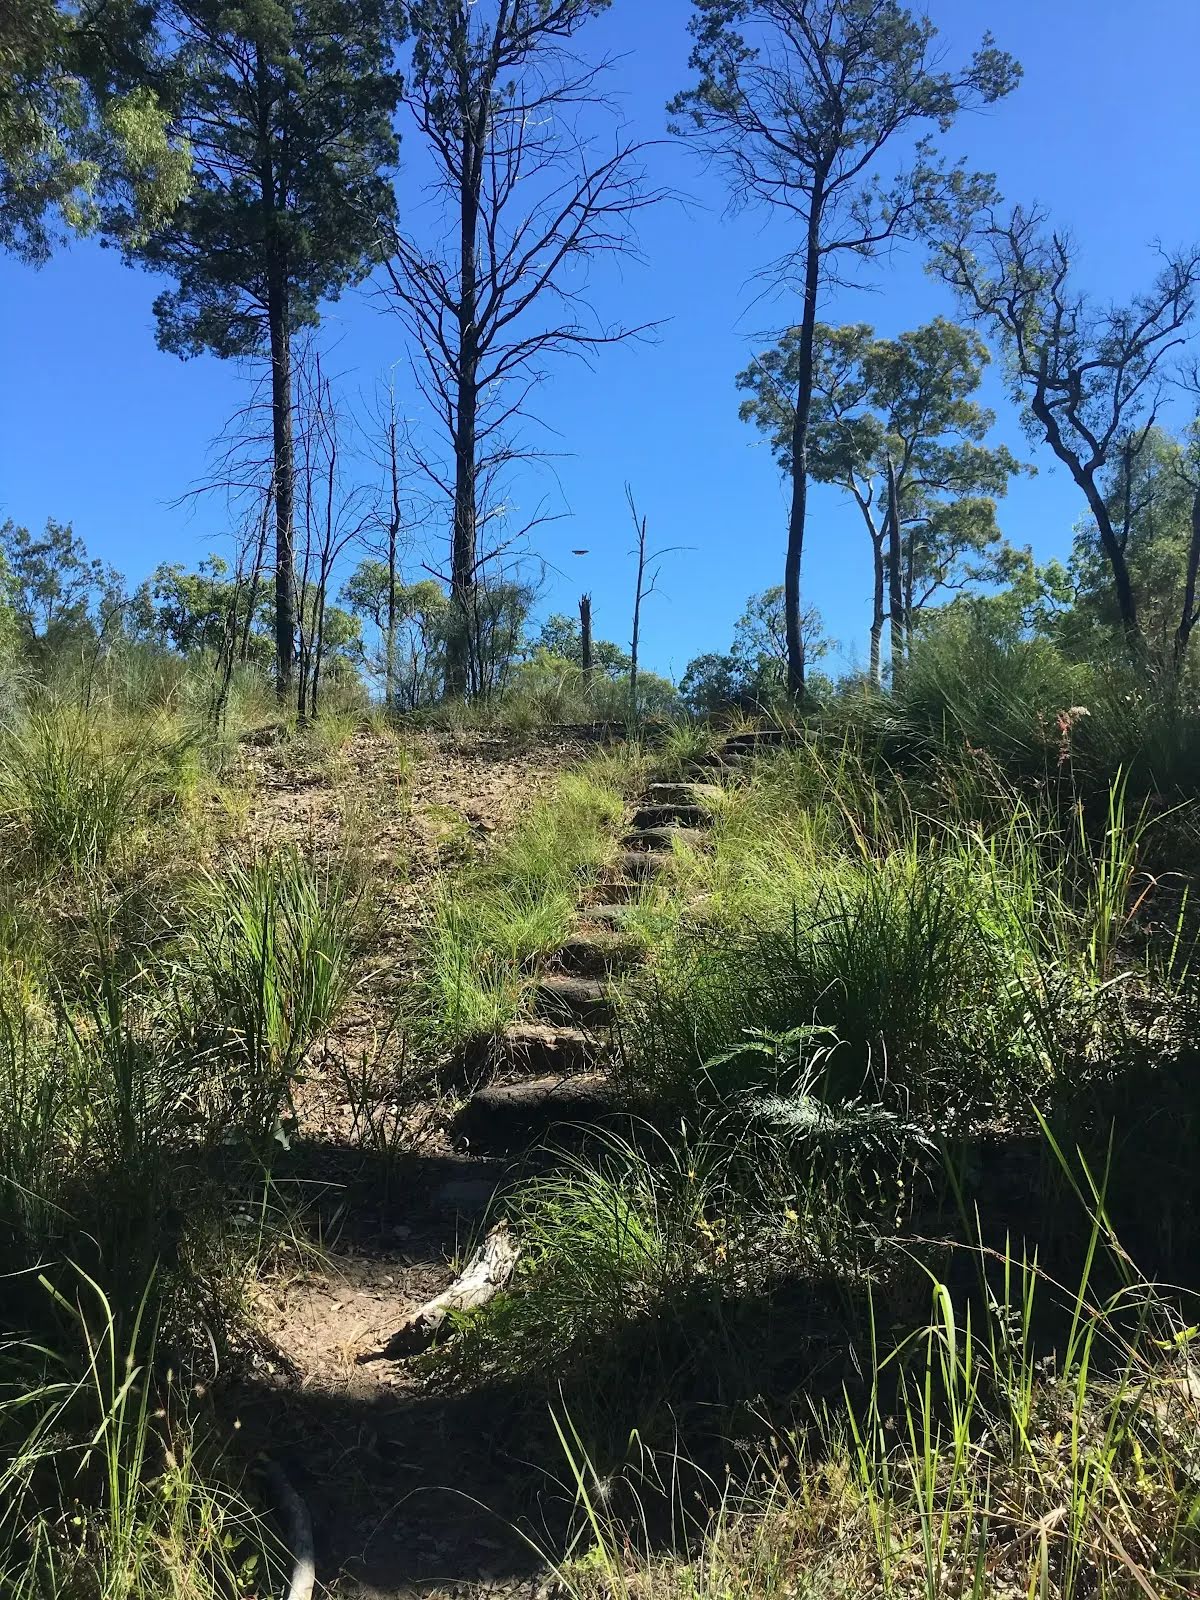
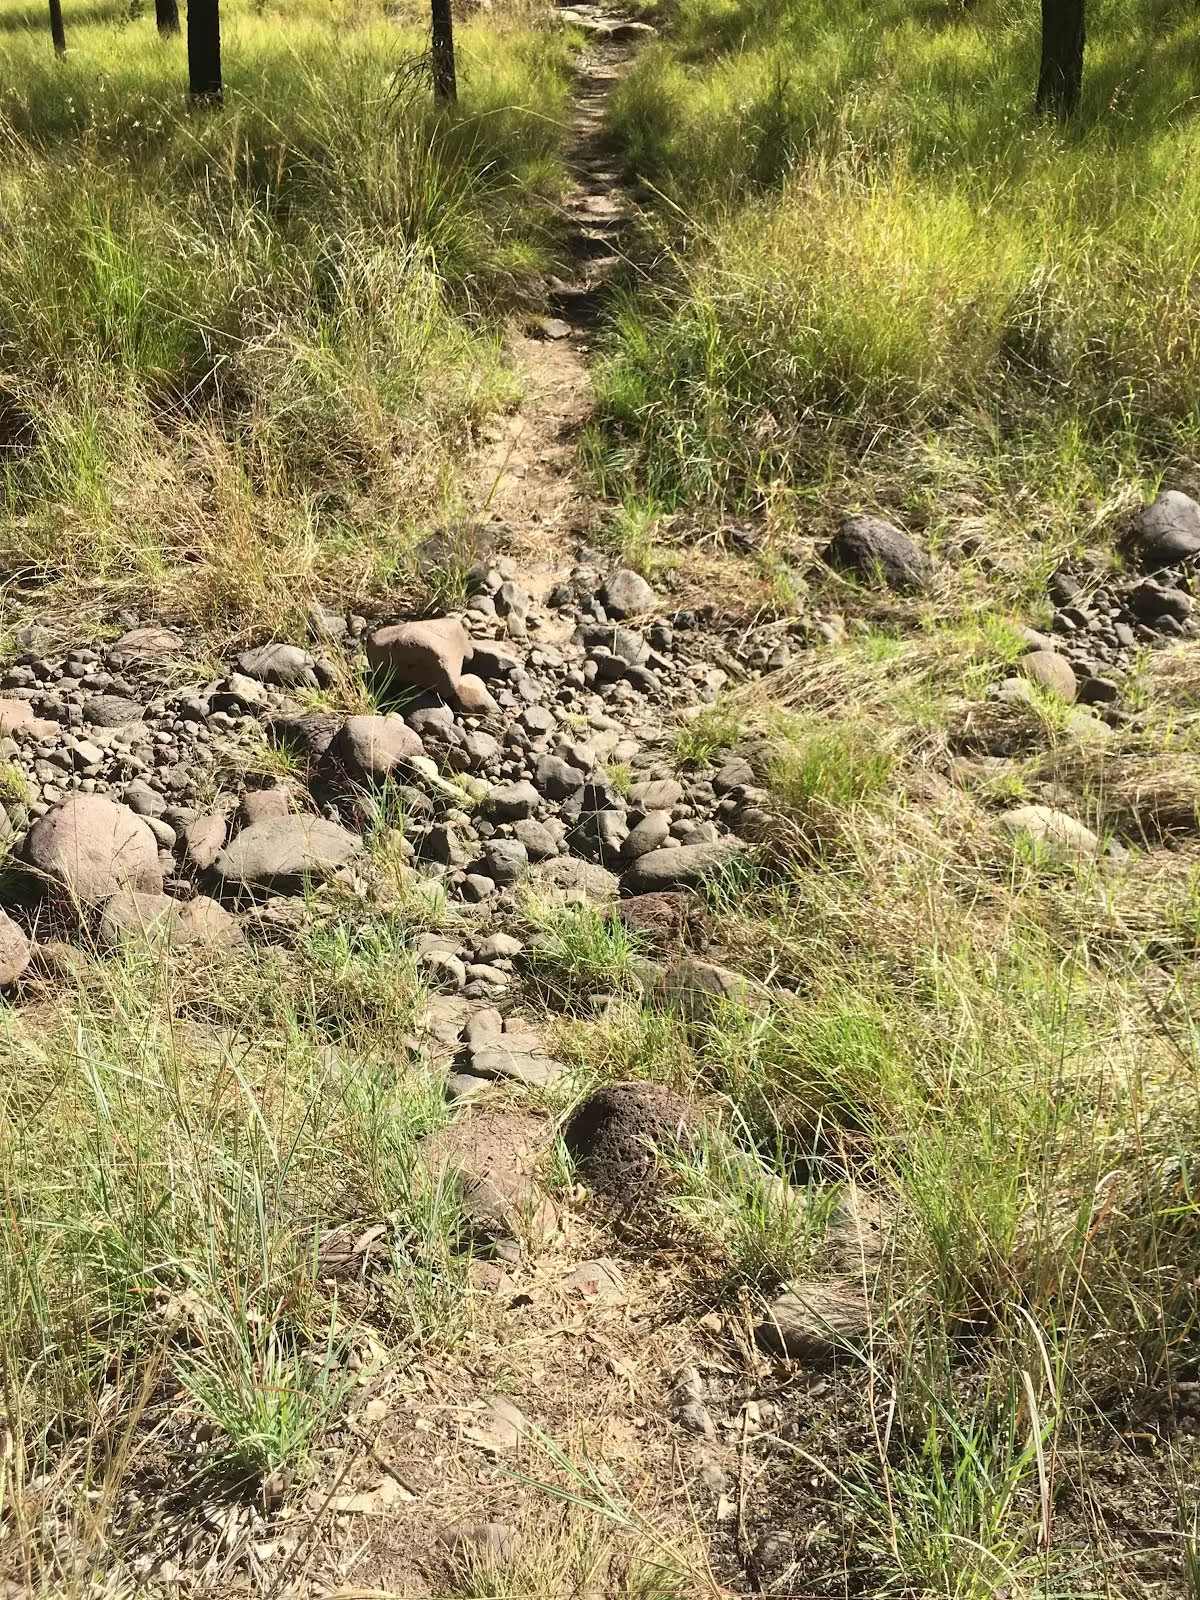
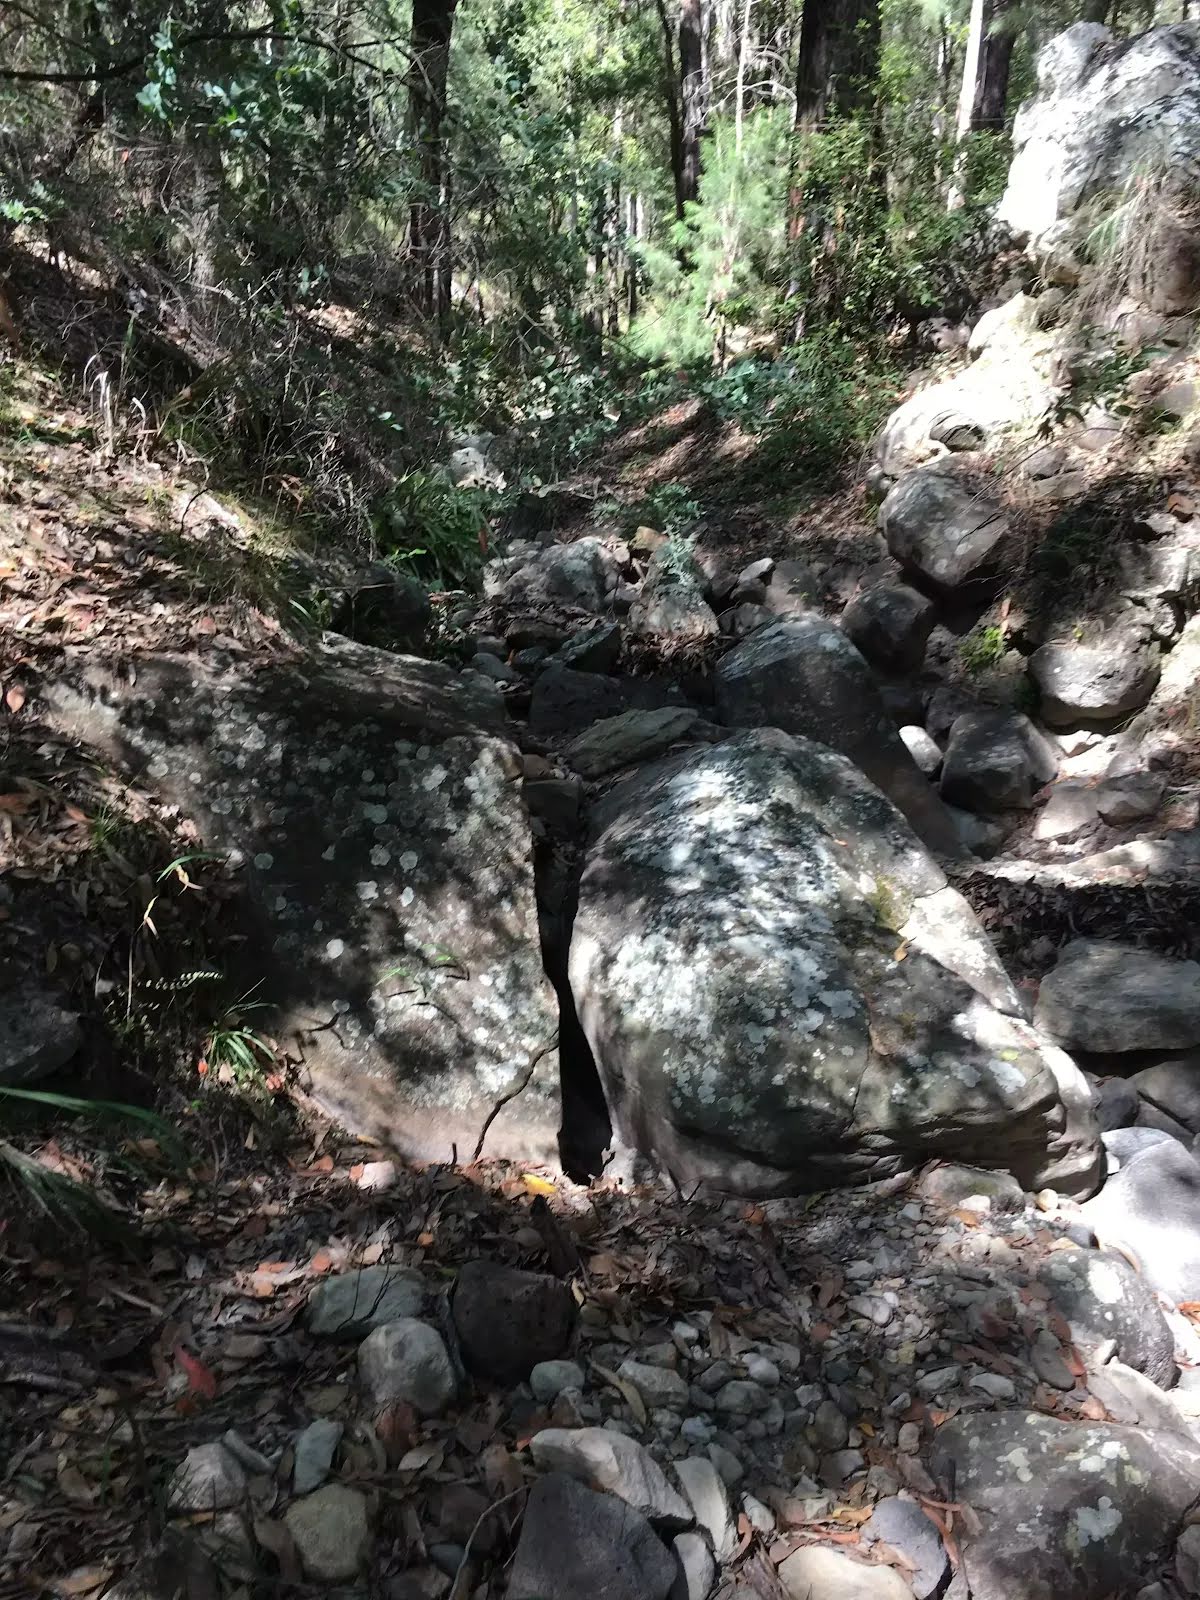
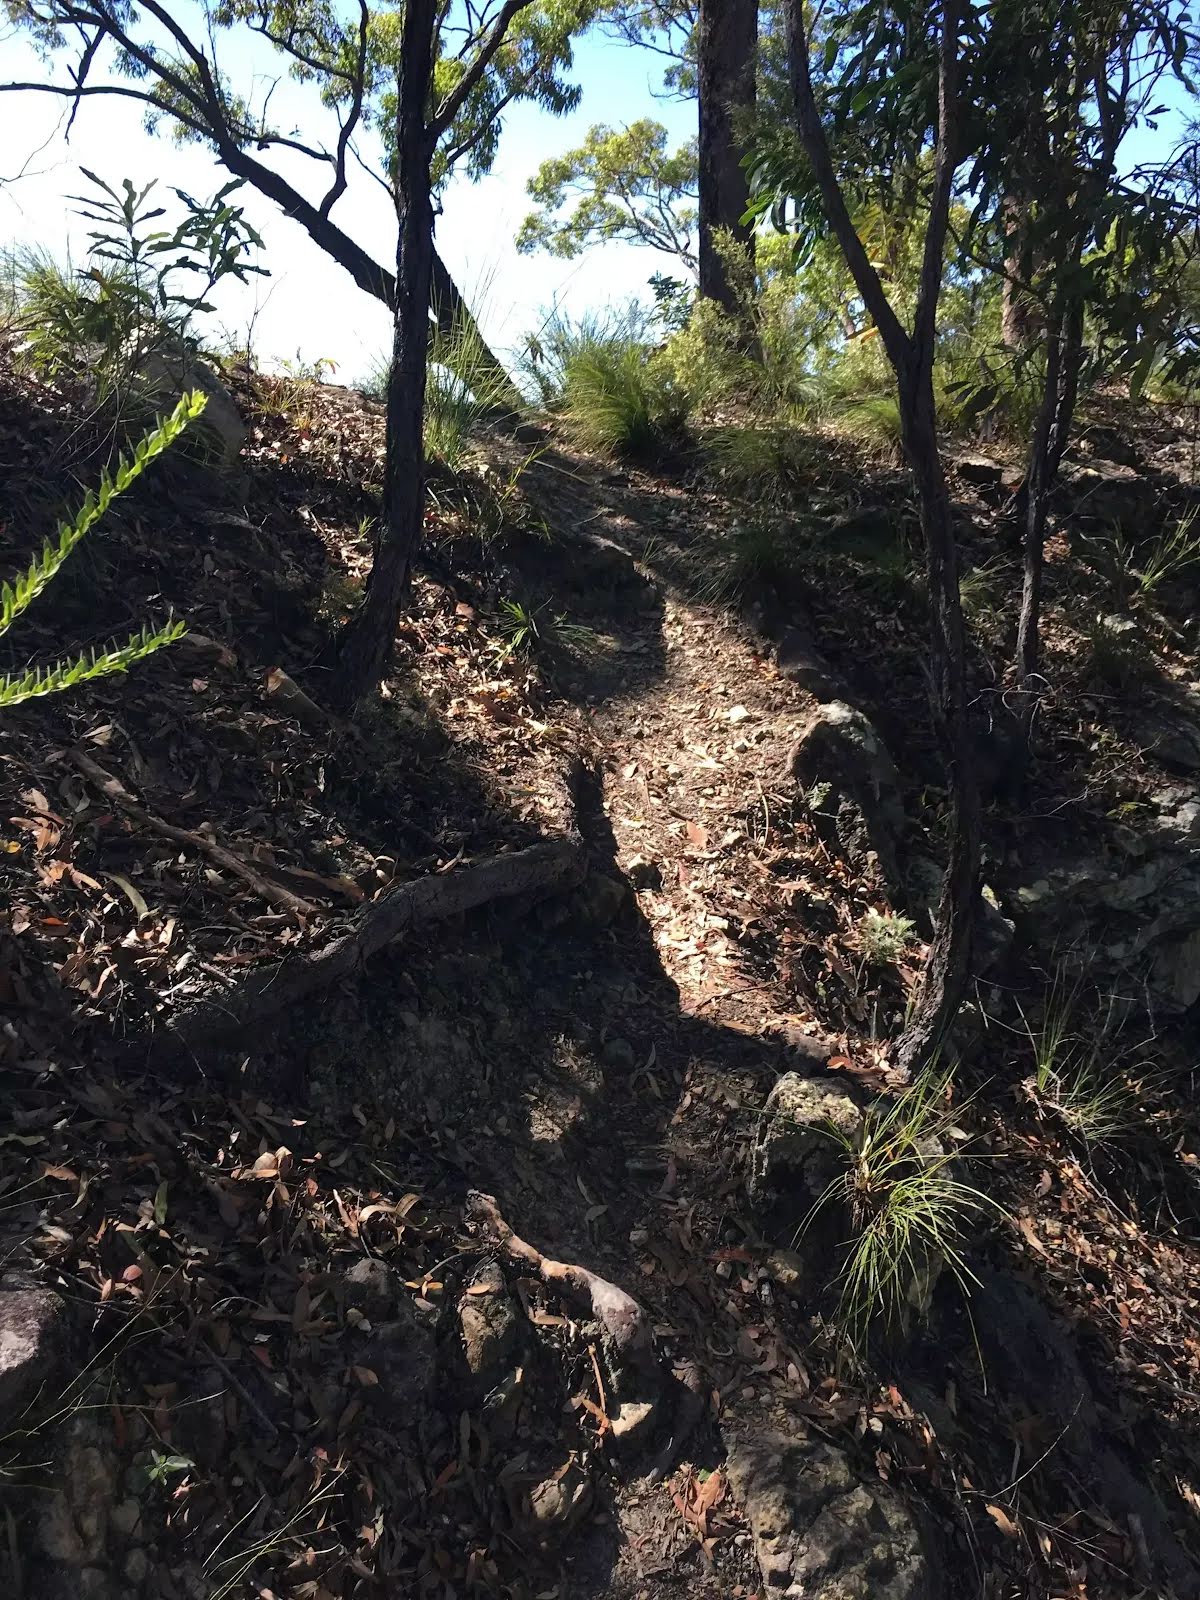
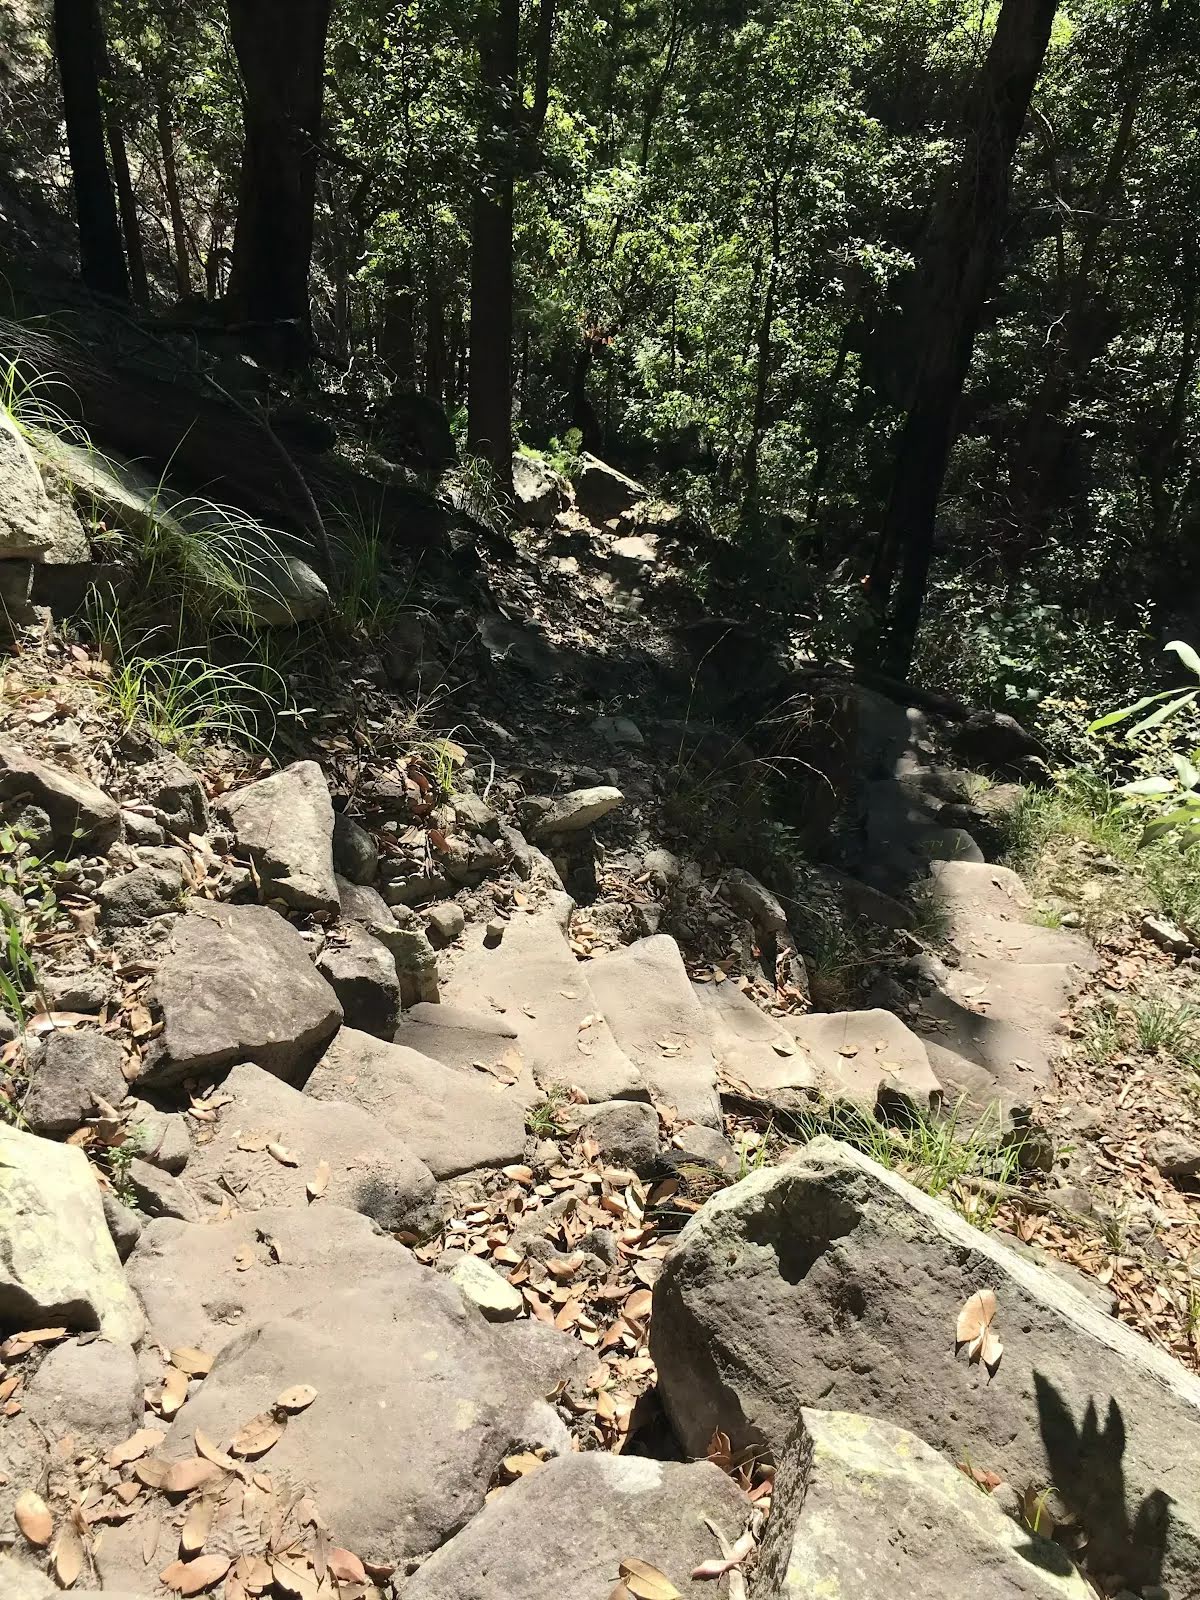
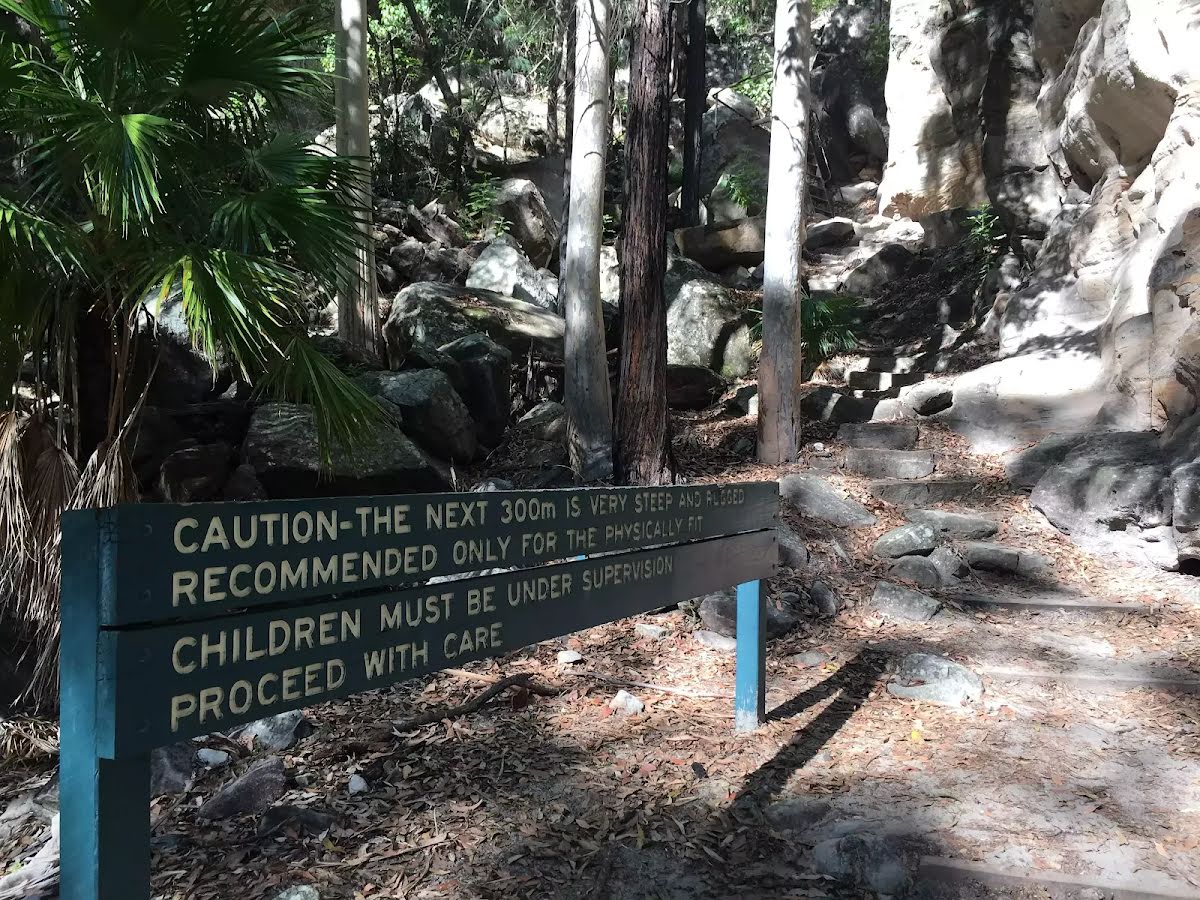
| Quality of track | Rough unclear track (5/6) |
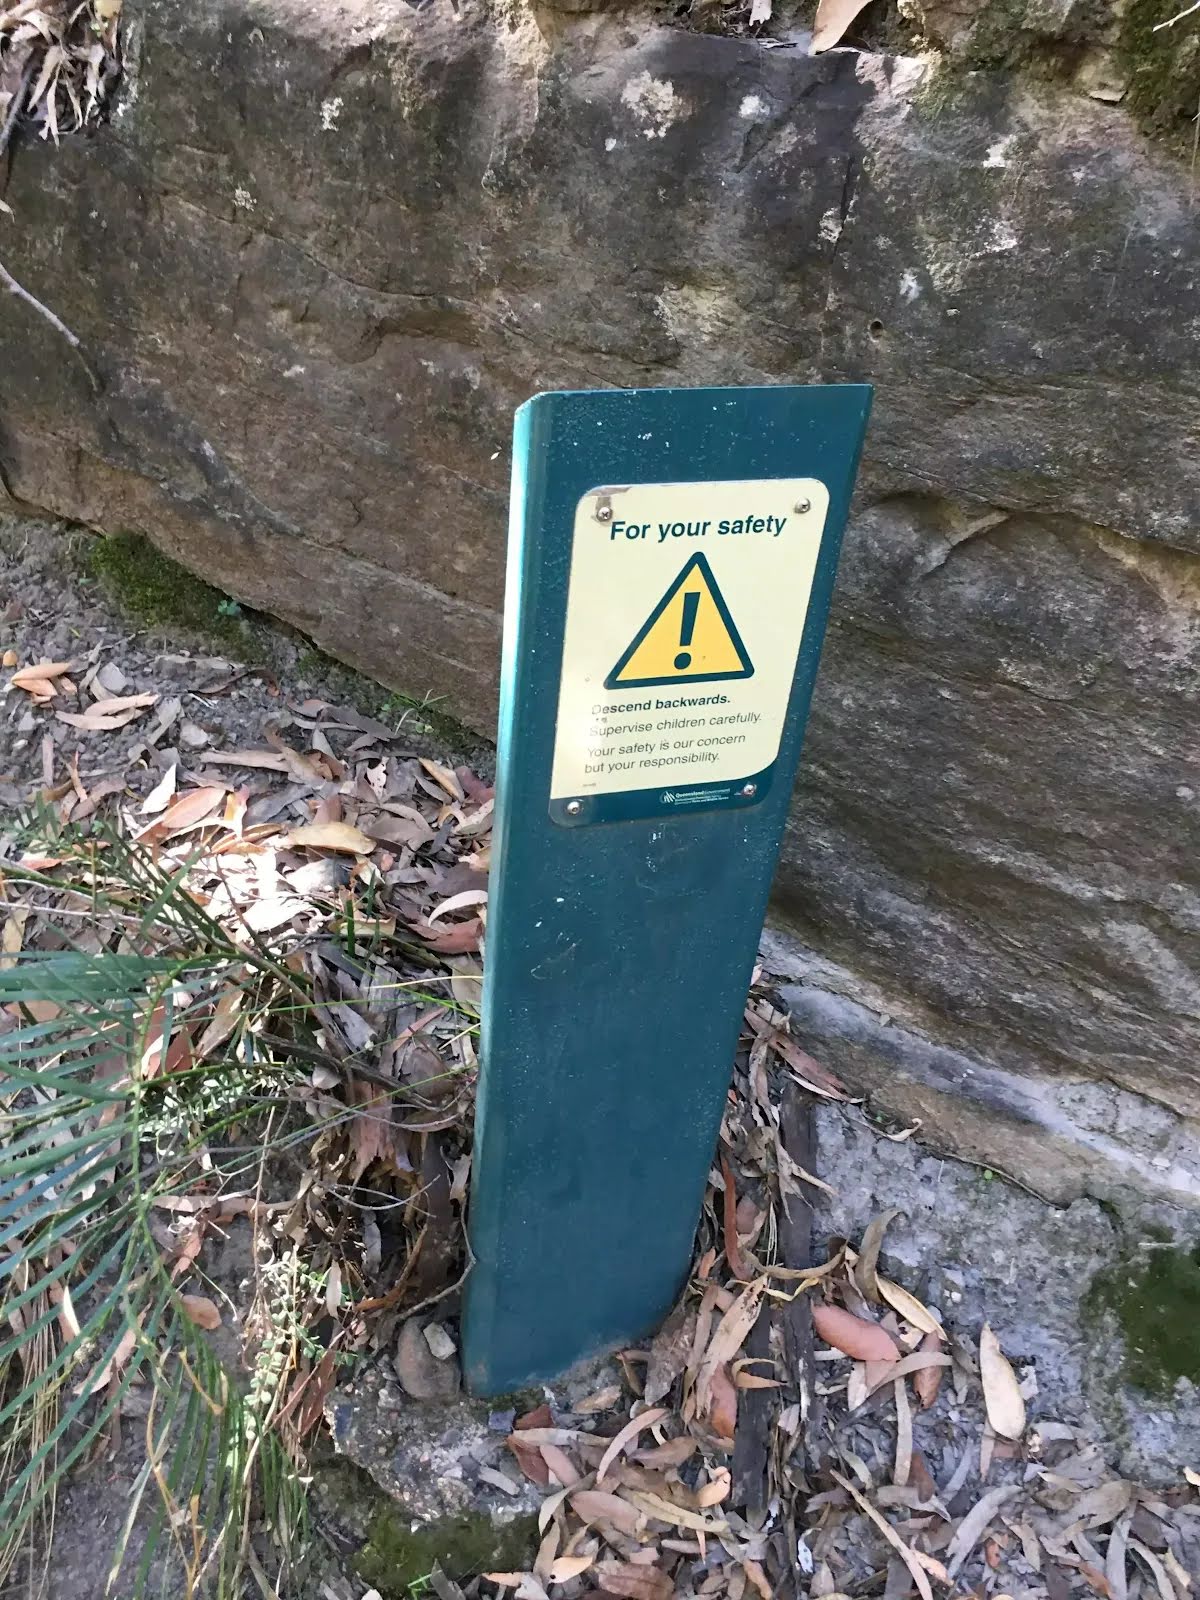
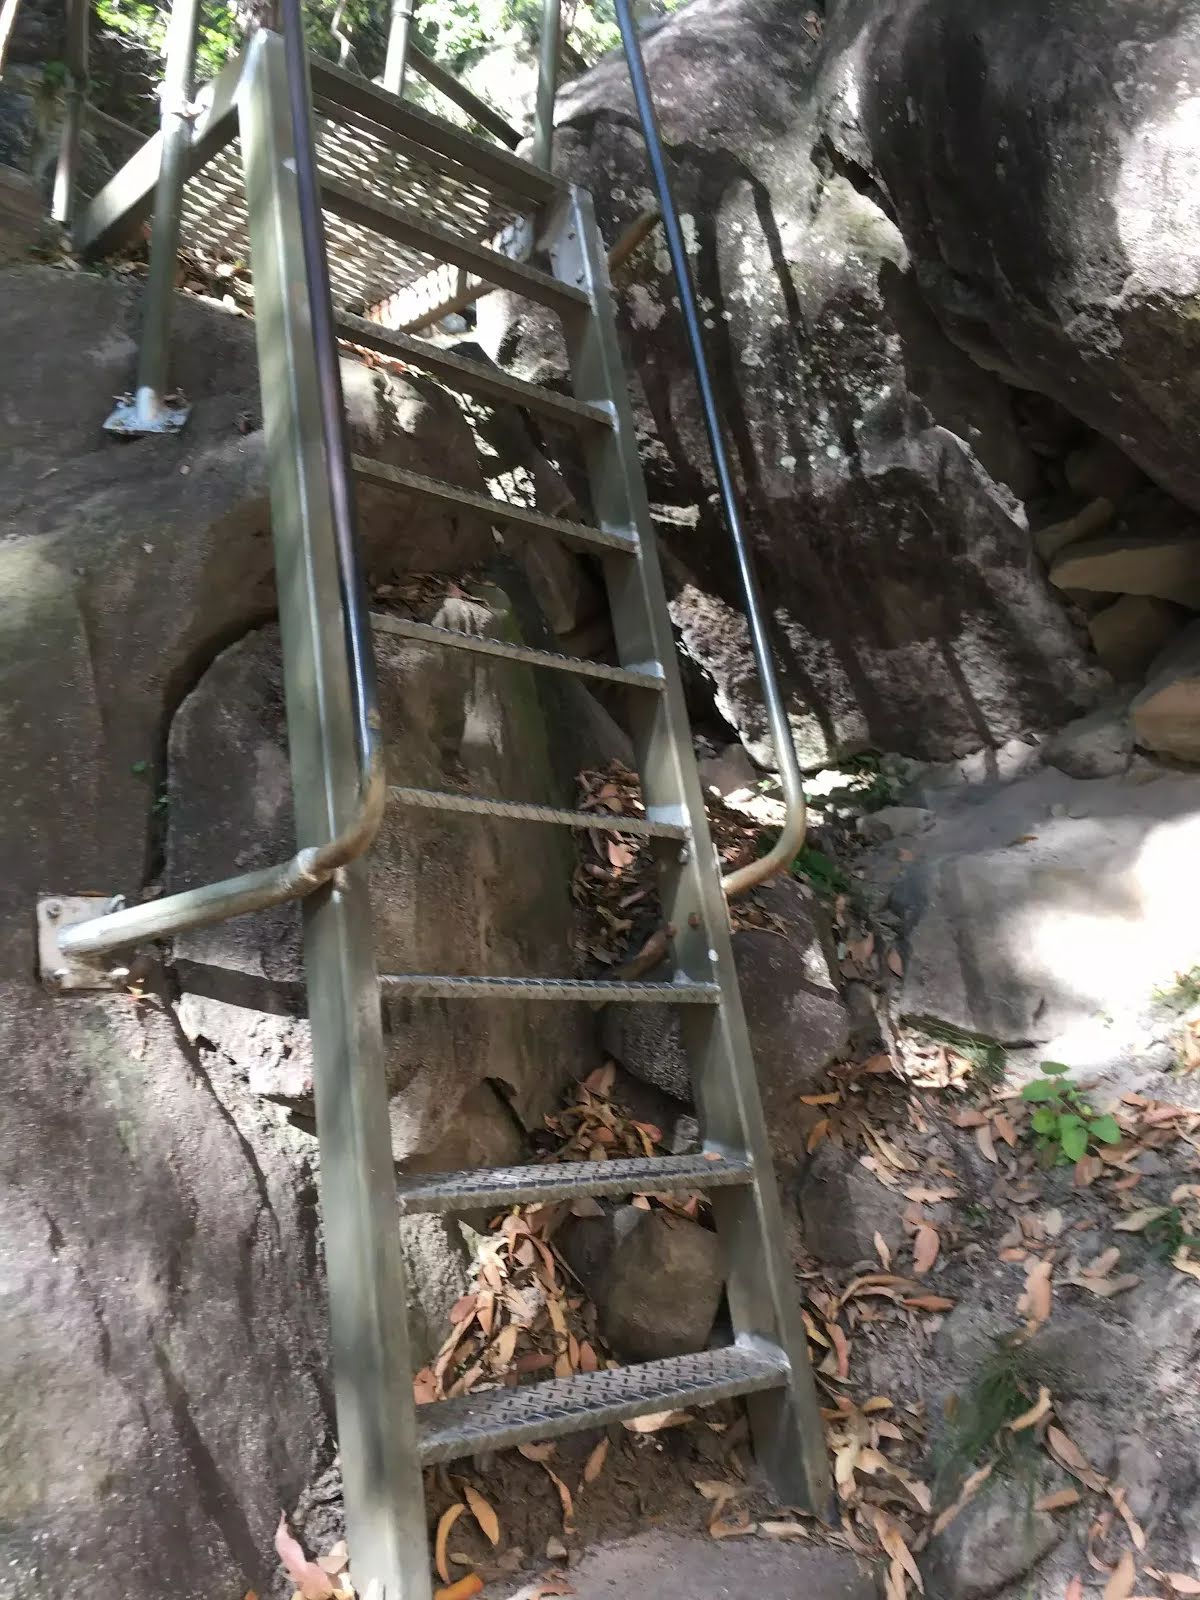
| Gradient | Very steep and difficult rock scrambles (5/6) |
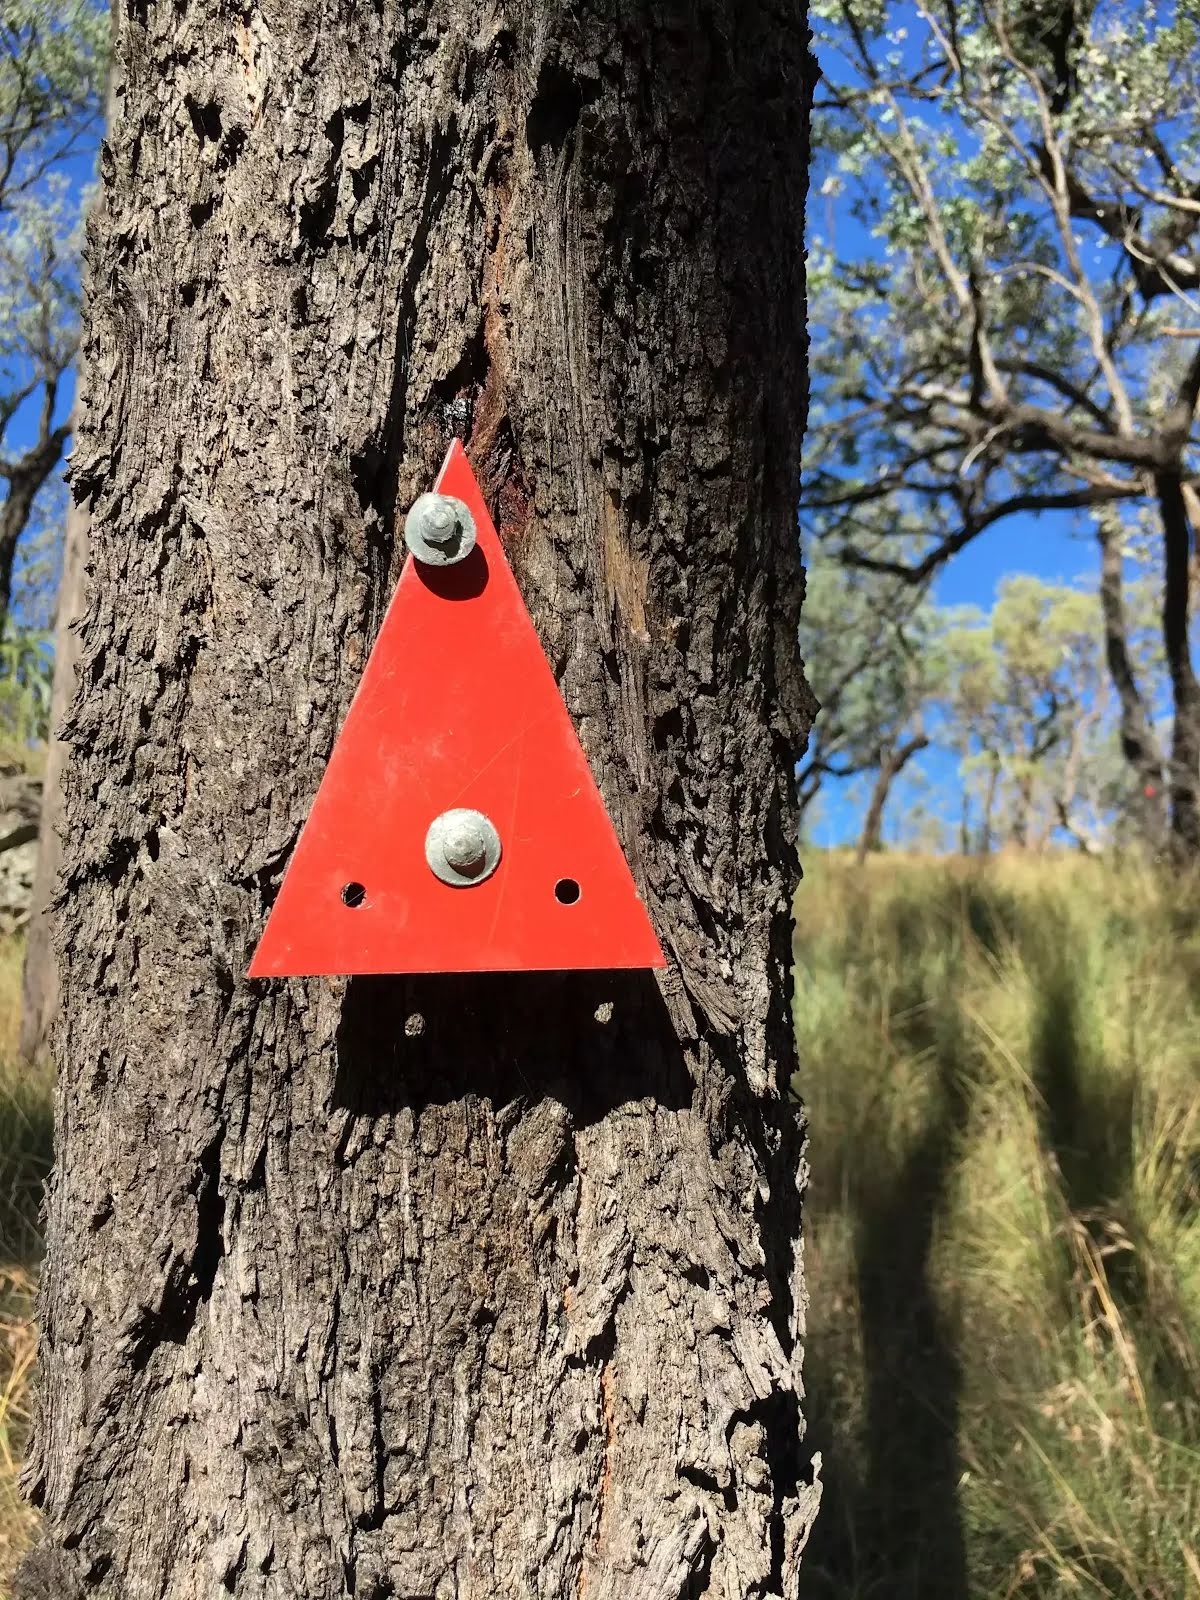
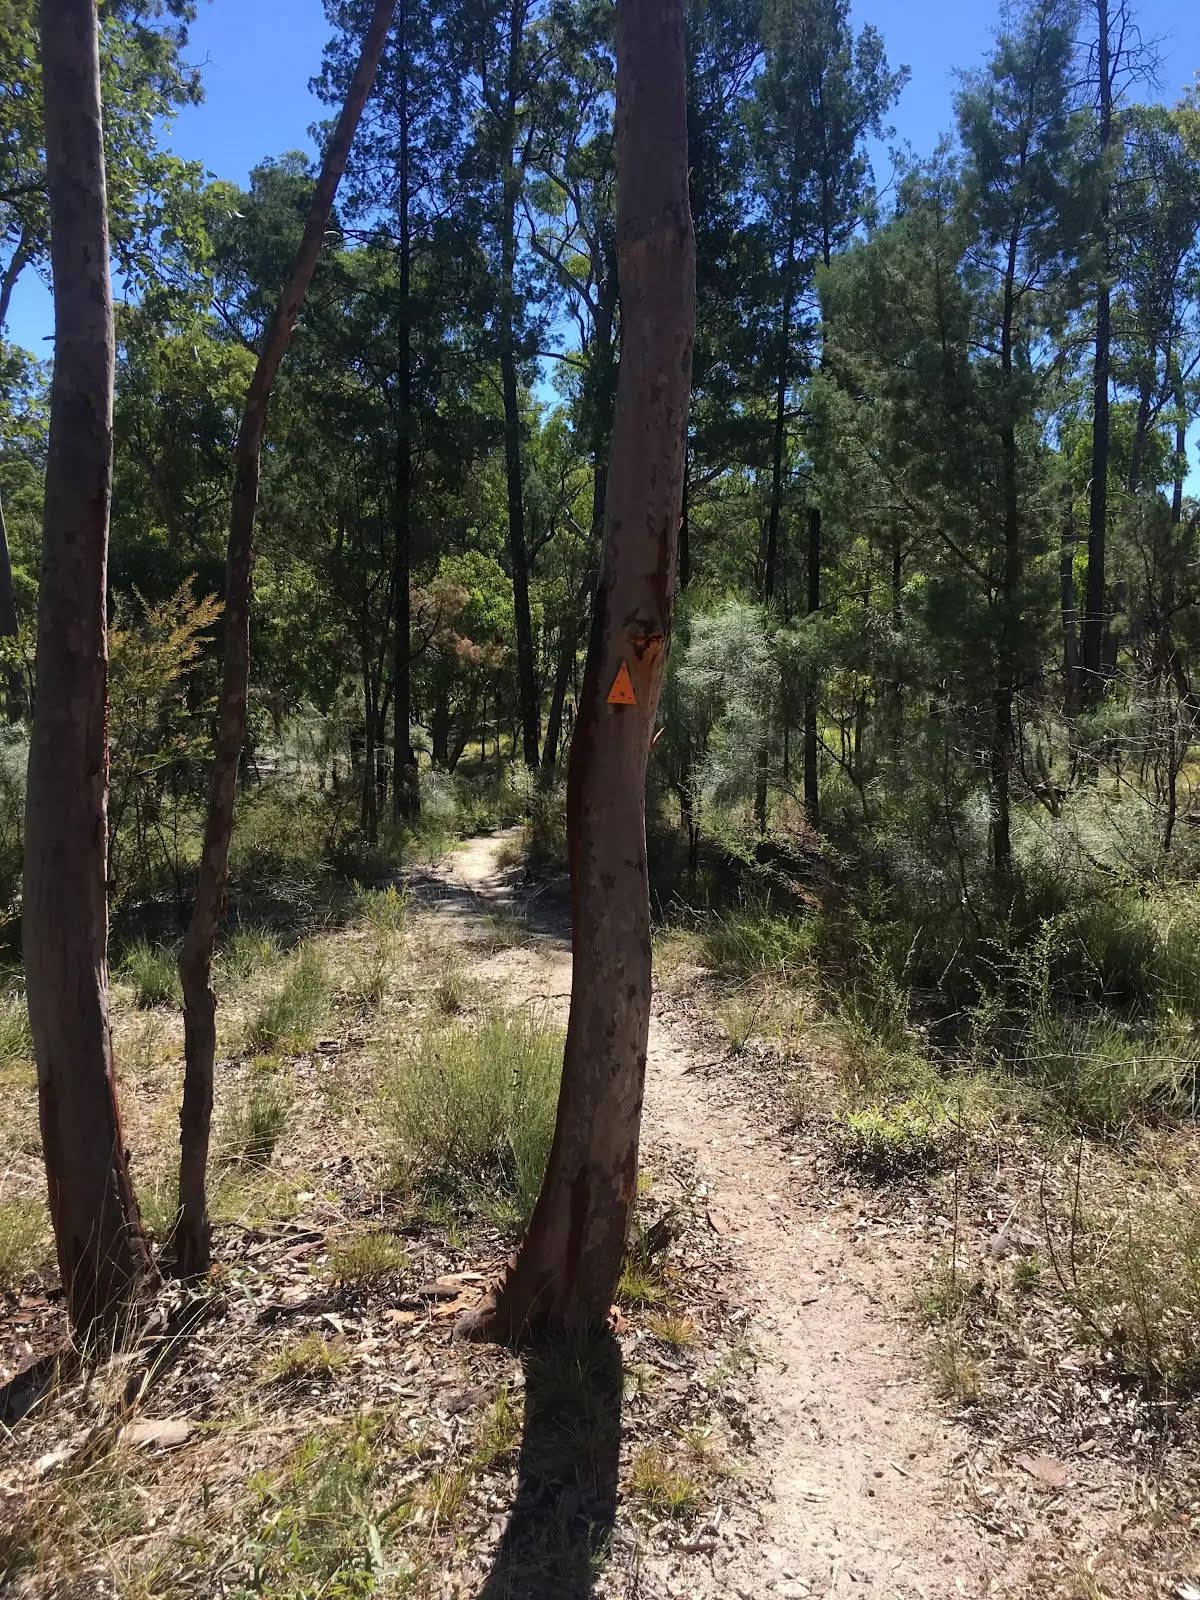
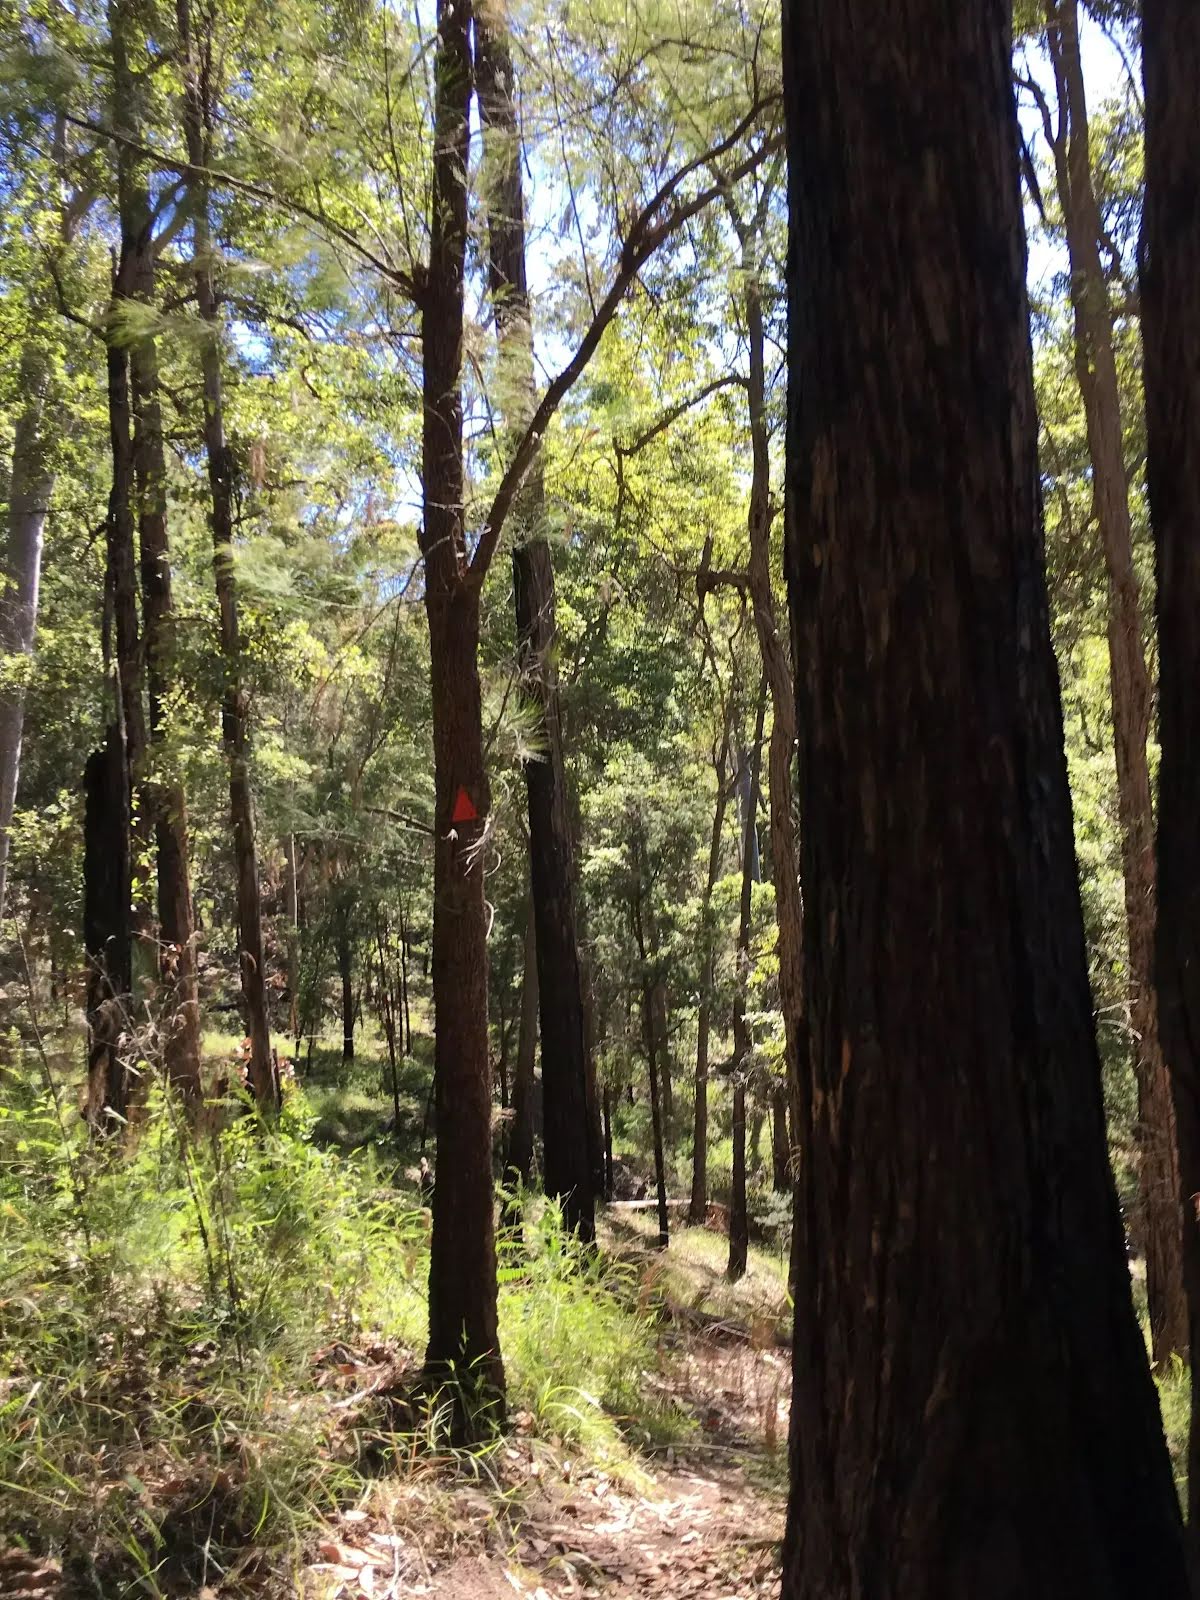
| Signage | No directional signs (5/6) |
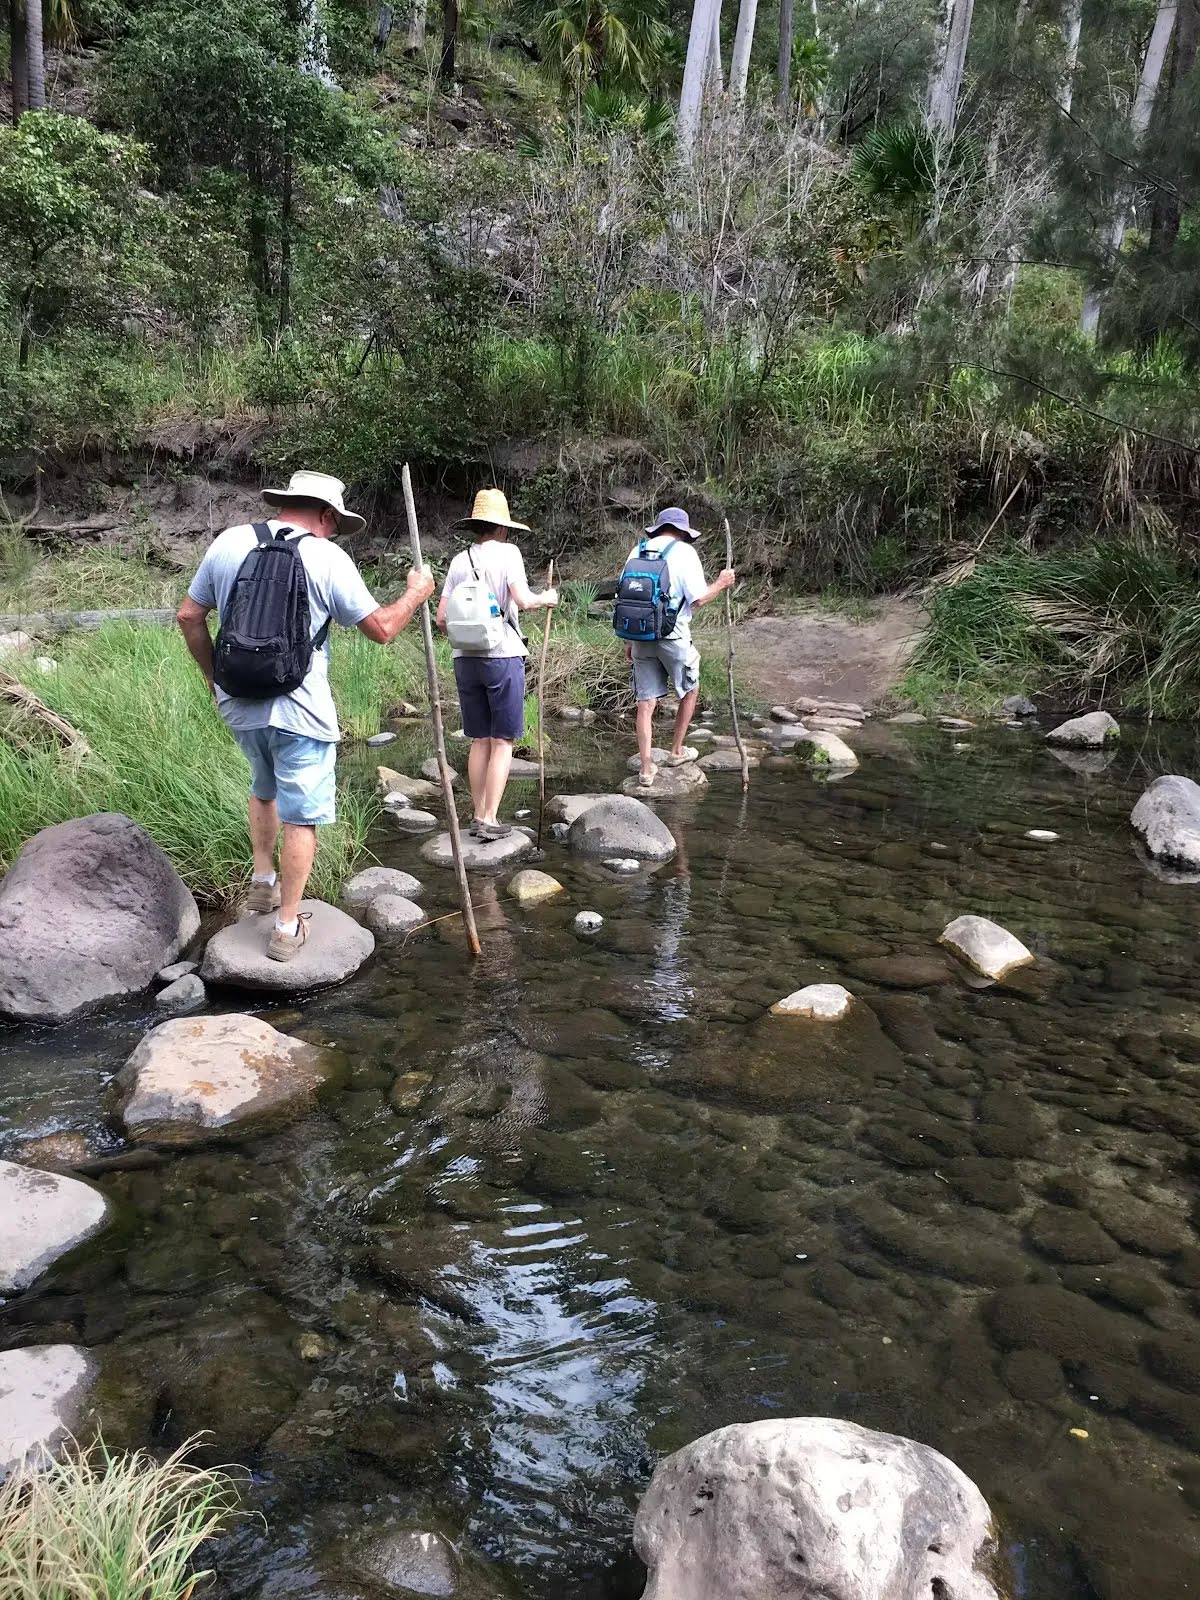
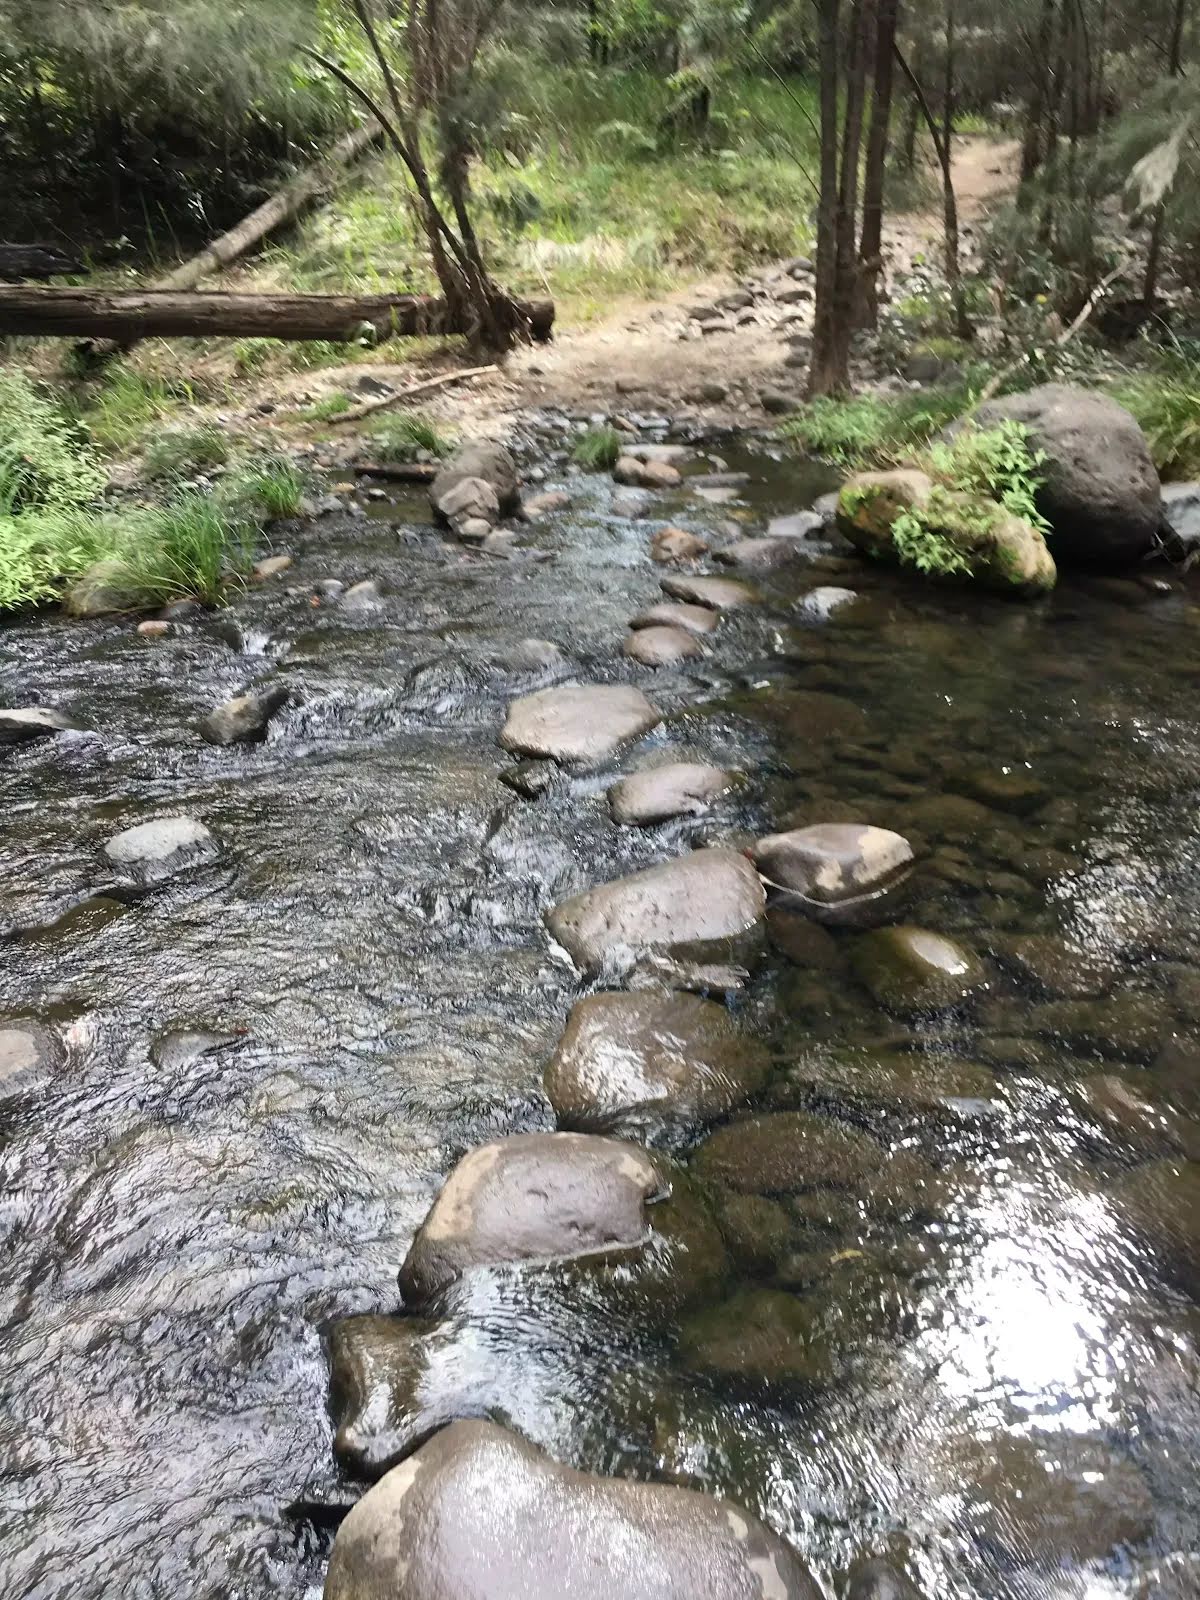
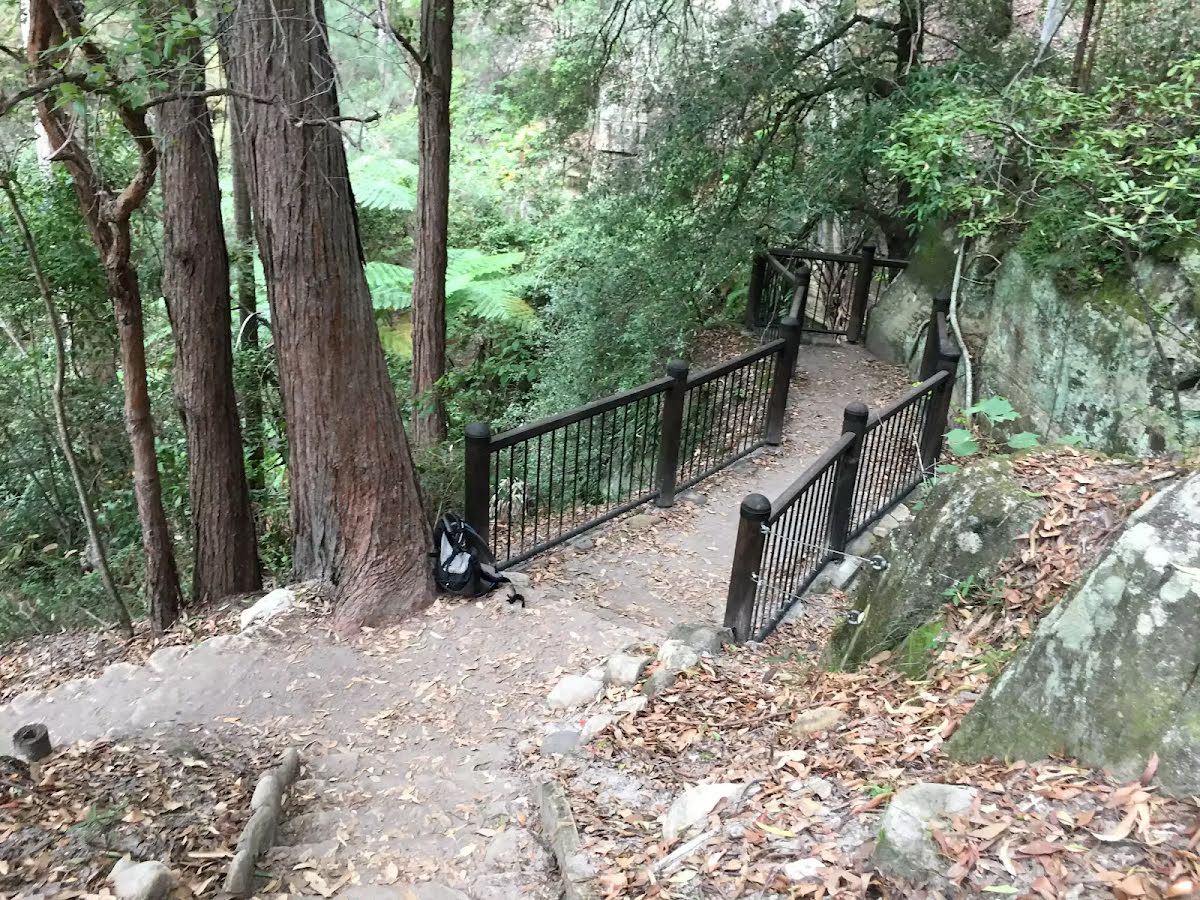
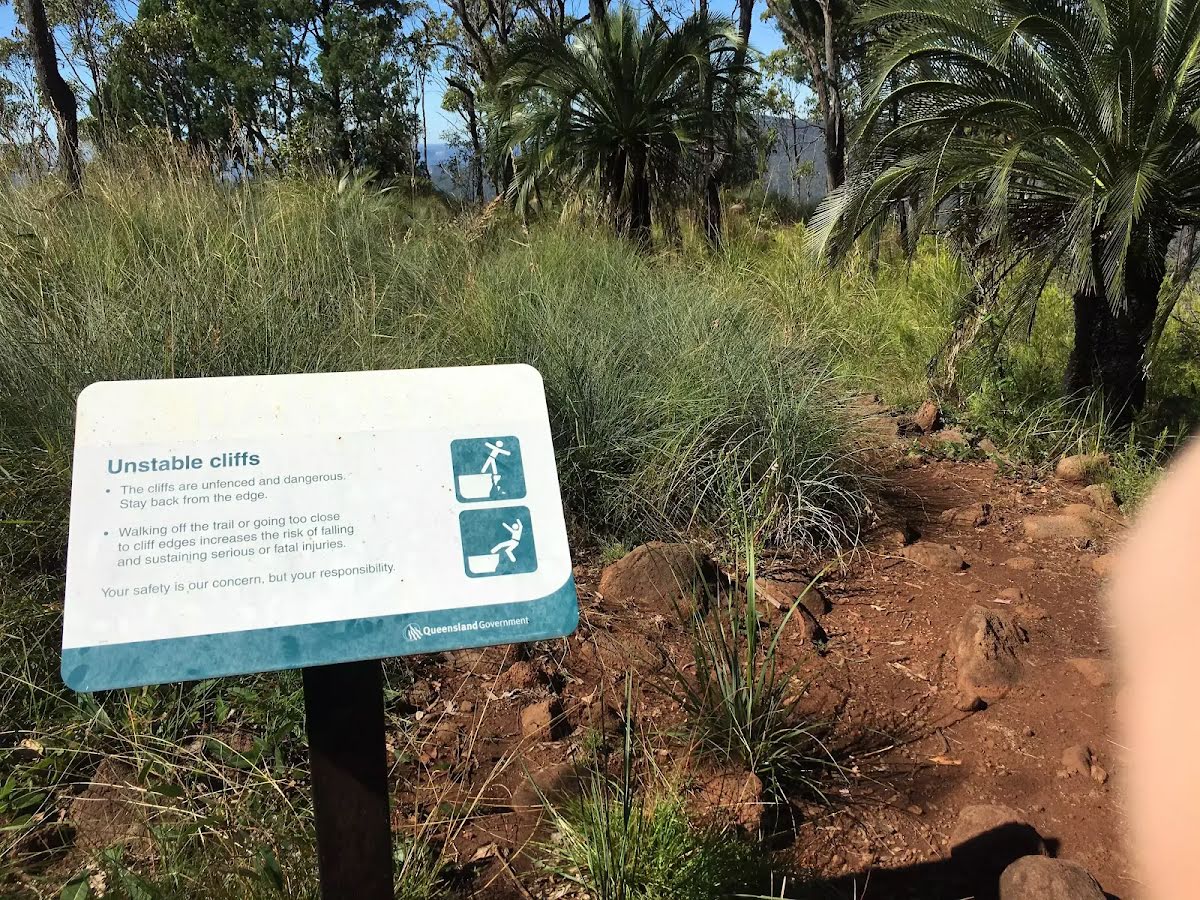
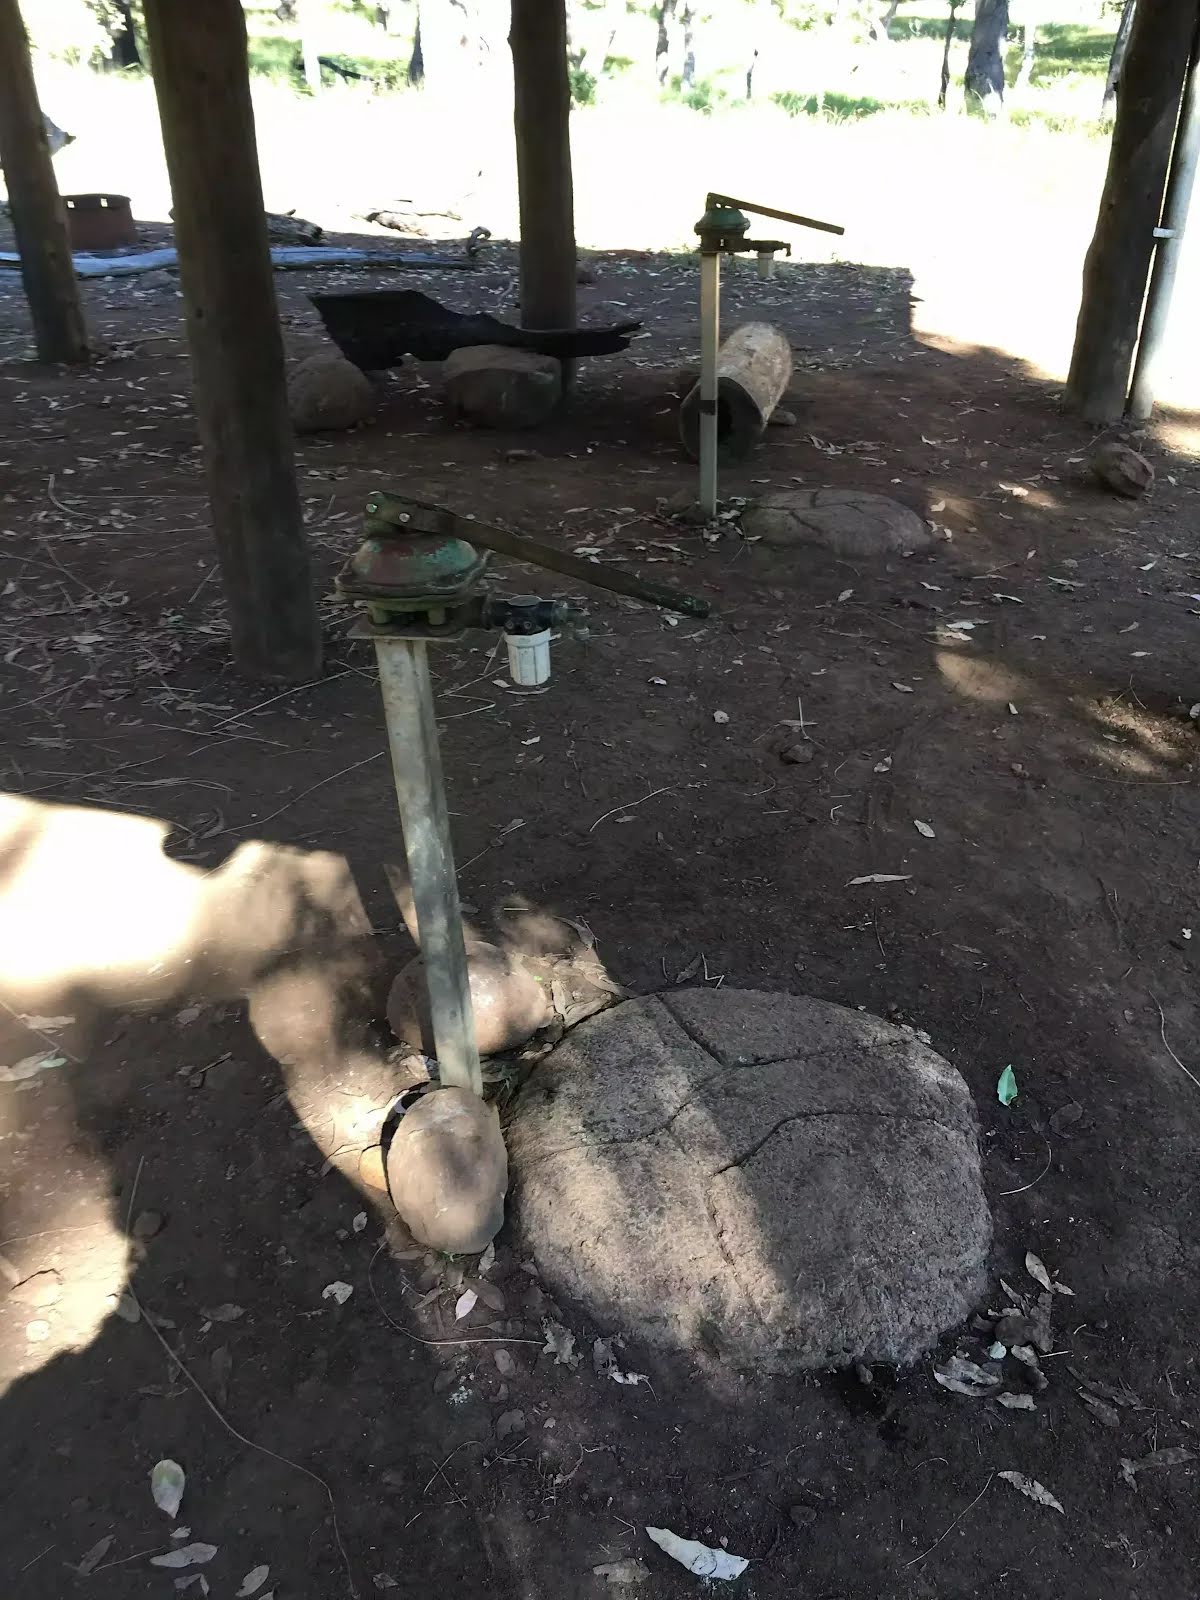
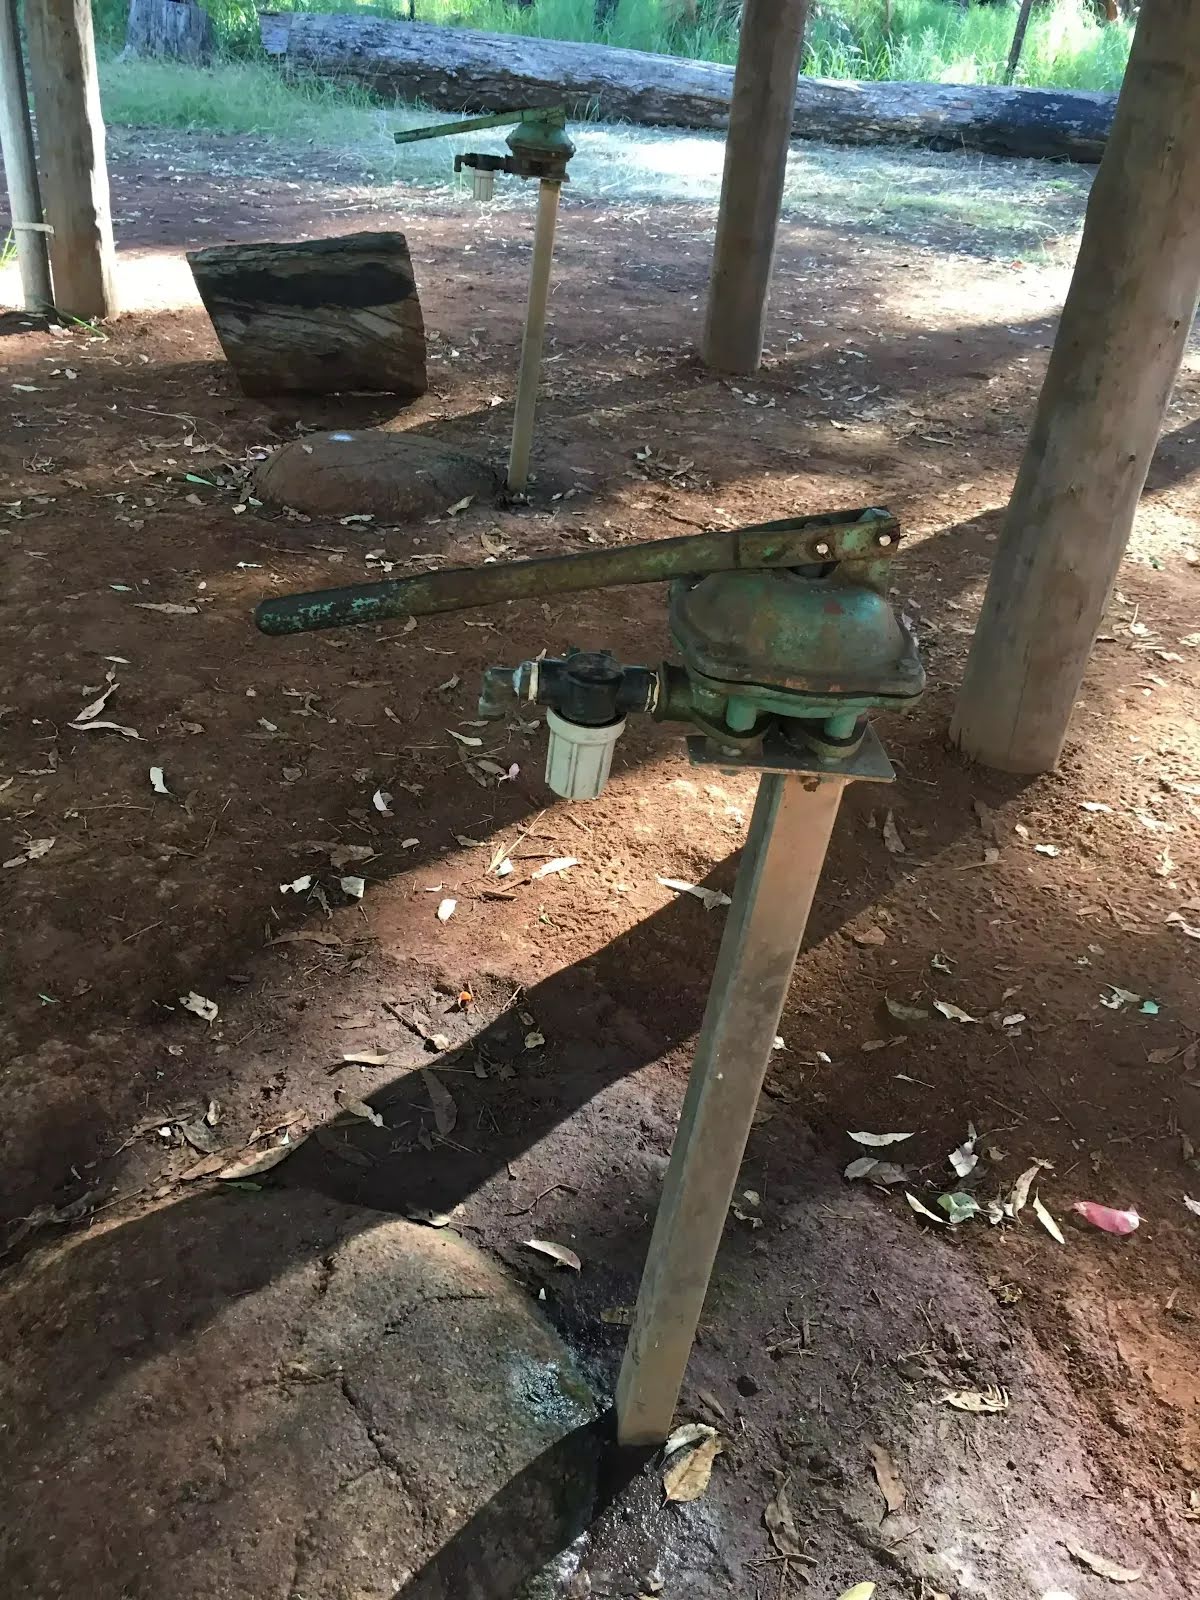
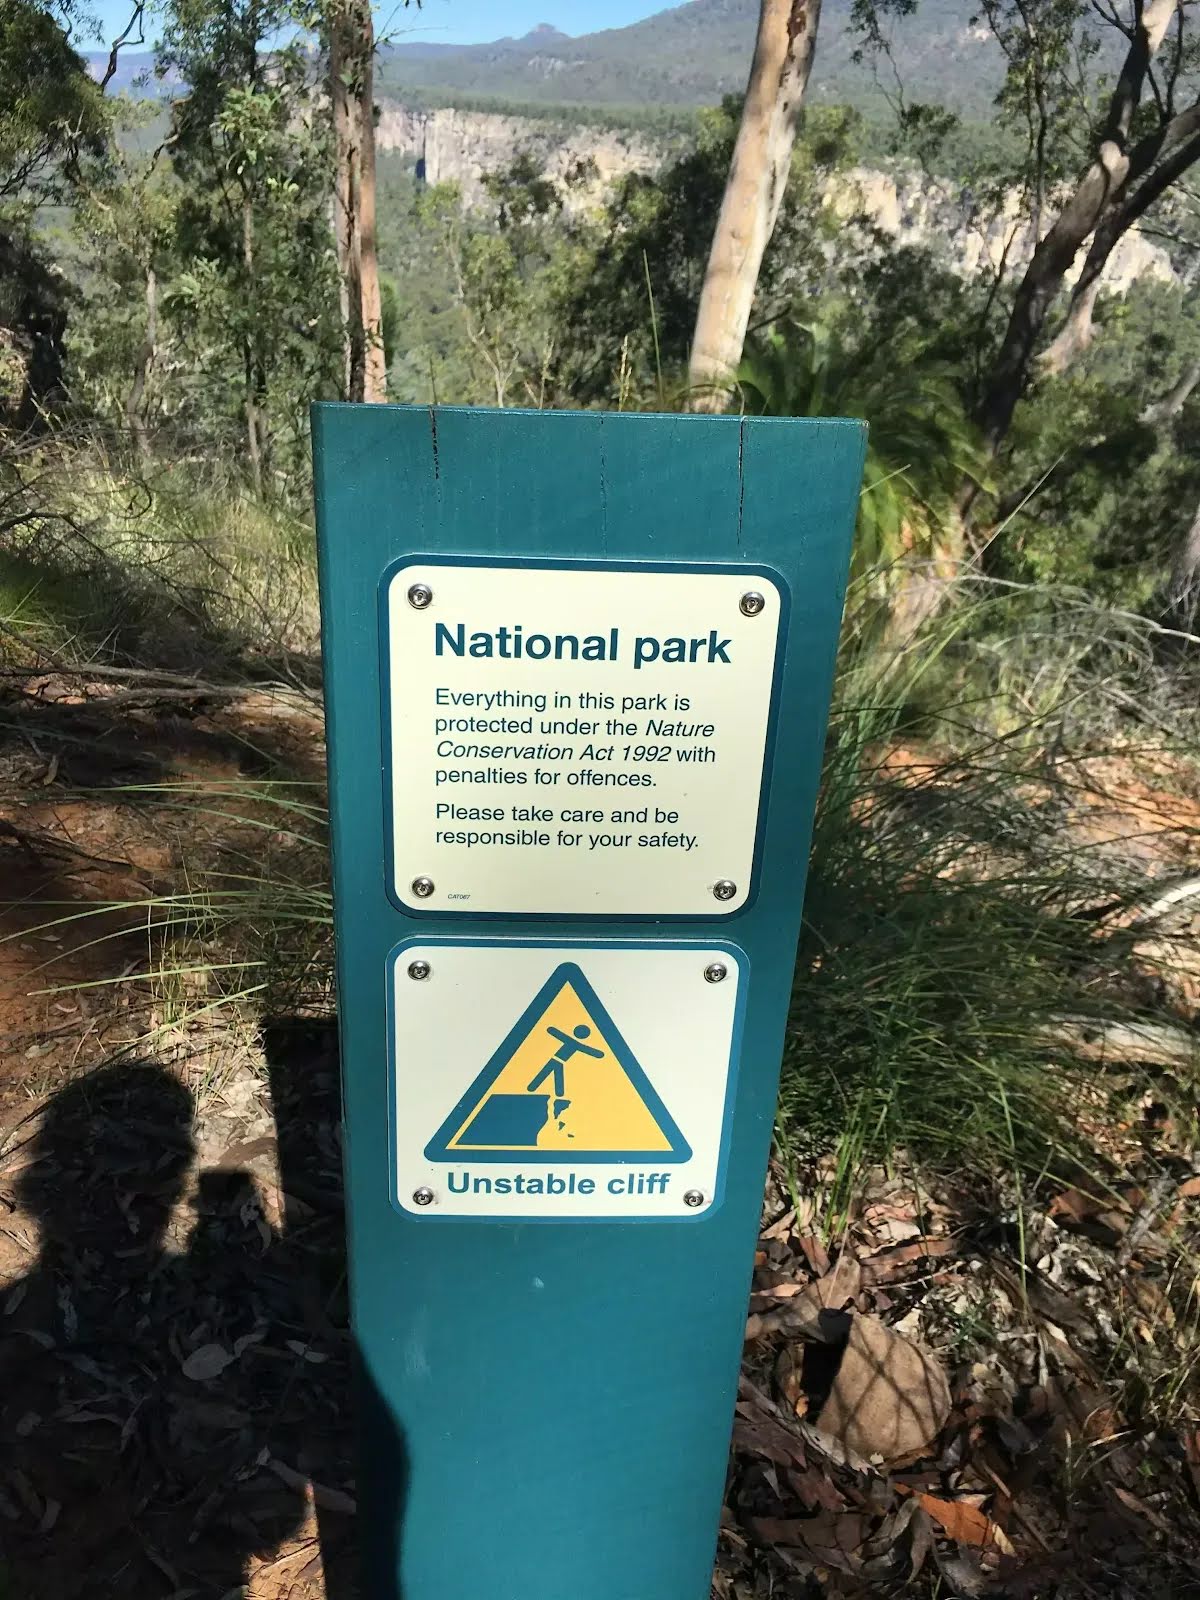
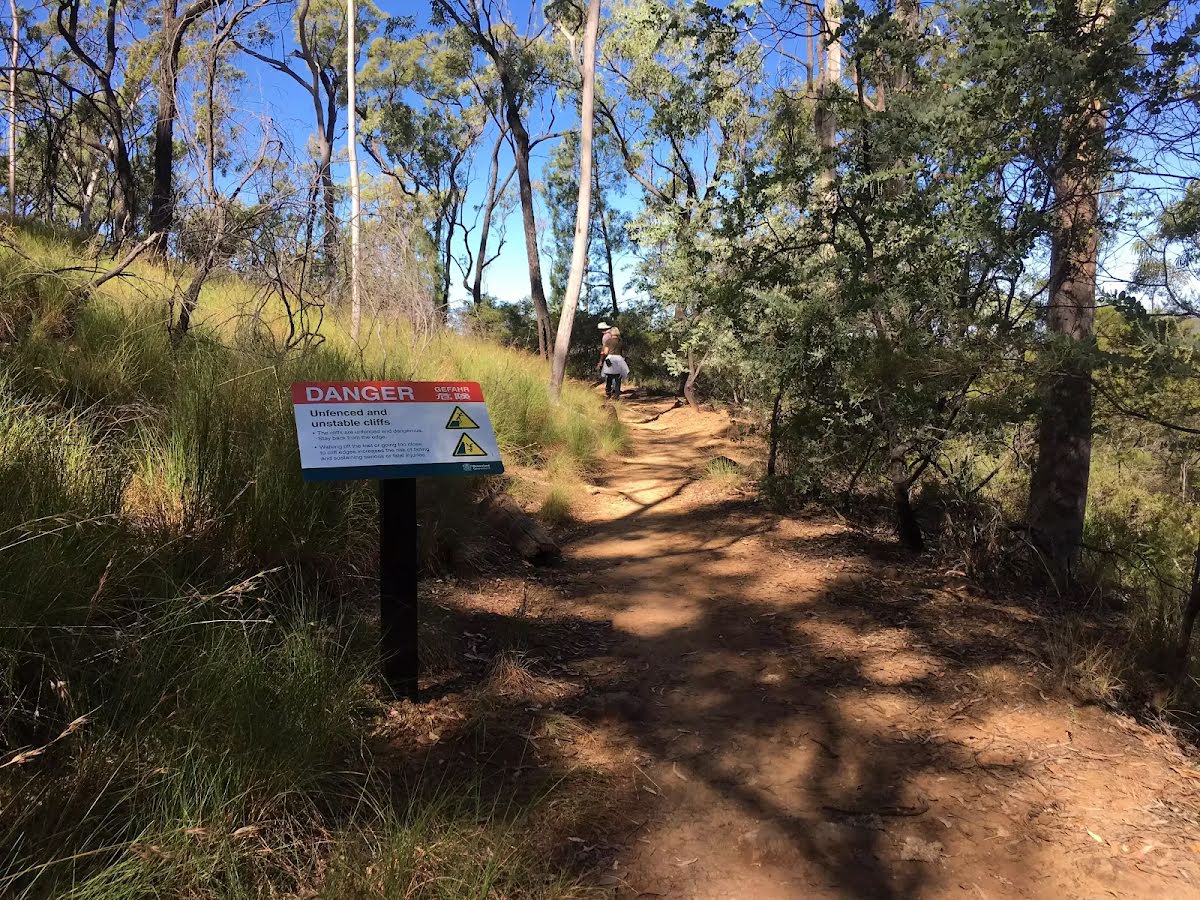
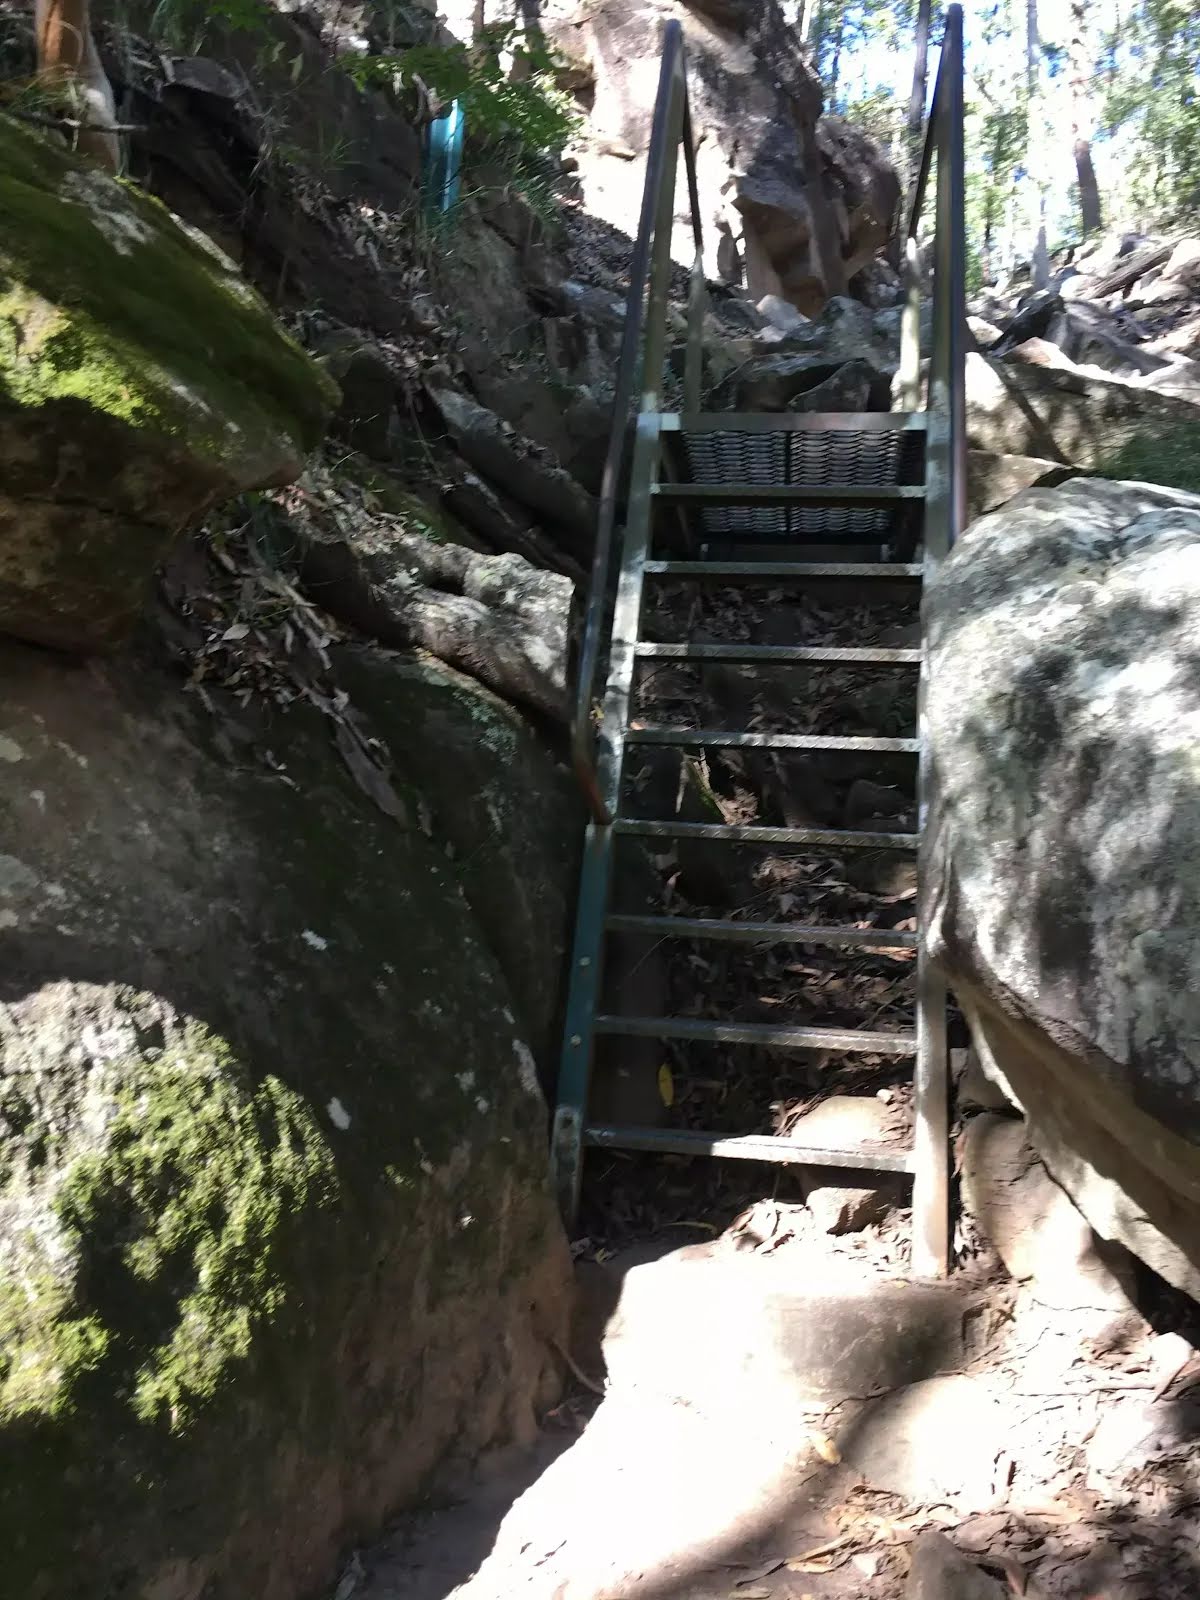
| Infrastructure | Limited facilities (such as cliffs not fenced, significant creeks not bridged) (4/6) |
| Experience Required | Moderate level of bushwalking experience recommended (4/6) |
| Weather | Forecasted & unexpected severe weather likely to have an impact on your navigation and safety (5/6) |
| Item | From Start | Name & link to notes |
|---|---|---|
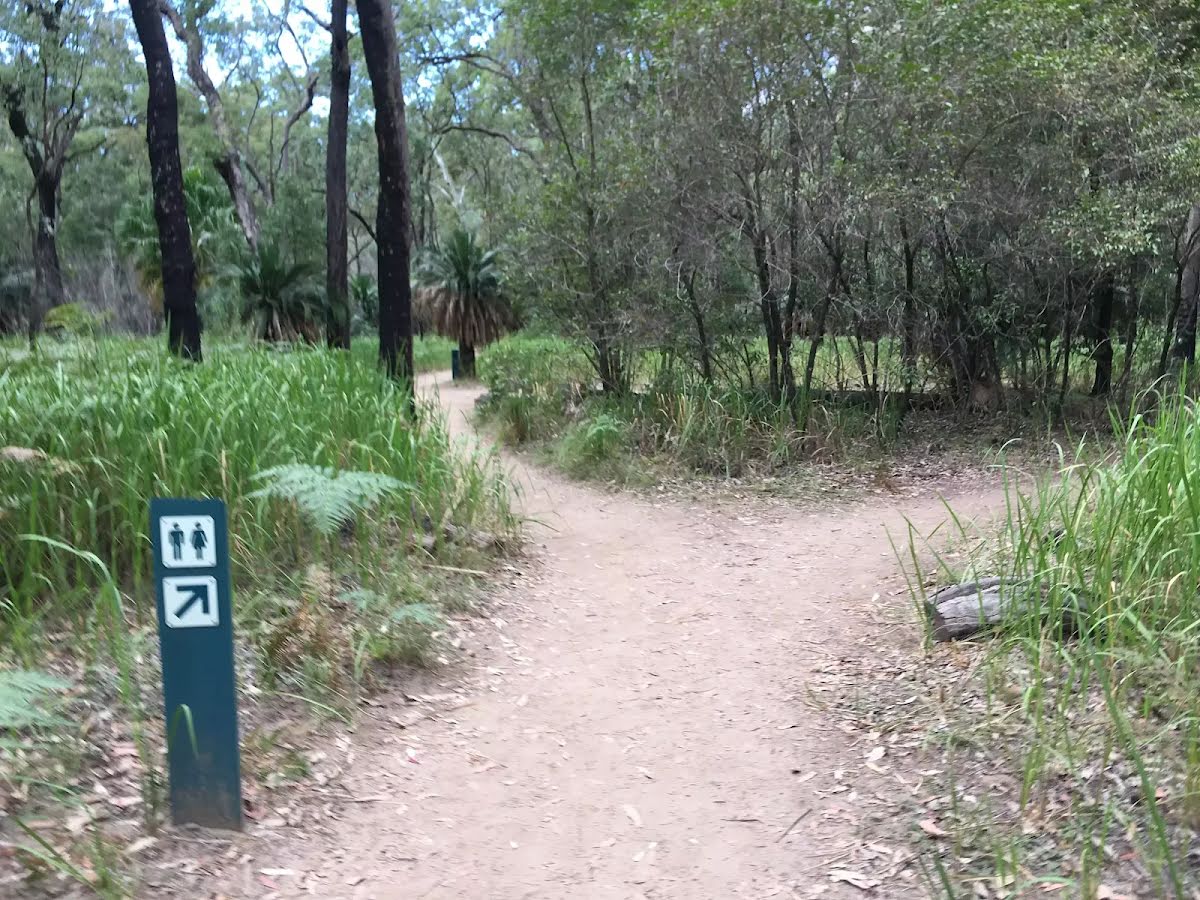
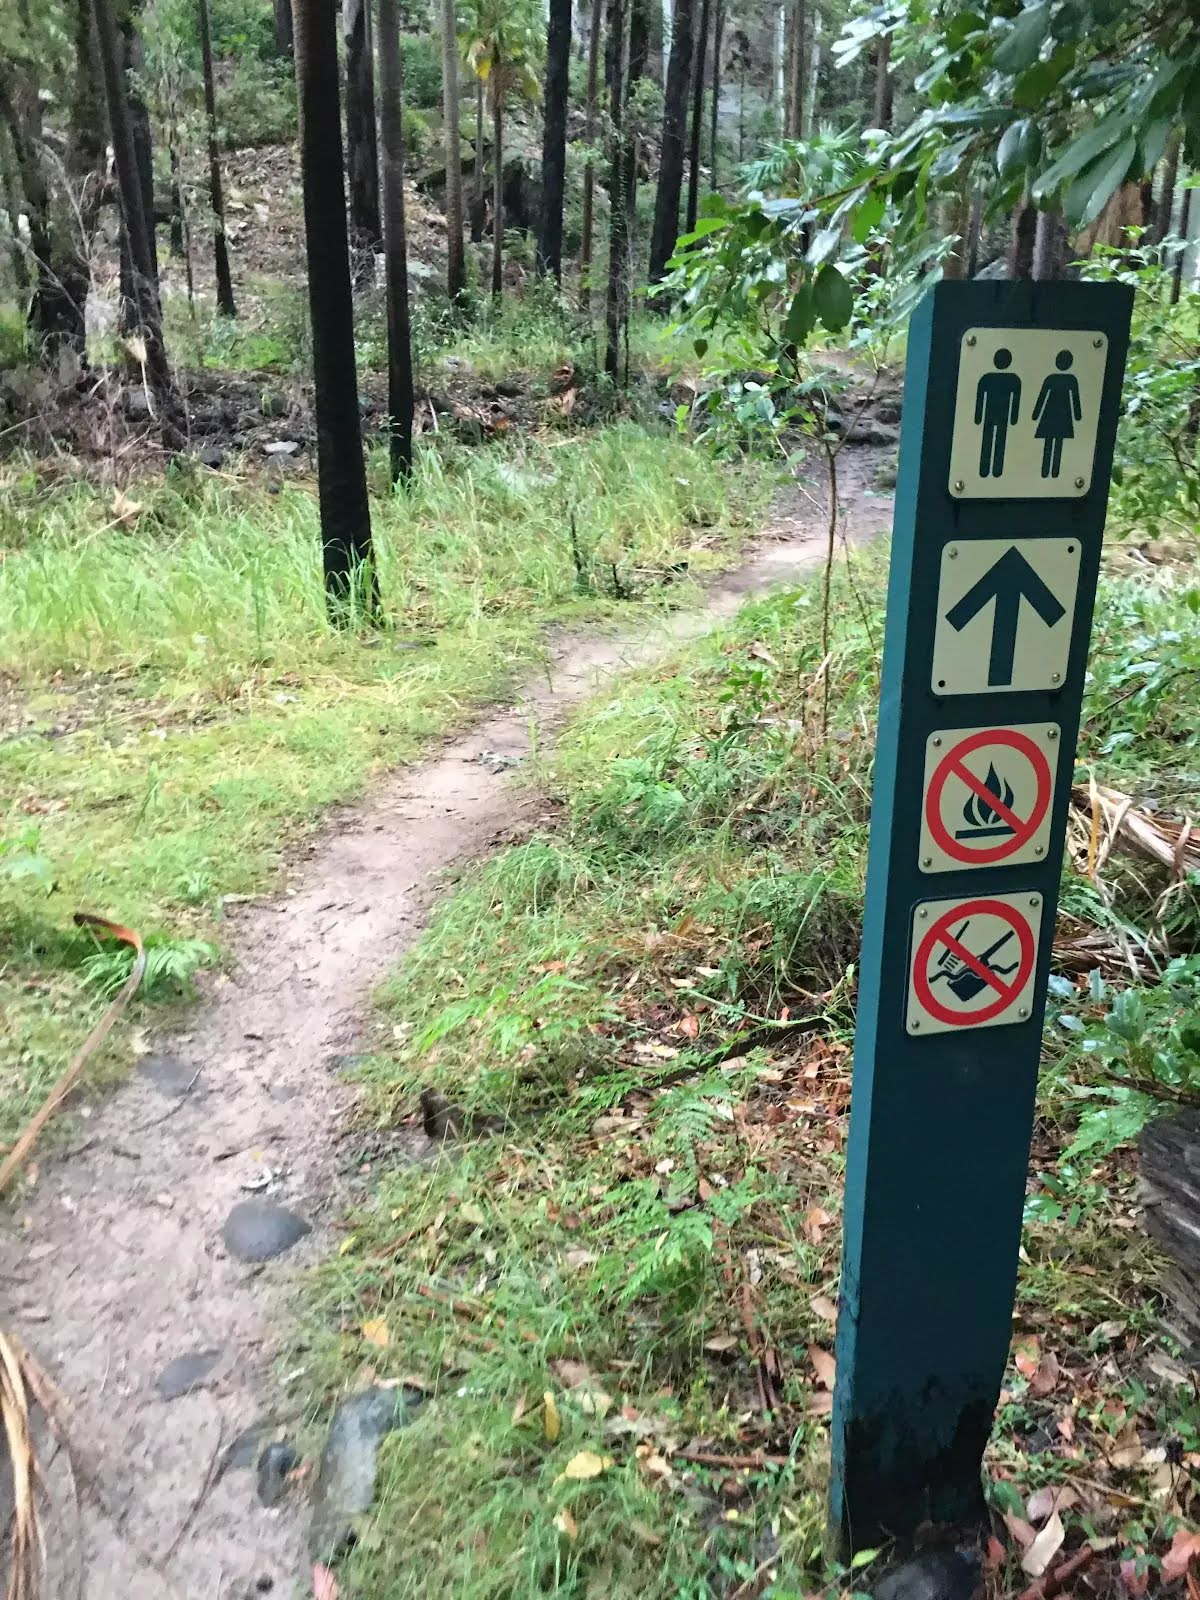
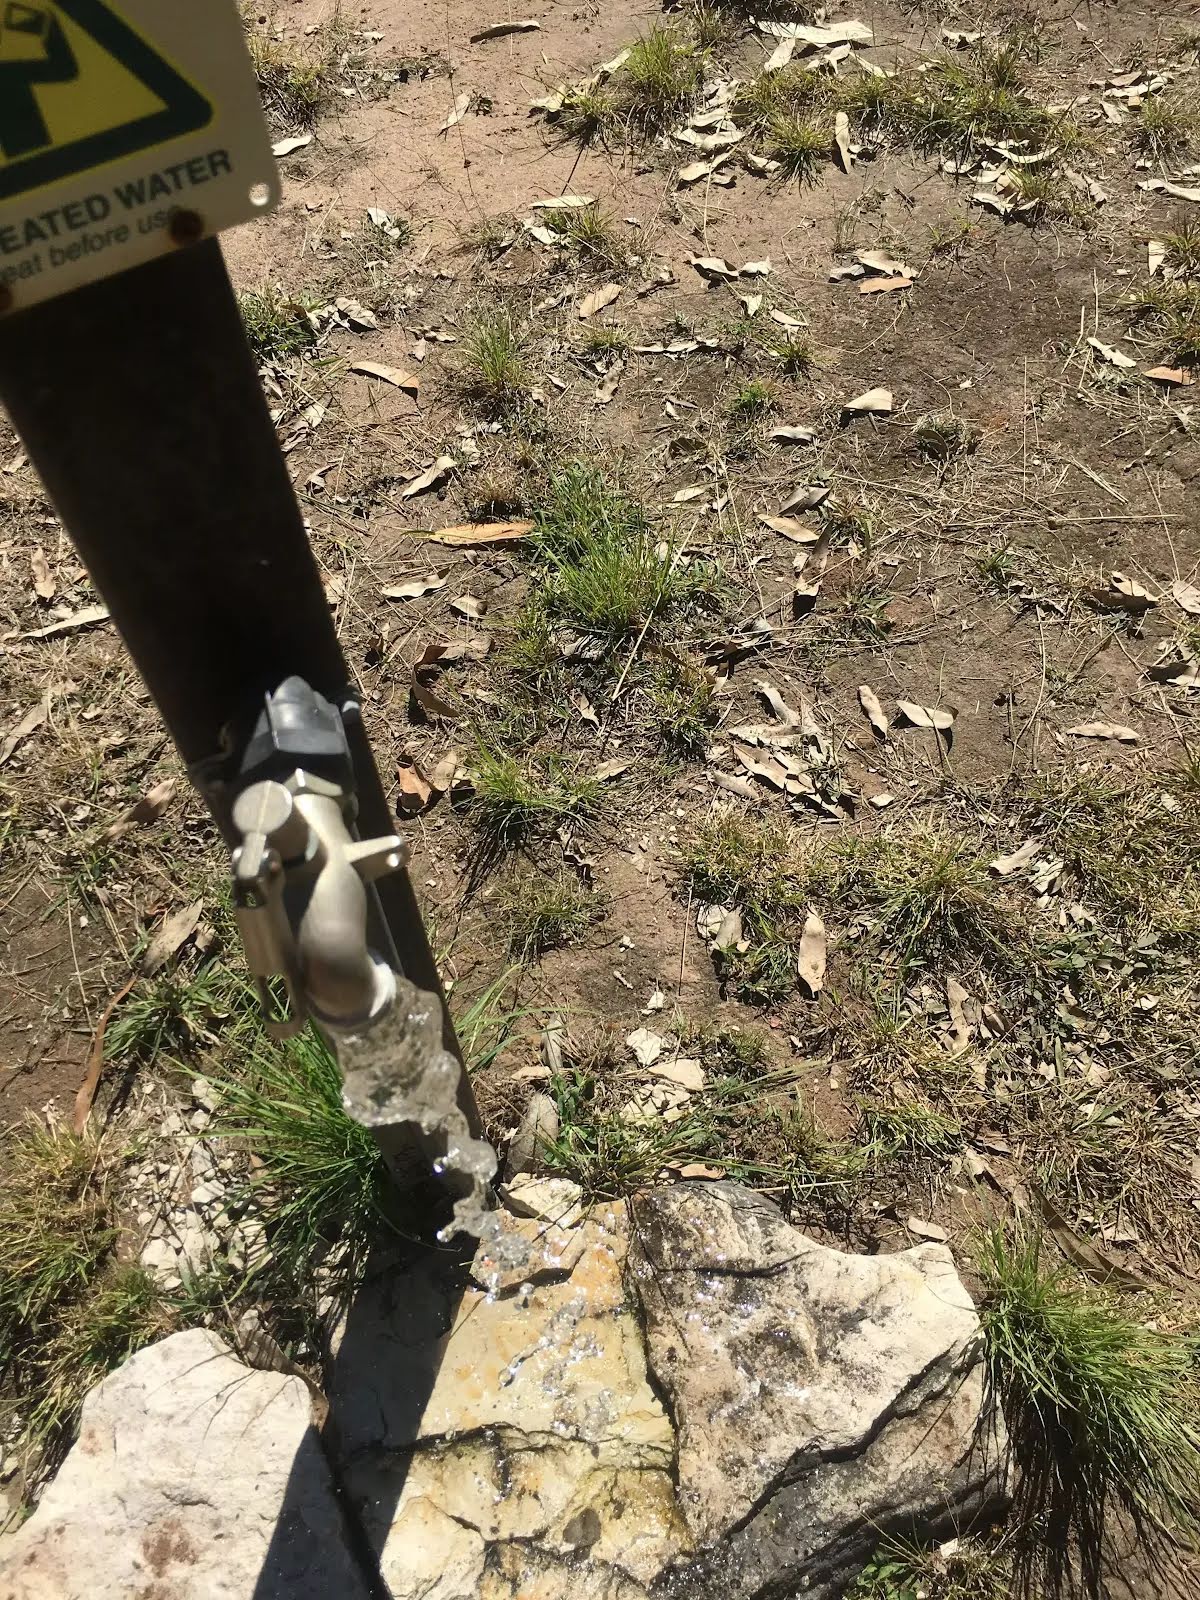
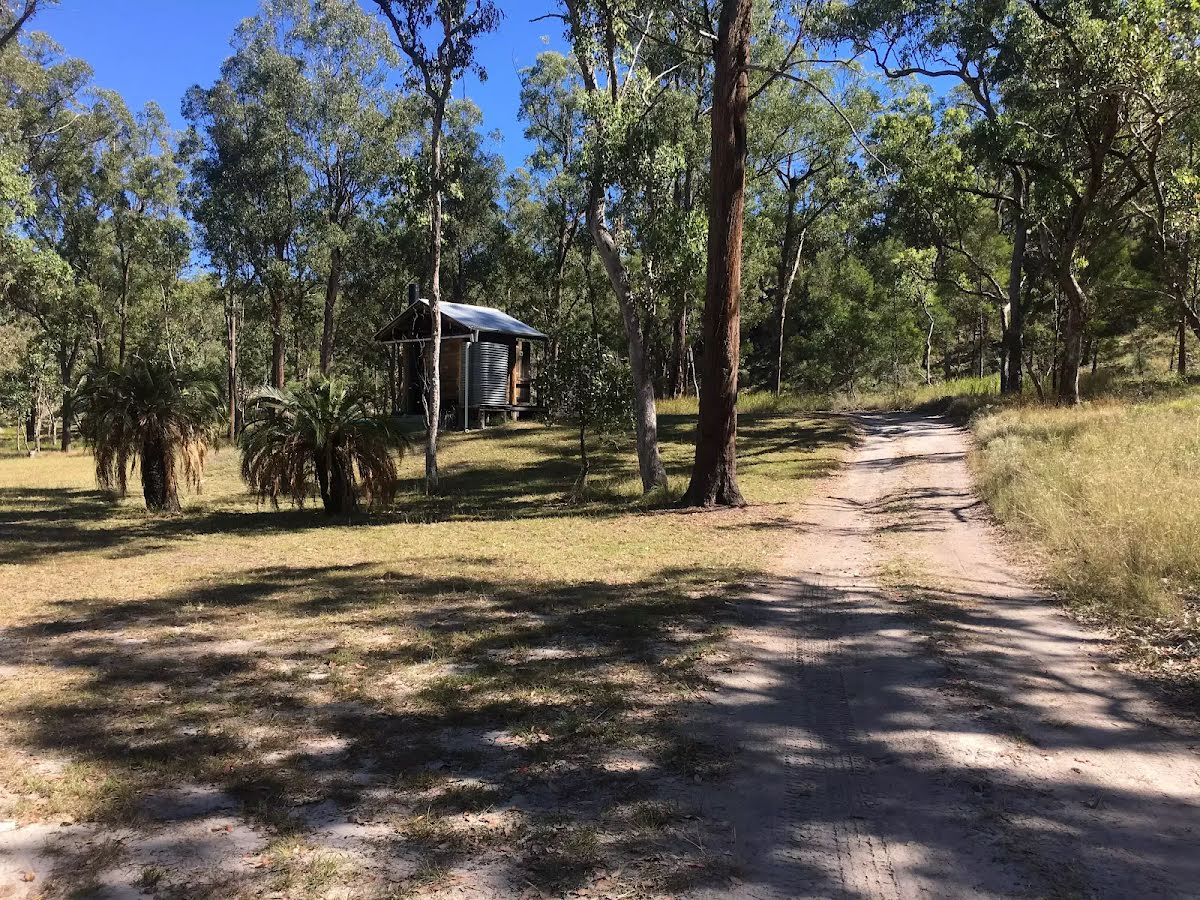
Toilet
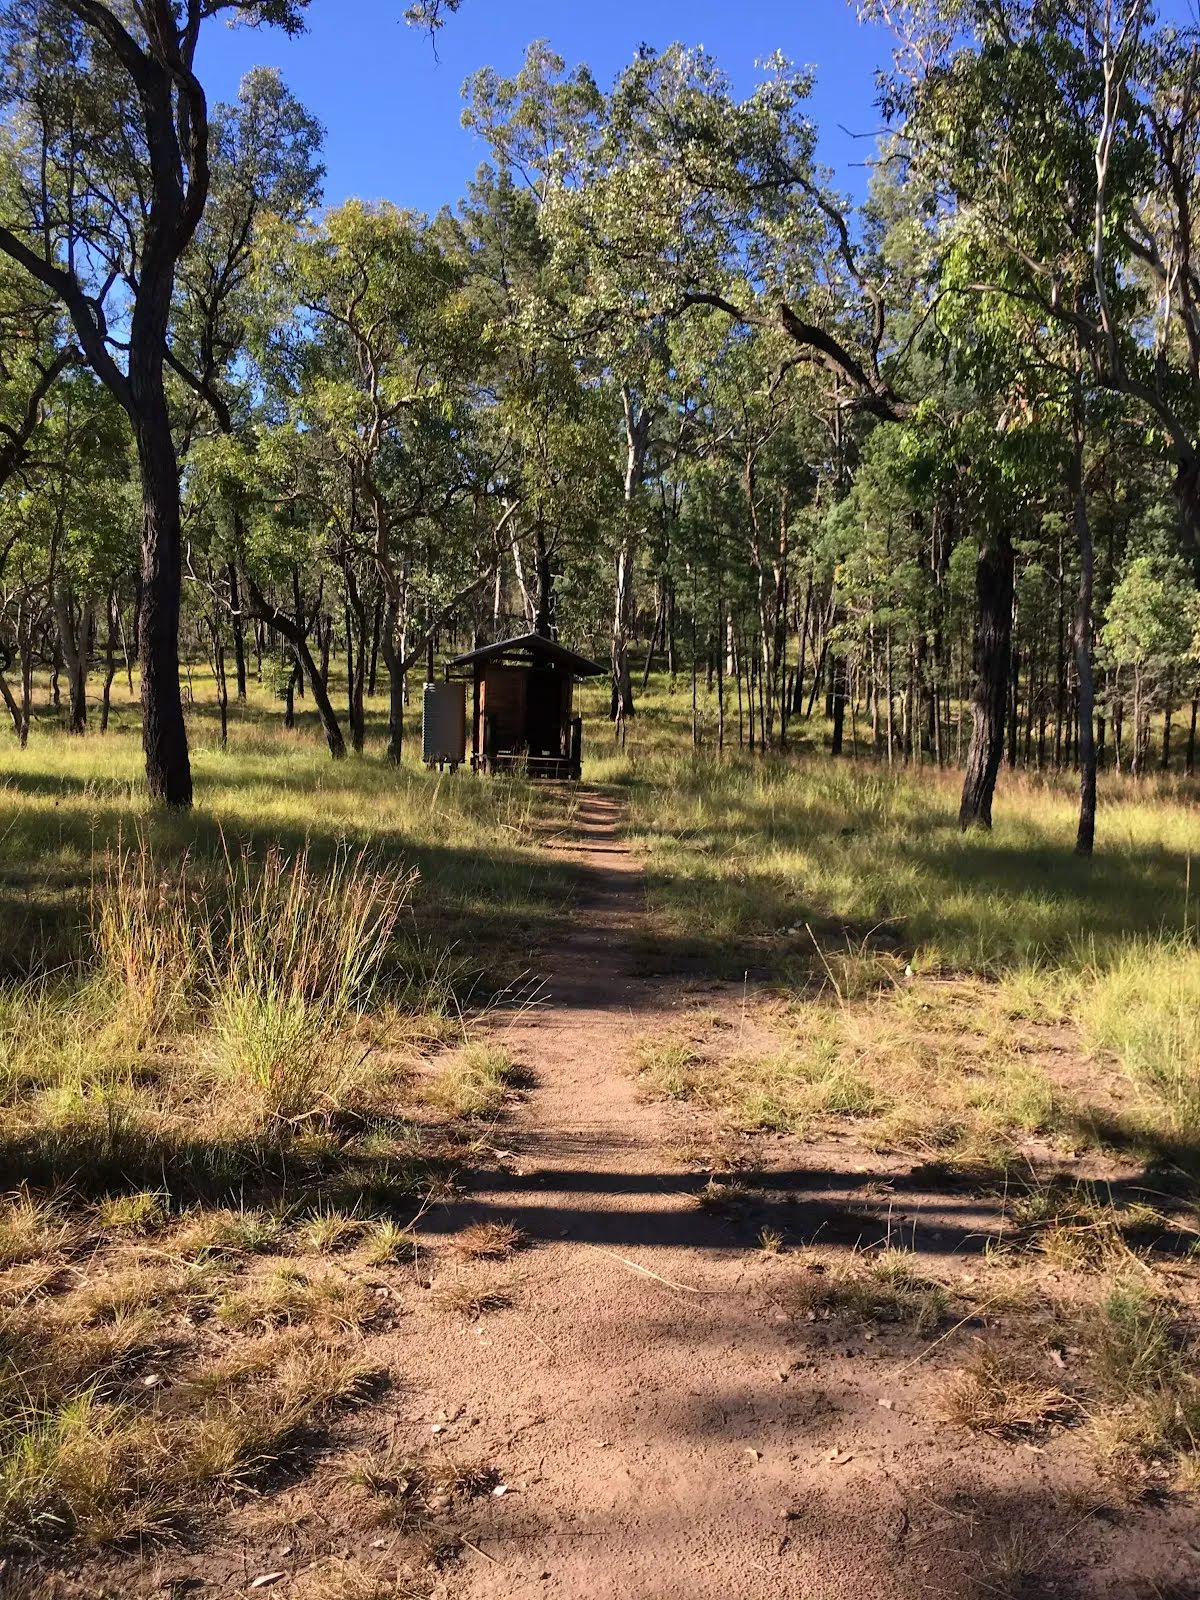
| -76 m | [toilet] |
Toilet
| 2.9 km | [toilet] |
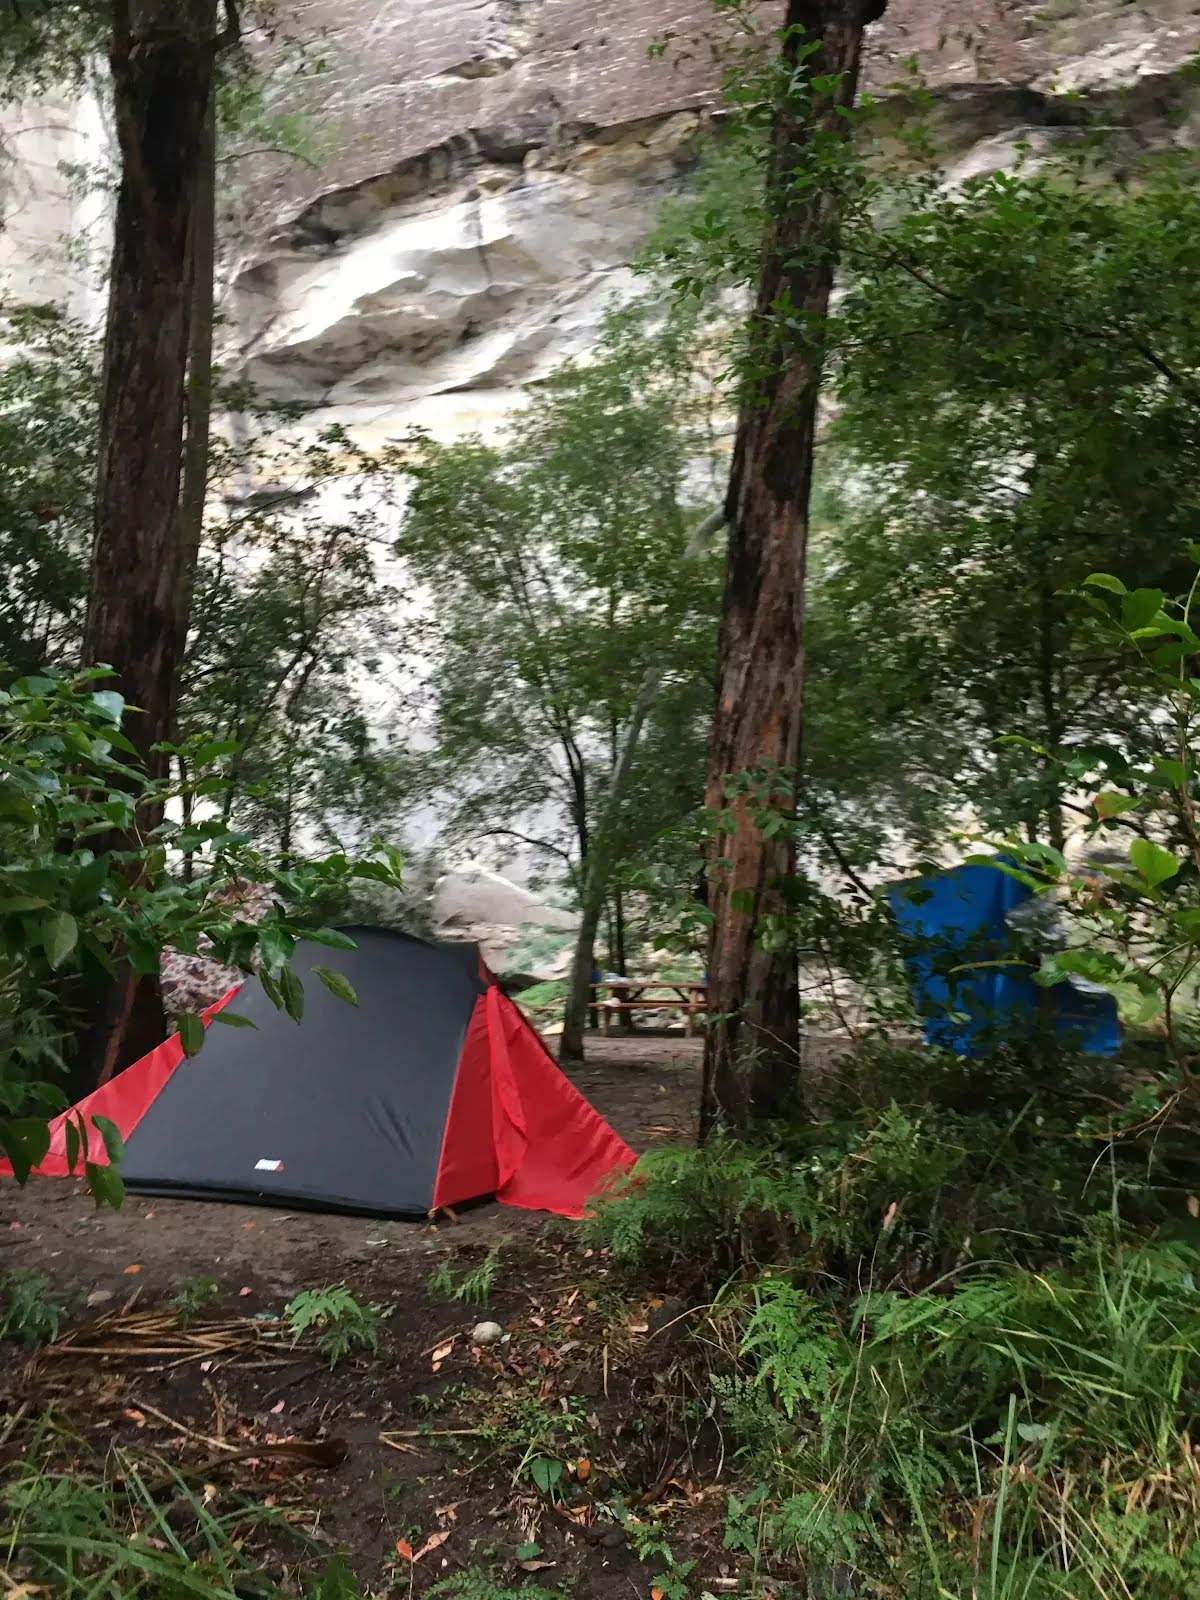
Camp site
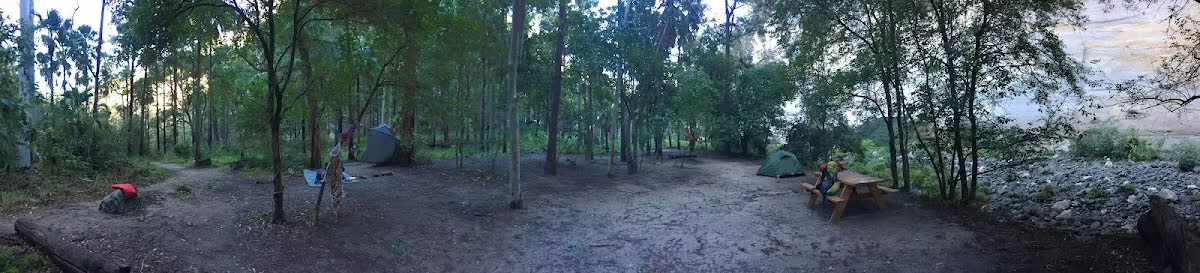
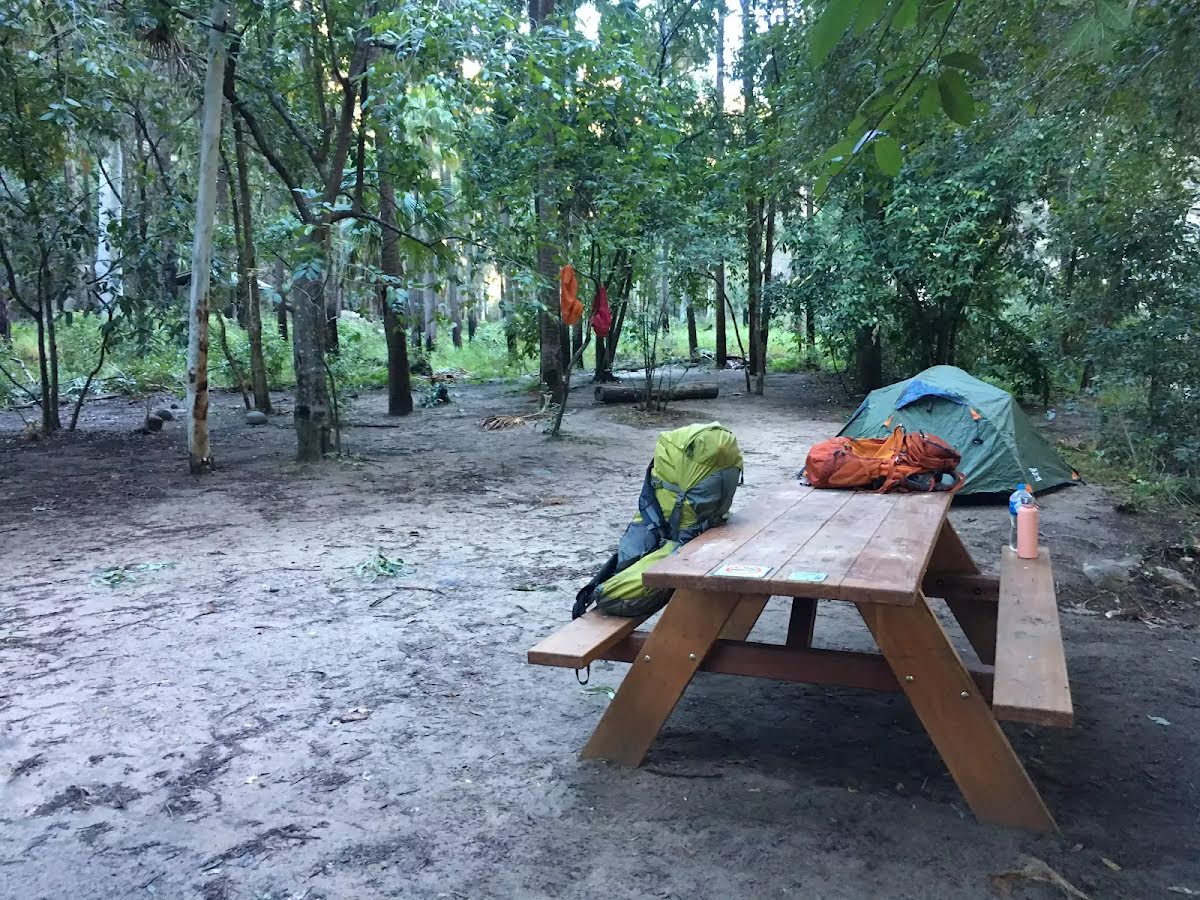
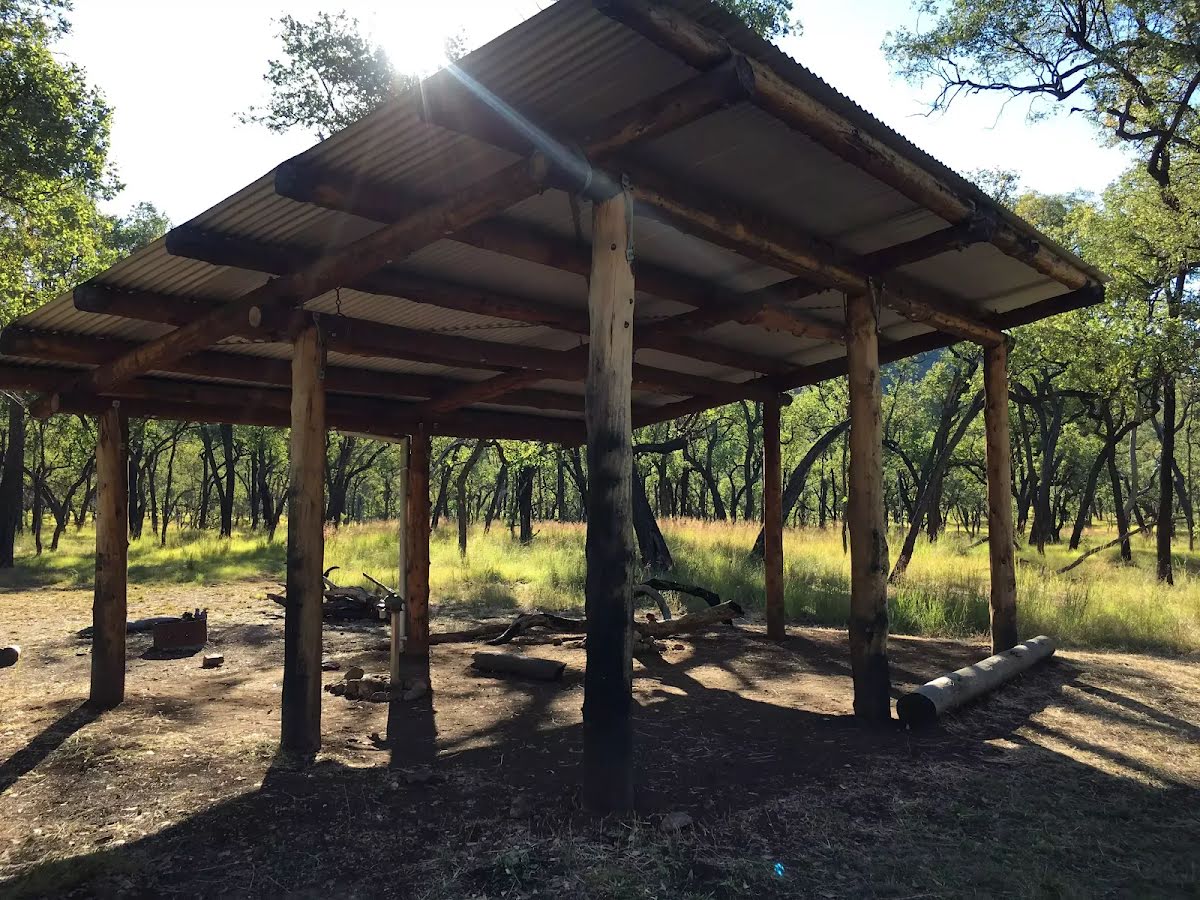
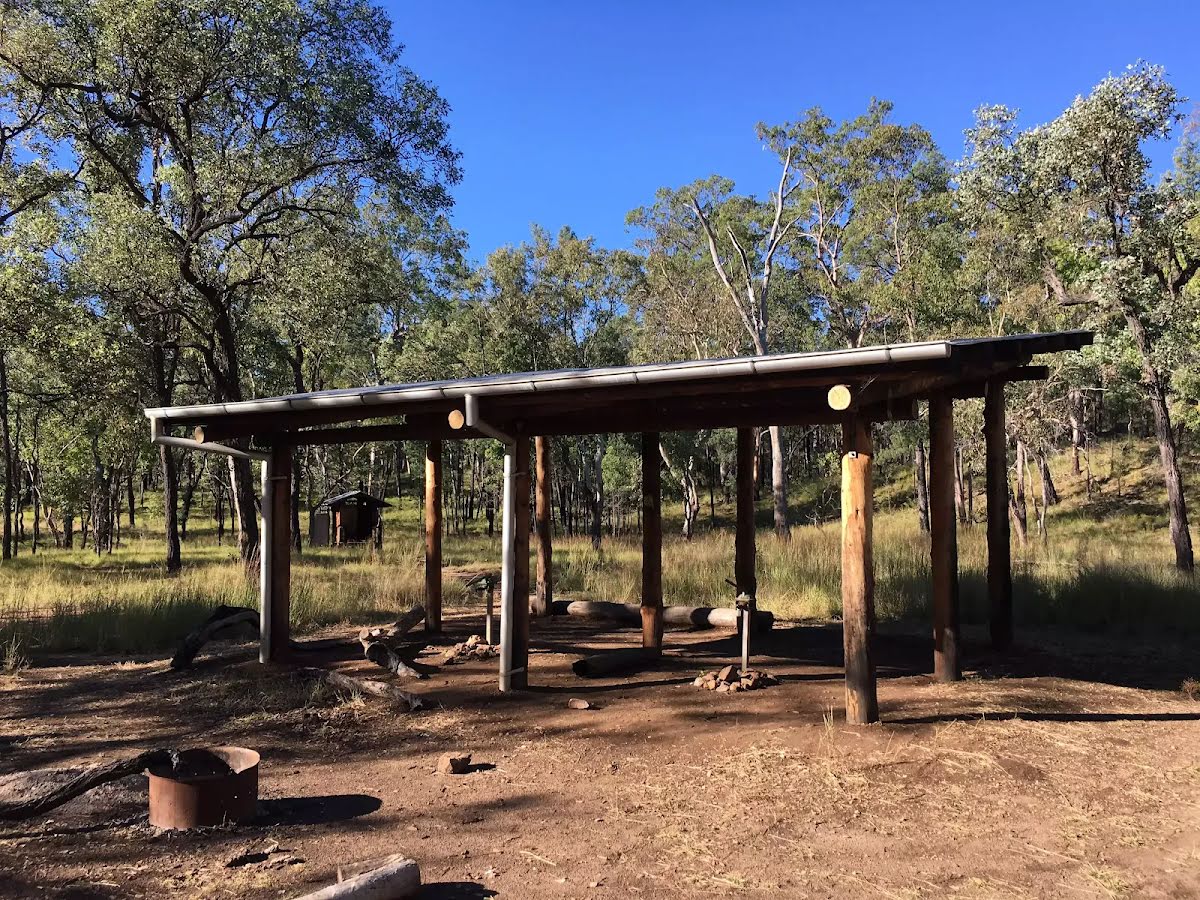
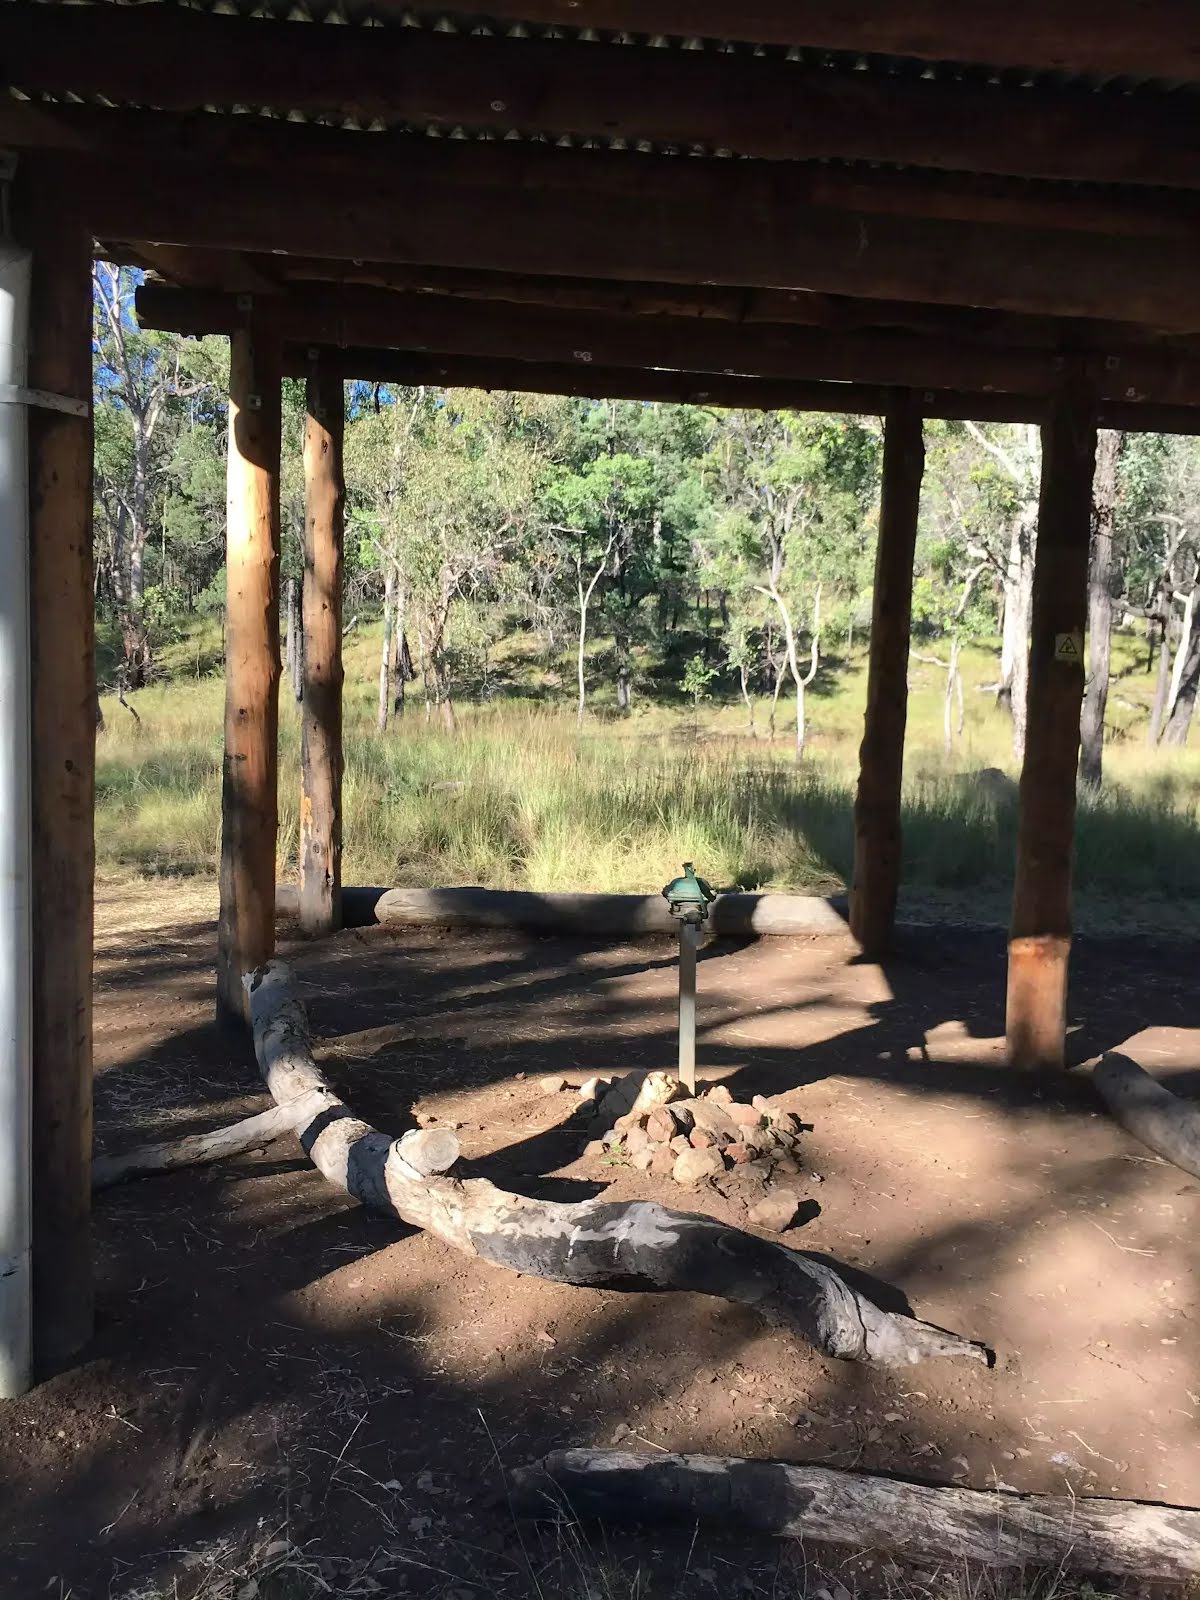
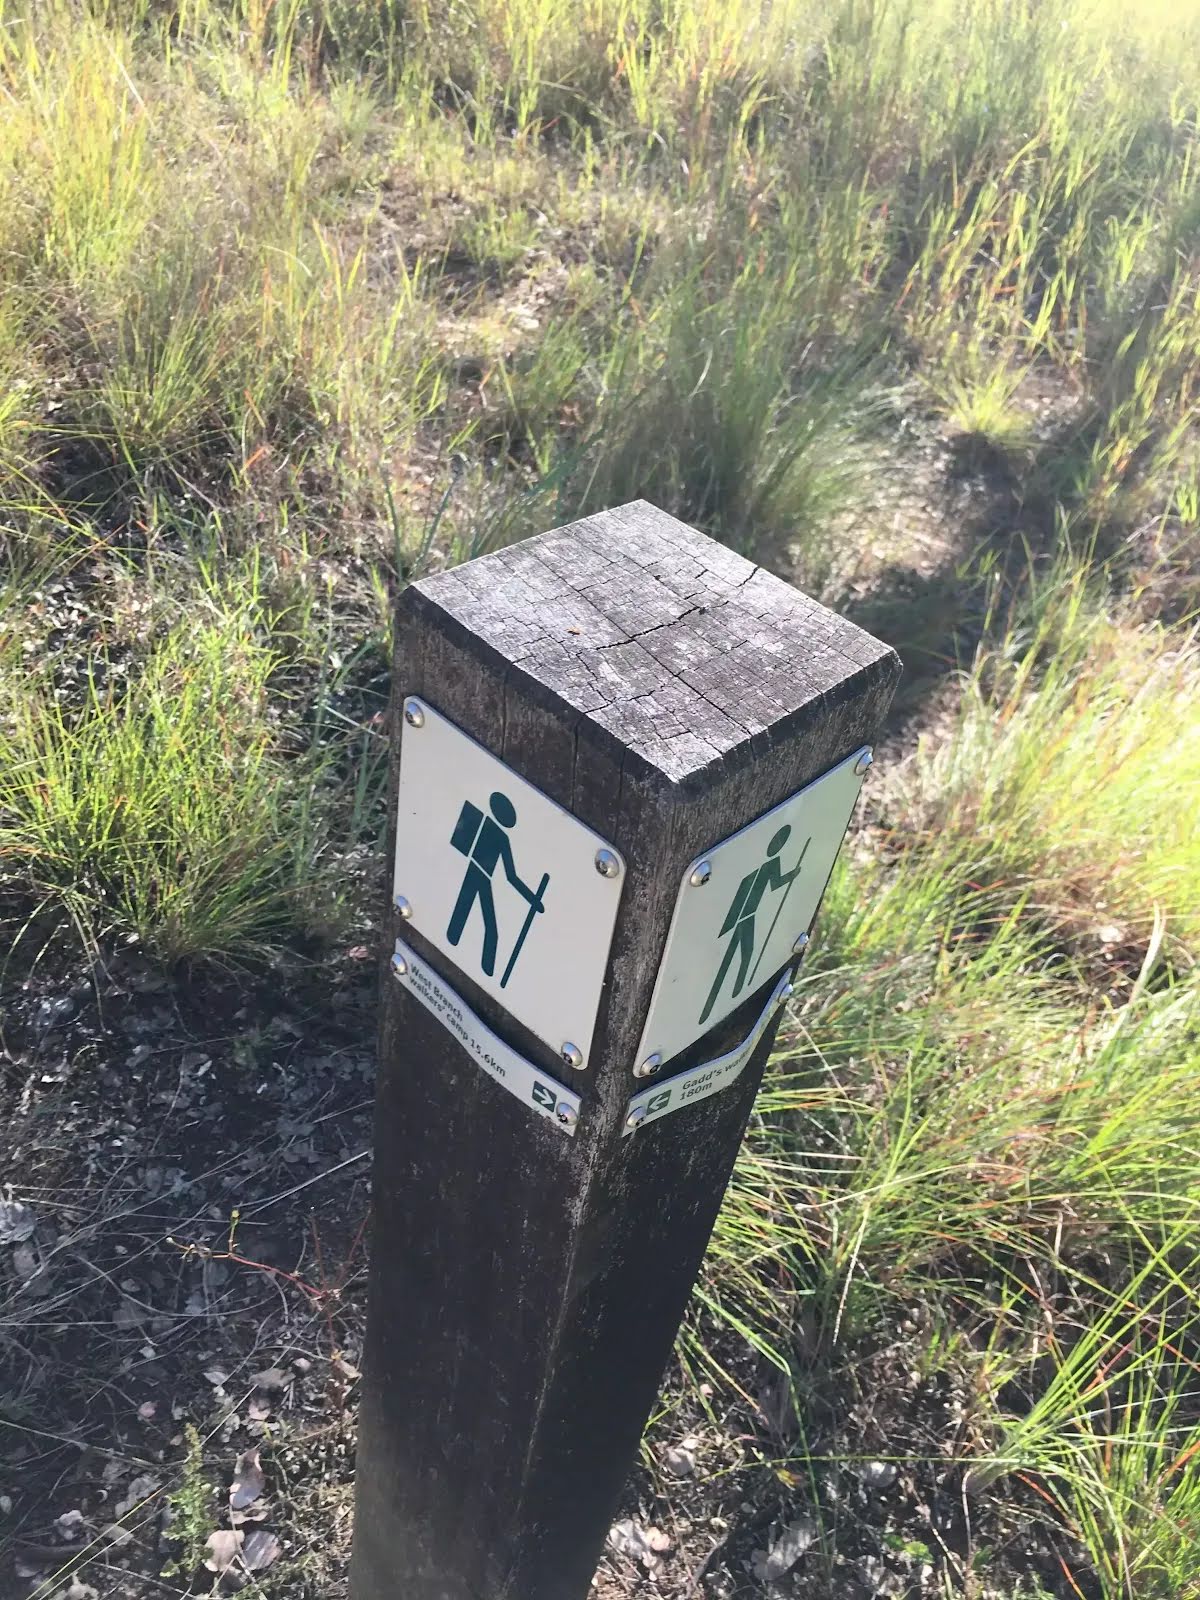
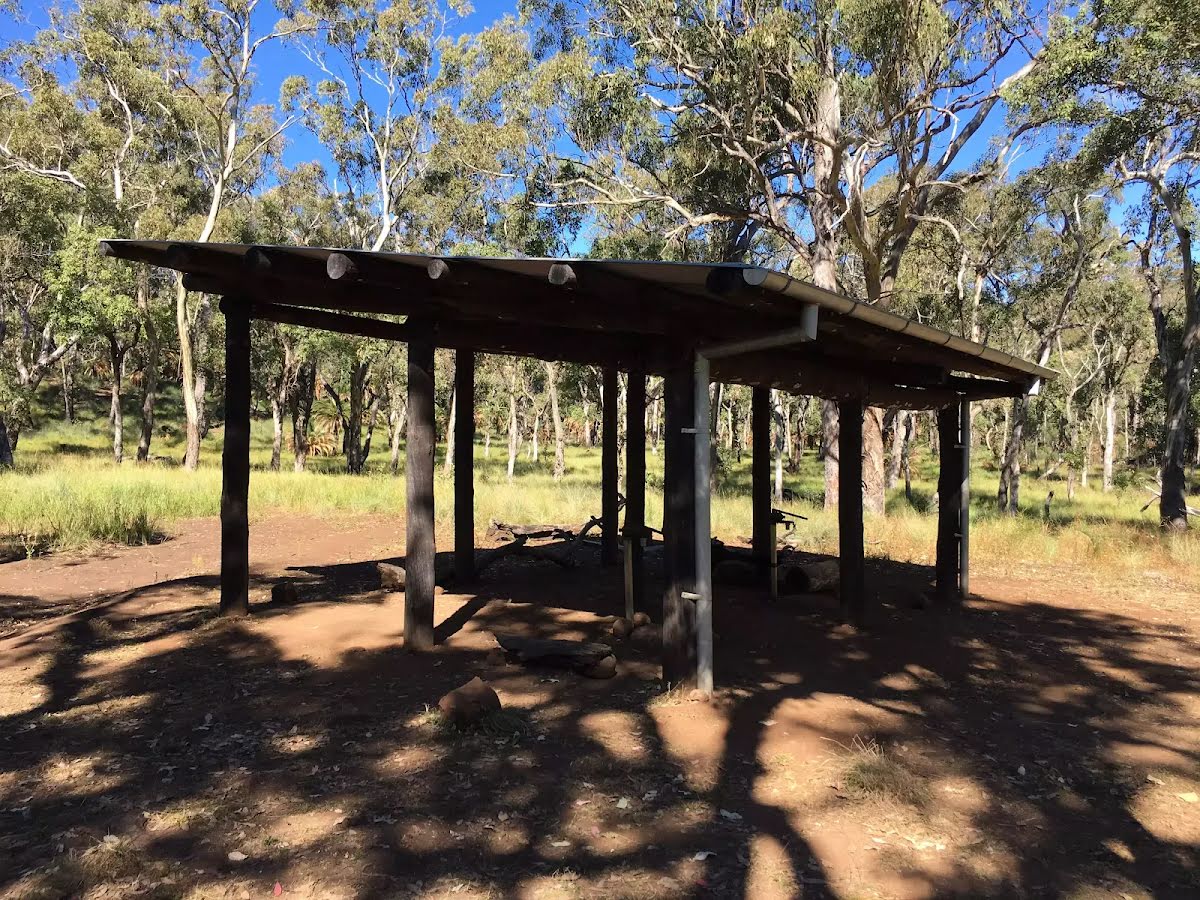
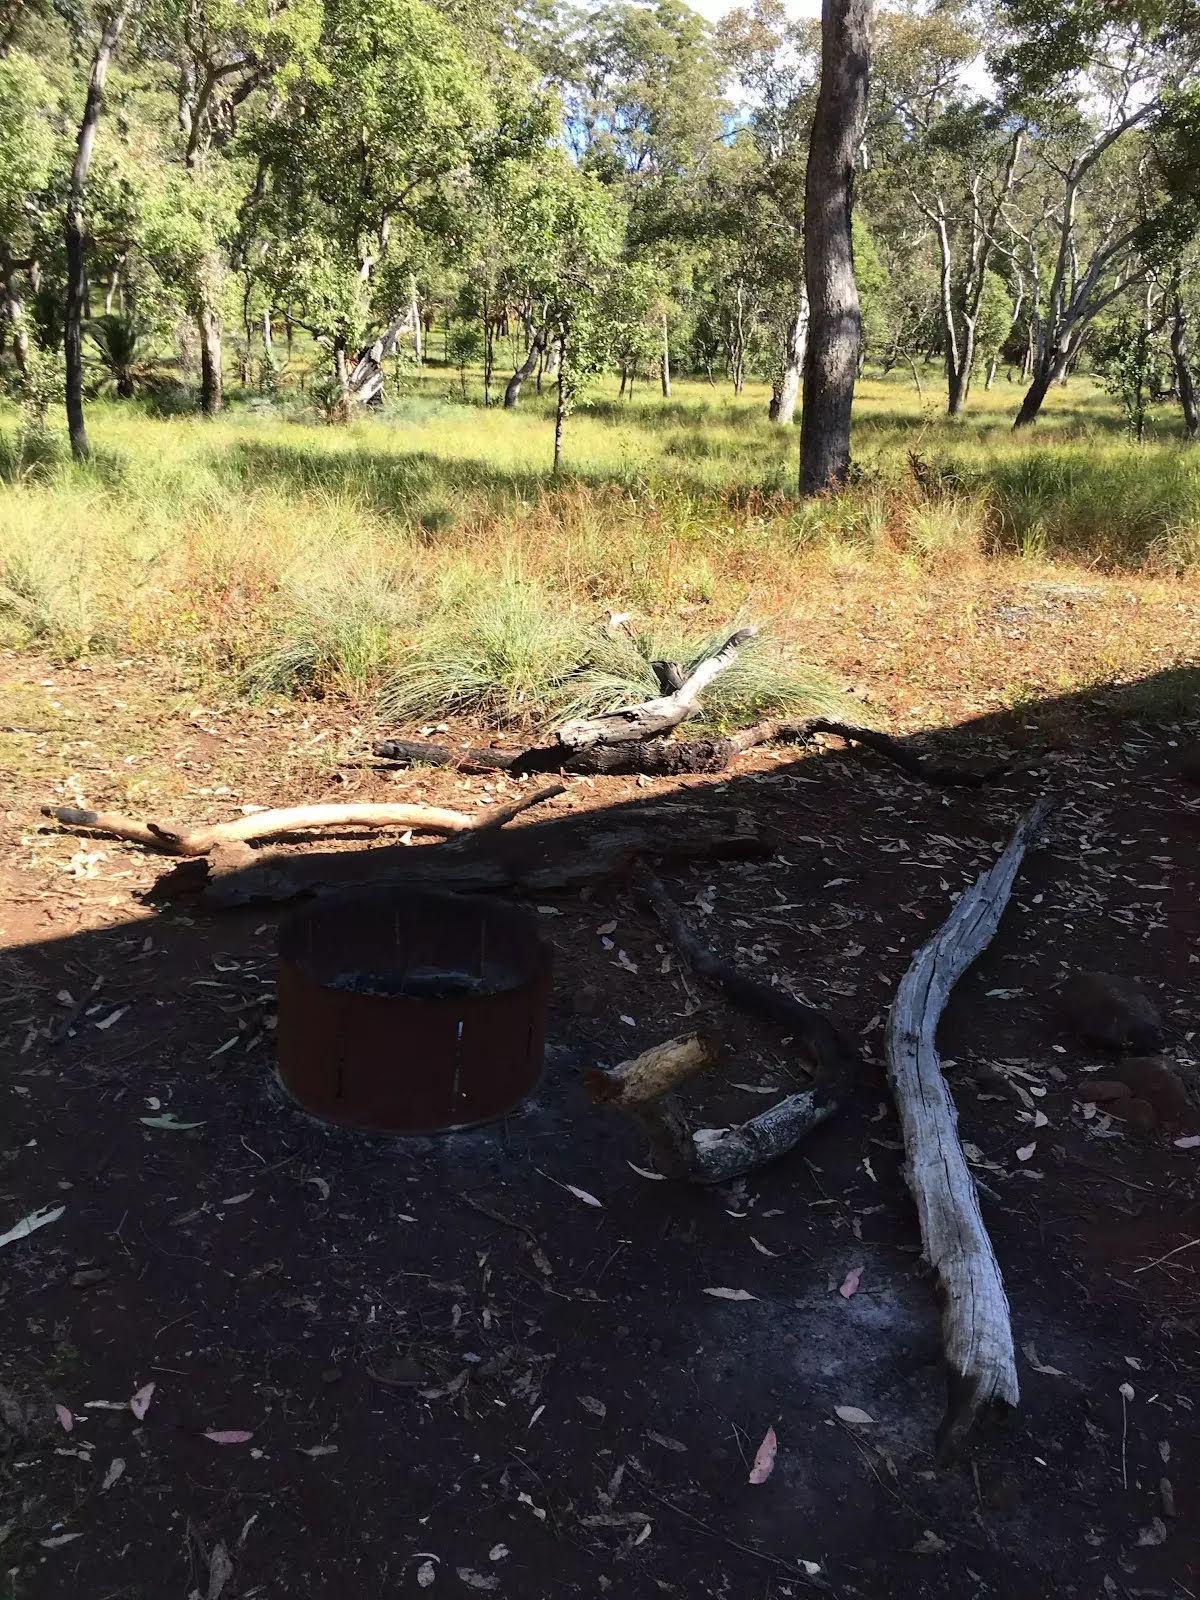
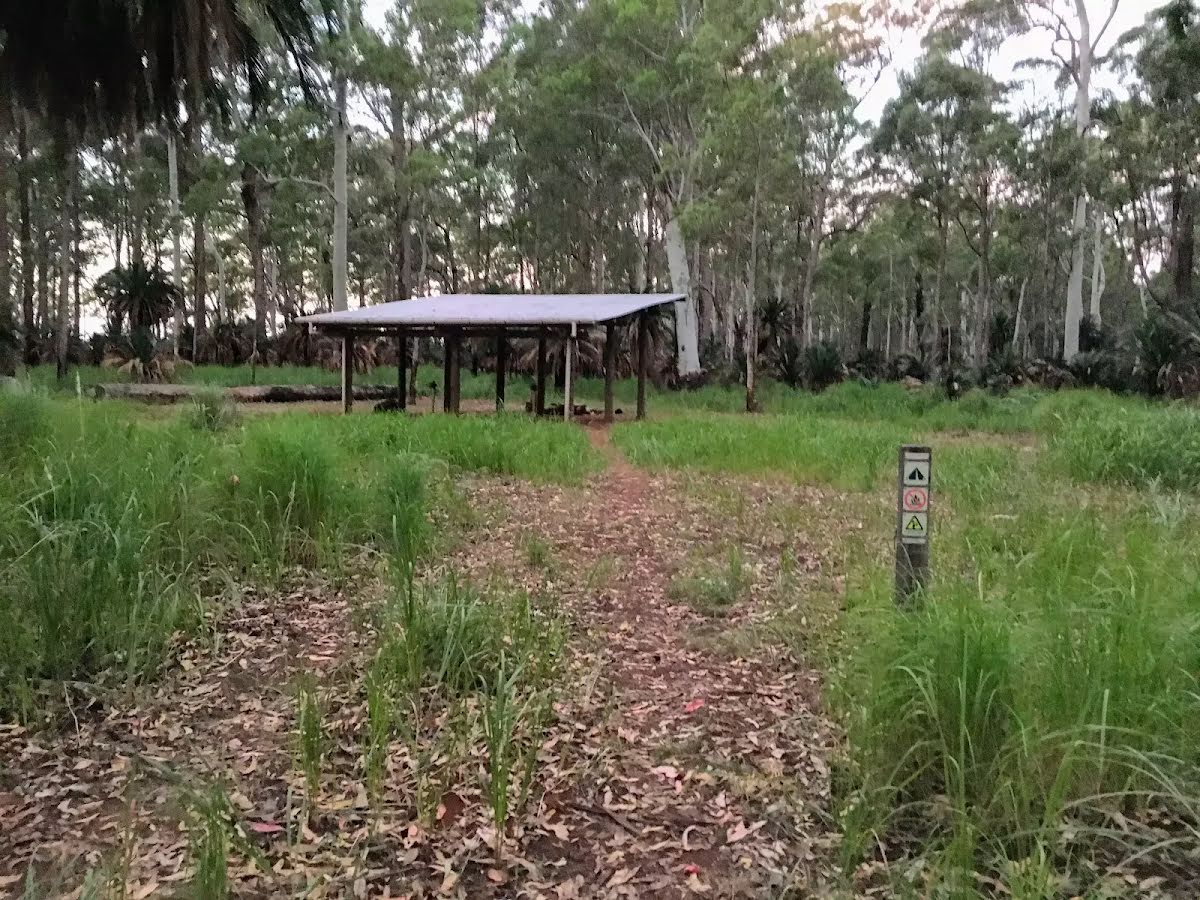
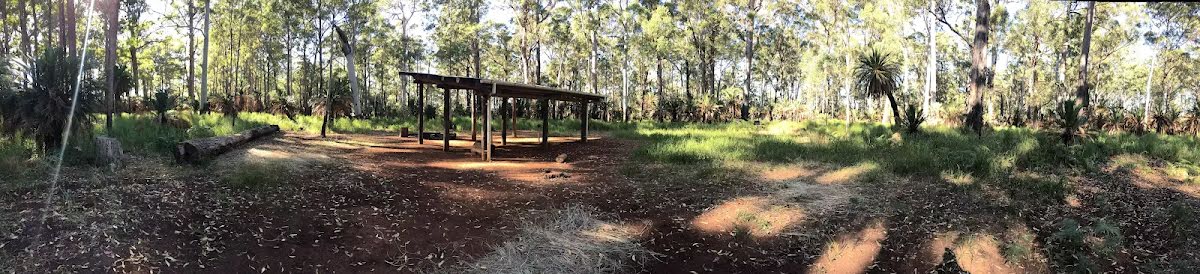
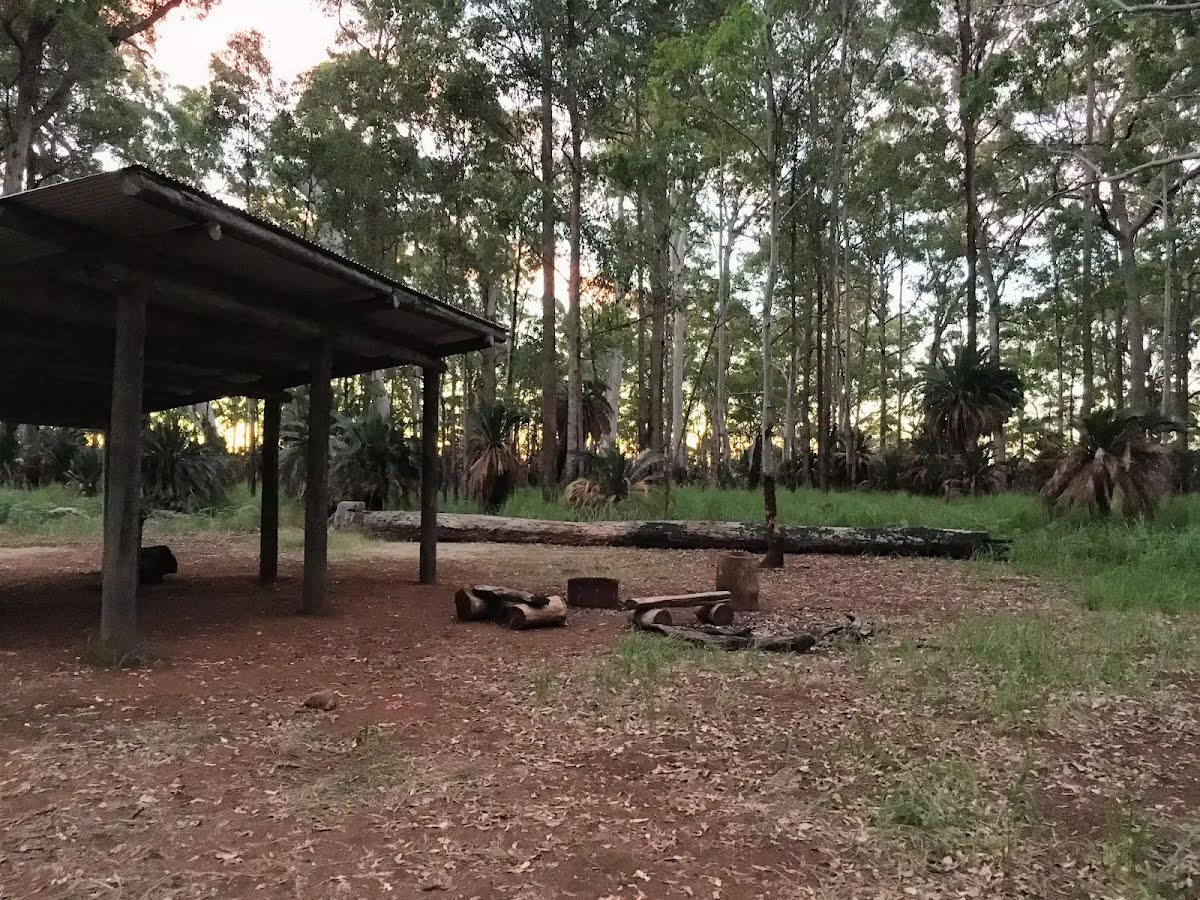
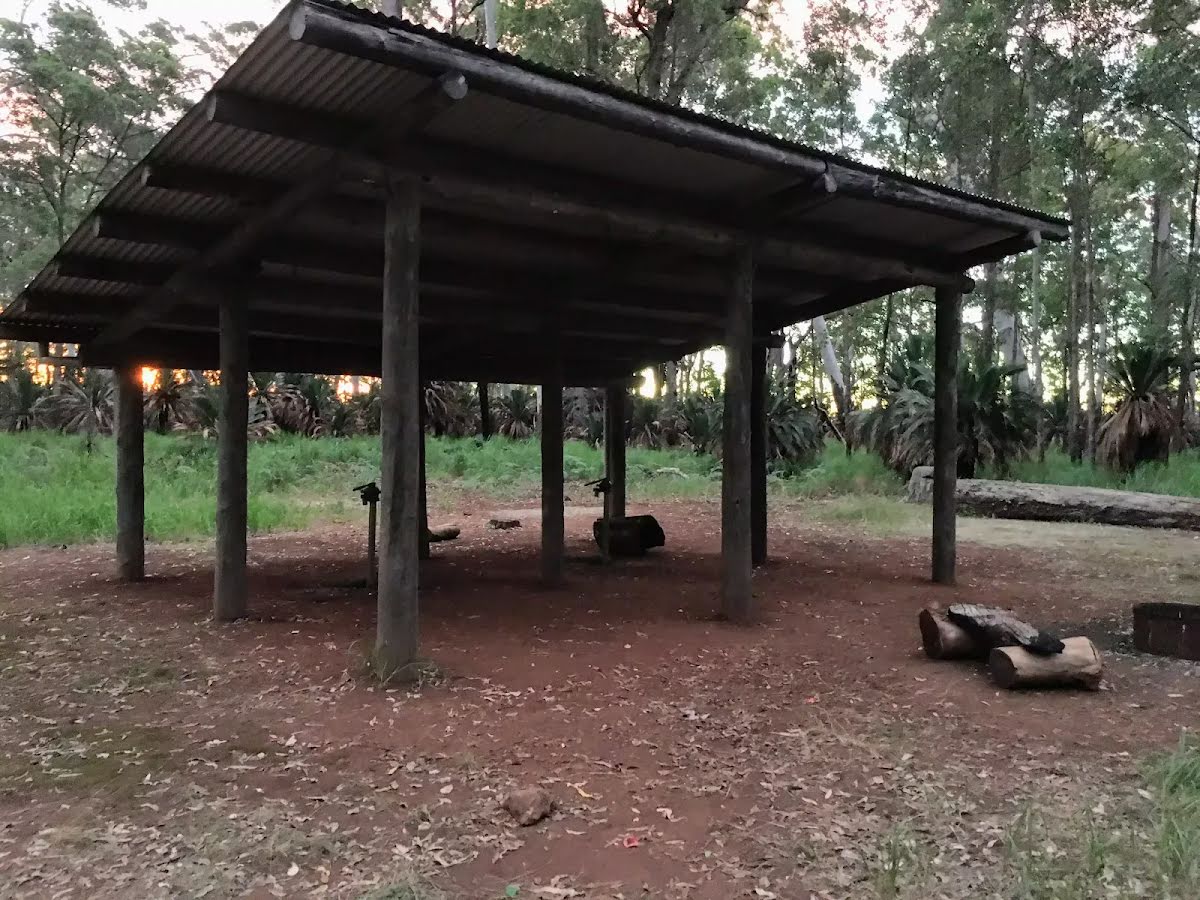
| 9.5 km | Big Bend walkers' camp |
Toilet
| 9.5 km | [toilet] |
Toilet
| 23.5 km | [toilet] |
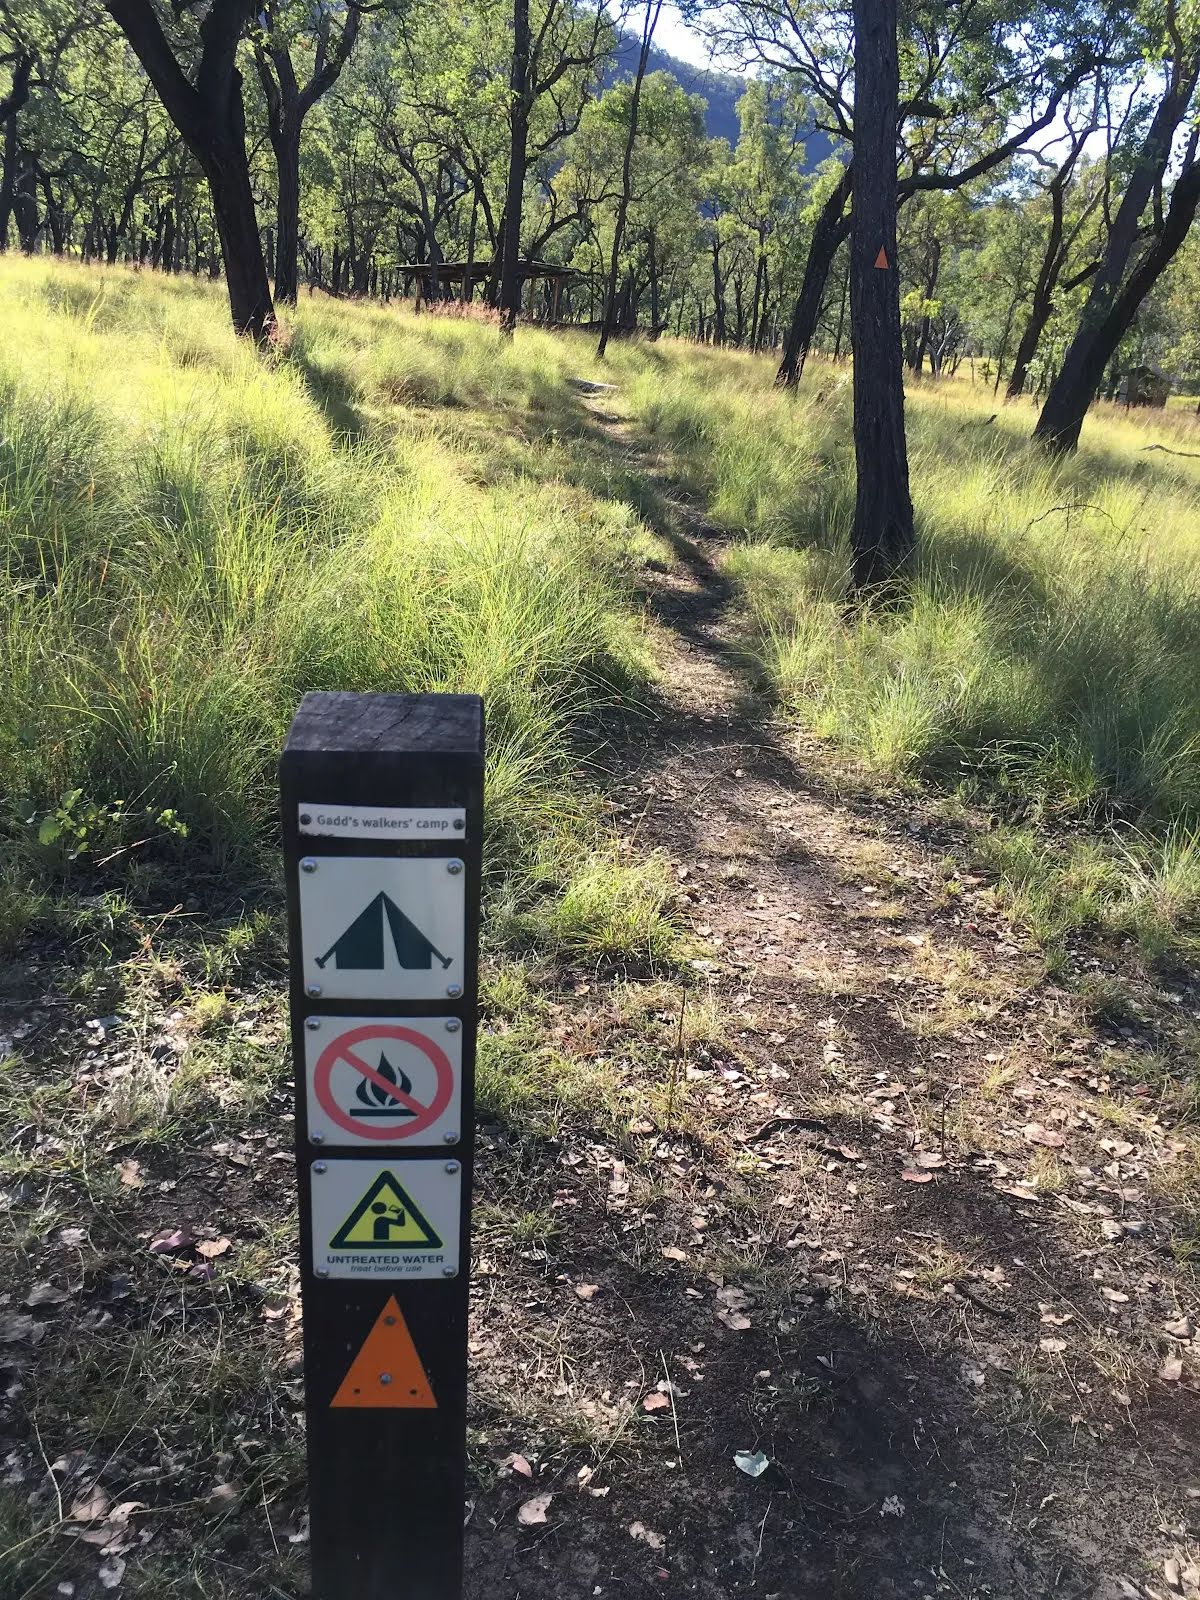
Camp site
| 23.5 km | Gadd's walkers' camp |
Camp site
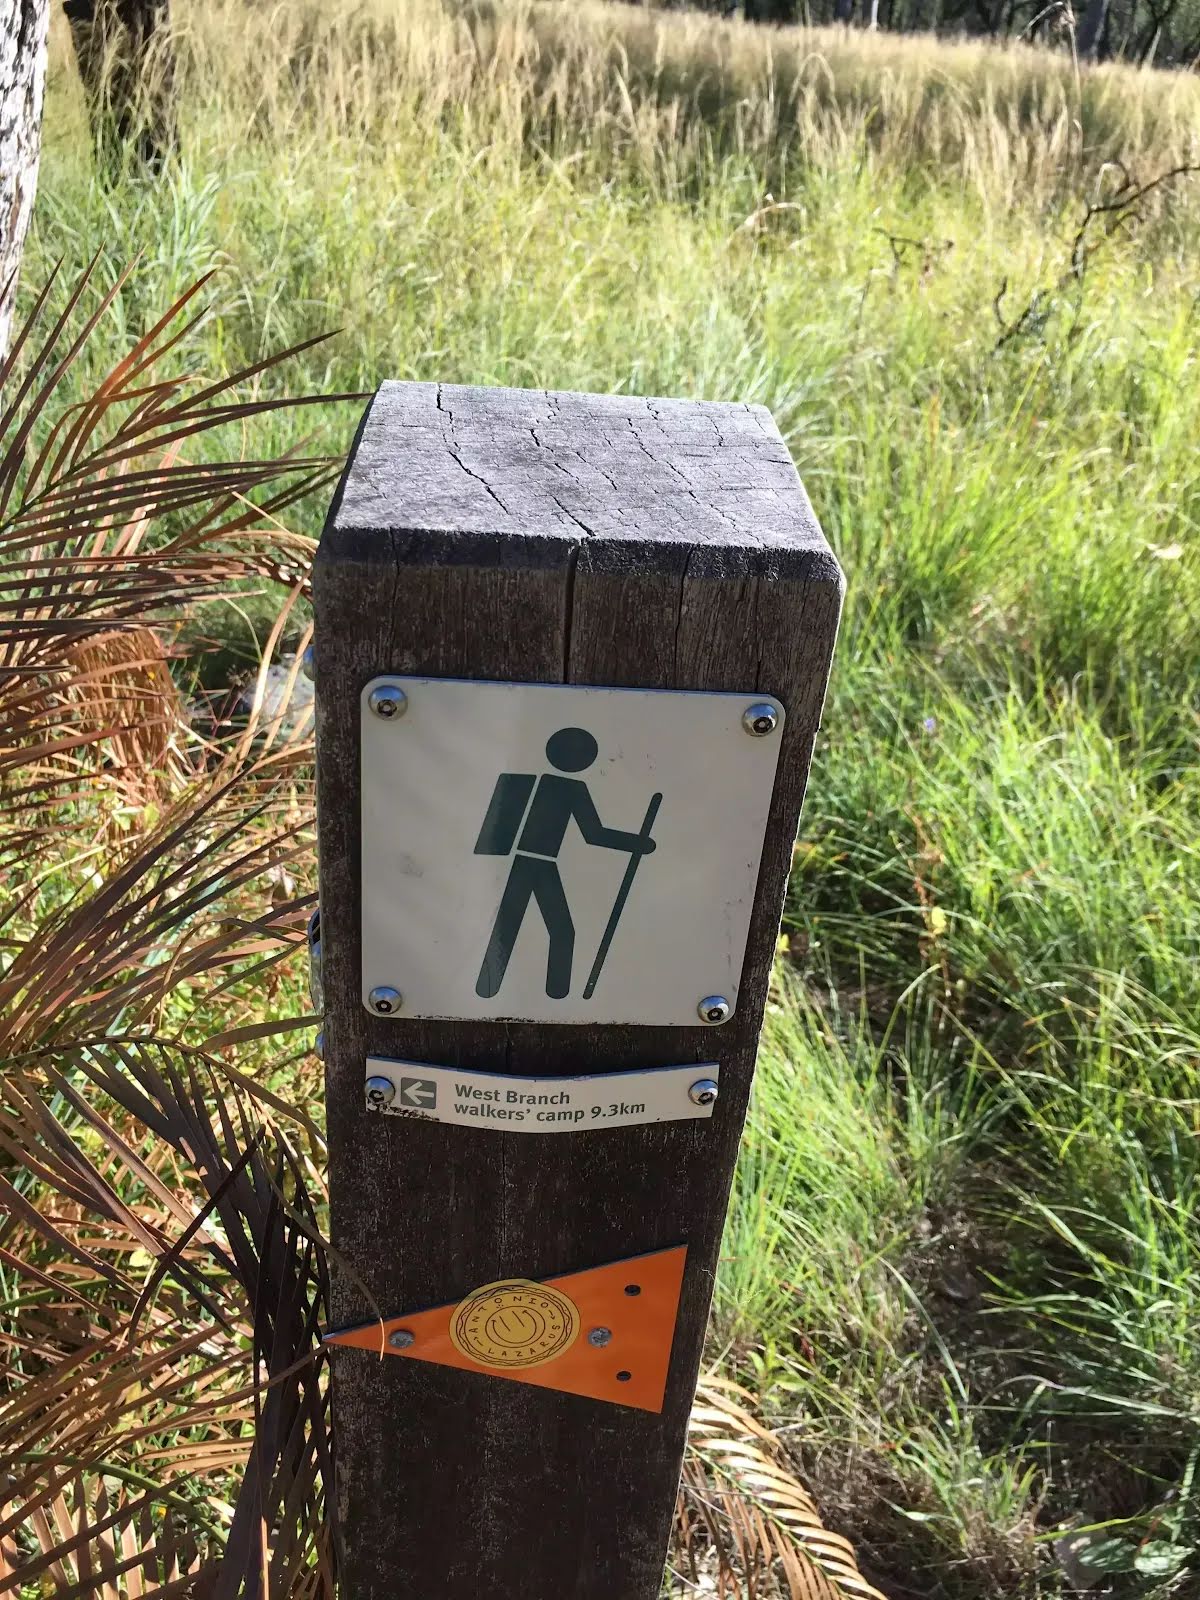
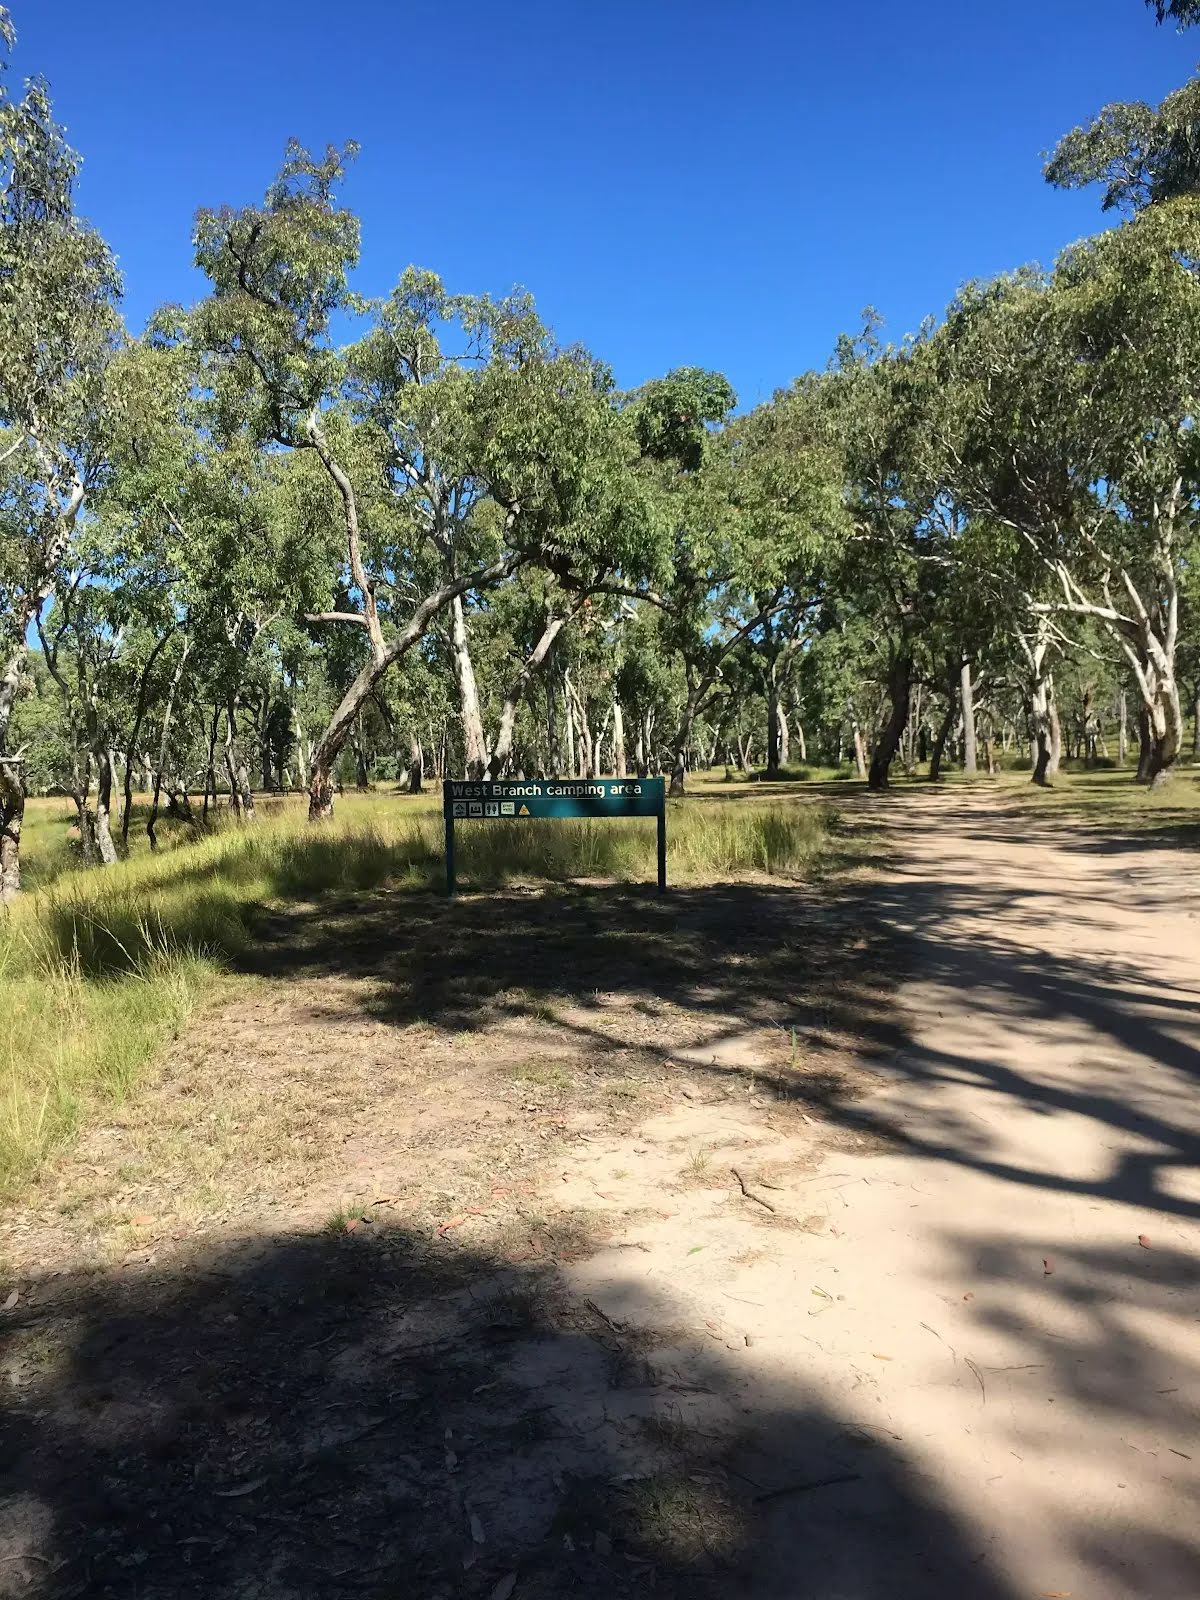
| 40 km | West Branch walkers' camp |
Toilet
| 40.2 km | [toilet] |
Camp site
| 40.2 km | West Branch camping area |
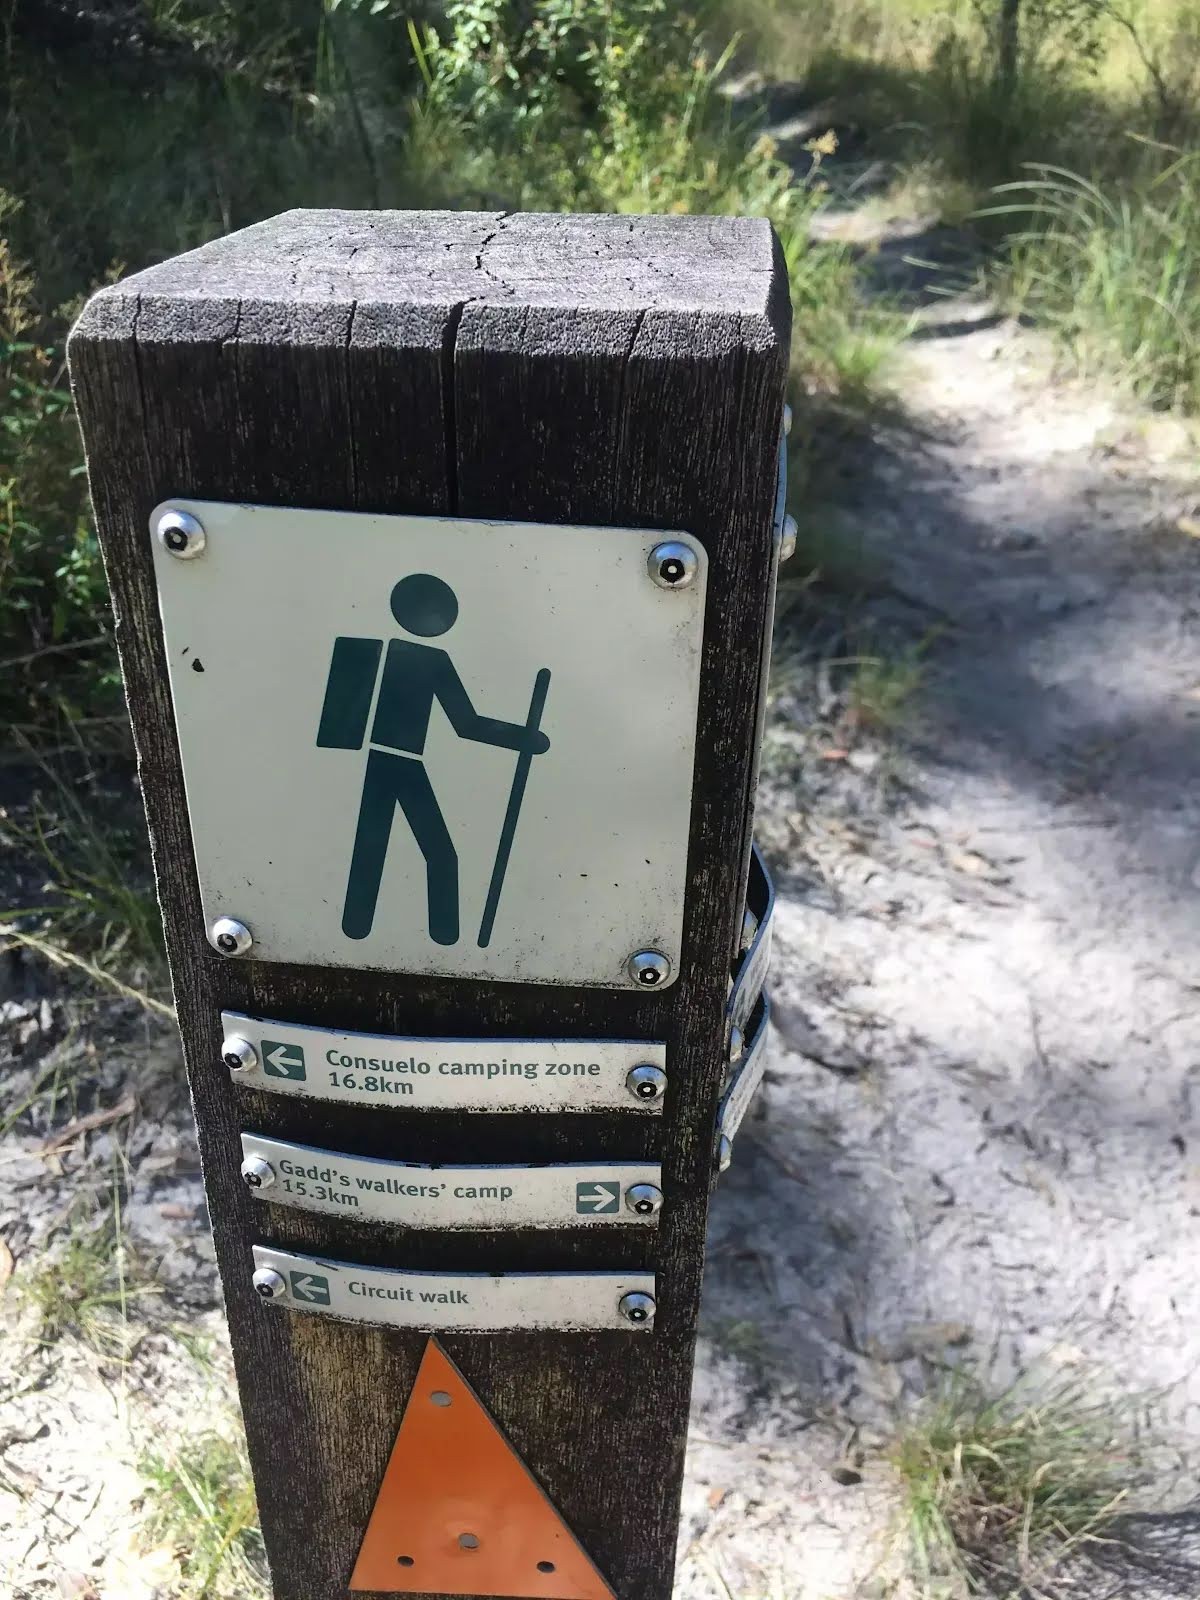
Camp site
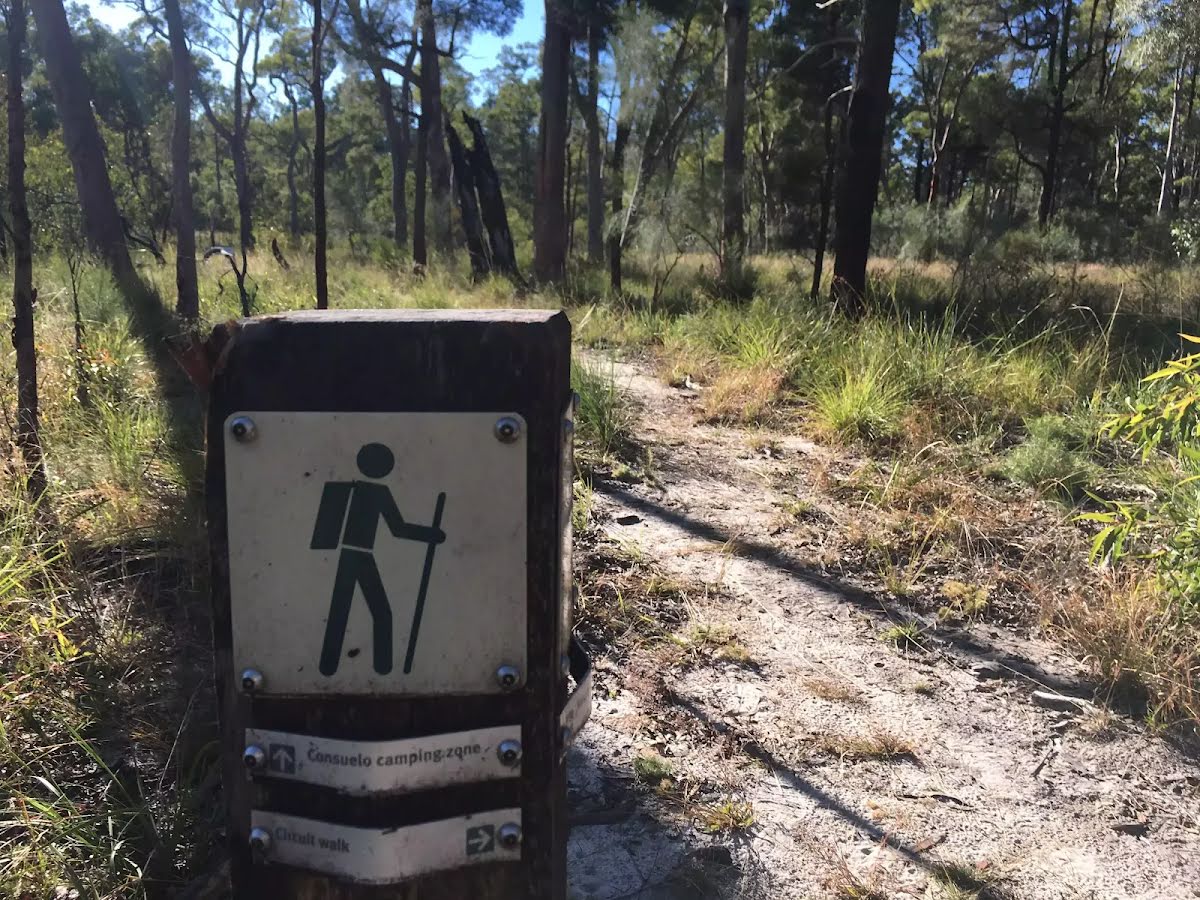
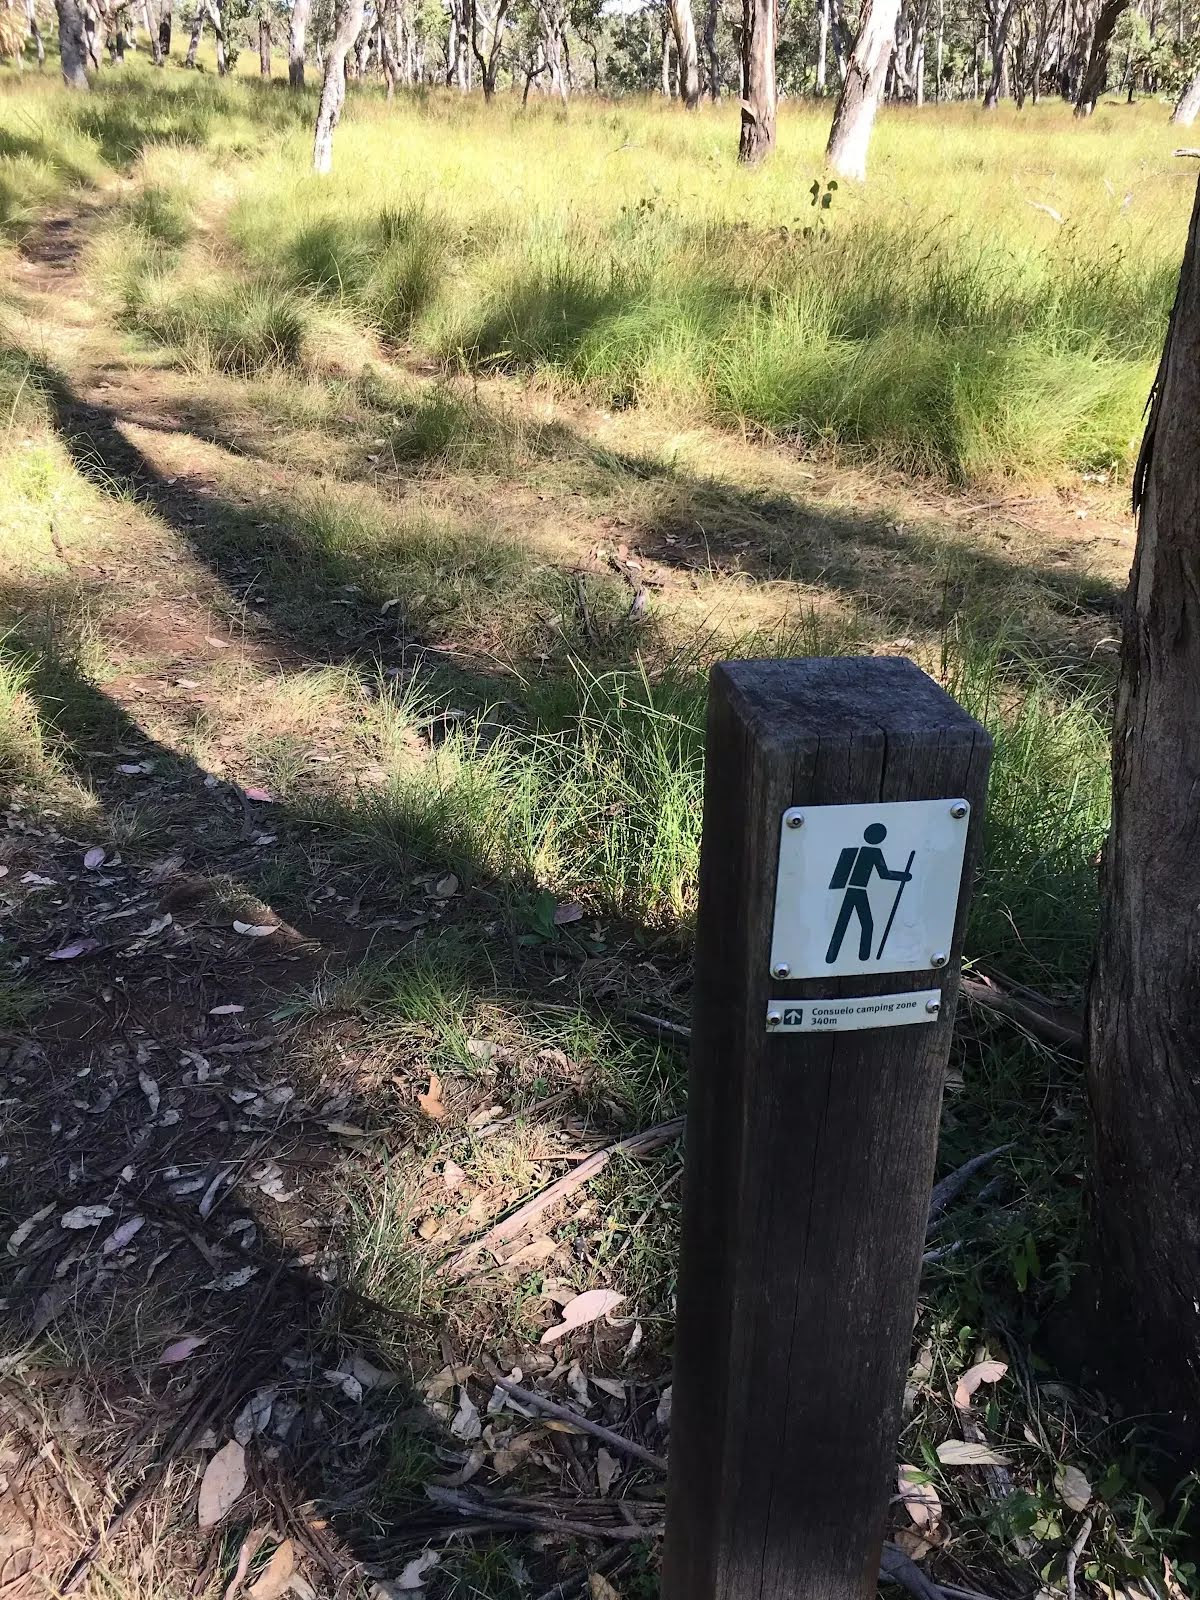
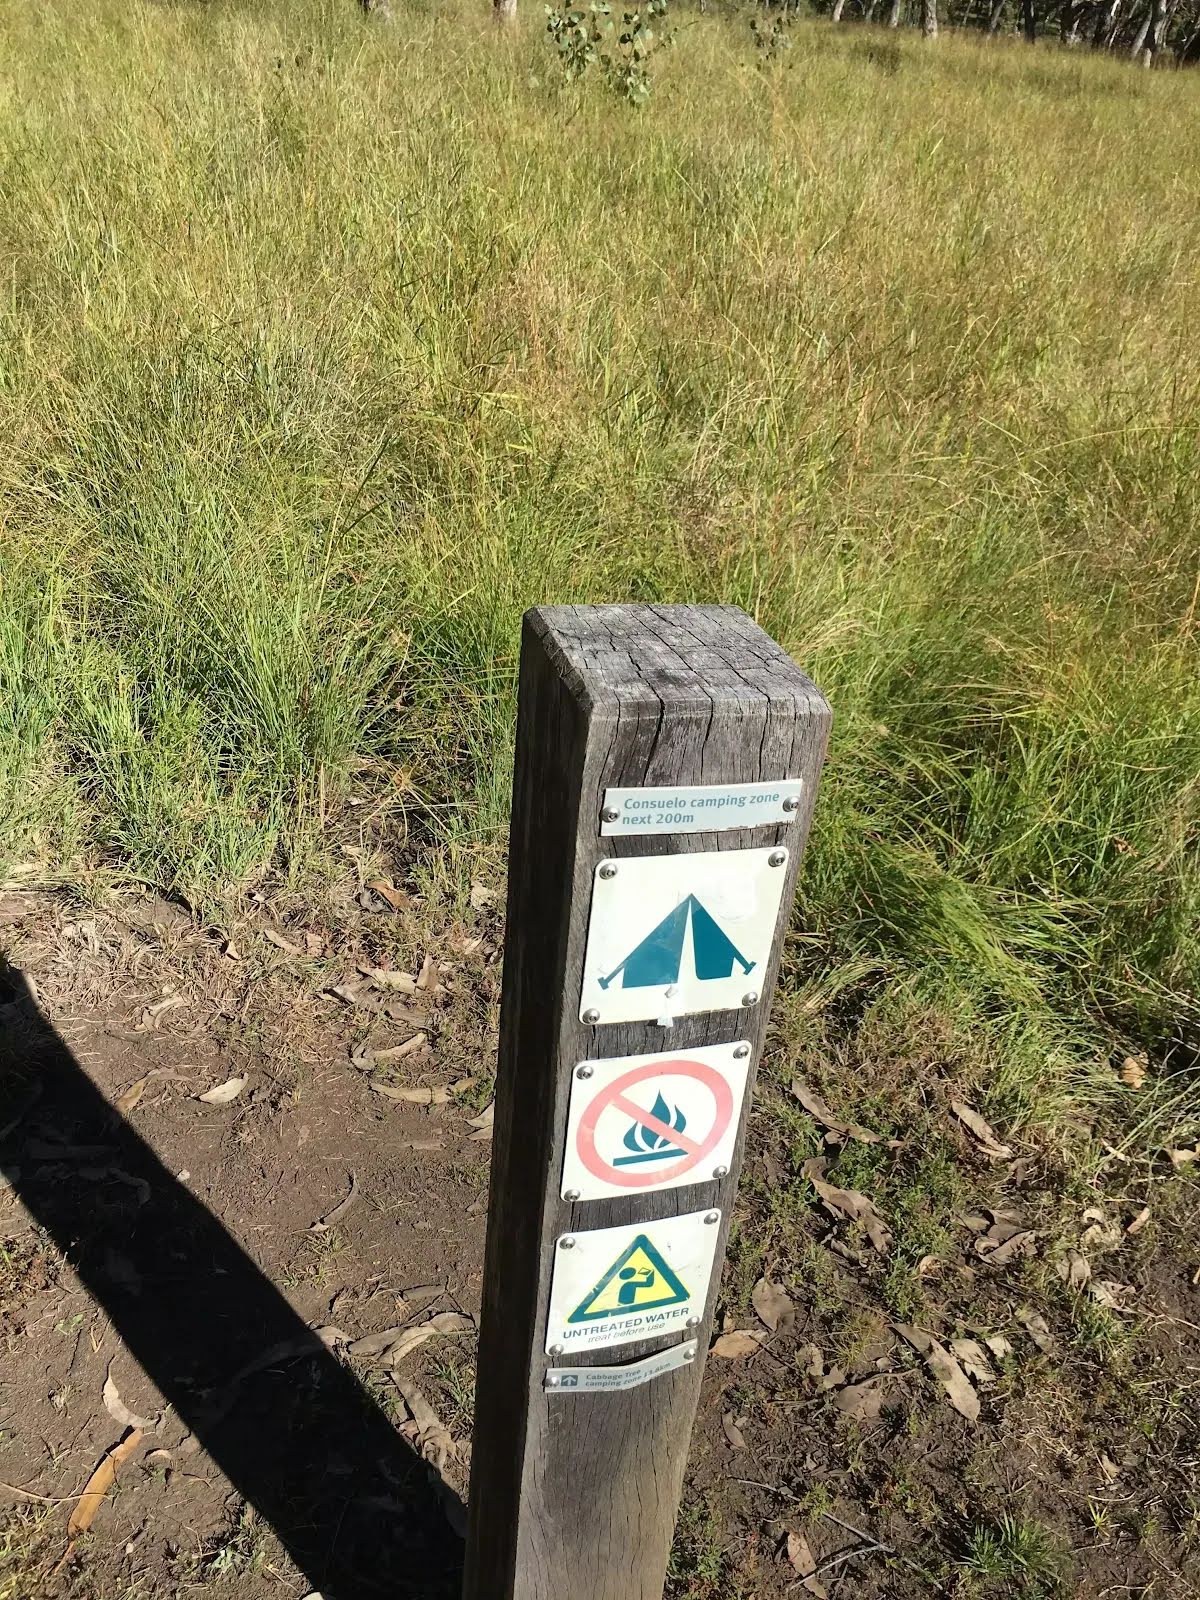
| 56.5 km | Consuelo camping zone |
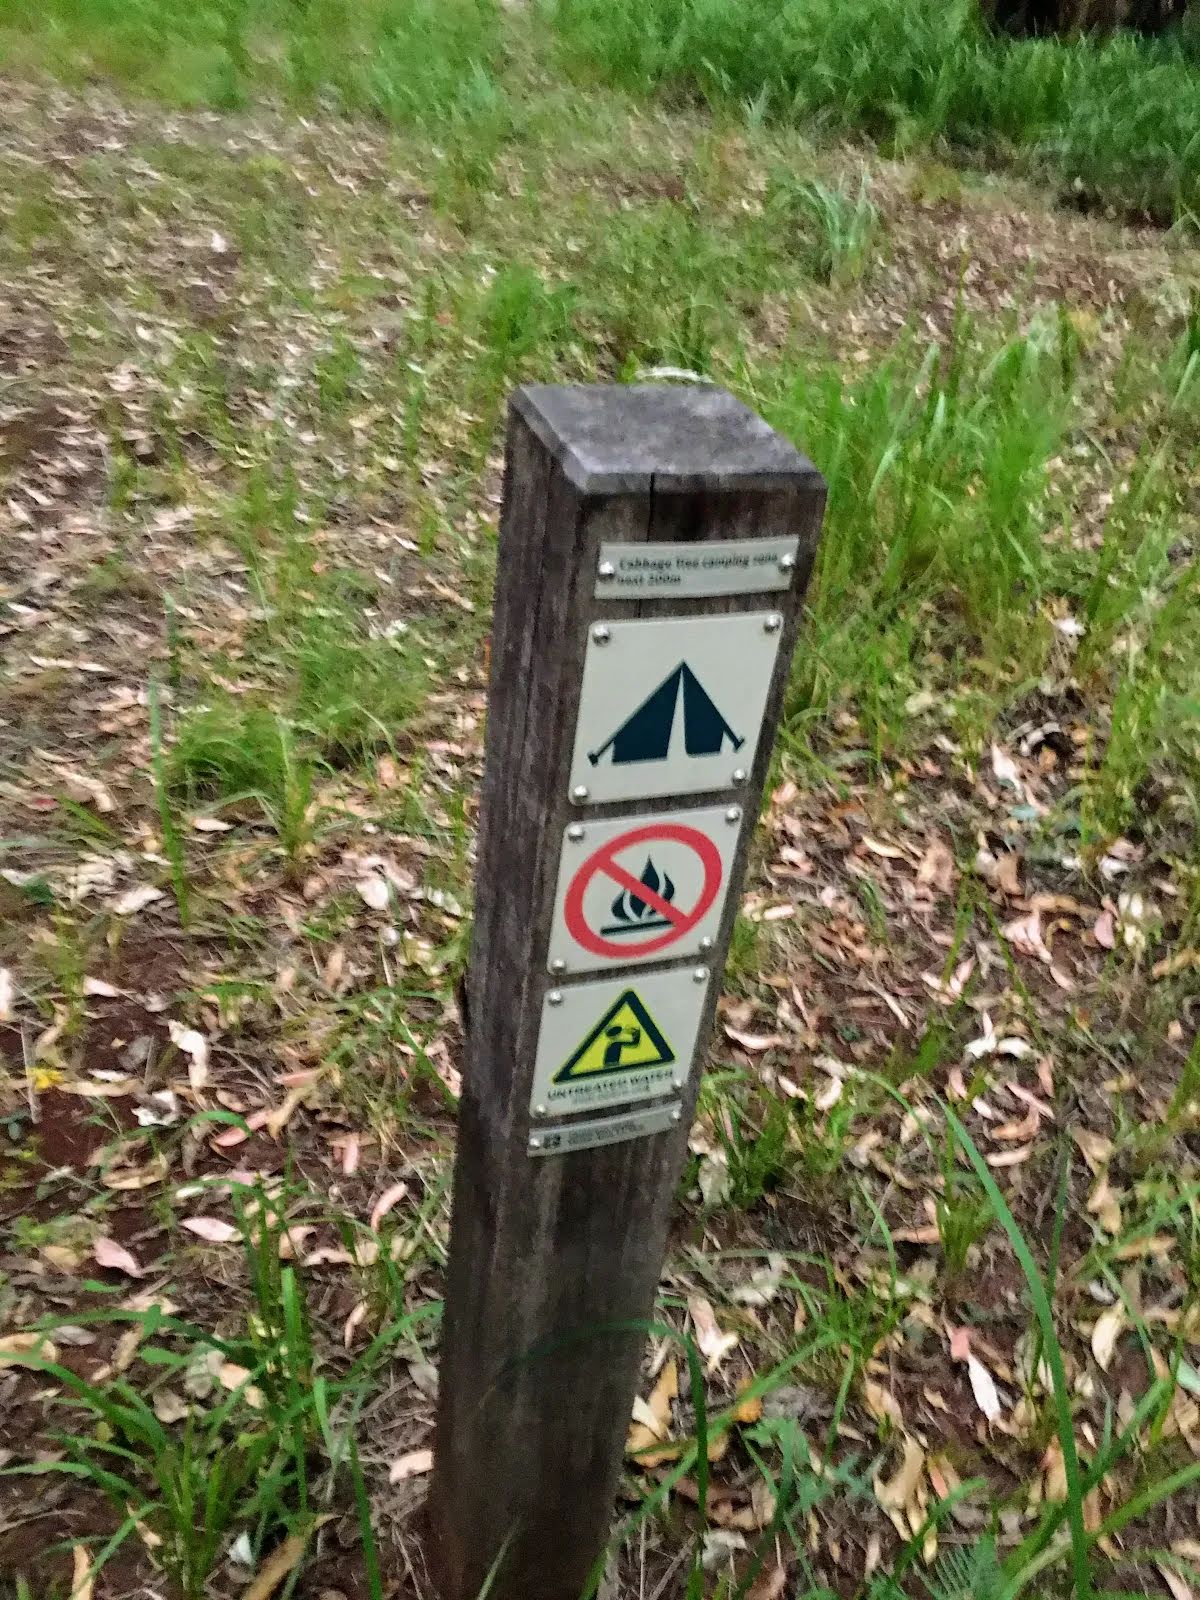
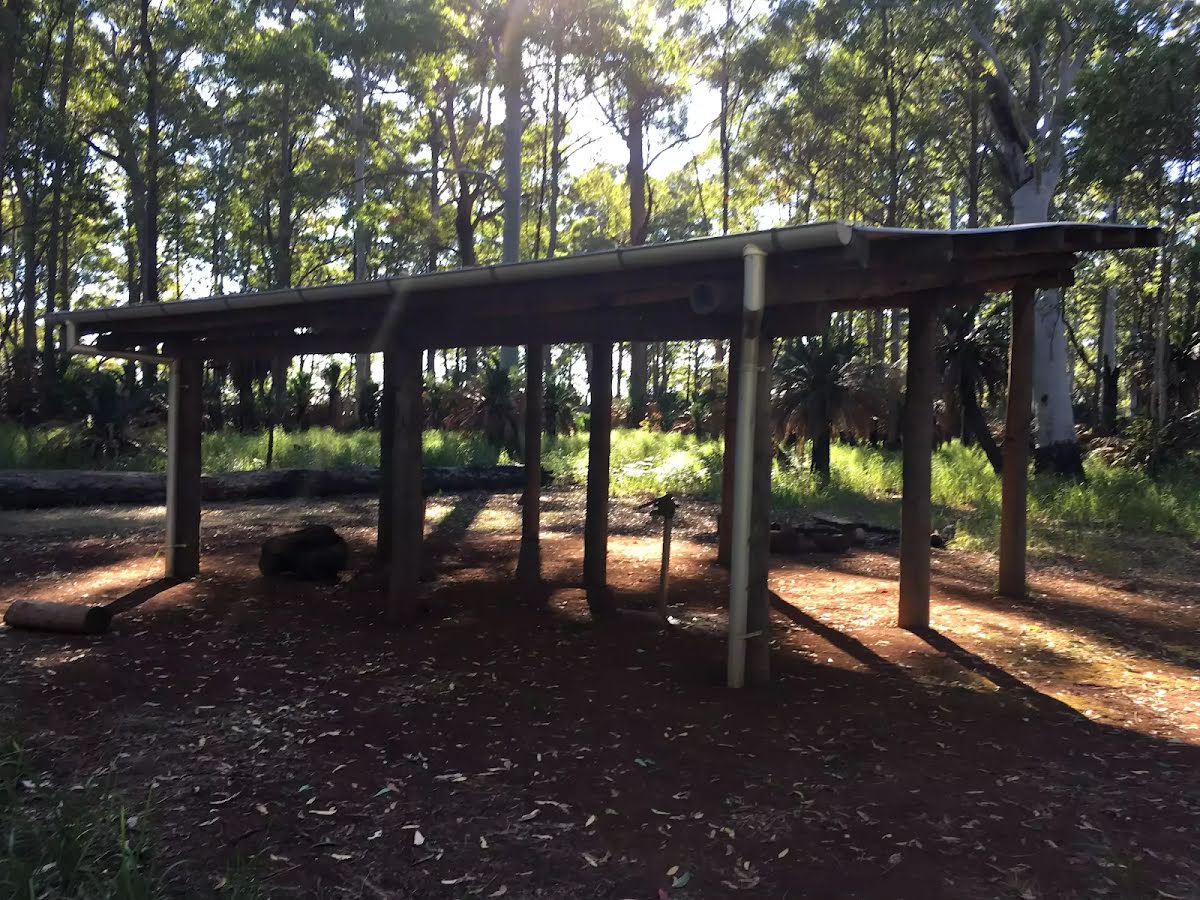
Camp site
| 70 km | Cabbage Tree camping zone |


