


| Segment |
|
| Full Journey | Carnarvon Great Walk |
| Start | (-25.0336264,148.1708198) |
| Finish | (-25.0252568,148.0700799) |
| Mode (end) |
| Turn map | Directions & comments |
|---|---|
 |
|
 |
|
 |
|
 |
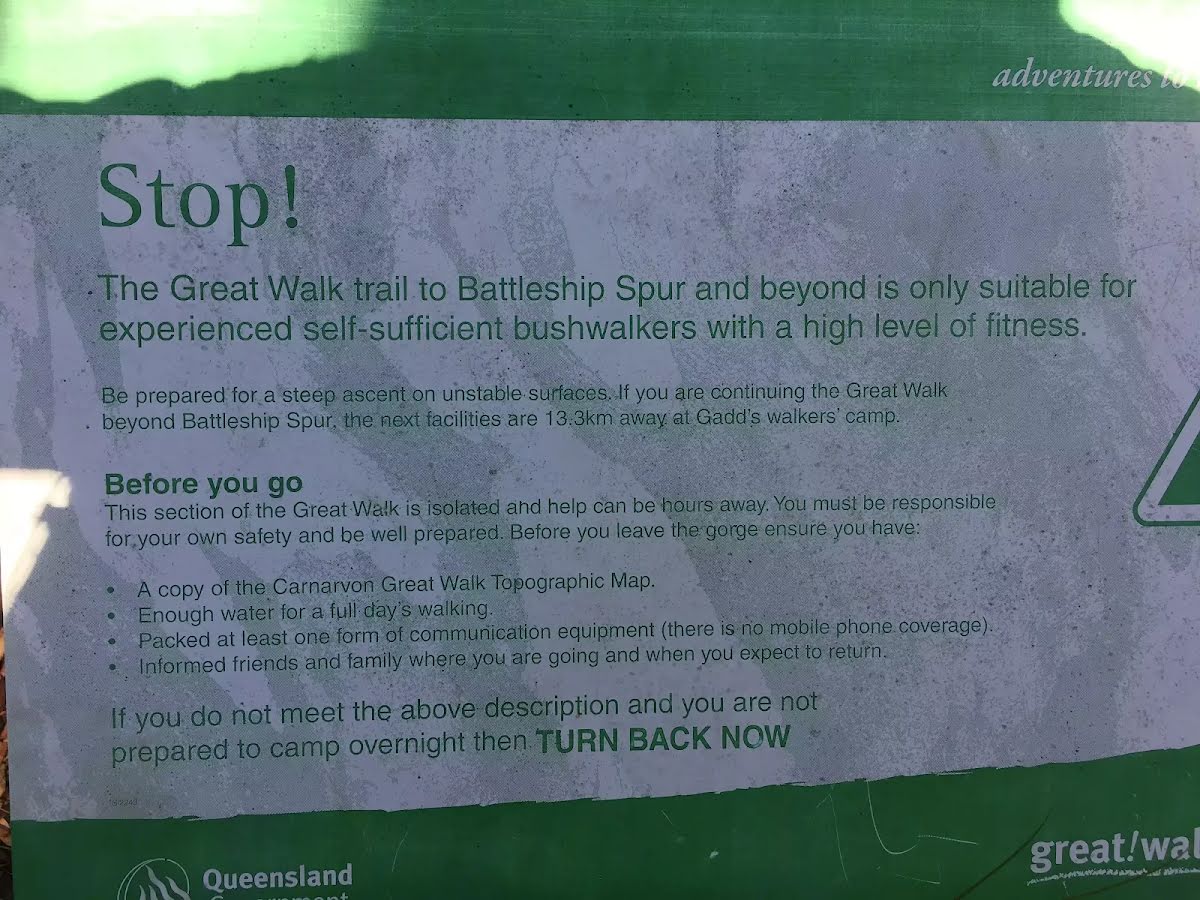
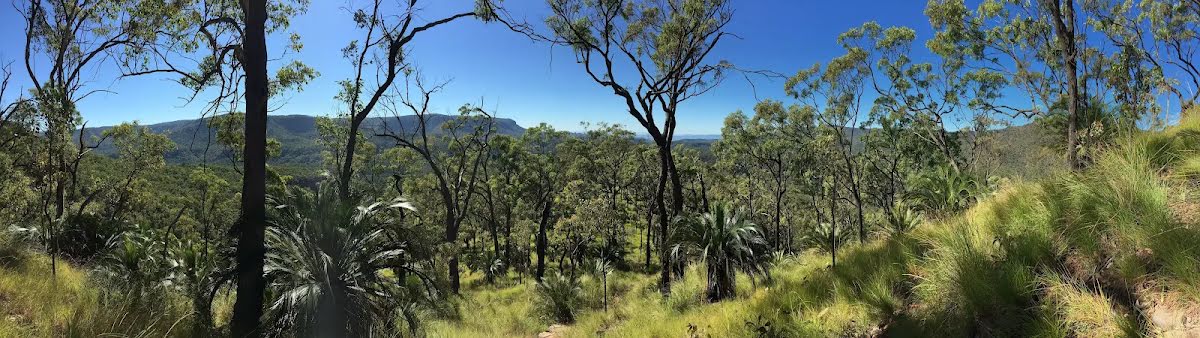
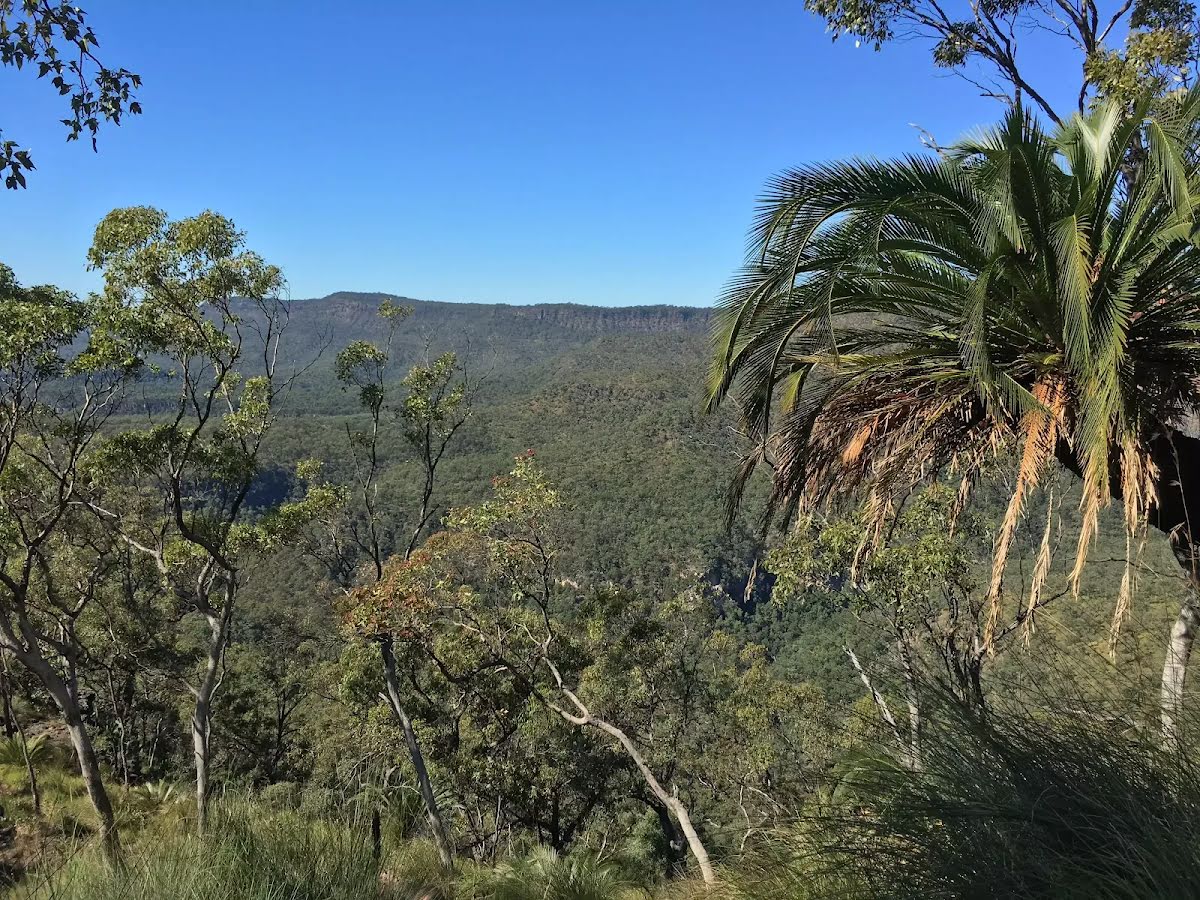
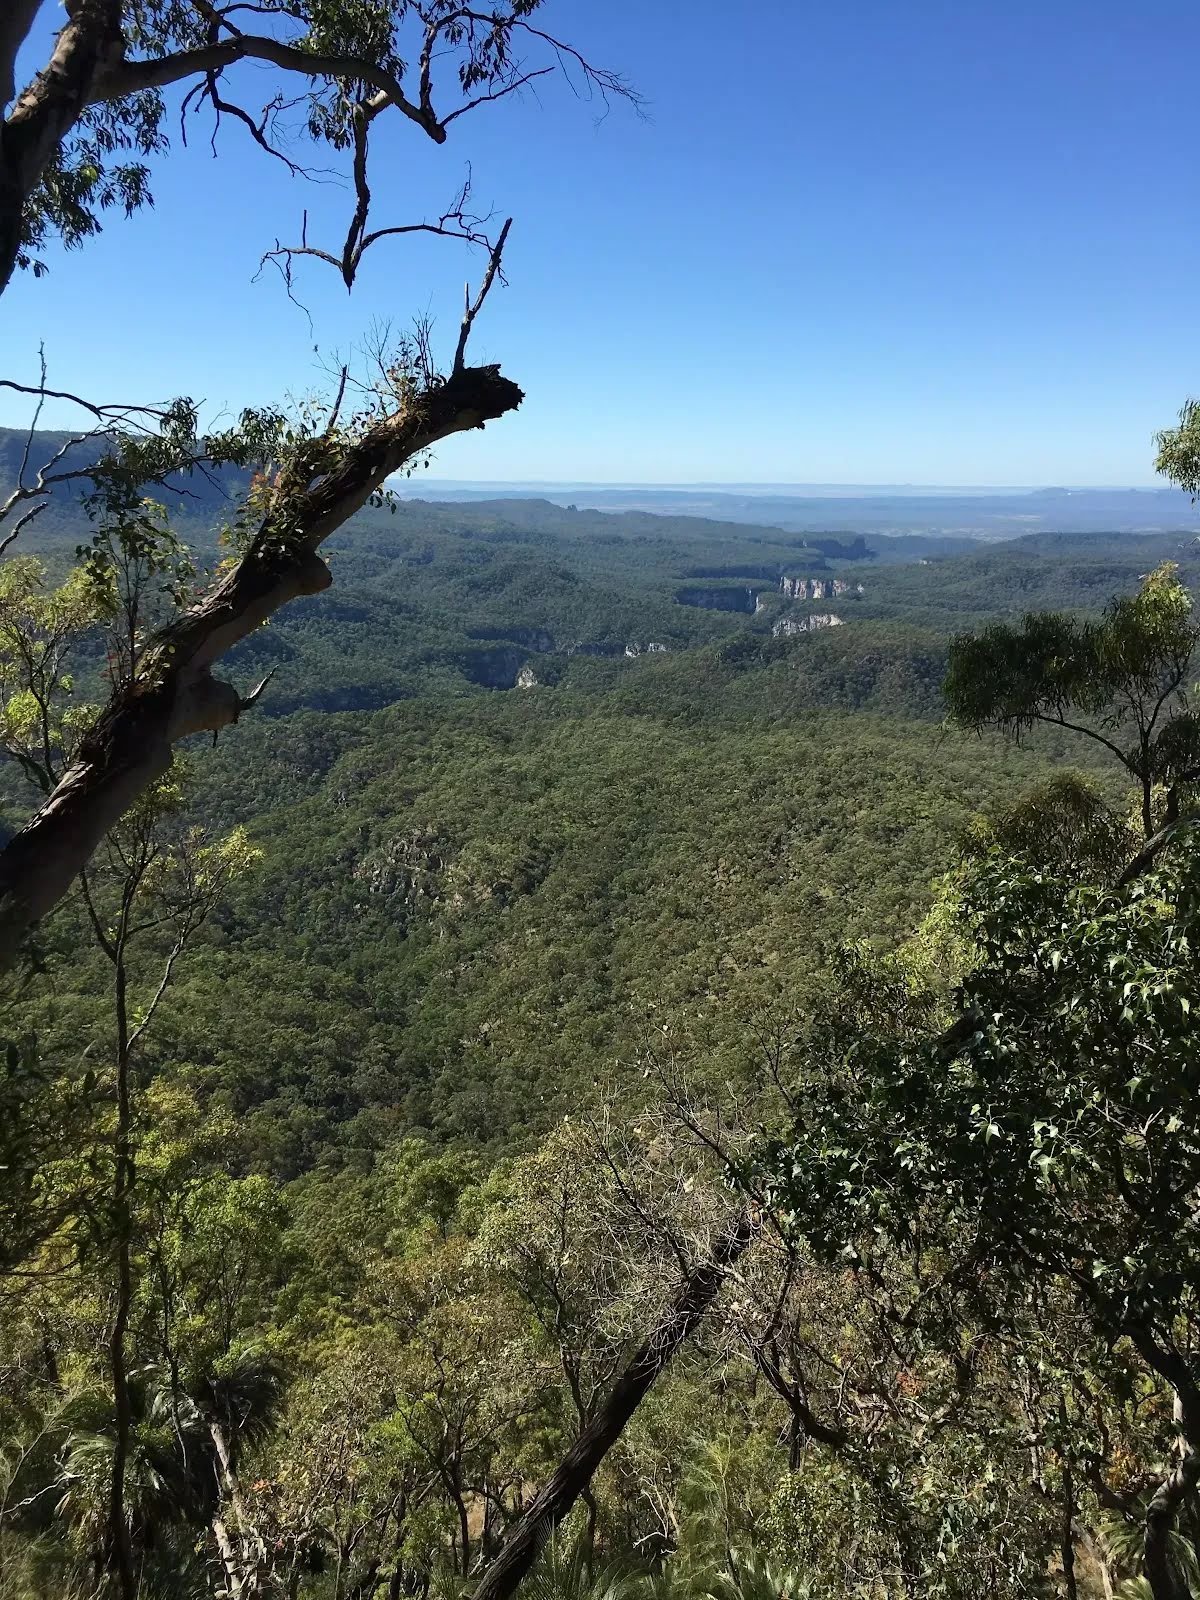
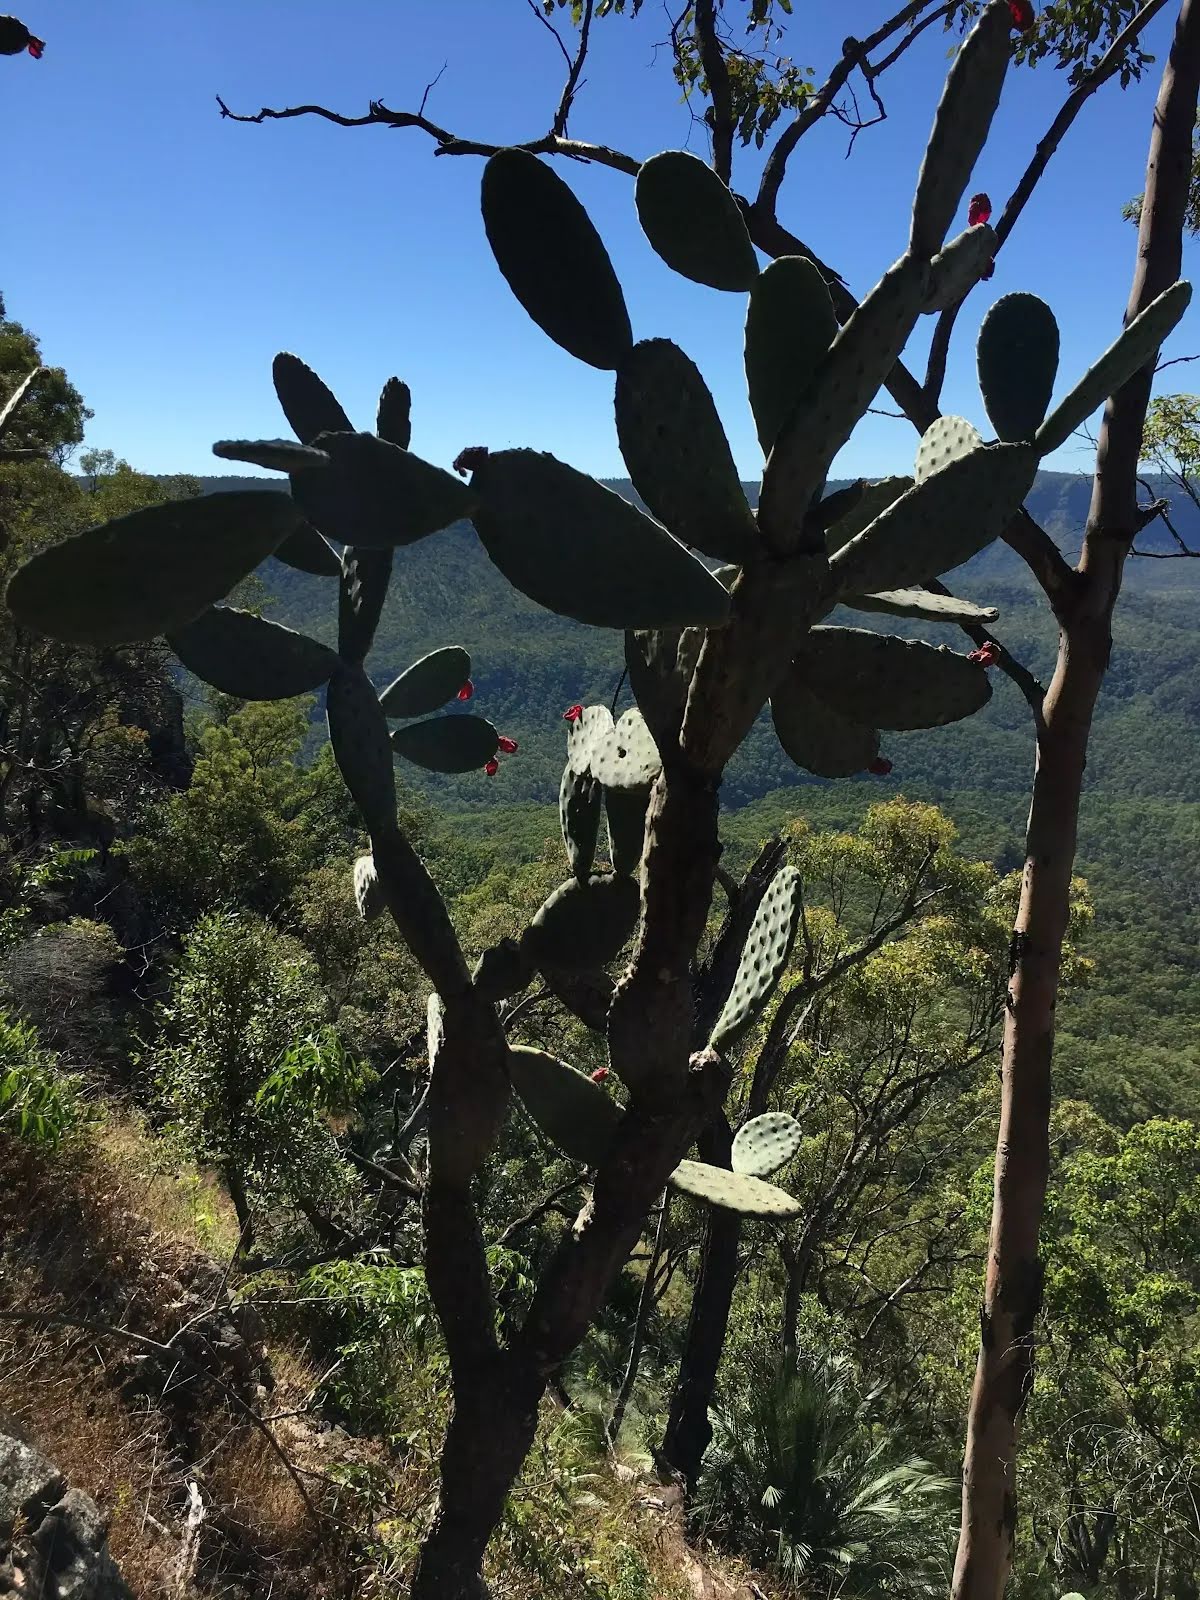
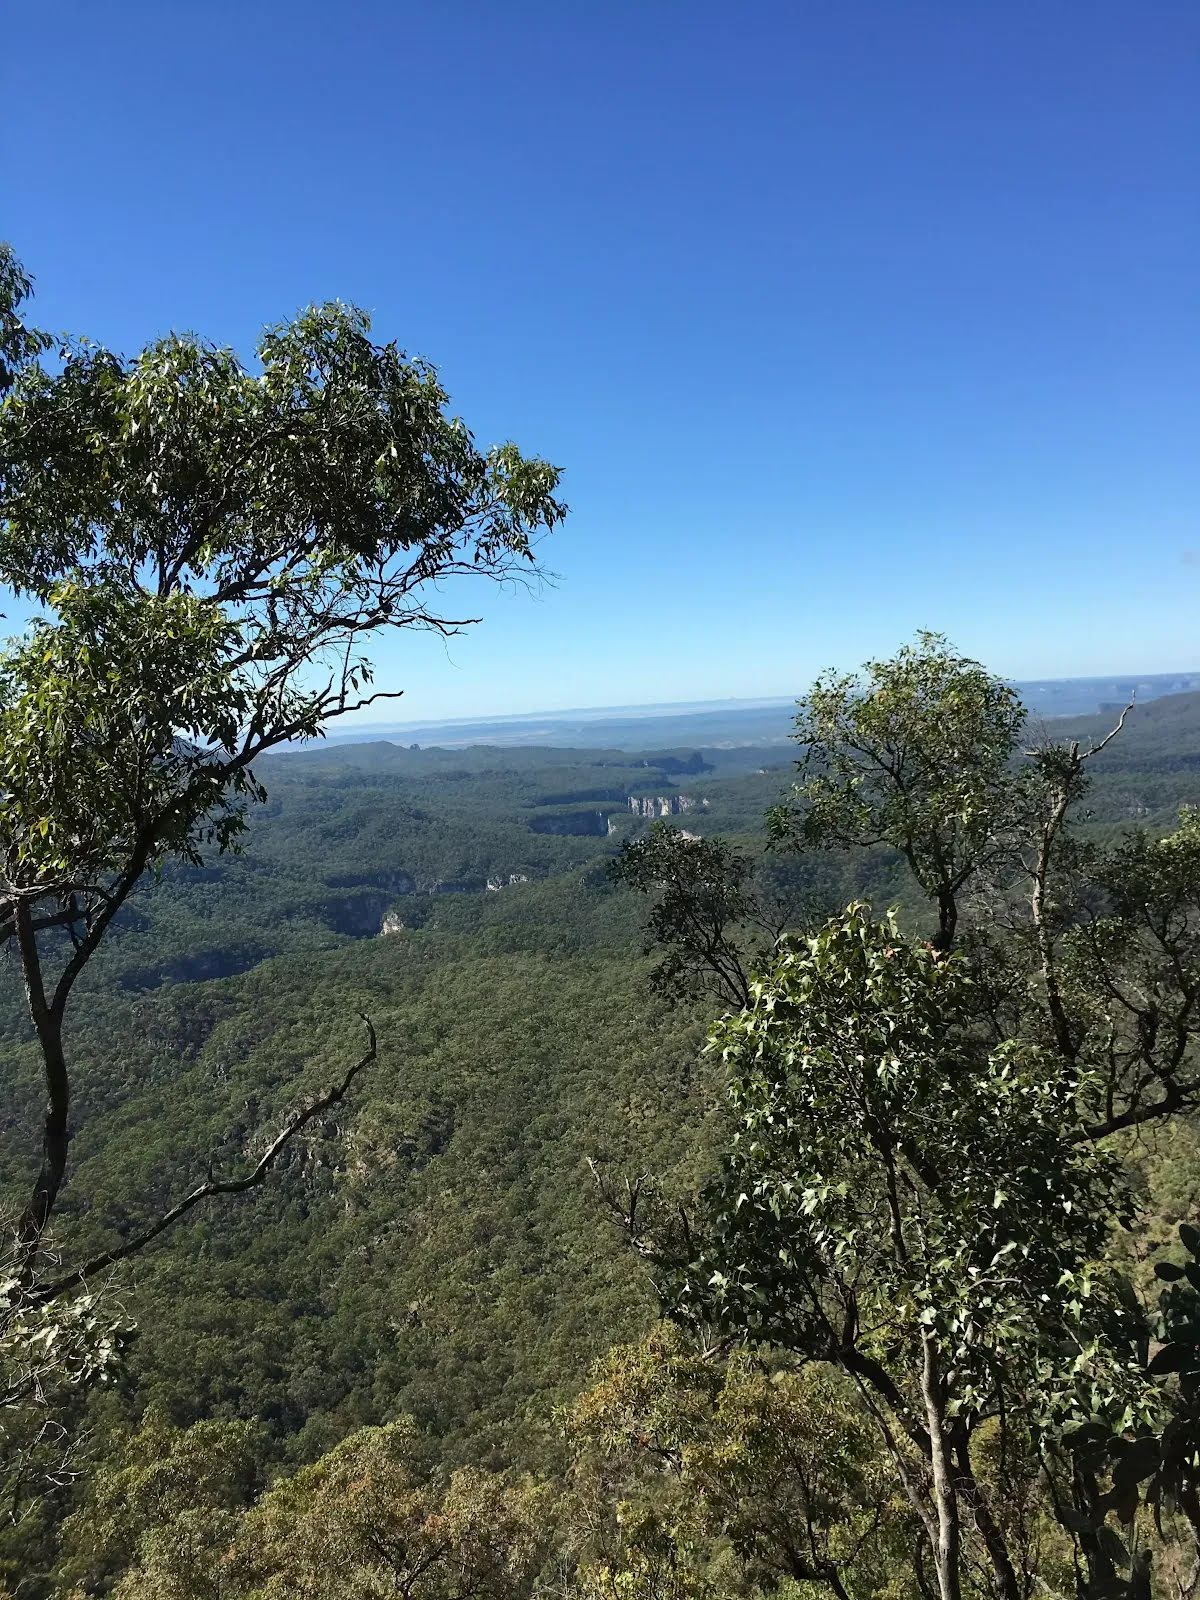
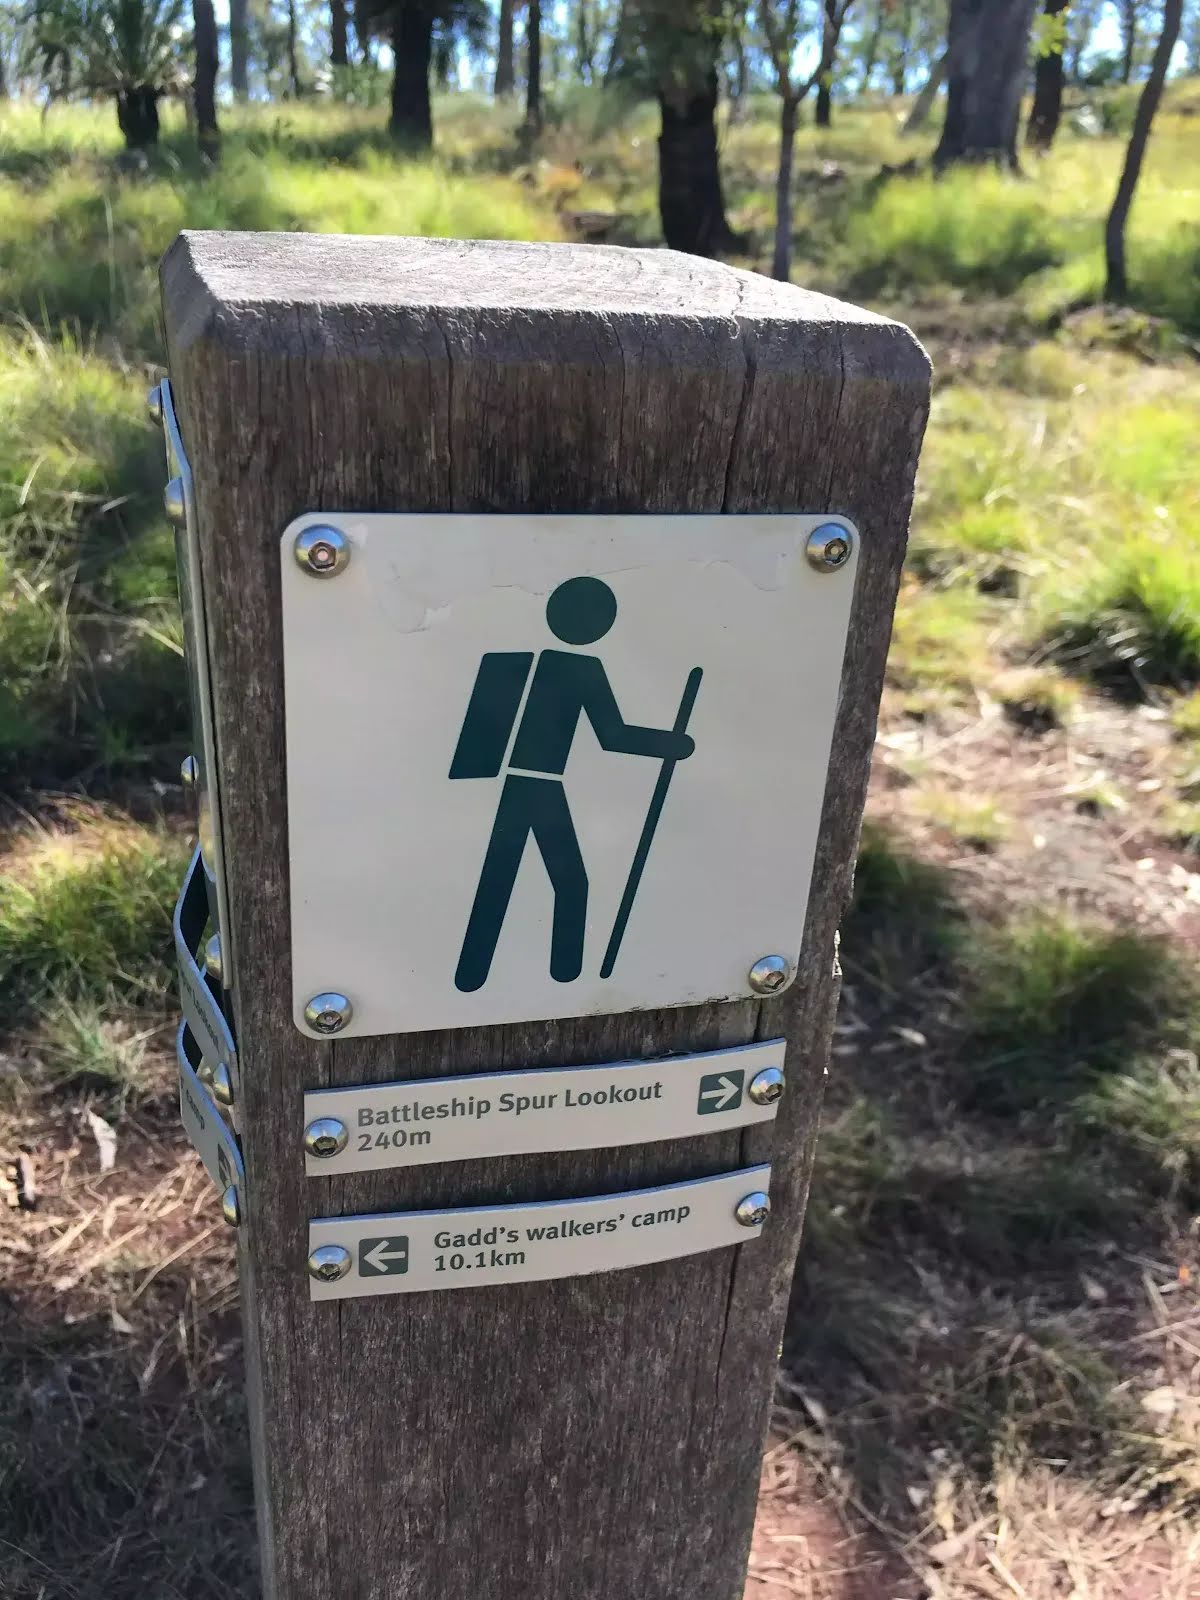
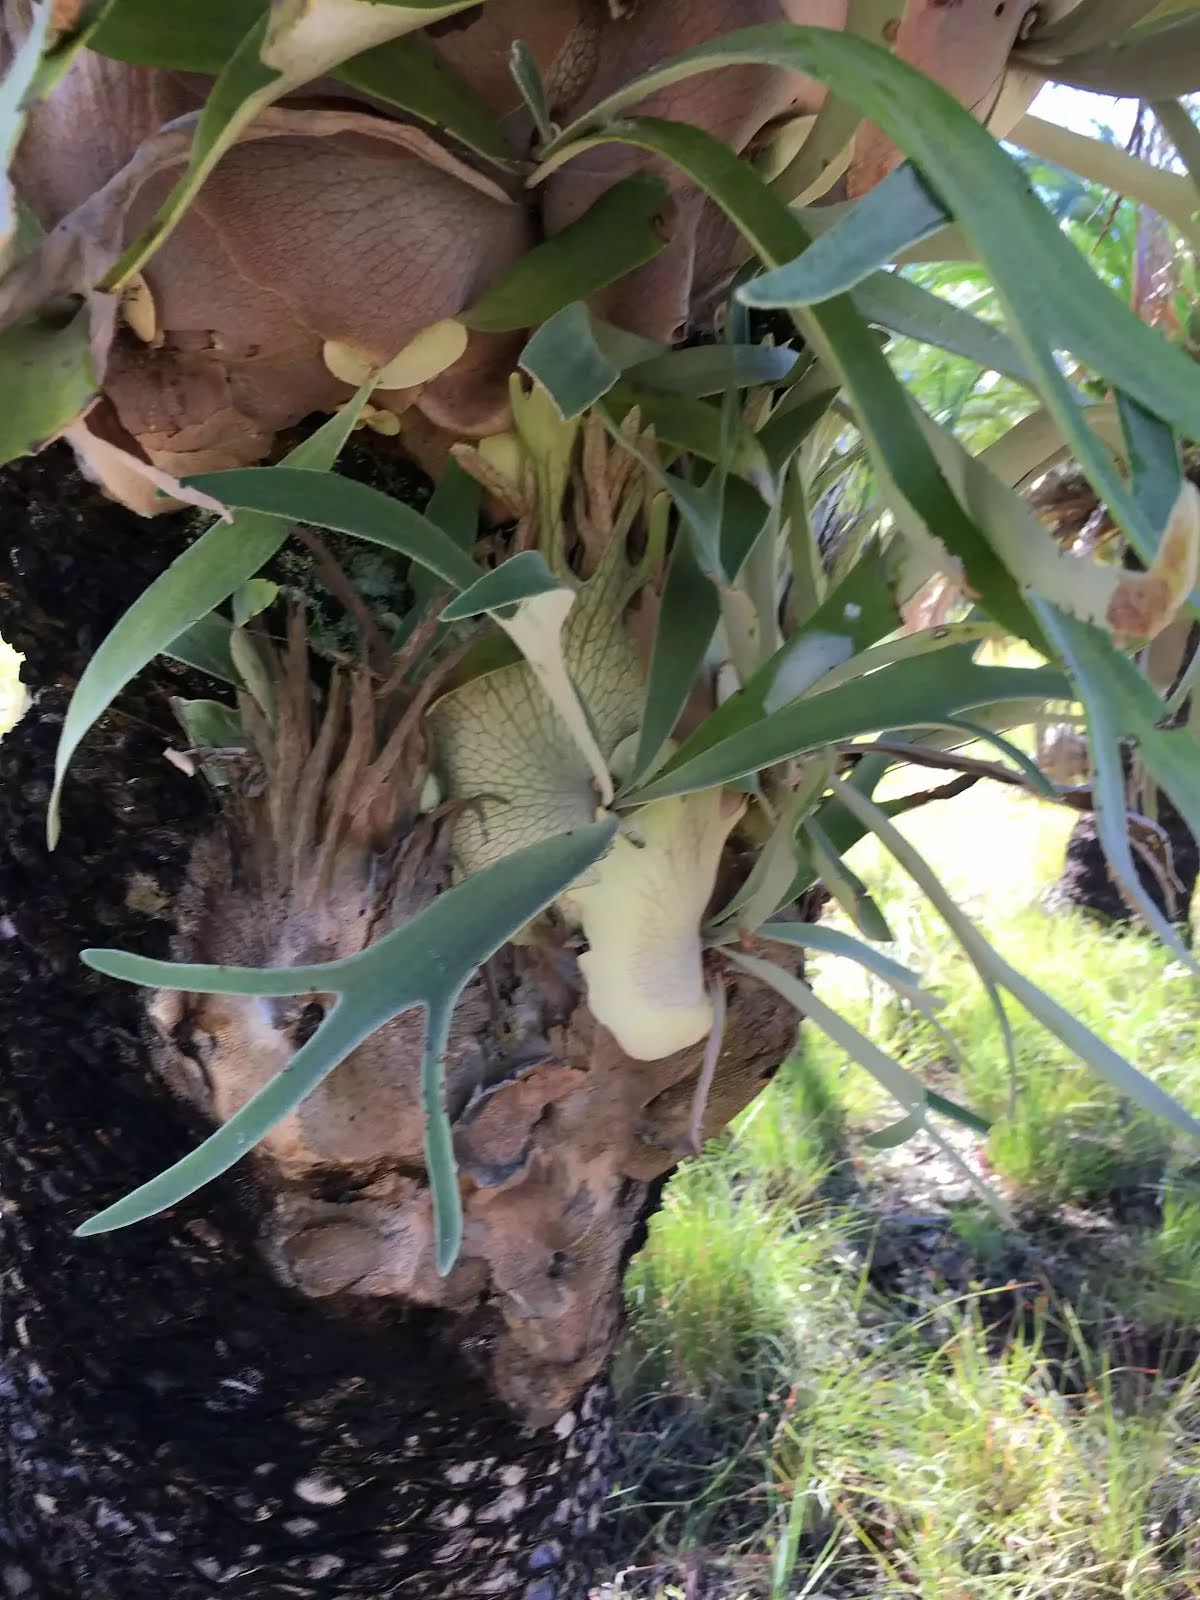
The starting point of an optional sidetrip. This little side trip takes you to the Battleship Spur where you can view the Carnarvon Gorge in all its glory. To start this optional side trip turn right here. On returning from this side trip turn right when you get back to this intersection. Details below.
|
 |
| Turn map | Directions & comments |
|---|---|
 |
|
 |

|
|
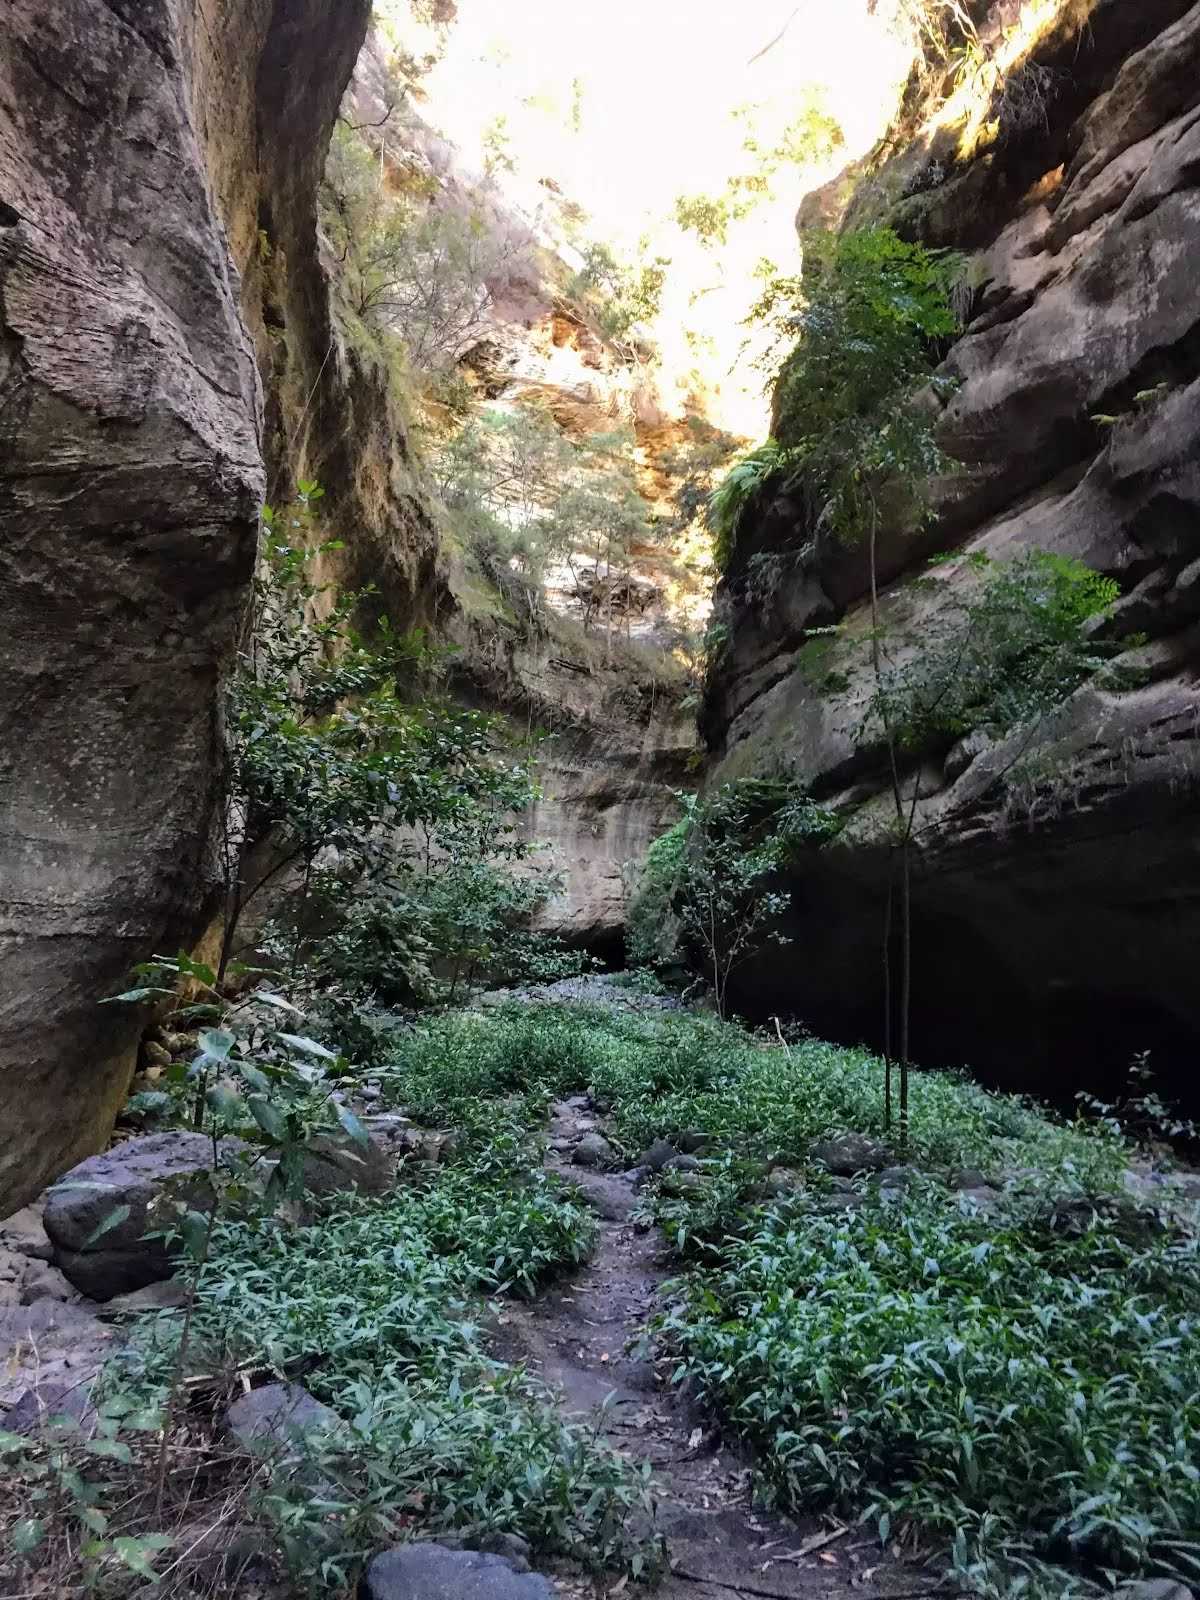
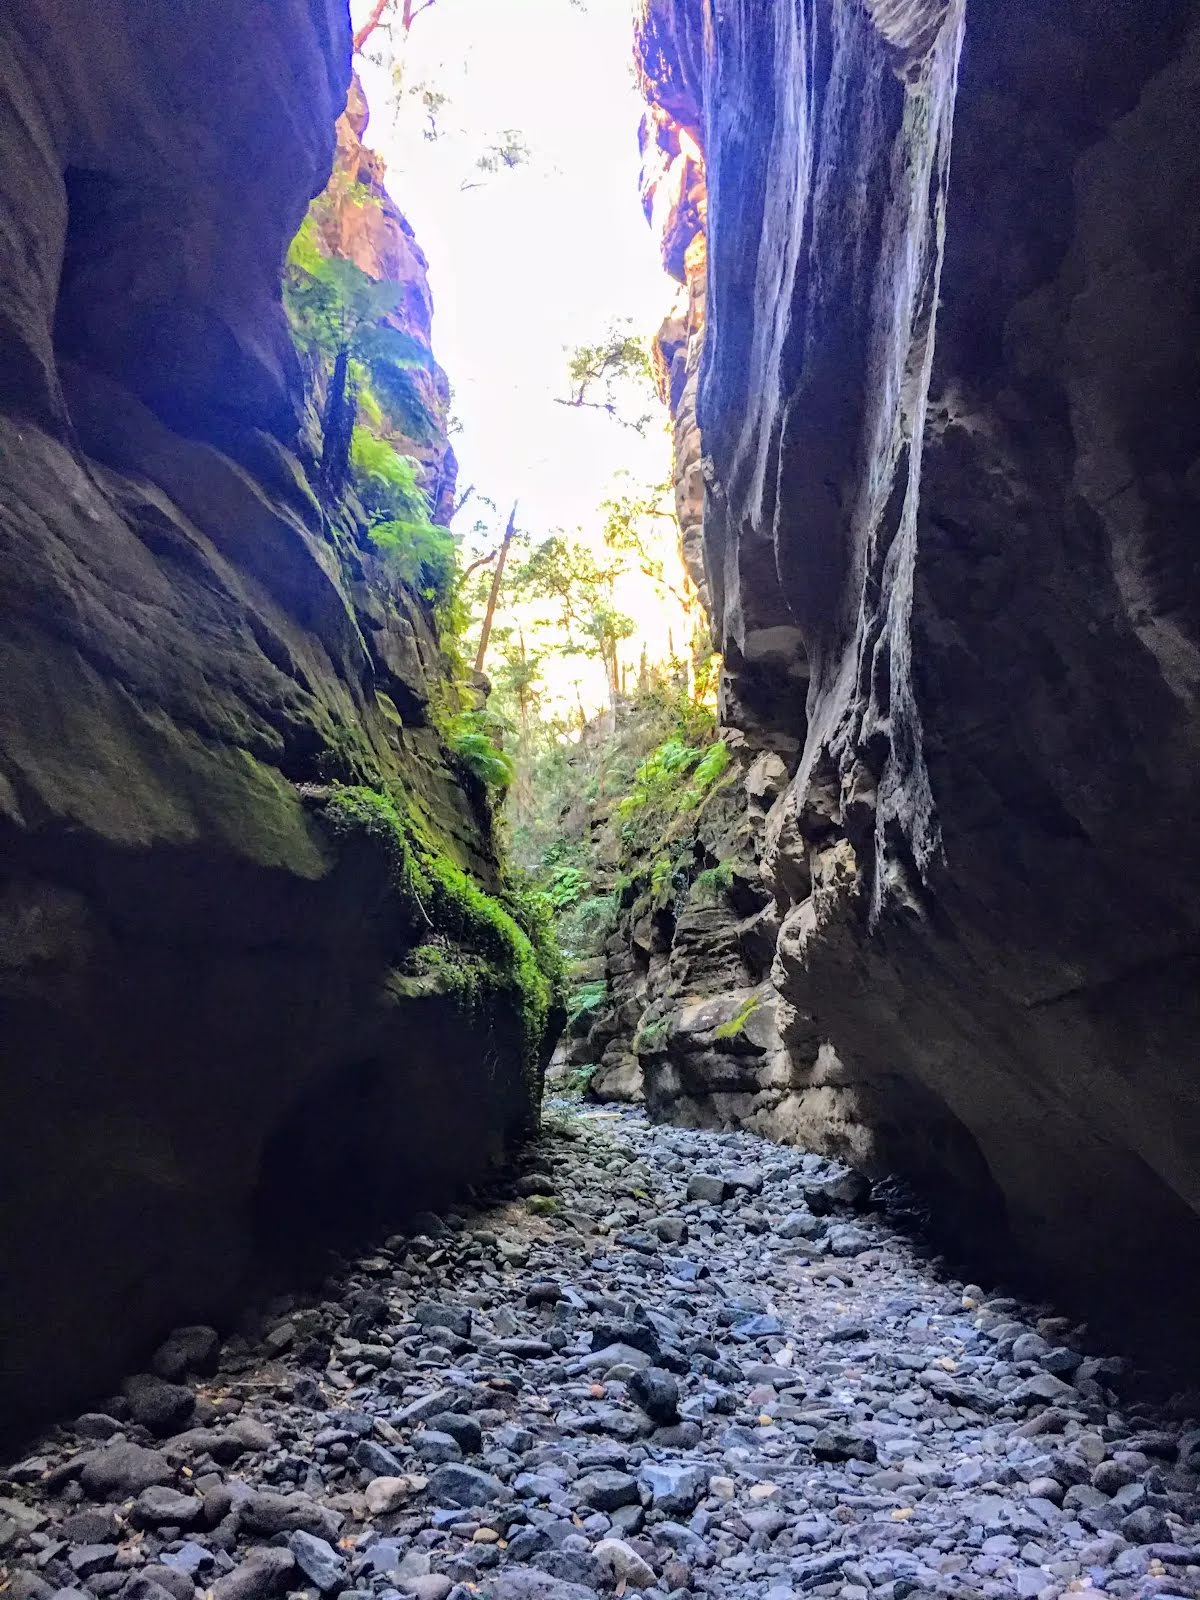
Class 5/6 Very challenging |
|---|---|
| Length | 14 km |
| Time | 5 h 30 min to 7 h |
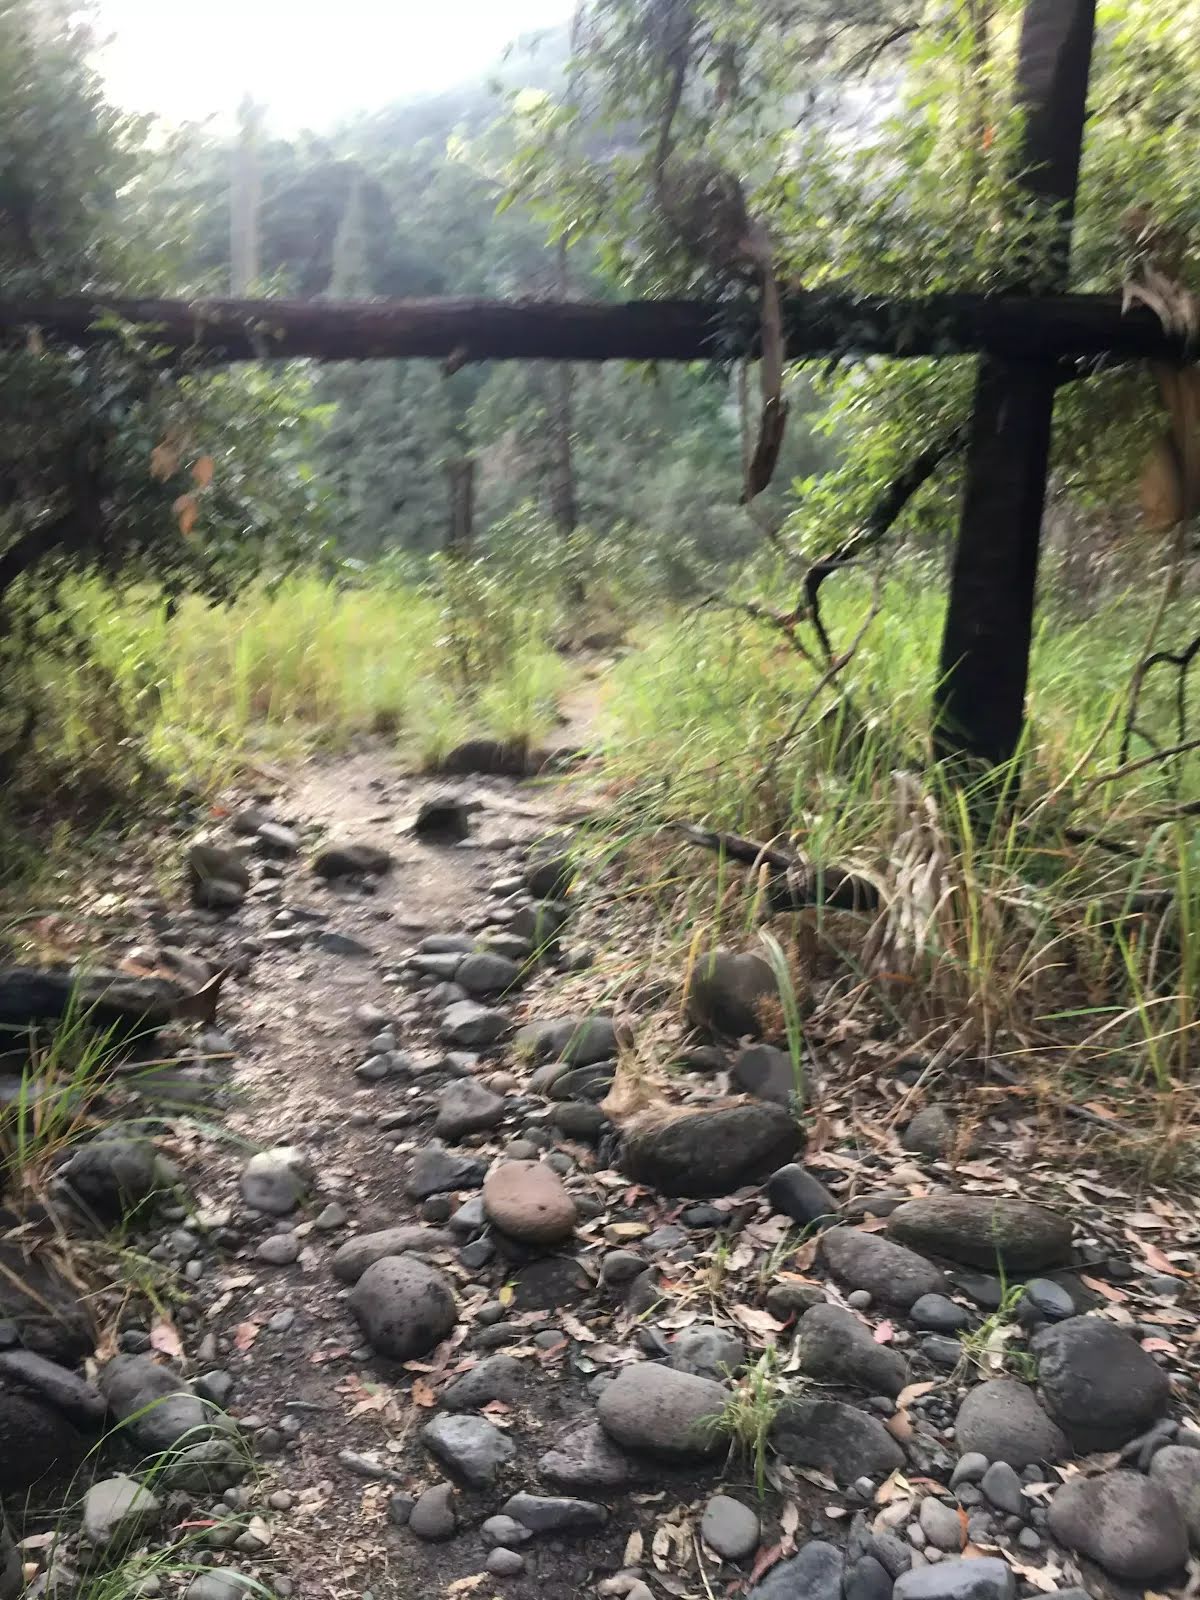
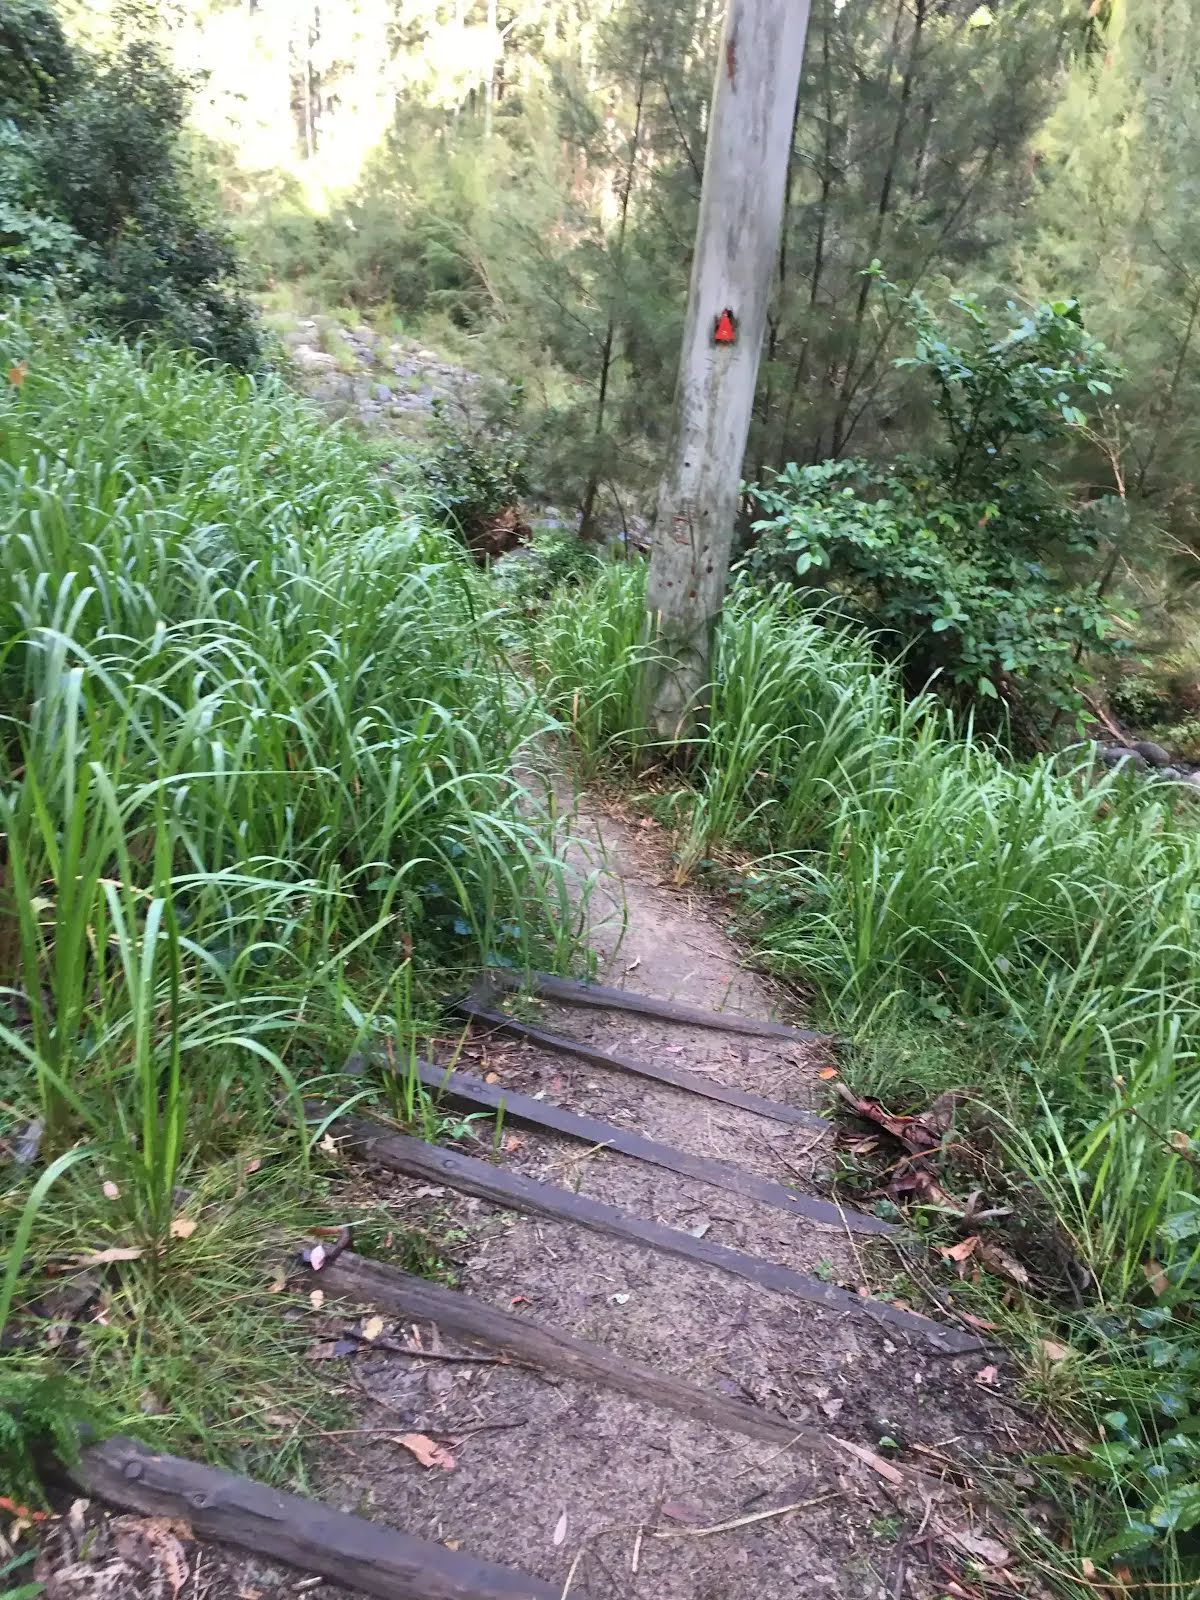
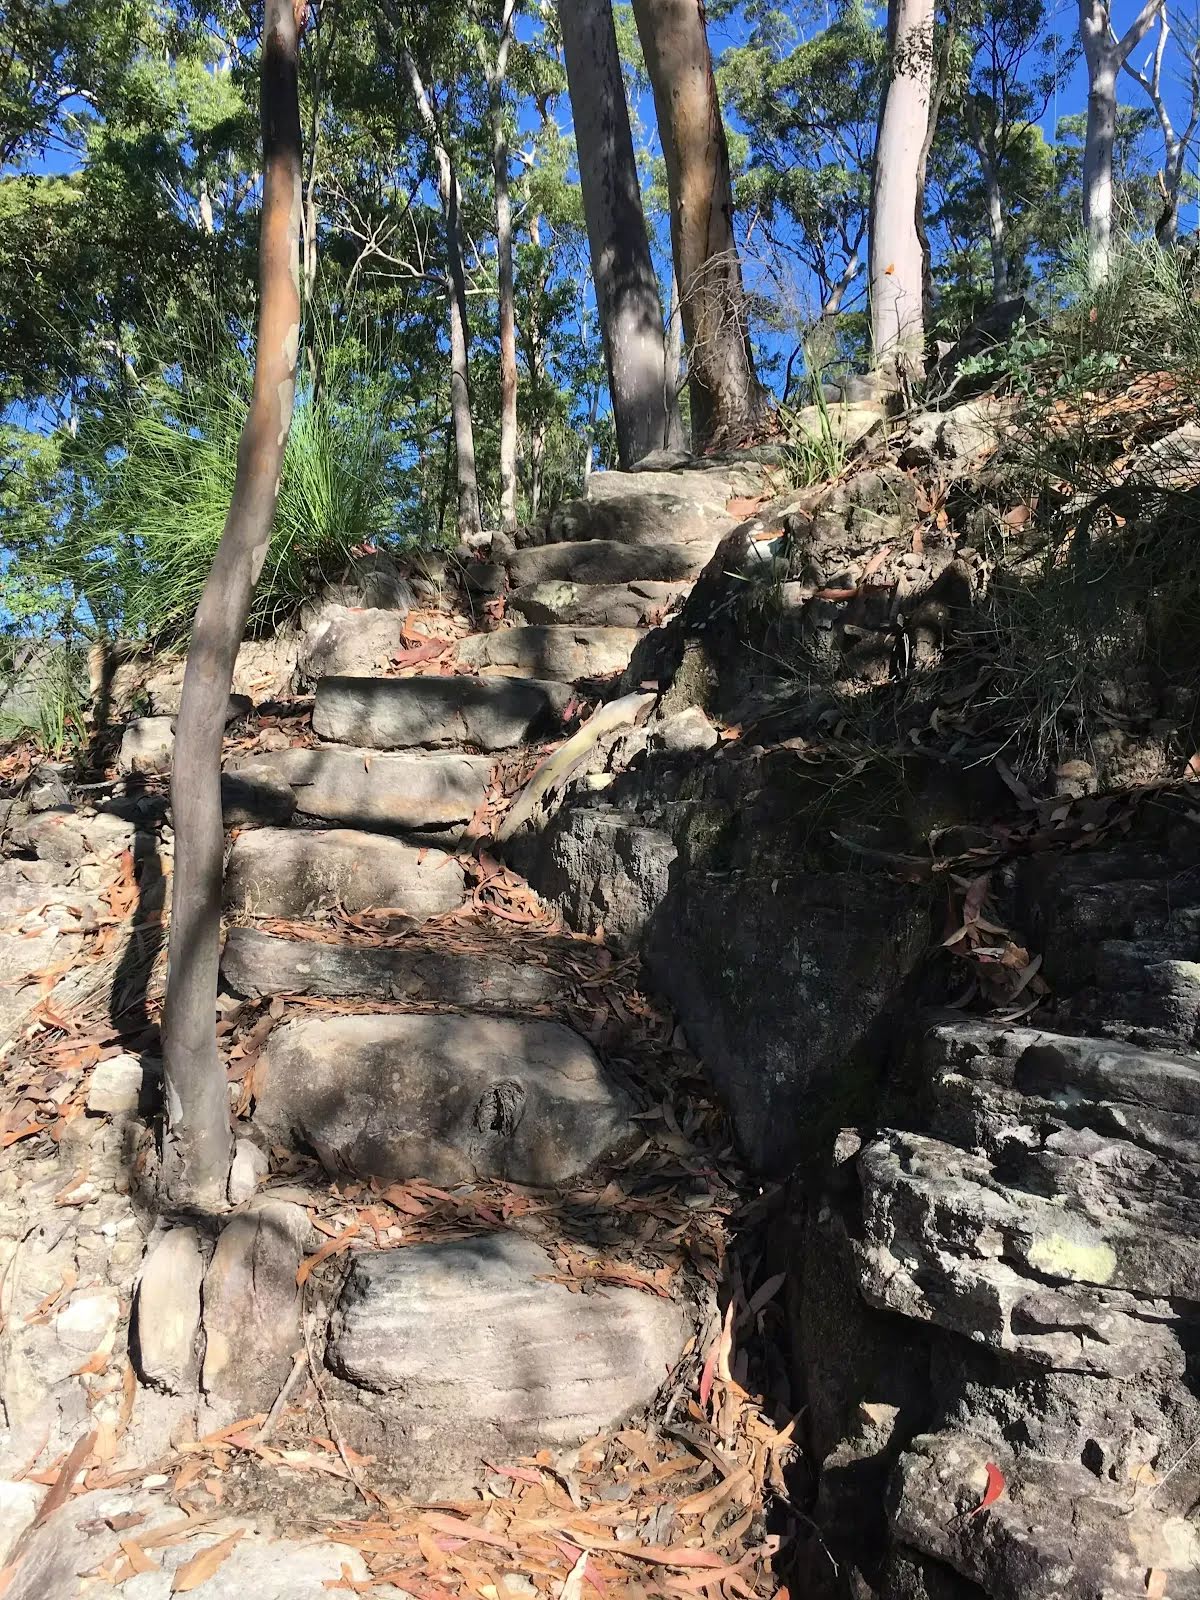
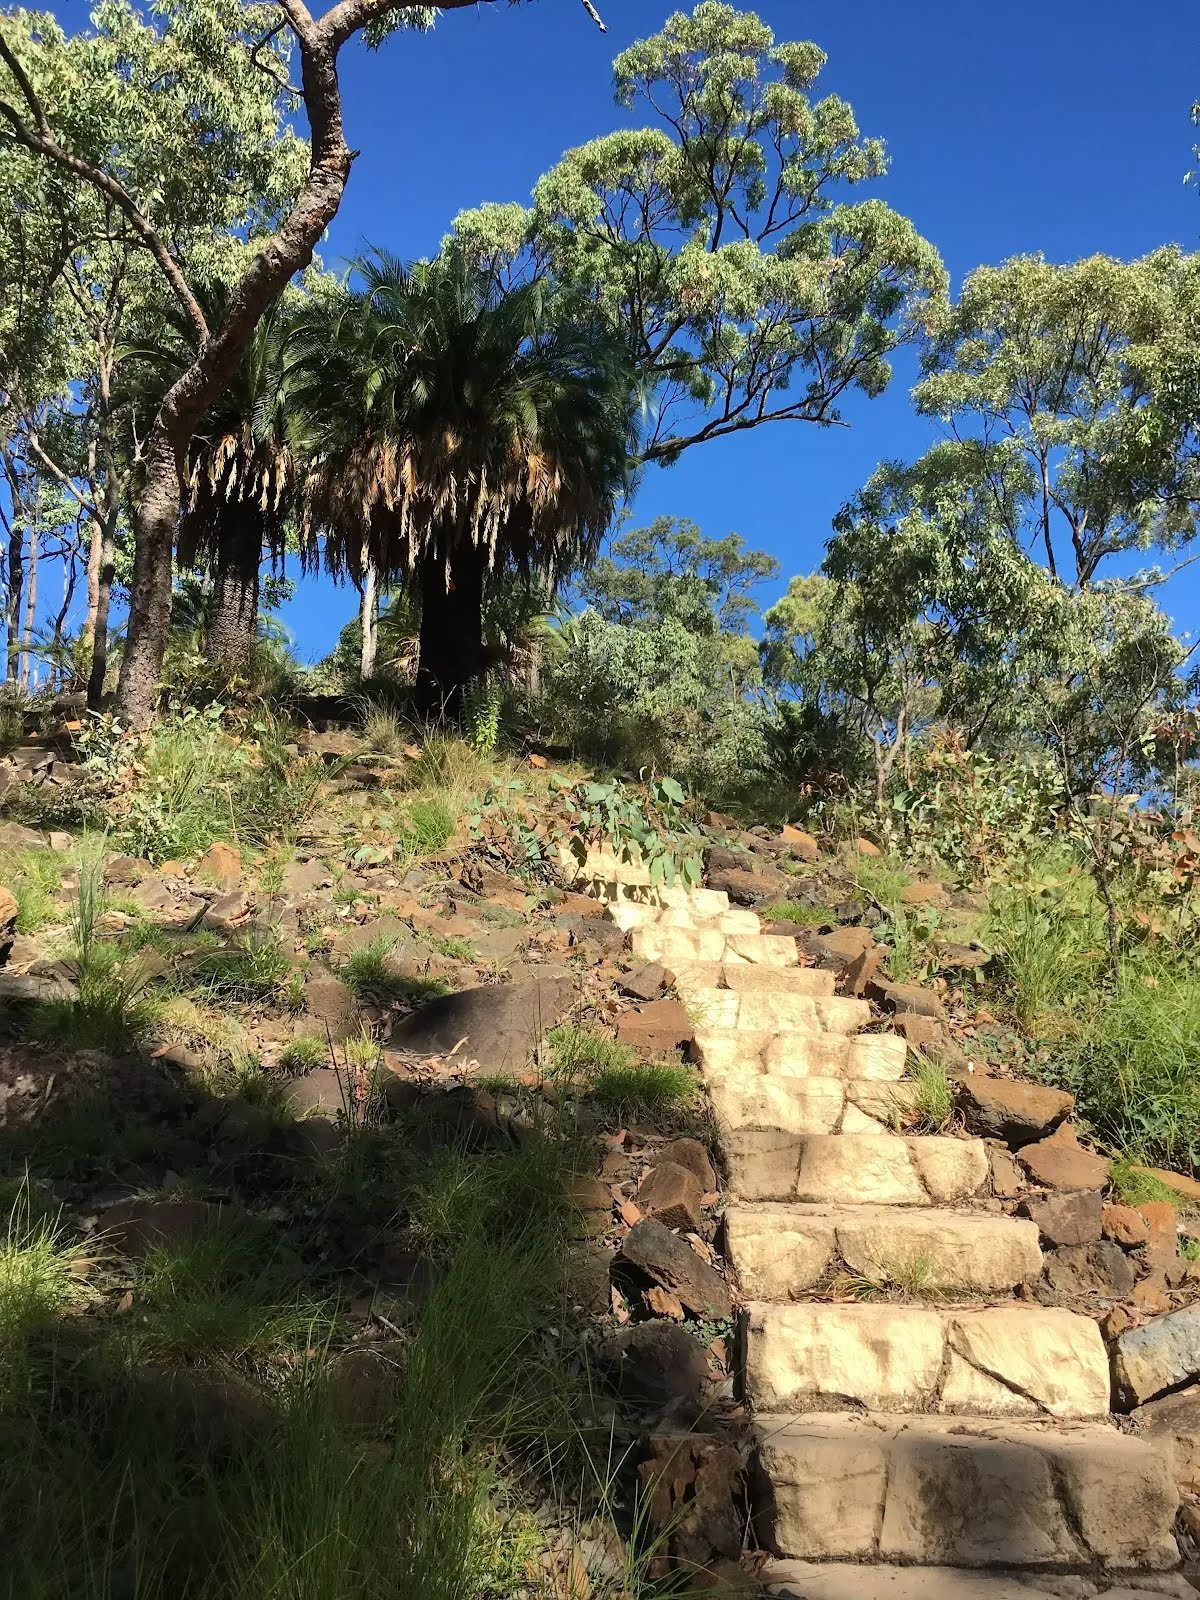
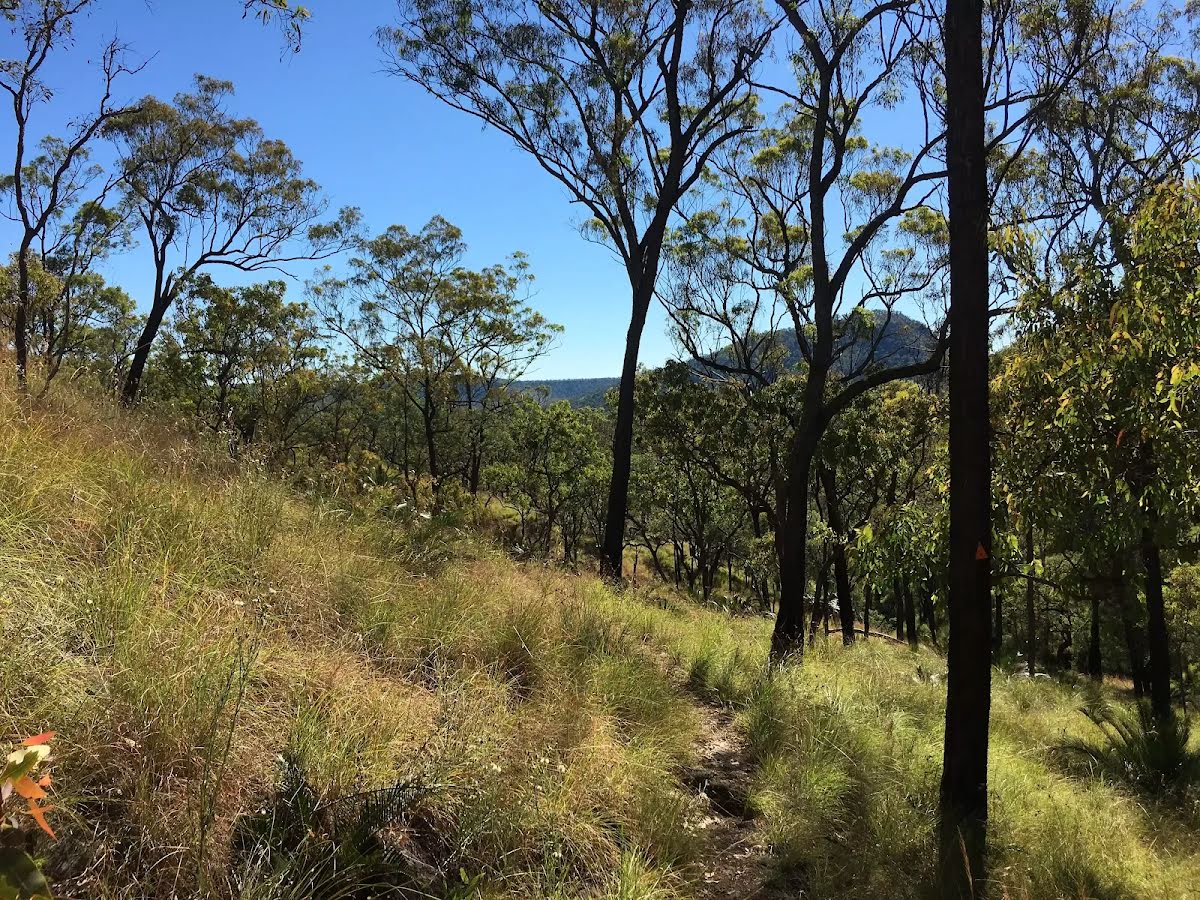
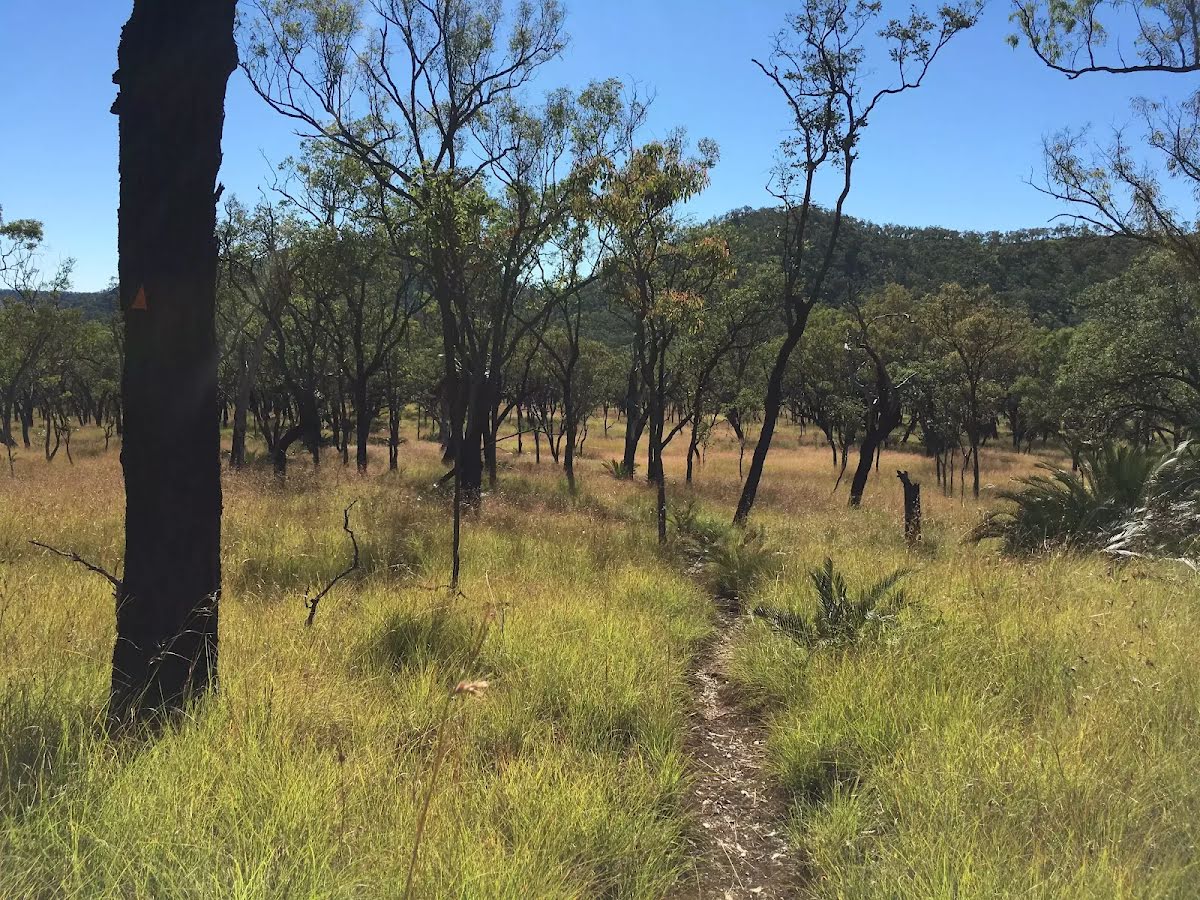
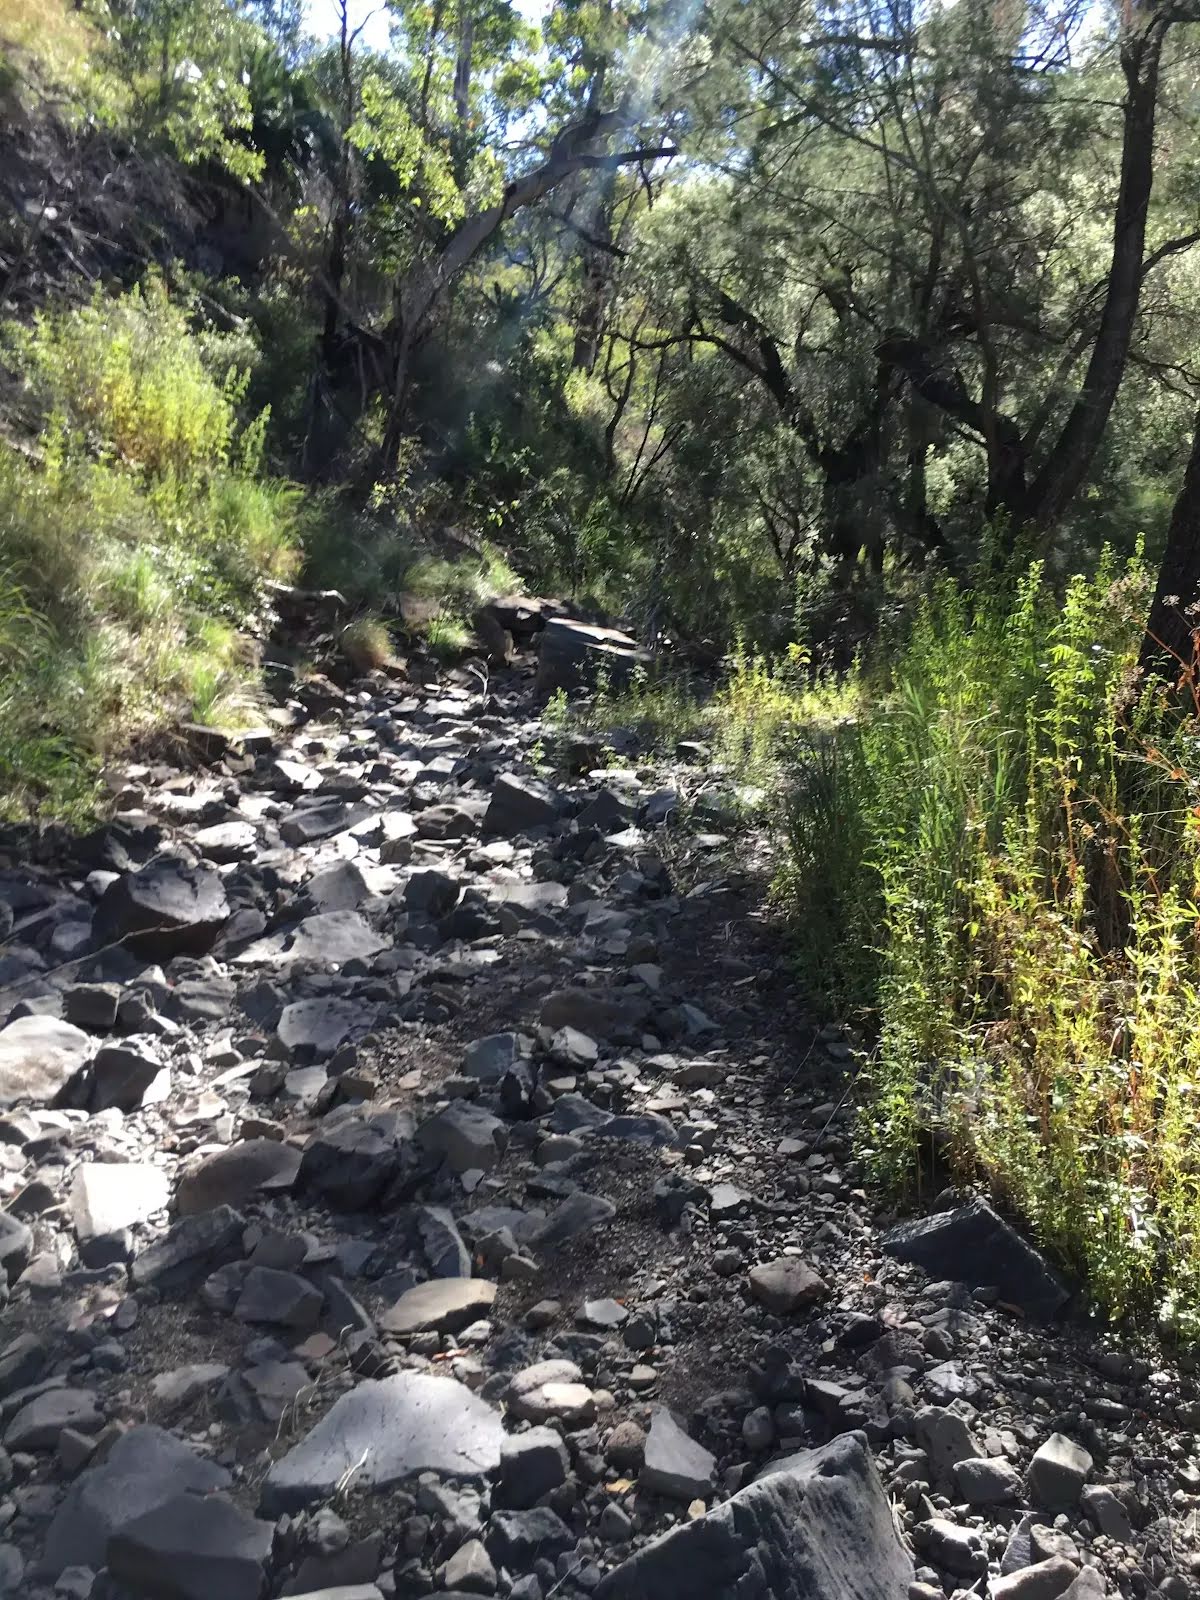
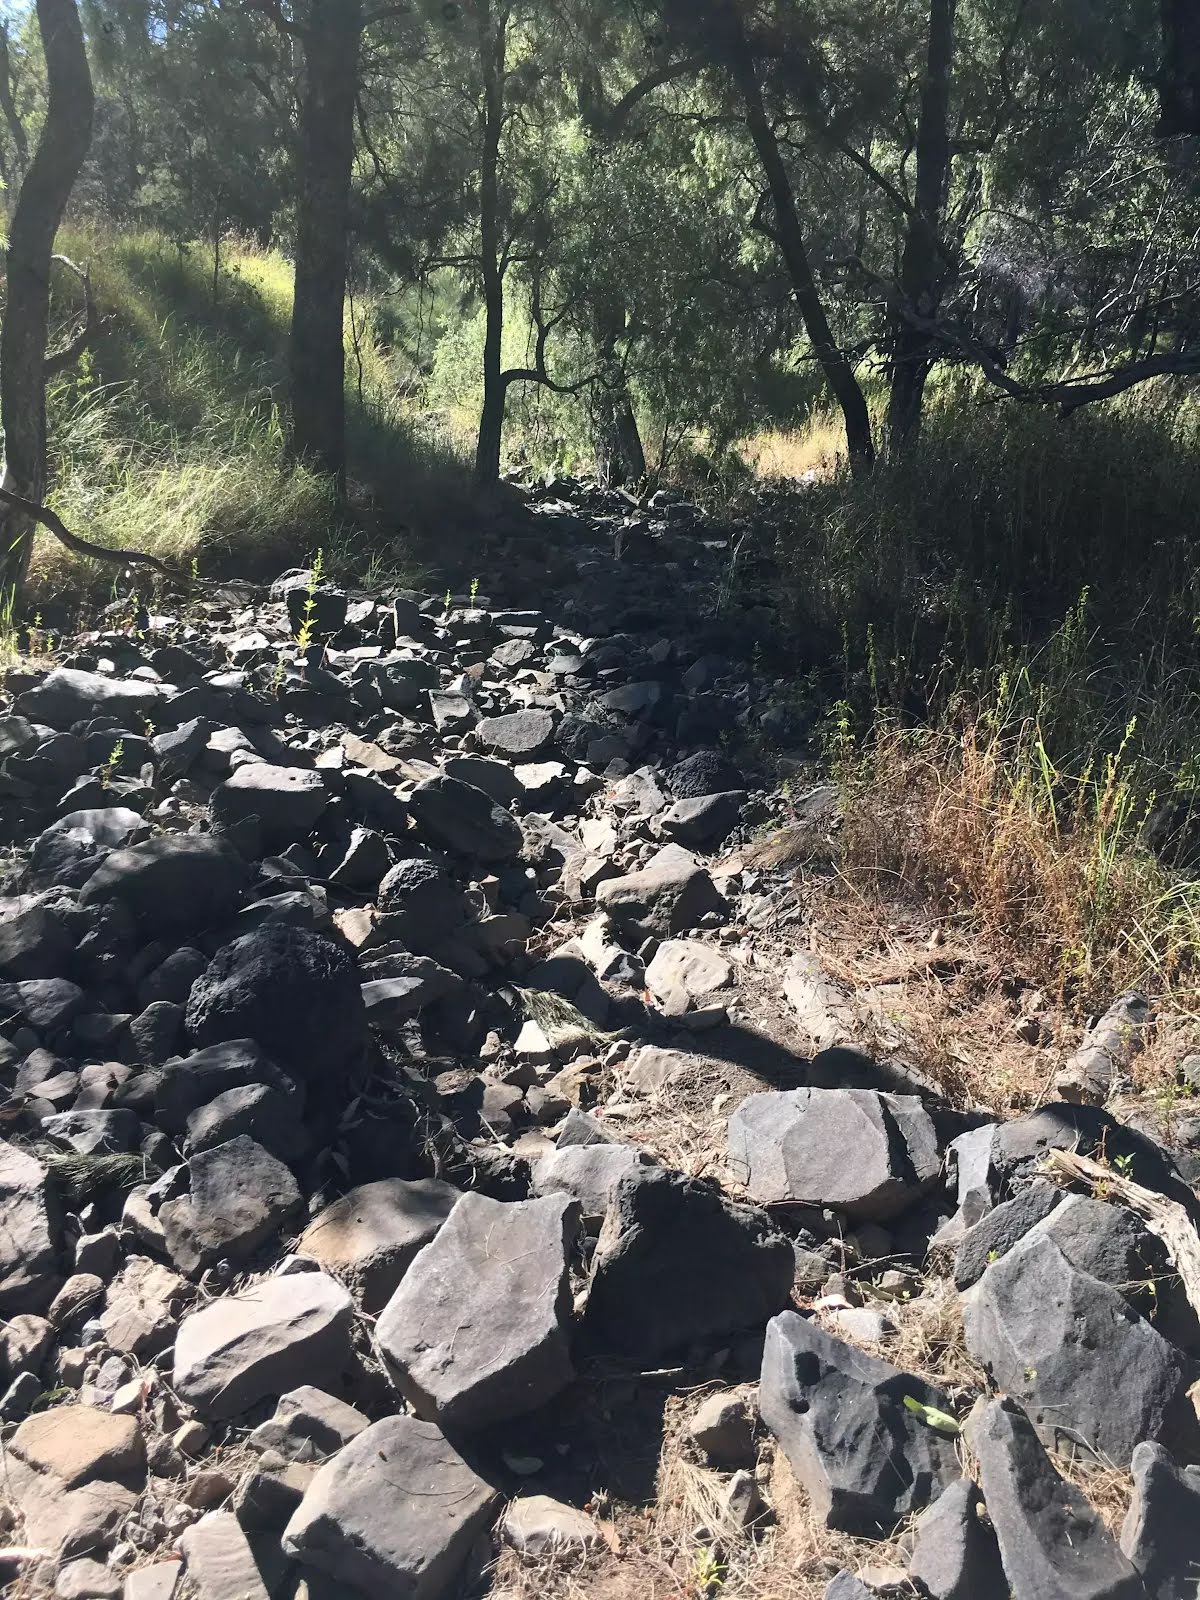
| Quality of track | Rough unclear track (5/6) |
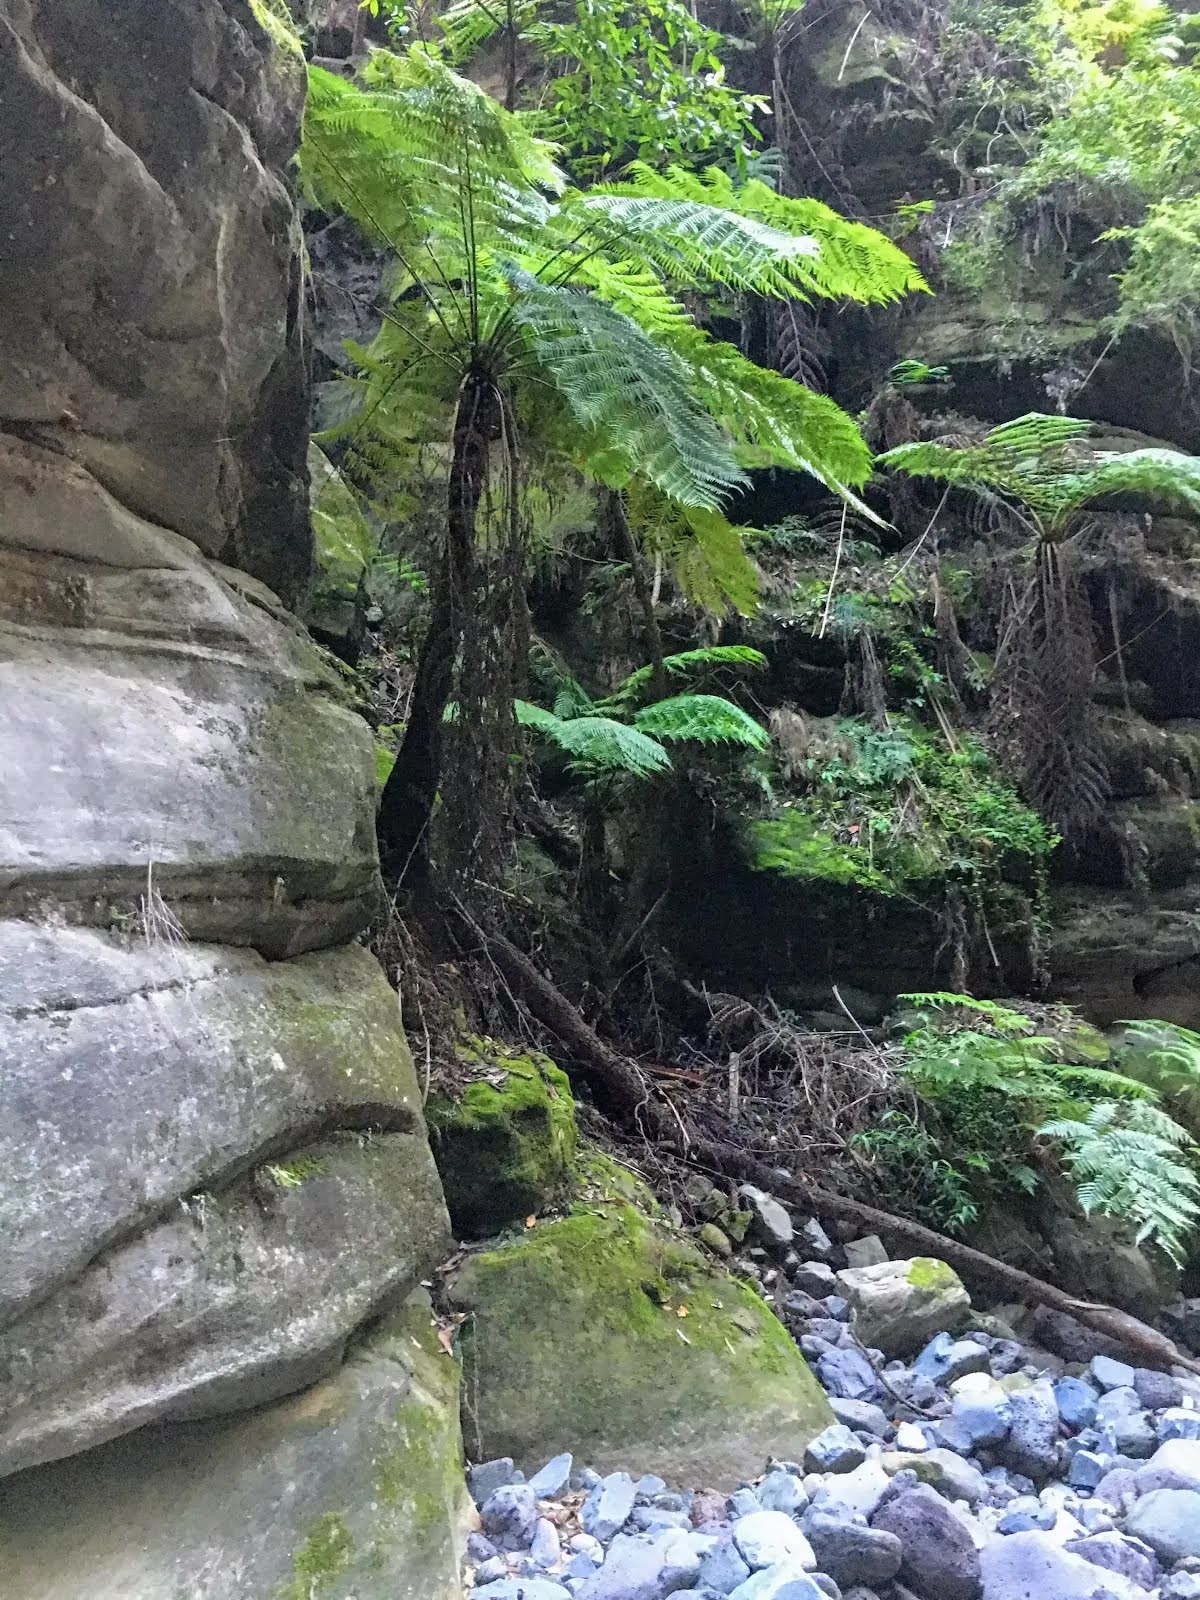
| Gradient | Very steep and difficult rock scrambles (5/6) |
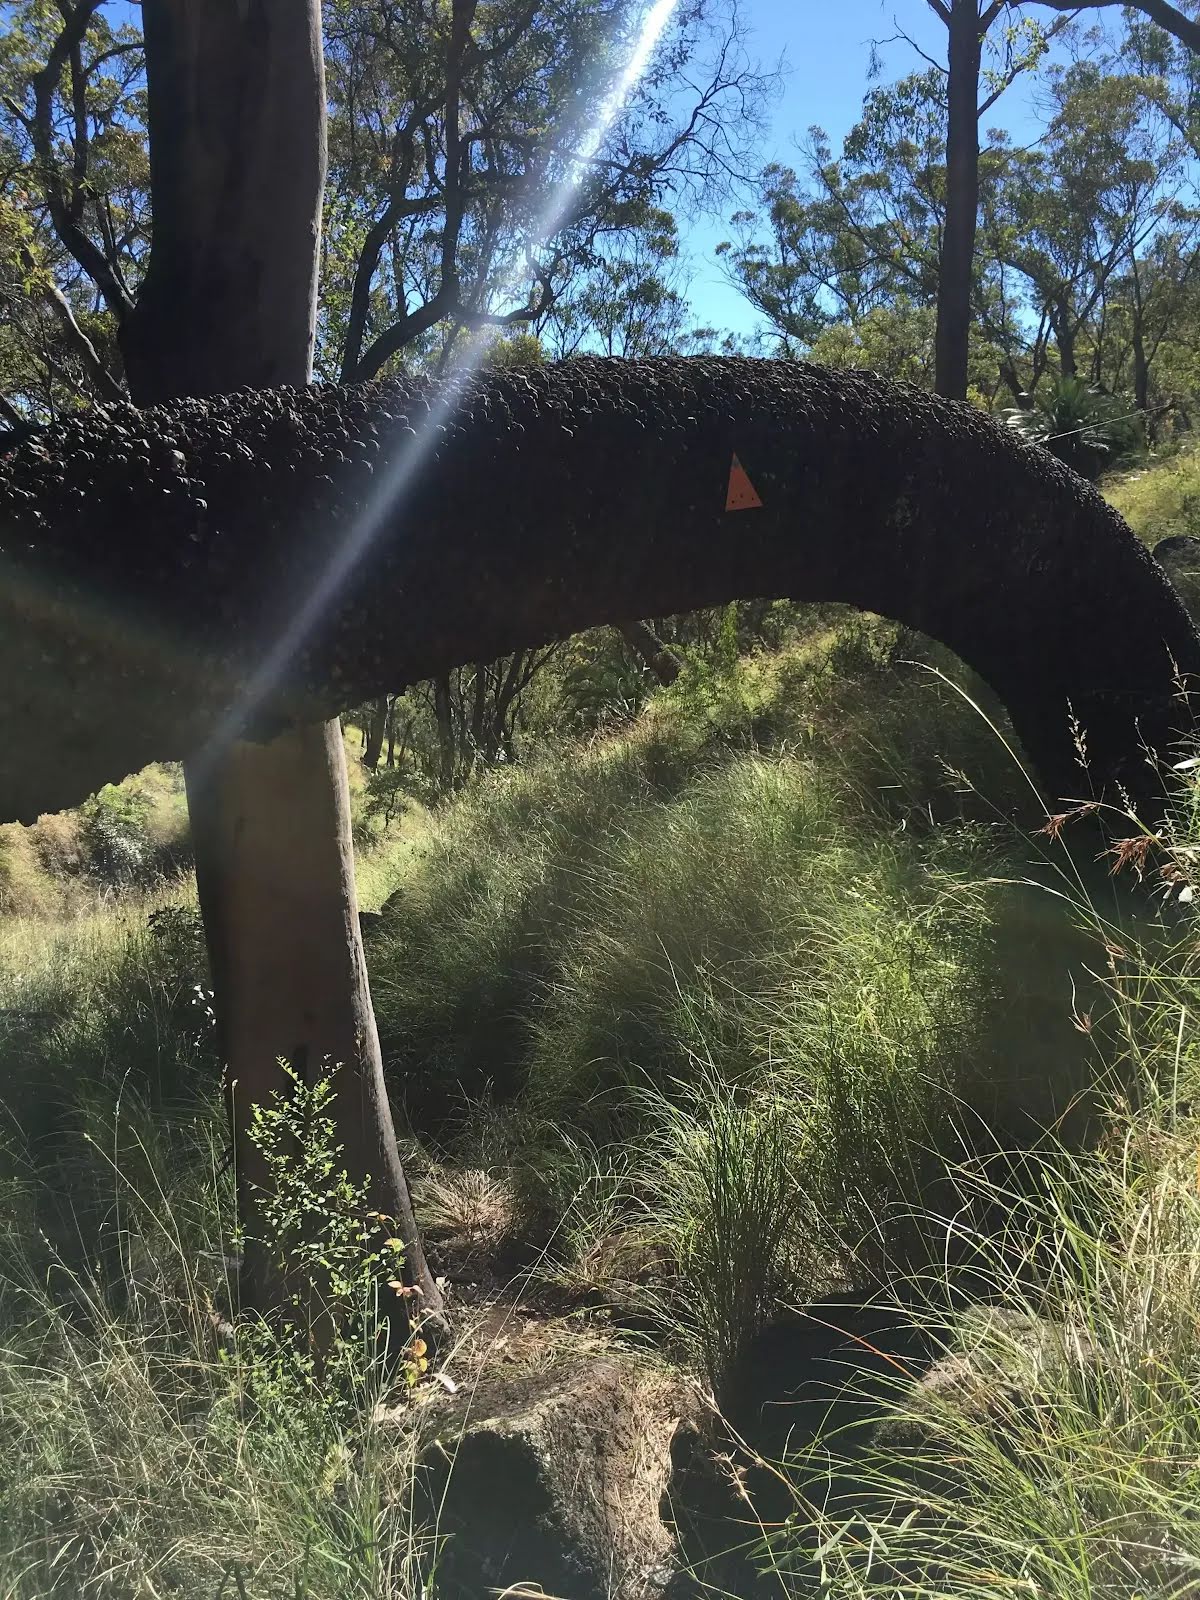
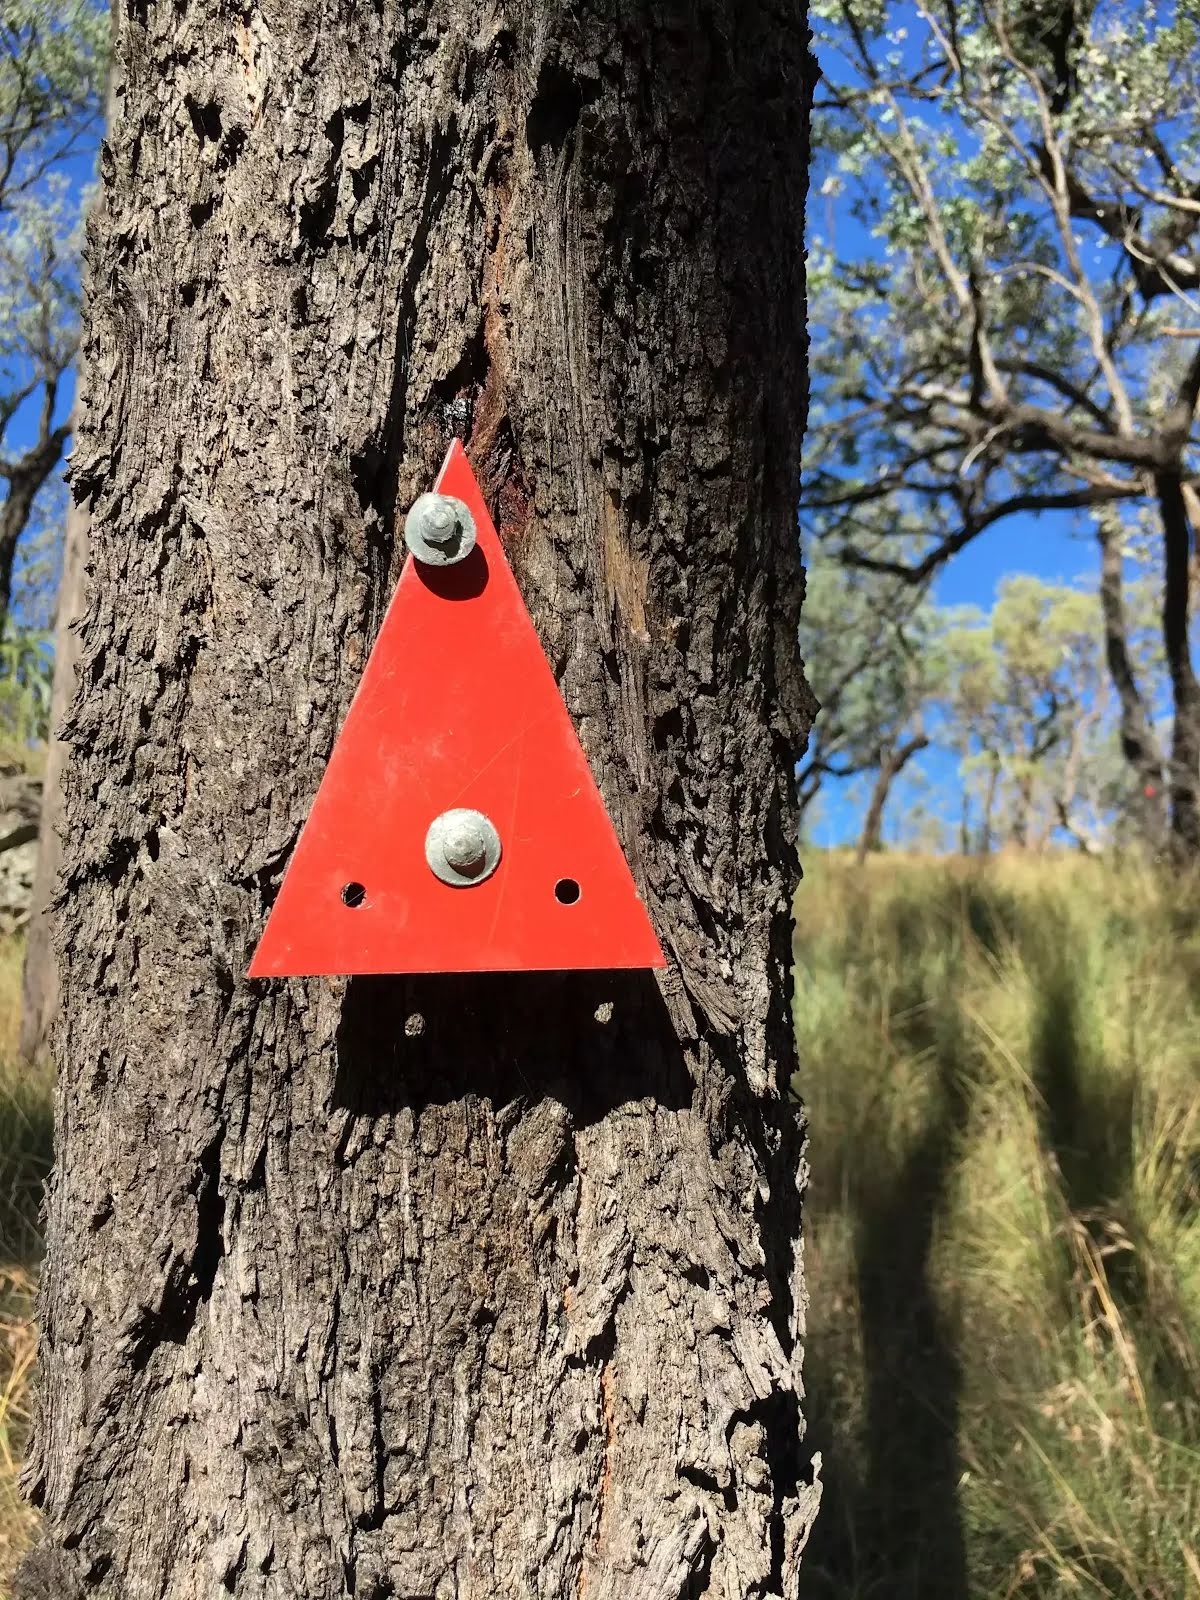
| Signage | Minimal directional signs (4/6) |
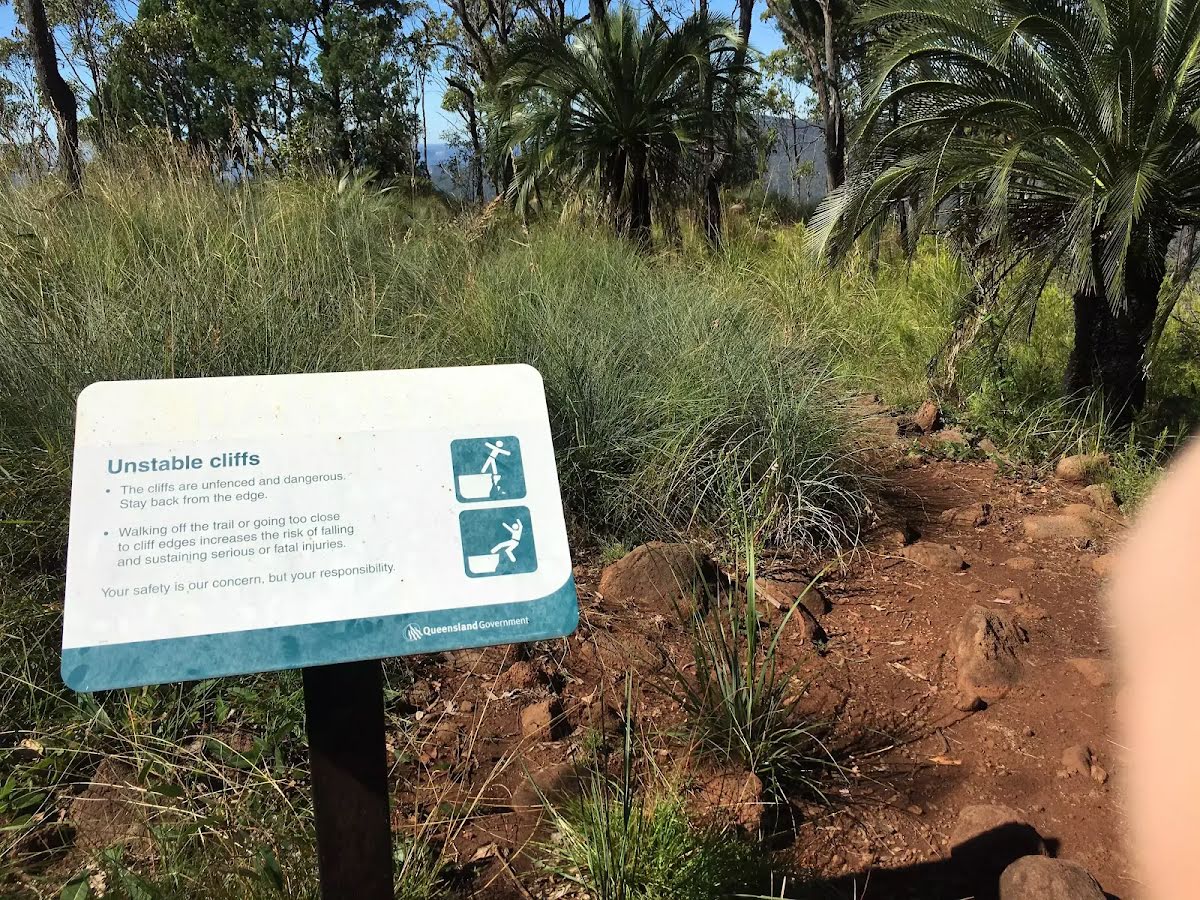
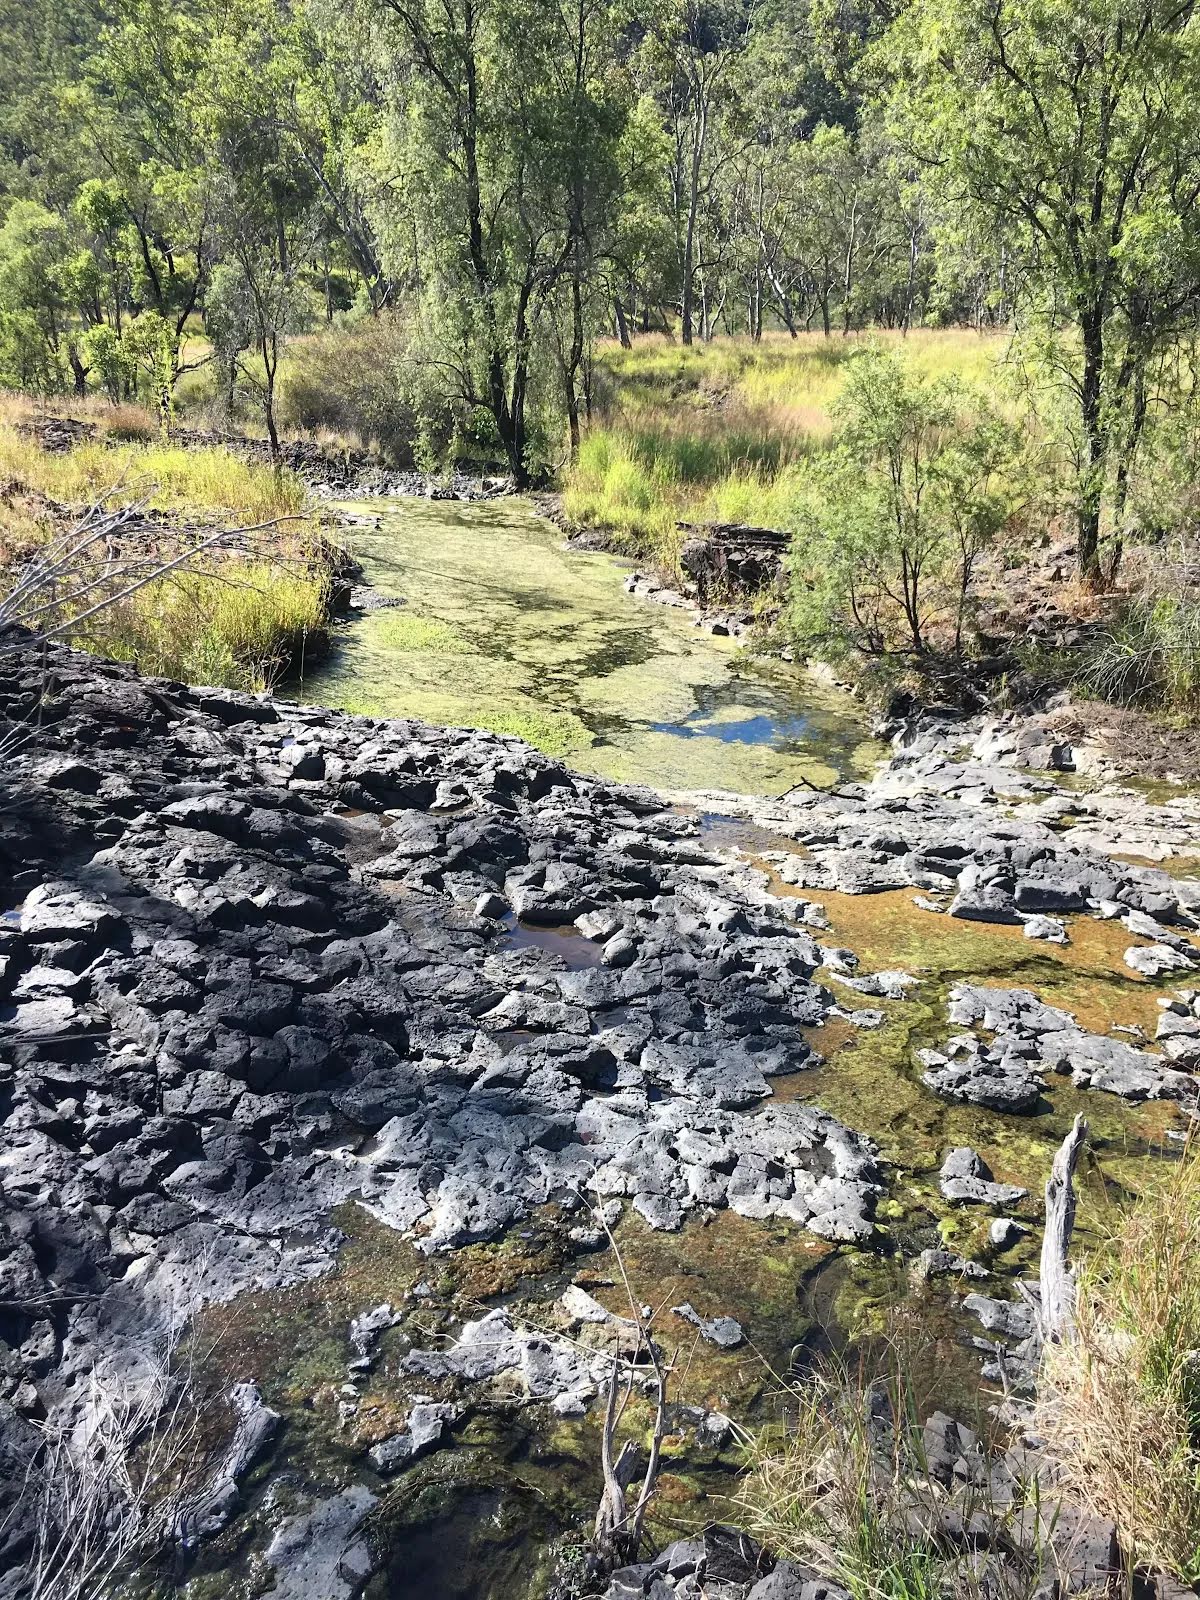
| Infrastructure | Limited facilities (such as cliffs not fenced, significant creeks not bridged) (4/6) |
| Experience Required | Moderate level of bushwalking experience recommended (4/6) |
| Weather | Foretasted & unexpected storms and severe weather may impact on navigation and safety (4/6) |
| Item | From Start | Name & link to notes |
|---|---|---|
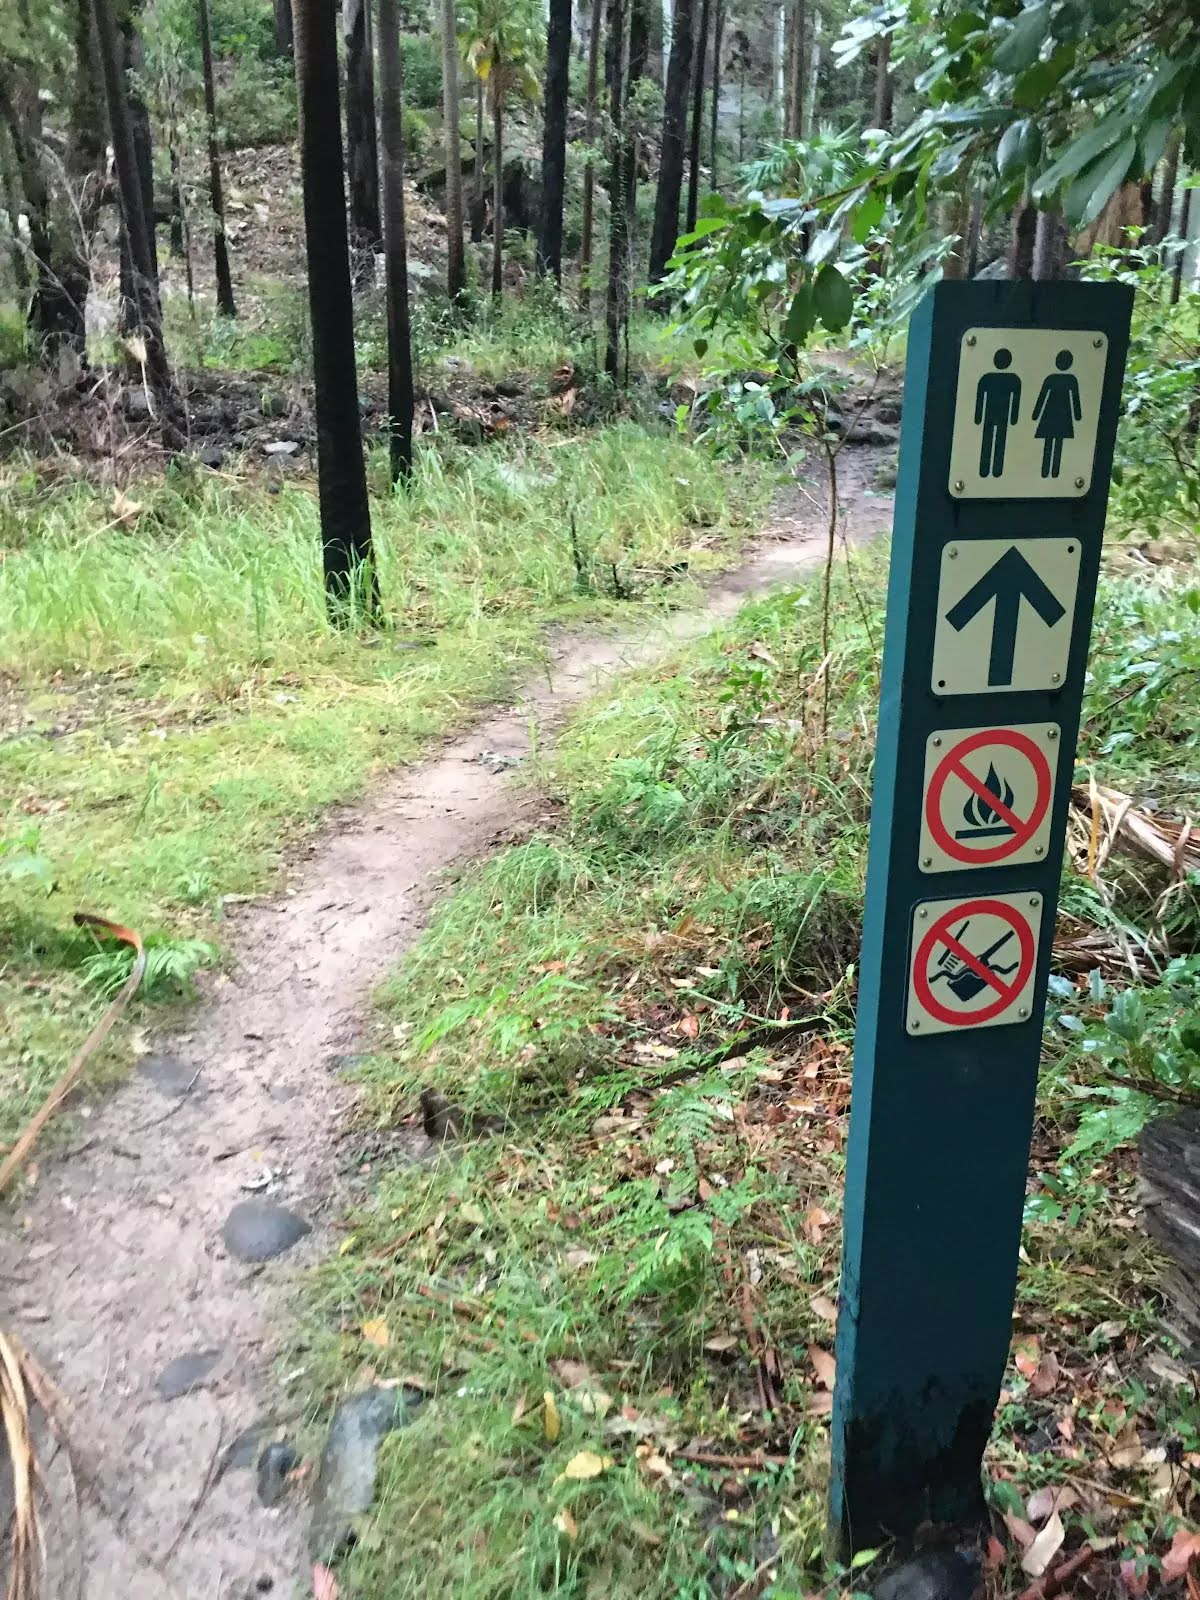
Toilet
| -76 m | [toilet] |
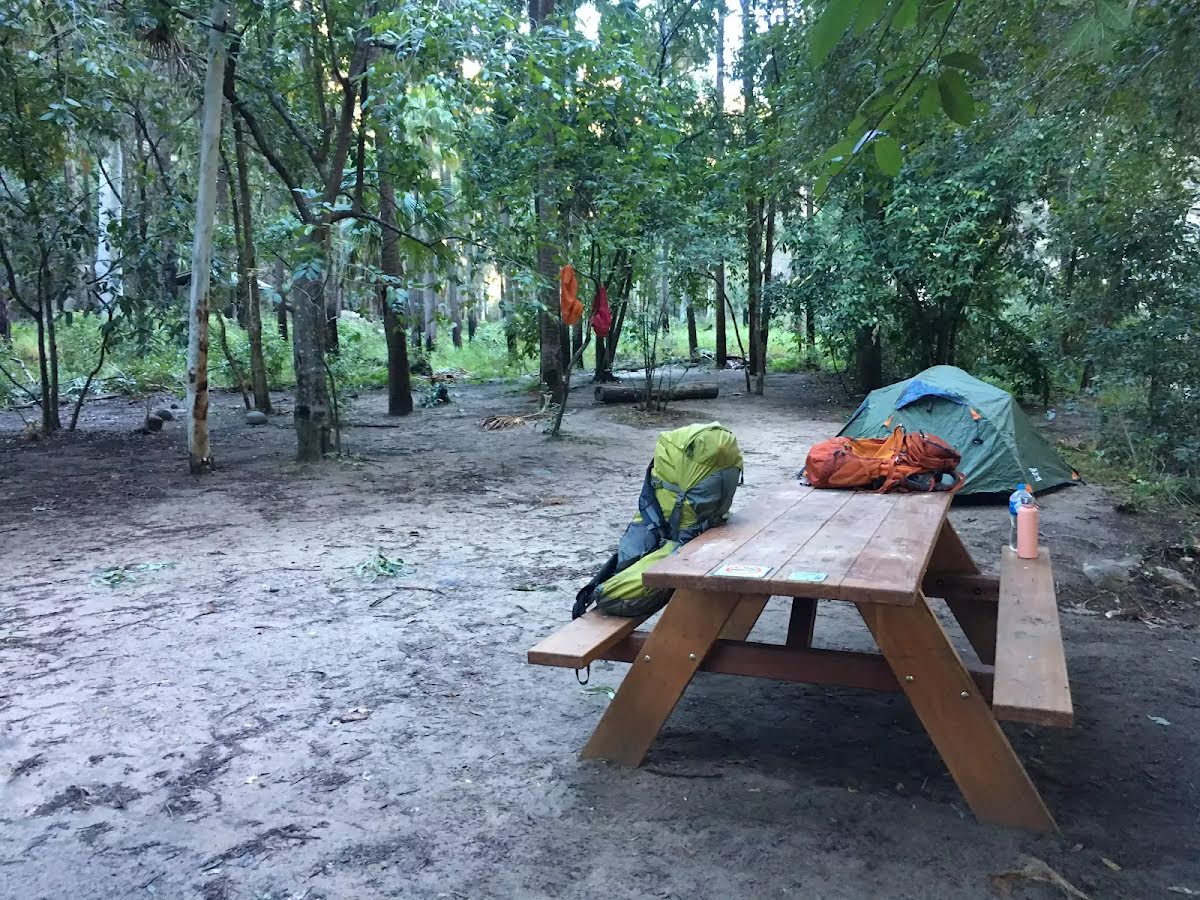
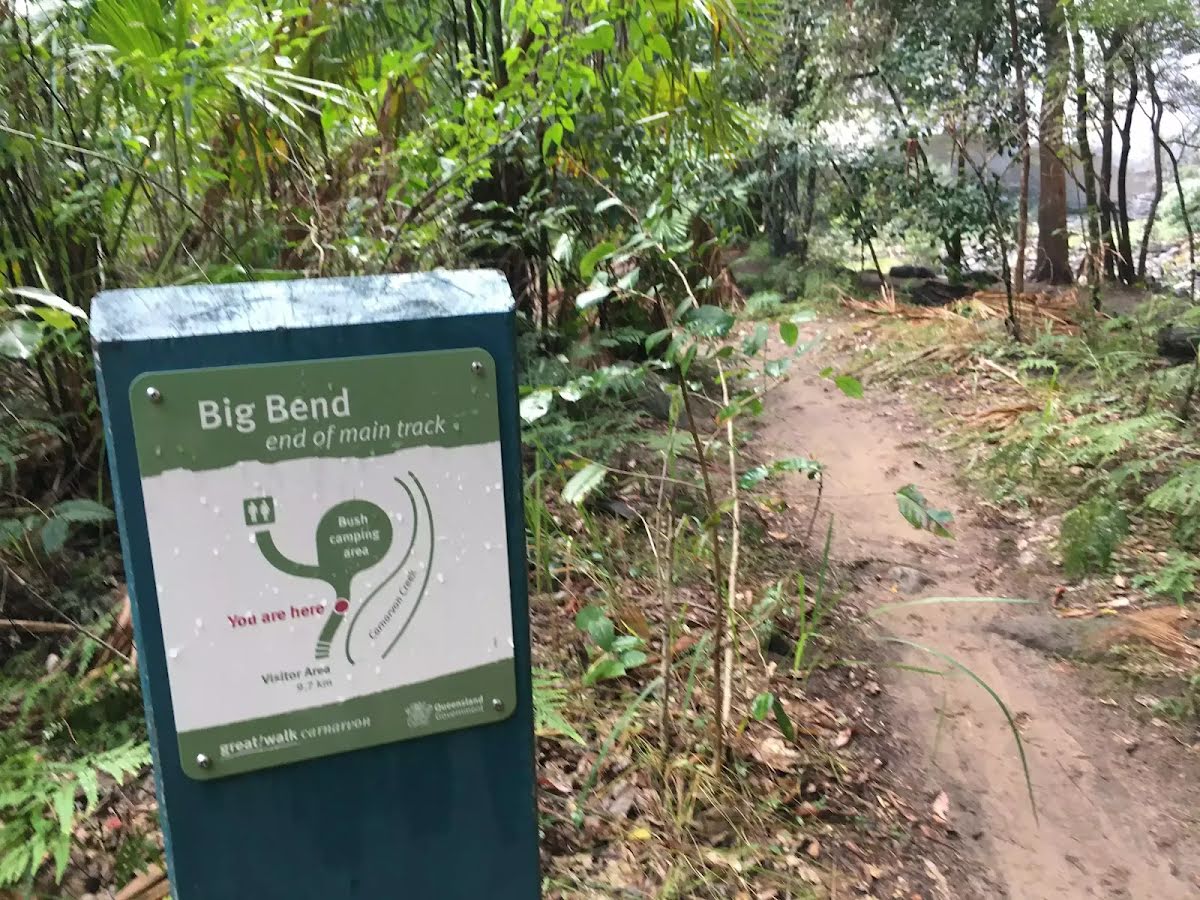
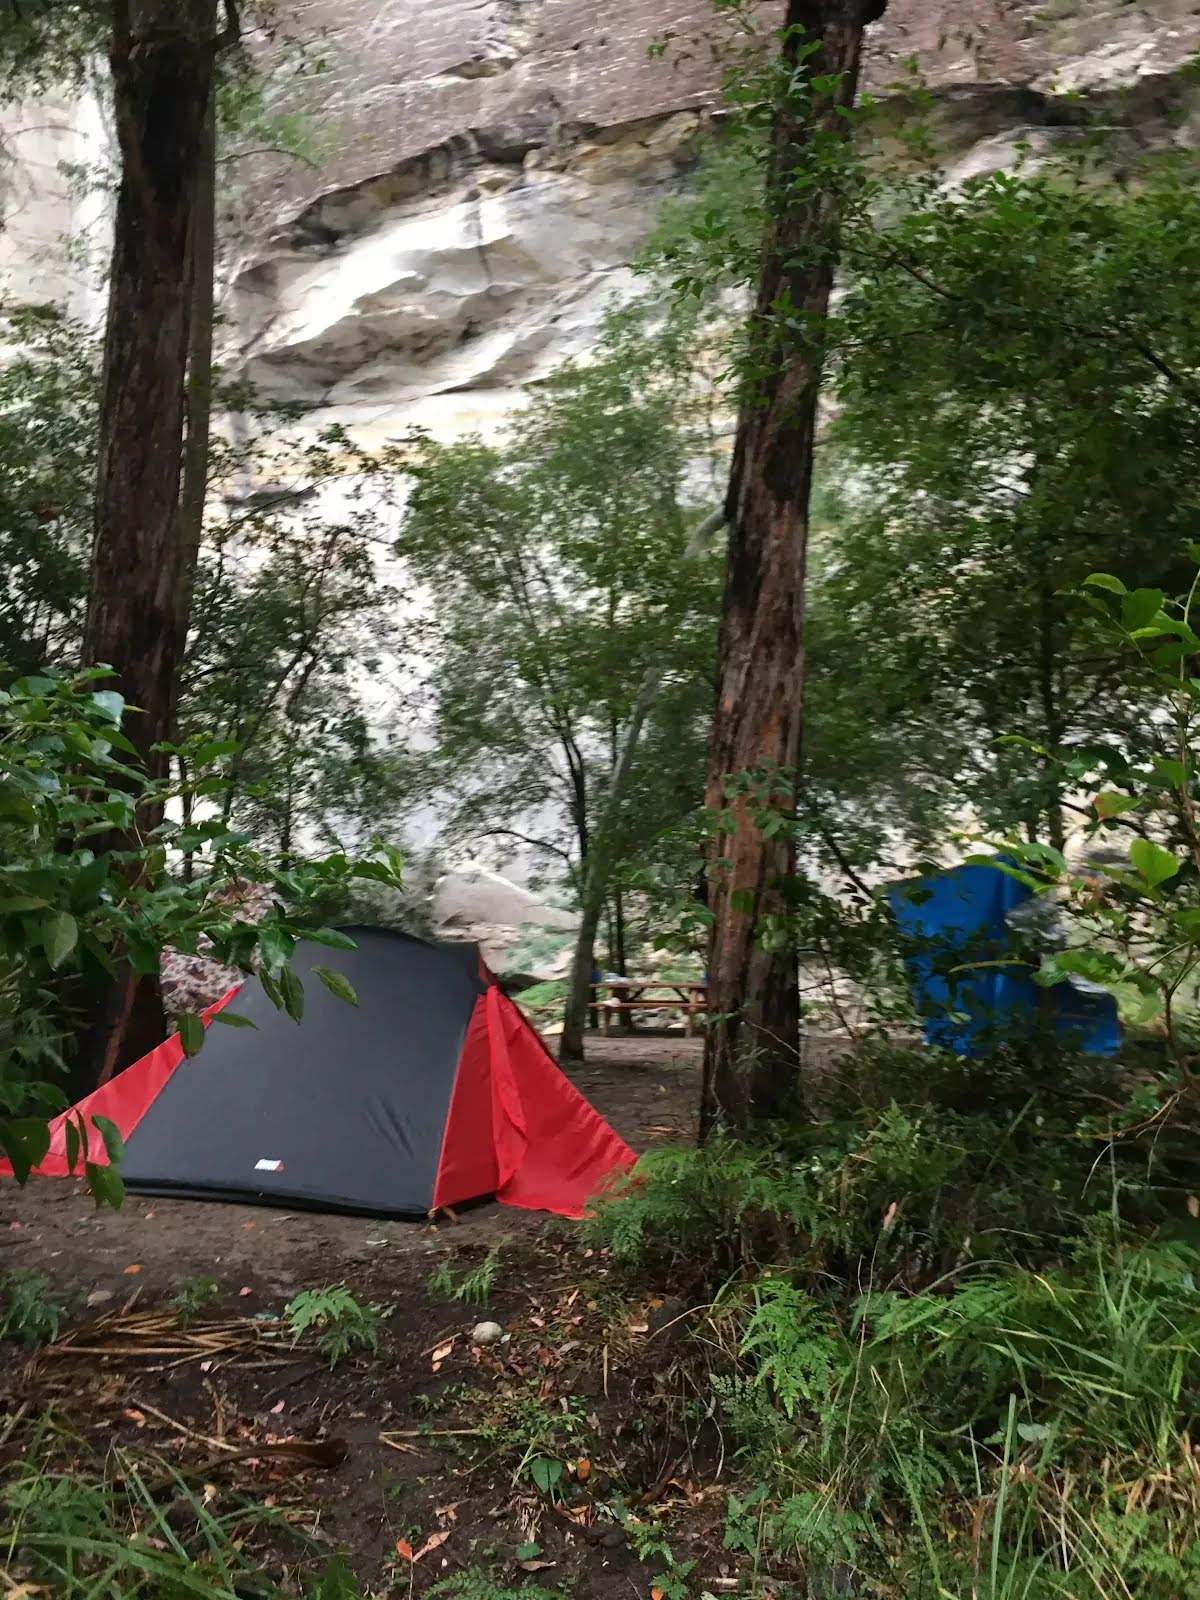
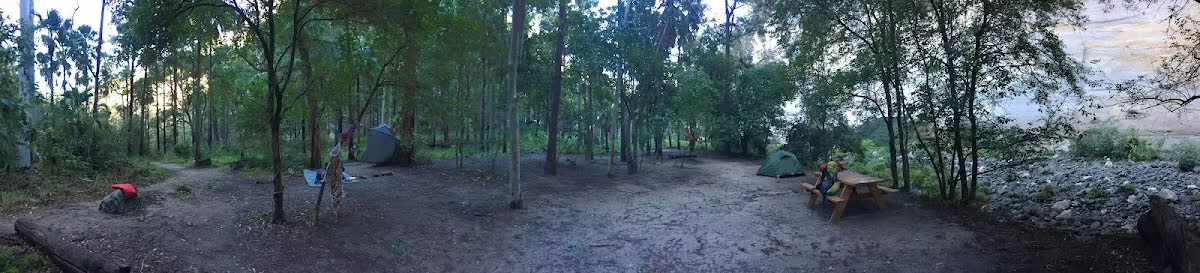
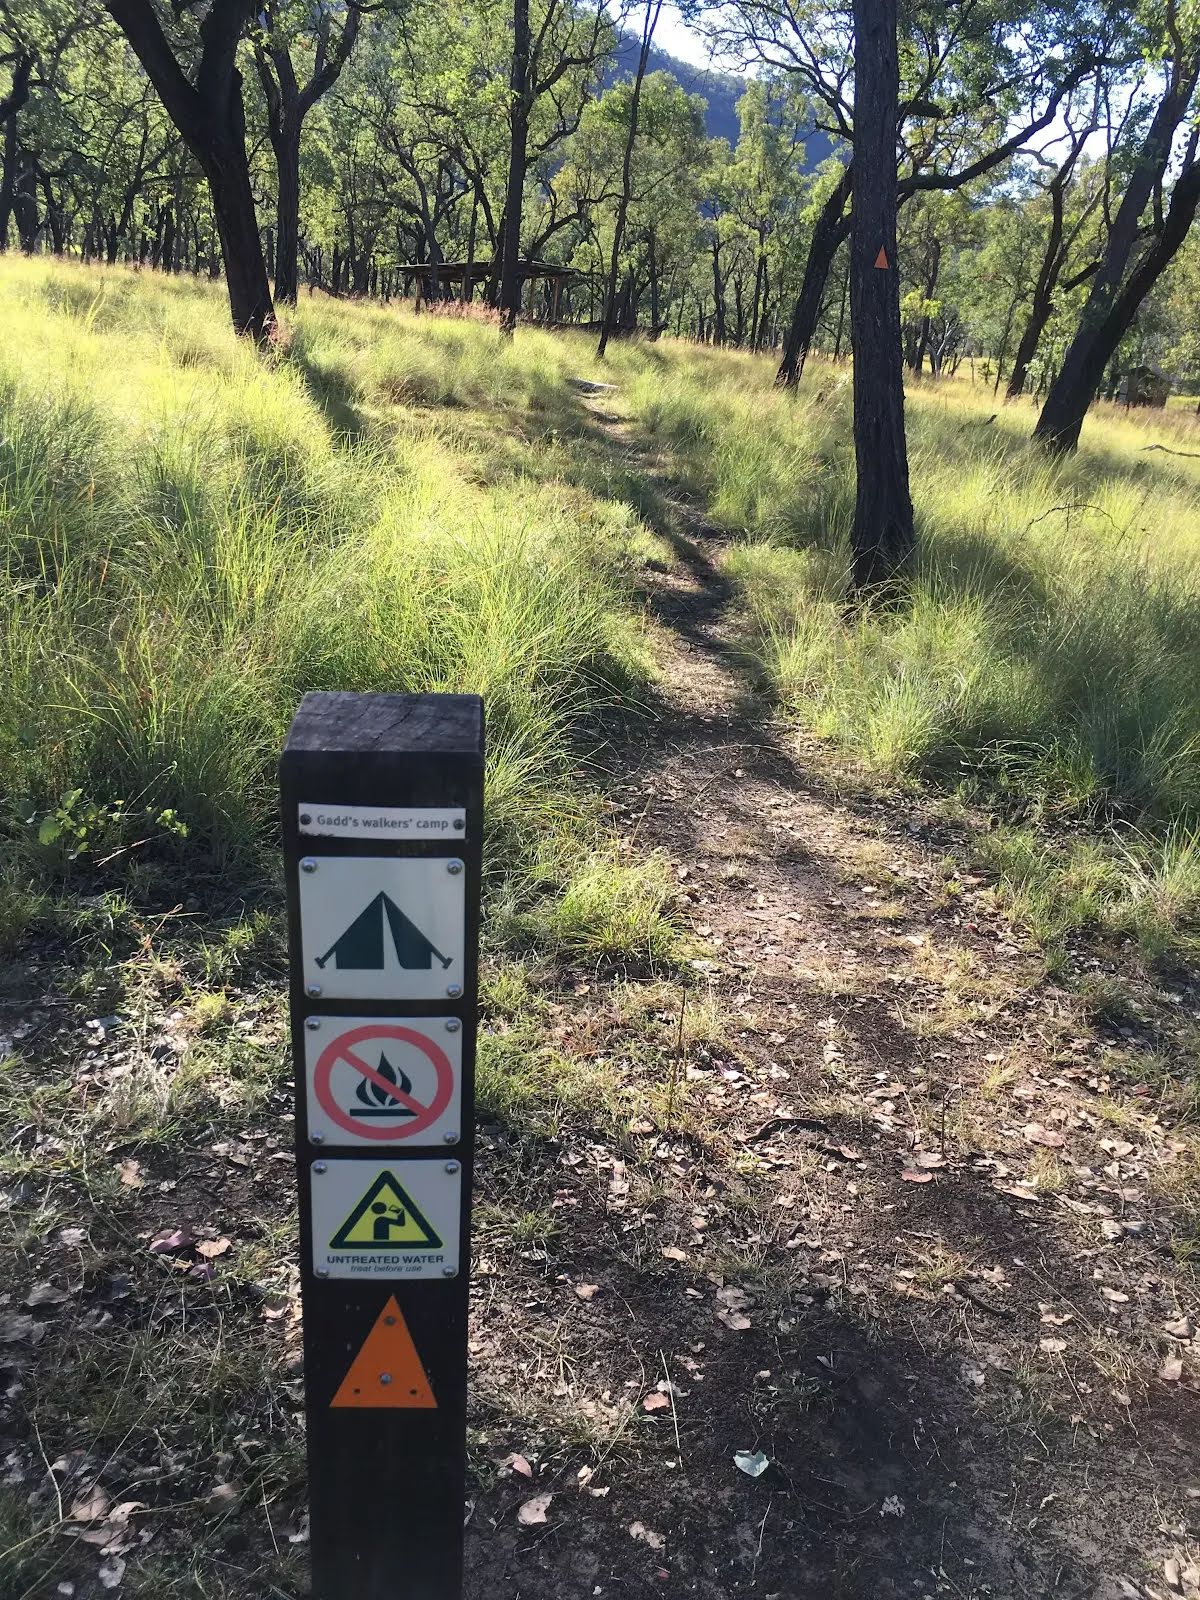
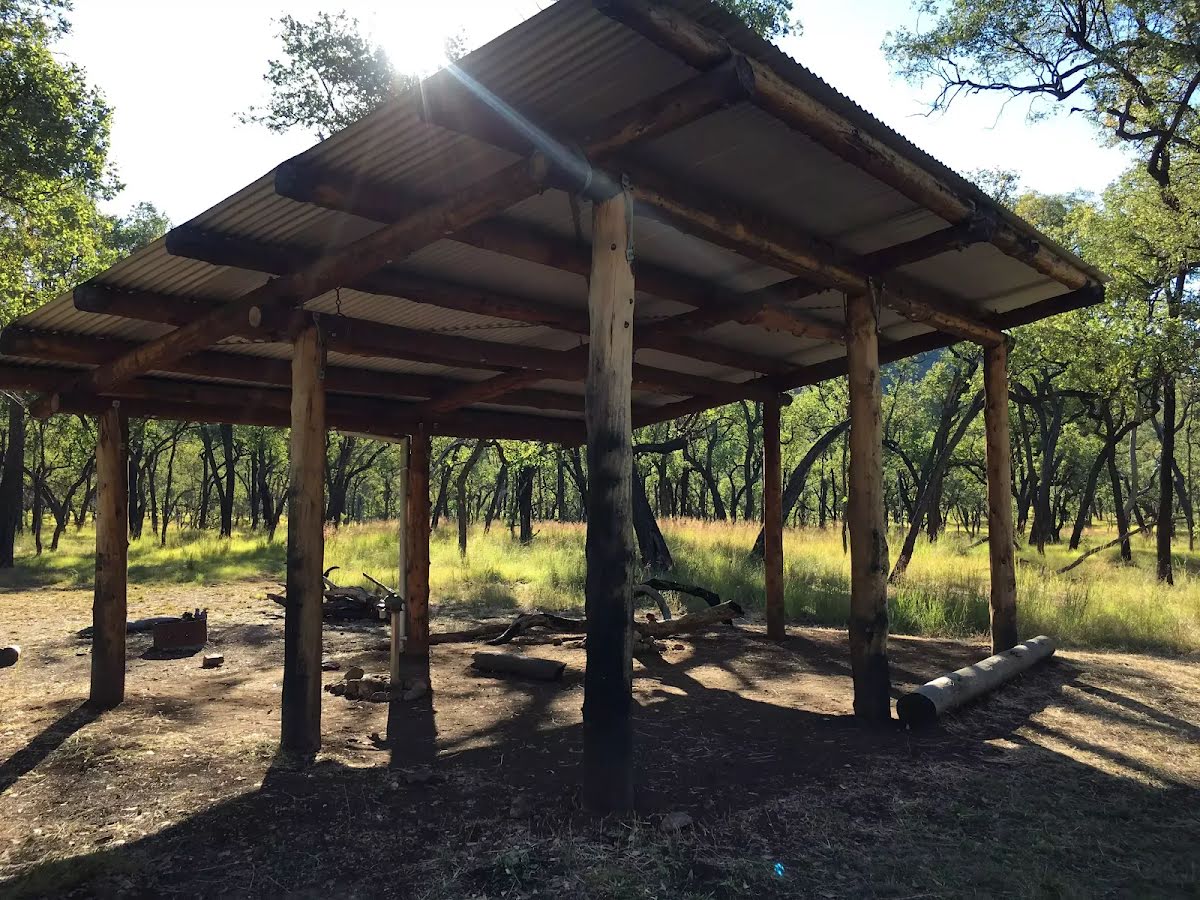
Camp site
| -20 m | Big Bend walkers' camp |
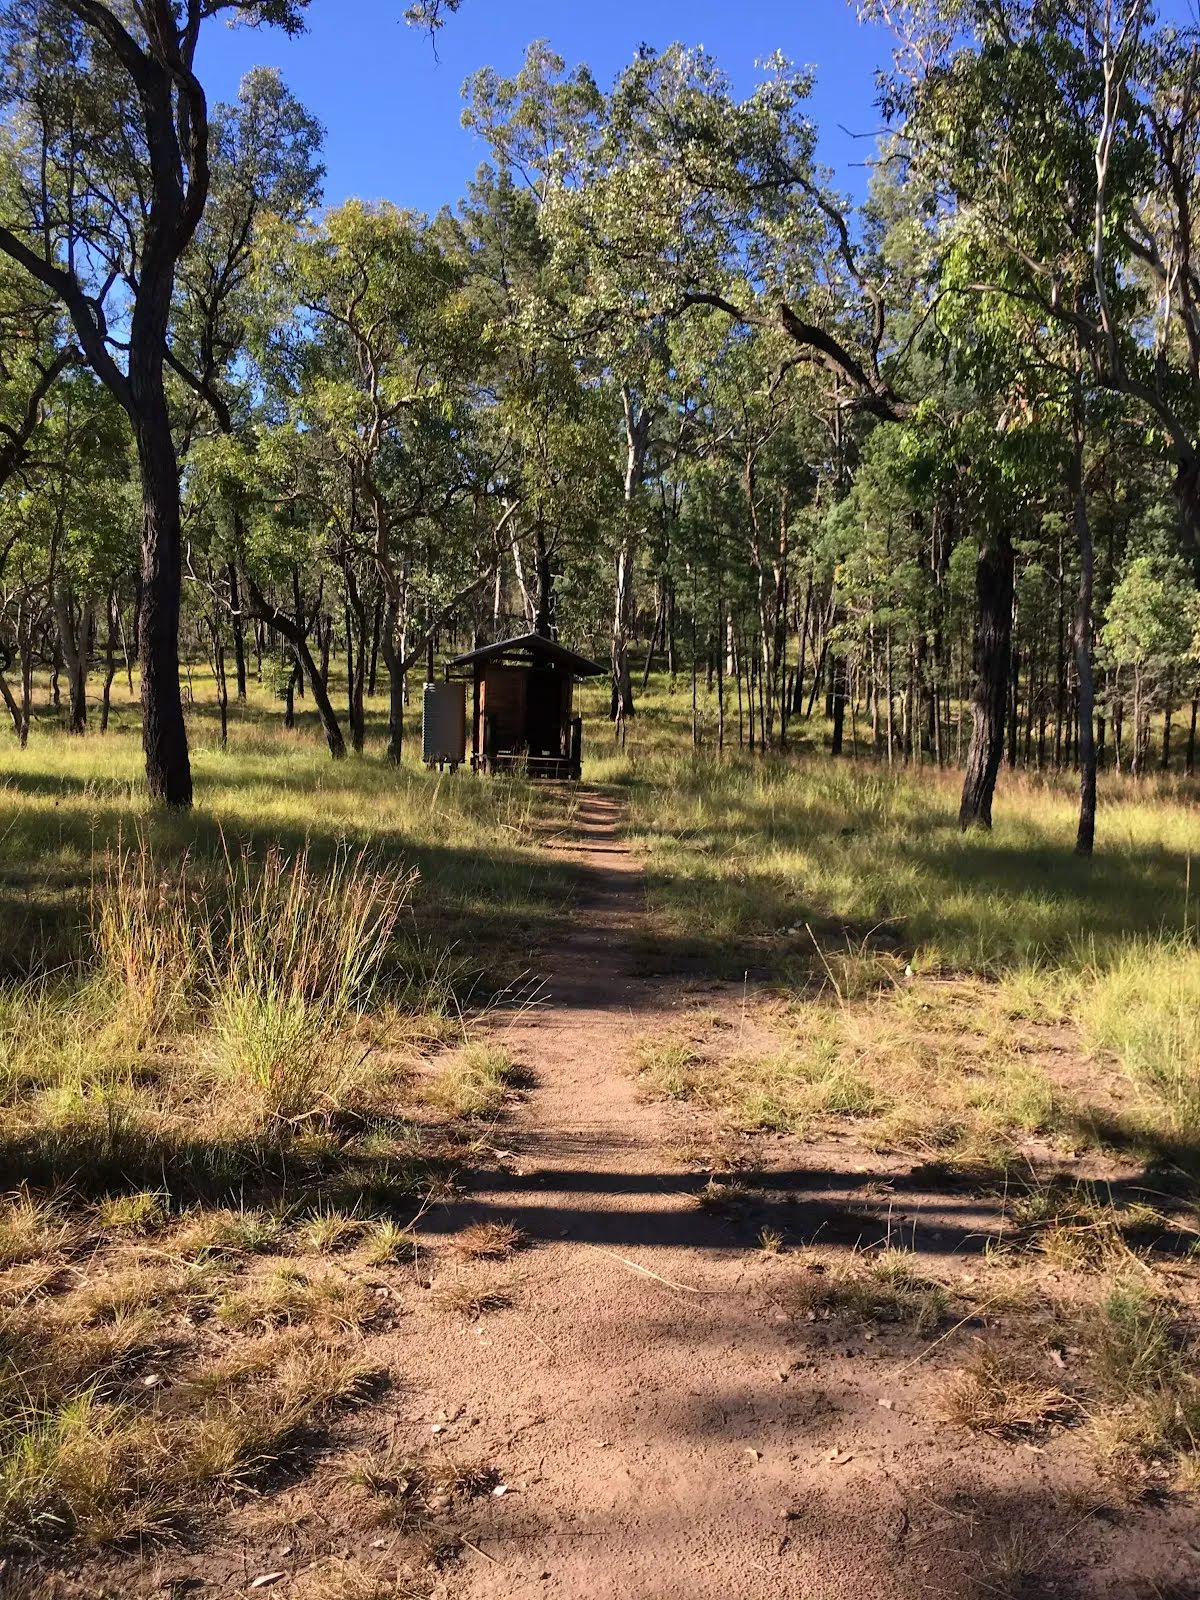
Toilet
| 14 km | [toilet] |
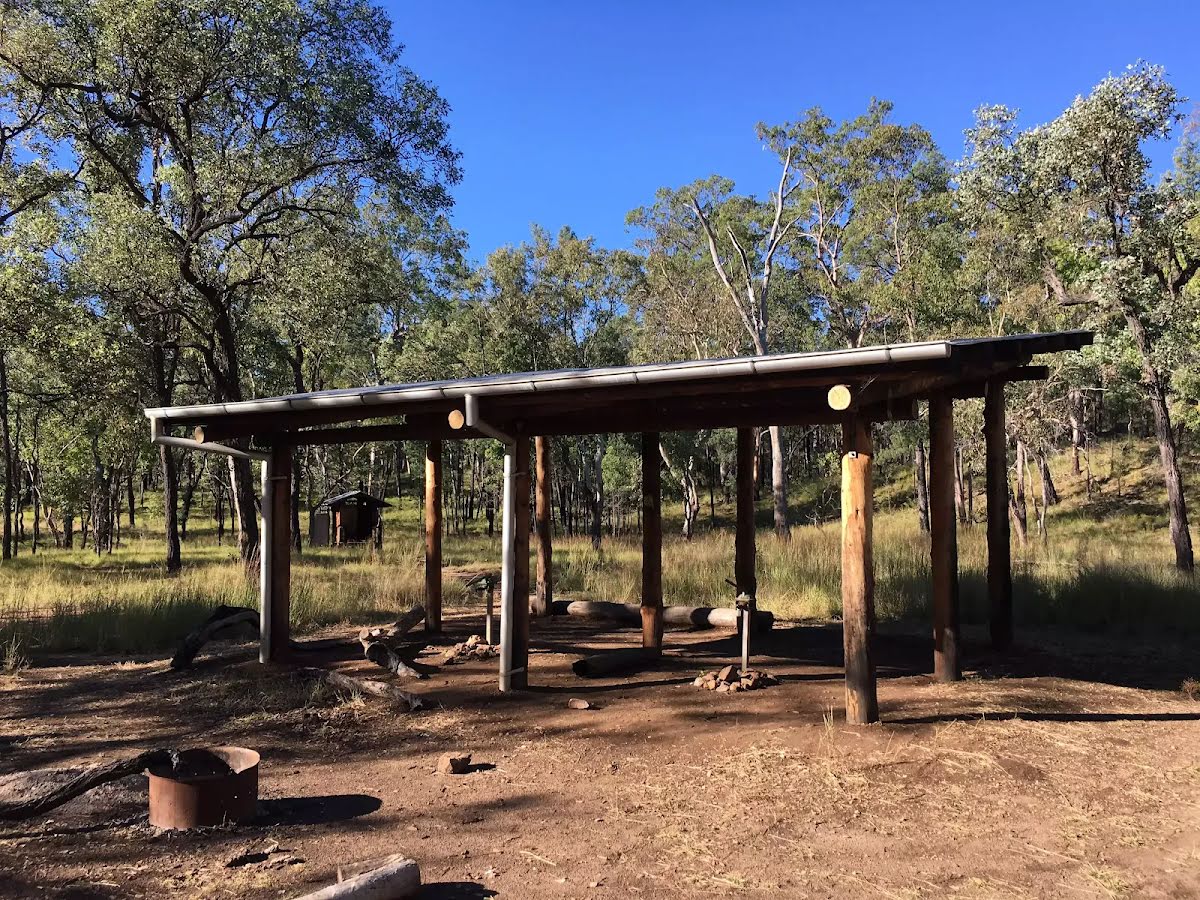
Camp site
| 14 km | Gadd's walkers' camp |